


api这个东西也分三六九等,有的简单有的比较难,开一个API的帖子打算以后有API调用的故事都往这里装,备查,秉持着循序渐进的原则,自然先调用一个天气的API
1、天气API
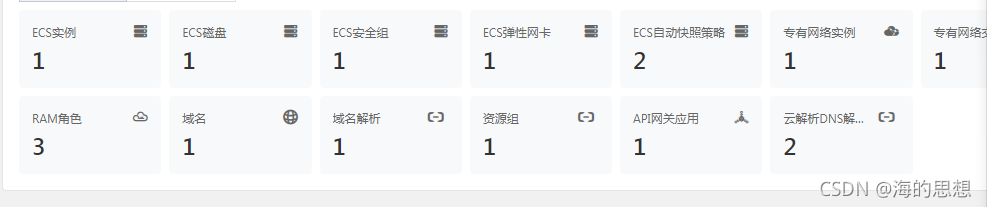
图文并茂先看看阿里云API网关位置,在控制台里找下一。
那么我们这一次调用的是下面这个玩意,当然是免费的
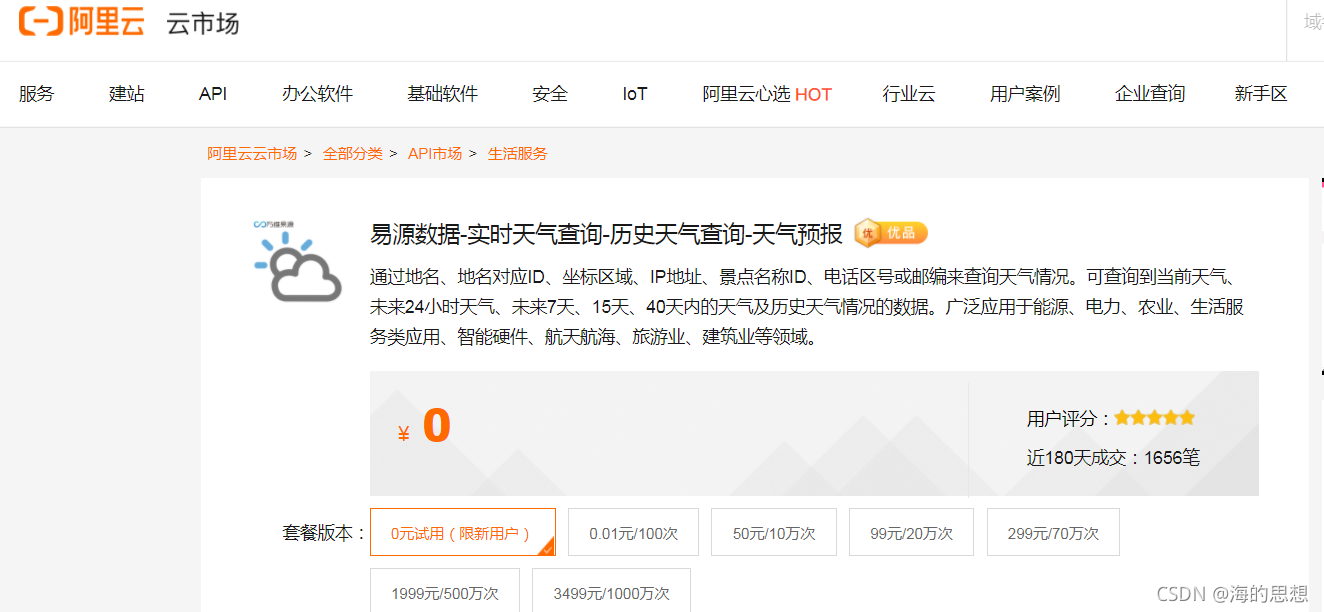
一般来说他们都提供了例程,如下:
import urllib, urllib2, sys
import ssl


host = 'https://weather01.market.alicloudapi.com'
path = '/day15'
method = 'GET'
appcode = '你自己的AppCode'
querys = 'area=%E4%B8%BD%E6%B1%9F&areaCode=areaCode&areaid=101230506'
bodys = {}
url = host + path + '?' + querys

request = urllib2.Request(url)
request.add_header('Authorization', 'APPCODE ' + appcode)
ctx = ssl.create_default_context()
ctx.check_hostname = False
ctx.verify_mode = ssl.CERT_NONE
response = urllib2.urlopen(request, context=ctx)
content = response.read()
if (content):
    print(content)
但很遗憾,这个得稍微改一下才能使用,主要是urllib2这个玩意的问题,进行如下修改
import urllib.request as urllib2
原因是py3里边把urllib2给合并到urllib里边去了,urllib.request基本和urllib2差不多就这个弄一下得了免的改下面一堆代码。在下面程序中我会写一些注释说明
#!/usr/bin/python
# -*- coding: utf-8 -*-
import ssl
import urllib
import urllib.request as urllib2  #其实主要是改动一下这里
import urllib.error as error
import json

host = 'https://weather01.market.alicloudapi.com' #这是入口,API里都会写清楚
path = '/day15'#这个是给定的,其实就是个拼接过程,看见GET方法了,那肯定是http://xxx?a=1&b=2 类似这么玩意送出调用的
method = 'GET'
appcode = 'bxxxxxxxxxxxxxxxxxxx420950c' #你自己的APPcode,这个在你购买了以后会很明显的提供给你,当然有好几个,它朝你要哪几个就给哪几个就行,像这个他就要一个填上就好
querys = 'areaCode=230604'#这个内容是这个API独有的,主要是你要查那个地方就填哪个号,不知道编号要仔细找API说明里边有个城市编码对照表,查表填上就好。
bodys = {}
url = host + path + '?' + querys# 嗯~~  拼多多

request = urllib2.Request(url)
request.add_header('Authorization', 'APPCODE ' + appcode)#这里要仔细看一下APPCODE后面有个半角空格,它拼接的时候也是有这个半角空格的,没这个玩意一定报错,这句的意思是把钥匙放在头部里
ctx = ssl.create_default_context()
ctx.check_hostname = False
ctx.verify_mode = ssl.CERT_NONE#SSL三联,我也没研究就这么写就行
response = urllib2.urlopen(request, context=ctx)
content = response.read()
if (content):
    data=json.loads(content.decode("utf-8"))#获取JSON数据后解包变大字典
至此数据就基本读出来了。但是不要忘记,这玩意没花钱,那么使用前要确认两件事。
- 这个api你的控制台里的状态是否正常,比如服务商跑没跑路啊,api是不是到期了或者没额度了,停止服务了,或者文档接口改动了之类,要确保正常免得在程序里瞎折腾做无用功。
- 关注你的使用场景,比如天气预报一般也就一天调用一次,弄到数据库里存上就好,要是非得写个页面让人来回点,真土豪请受我一拜!
再说下JSON解包以后的内容是这样:
》》》data['showapi_res_body']['dayList'][0]
{'night_weather_code': '00', 'day_weather': '晴', 'night_weather': '晴', 'areaCode': '230604', 'night_wind_power': '3-4级', 'areaid': '101050908', 'day_wind_power': '3-4级', 'day_weather_code': '00', 'daytime': '20211008', 'area': '让胡路', 'day_weather_pic': 'http://app1.showapi.com/weather/icon/day/00.png', 'night_air_temperature': '8', 'day_air_temperature': '18', 'day_wind_direction': '西南风', 'night_weather_pic': 'http://app1.showapi.com/weather/icon/night/00.png', 'night_wind_direction': '南风'}
可见最后是个列表元素0。
》》》data['showapi_res_body']['dayList'][1]
{'night_weather_code': '01', 'day_weather': '多云', 'night_weather': '多云', 'areaCode': '230604', 'night_wind_power': '4-5级', 'areaid': '101050908', 'day_wind_power': '4-5级', 'day_weather_code': '01', 'daytime': '20211009', 'area': '让胡路', 'day_weather_pic': 'http://app1.showapi.com/weather/icon/day/01.png', 'night_air_temperature': '8', 'day_air_temperature': '19', 'day_wind_direction': '南风', 'night_weather_pic': 'http://app1.showapi.com/weather/icon/night/01.png', 'night_wind_direction': '西南风'}
这个最后是1,那就别墨迹了,第15天是[14]
-~~~~~~~~~~~~~~~~~~~~~~~~~~~~~~~~~~~~~~~~~~~~~~~~~~~~~~~~~~~~~~~~~~~~~~~~~~~~~~~~~~
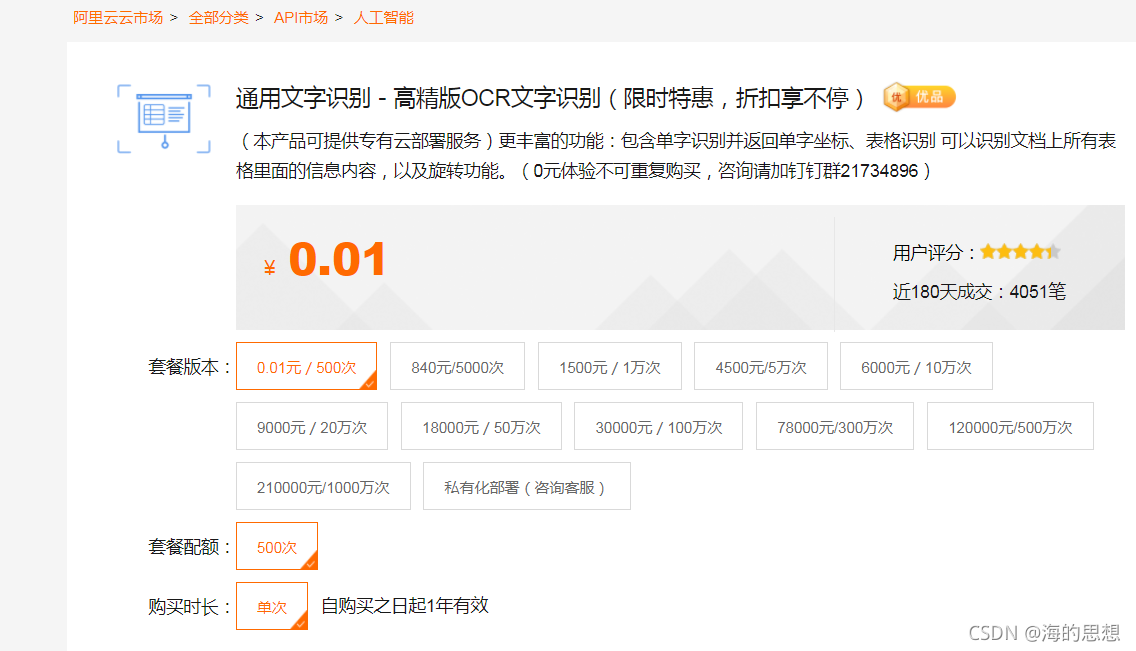
2图像识别API
这个1分钱500次试用,有效期一年。时间很长玩玩确实够用了,但是如果觉得好用这个价格确实是~好贵。
确定了目标后,他的示例文件写的还是比较好的,支持URL和传图片两种模式。其实对于编程识别来说最常用,最重要的还是直接截图或者拍照传图片这种方式,那么,我就采用PY3的示例直接贴下面:就两步
- 指定图片位置和名称。
- 把appcode添加到指定位置就可以运行了。
唯一需要注意我单独加了很长备注那一句就行。
#python3
import urllib.request
import urllib.parse
import json
import time
import base64
with open('1.jpg', 'rb') as f:  # 以二进制读取本地图片
    data = f.read()
    encodestr = str(base64.b64encode(data),'utf-8')
#请求头
headers = {
         'Authorization': 'APPCODE '+'你的APPCODExxxxxxxxxxxxxxxxx950c',#这里有修改和例程不同,主要为了更加明确格式指定出钥匙的粘贴位置。把钥匙填进去就能用了
         'Content-Type': 'application/json; charset=UTF-8'
    }
def posturl(url,data={}):
  try:
    params=json.dumps(dict).encode(encoding='UTF8')
    req = urllib.request.Request(url, params, headers)
    r = urllib.request.urlopen(req)
    html =r.read()
    r.close();
    return html.decode("utf8")
  except urllib.error.HTTPError as e:
      print(e.code)
      print(e.read().decode("utf8"))
  time.sleep(1)
if __name__=="__main__":
    url_request="https://ocrapi-advanced.taobao.com/ocrservice/advanced"
    dict = {'img': encodestr}

    html = posturl(url_request, data=dict)
    print(html)
解析出来总体感觉还是很不错的,现在的OCR比较精准了已经,我就要文字的情况就不用深入研究了,至于他有参数嘛,那就看需求再说吧。研究到了会补记录,否则就这个就结束了。


 65
65


 被折叠的 条评论
为什么被折叠?
被折叠的 条评论
为什么被折叠?
 到【灌水乐园】发言


