


 本文介绍了三种在Android中全局修改APP字体的方法:1) 自定义FontTextView控件;2) 递归批量替换TextView及其子View;3) 通过反射改变默认字体。每种方法的优缺点都有详细说明,个人中心设置部分展示了如何实现实时字体切换。
最近一直在如何全局修改app字体上困惑着,今天终于有了突破。我将搜集的资料进行了整理,现在提供给大家。
前面为分析,建议直接翻到最后看【个人中心设置】。
参考链接:
Android应用使用自定义字体
Android应用使用自定义字体的一些探究
Android如何高效率的替换整个APP的字体?
Android自定义字体的库
小体积字体文件集
首先将项目需要的字体资源放置在app下:
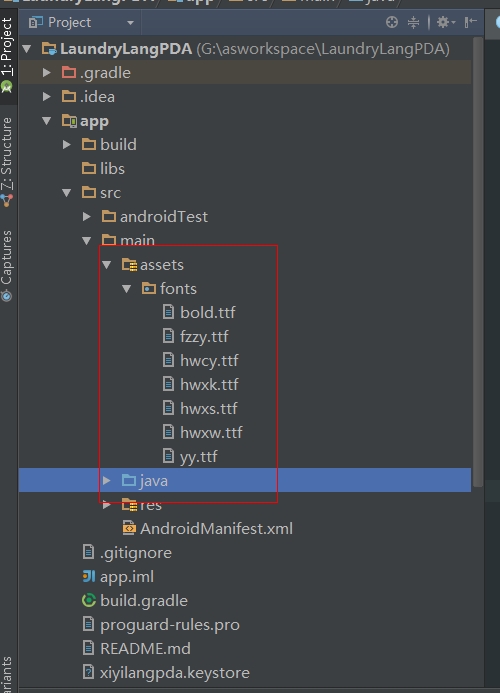
这是我自己找的字体文件,分别代表粗体,方正准圆,华文彩云,华文行楷,华文新宋,华文新魏,幼圆。
注意,字体ttf文件只能用英文字母,中文会报找不到文件异常。
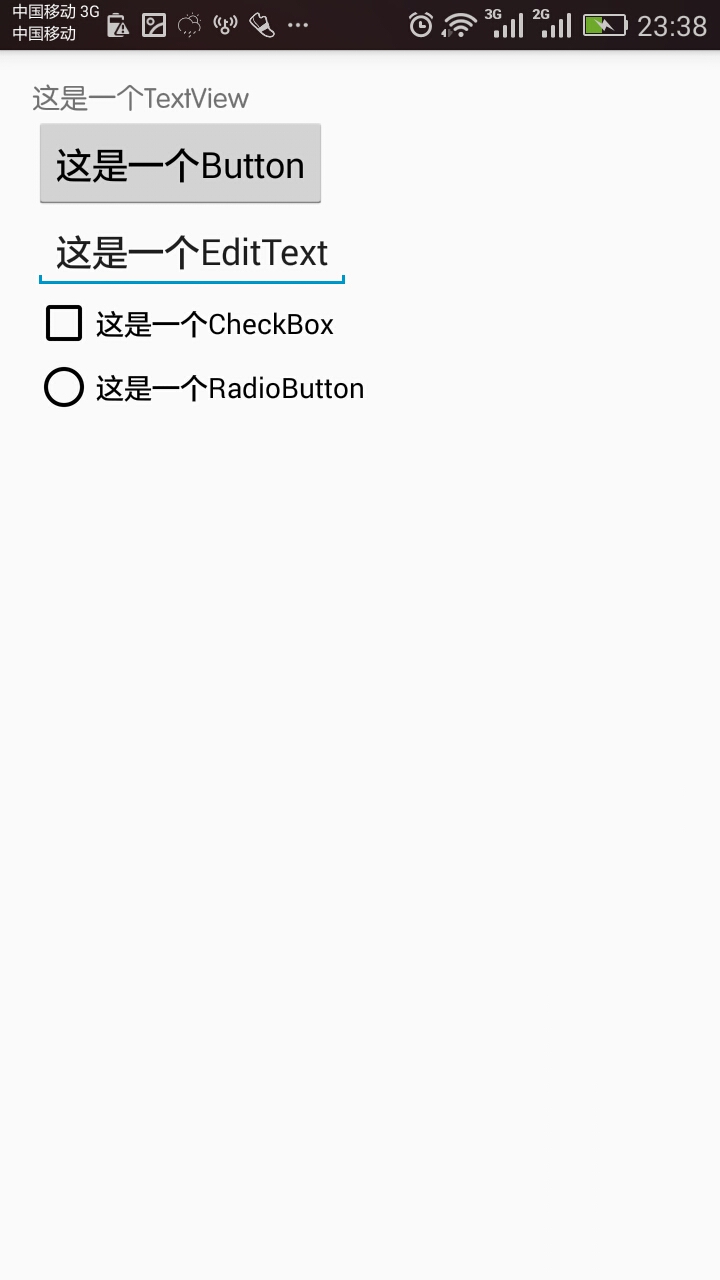
我们先看看未设置之前的布局样式:
字体文件准备好后,我们就可以按需设置自己想要的字体样式。下面提供了3种设置方法,这3种方法都可以改变可以显示文本的控件字体样式,如TextView,Button,EditText,CheckBox,RadioButton等等:
方法1:自定义控件 FontTextView
重写TextView,重写其中的setTypeface方法,设置自己的字体样式
package com.laundrylang.laundrylangpda.view;
public class FontTextView extends TextView{
public FontTextView(Context context) {
super(context);
}
public FontTextView(Context context, AttributeSet attrs) {
super(context, attrs);
}
public FontTextView(Context context, AttributeSet attrs, int defStyleAttr) {
super(context, attrs, defStyleAttr);
}
private Typeface createTypeface(Context context, String fontPath) {
return Typeface.createFromAsset(context.getAssets(), fontPath);
}
@Override
public void setTypeface(Typeface tf, int style) {
super.setTypeface(createTypeface(getContext(),"fonts/fzzy.ttf"), style);
}
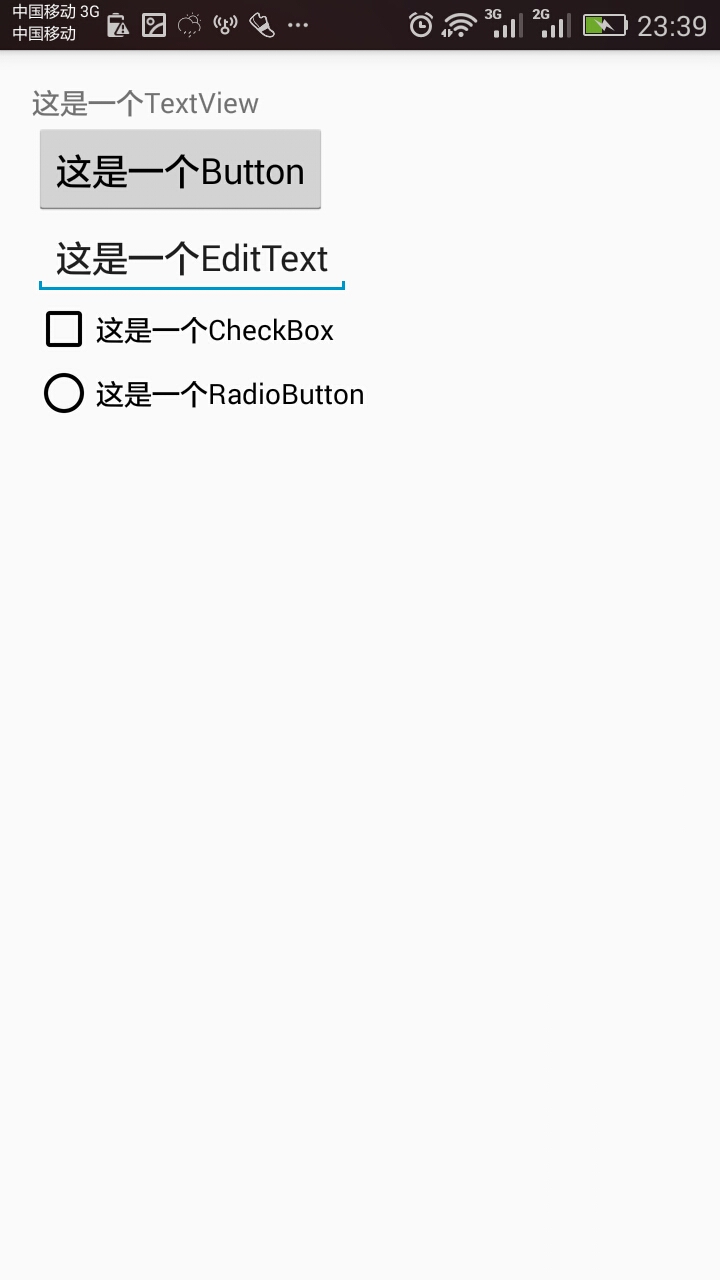
}布局中直接用自定义的FontTextView类即可。
<com.laundrylang.laundrylangpda.view.FontTextView
        android:layout_width="wrap_content"
        android:layout_height="wrap_content"
        android:text="这是一个TextView"/>
    <Button
        android:layout_width="wrap_content"
        android:layout_height="wrap_content"
        android:text="这是一个Button"/>
    <EditText
        android:layout_width="wrap_content"
        android:layout_height="wrap_content"
        android:text="这是一个EditText"/>
    <CheckBox
        android:layout_width="wrap_content"
        android:layout_height="wrap_content"
        android:text="这是一个CheckBox"/>
    <RadioButton
        android:layout_width="wrap_content"
        android:layout_height="wrap_content"
        android:text="这是一个RadioButton"/>
前后对照布局文件,因为这里只重写了TextView,所以只有TextView有变化:
这种设置方式的优缺点:
优点:使用简单方便,不需要额外的工作。
缺点:只能替换一类控件的字体,如果需要替换Button或EditText控件的字体,需要以相同的方式自定义这些控件,这样工作量大。
方法2:递归批量替换某个View及其子View的字体
Android中可显示文本的控件都直接或间接继承自TextView,批量替换字体的原理就是从指定的View节点开始递归遍历所有子View,如果子View类型是TextView类型或其子类型则替换字体,如果子View是ViewGroup类型则重复这一过程。我抽取了一个工具类,代码如下:
public class TypefaceUtil {


    /**
     * <p>Replace the font of specified view and it's children</p>
     * @param root The root view.
     * @param fontPath font file path relative to 'assets' directory.
     */
最低0.47元/天 解锁文章


 668
668

 被折叠的 条评论
为什么被折叠?
被折叠的 条评论
为什么被折叠?
 到【灌水乐园】发言


