


1. 前言
上一篇文章讲述了基于CALayer的系统转场动画,本篇文章将会探究一下UIViewController自定义转场动画,在文中还会展示一些自定义的动画效果。
本篇文章主要探究一下基于UINavigationControllerDelegate协议的push和pop动画,以及基于UIViewControllerTransitioningDelegate协议的present和dismiss动画,另外还要说明一点文中的涉及到的以及demo中的代码都是点击交互动画,不包括滑动交互动画。
测试环境:Xcode12.3,Swift5.0以上,iOS13及以上系统设备。
2. UIViewControllerAnimatedTransitioning协议
在了解上面两个协议之前,先来看看这个UIViewControllerAnimatedTransitioning协议,该协议提供了一组实现自定义视图控制器转换动画的方法。比如常用的两个:
// 该方法中返回动画要执行的时间,单位秒,必须实现的协议方法。
func transitionDuration(using transitionContext: UIViewControllerContextTransitioning?) -> TimeInterval

// 动画执行的方法。必须实现的协议方法。
func animateTransition(using transitionContext: UIViewControllerContextTransitioning)
通过这些协议方法,我们可以定义一个animator对象,它为视图的转换提供动画支持。
比如下面这个Transition类:
public class Transition: NSObject {
    public var operation: TransitionOperation = .push
    public var context: UIViewControllerContextTransitioning?

    func executePushOrPresentTransition() { }
    func executePopOrDismissTransition() { }
}

extension Transition: UIViewControllerAnimatedTransitioning {
    public func transitionDuration(using transitionContext: UIViewControllerContextTransitioning?) -> TimeInterval {
        return 0.5
    }

    public func animateTransition(using transitionContext: UIViewControllerContextTransitioning) {
        context = transitionContext
        if operation == .push || operation == .present {
            executePushOrPresentTransition()
        }else if operation == .pop || operation == .dismiss {
            executePopOrDismissTransition()
        }
    }
}

extension Transition: CAAnimationDelegate {
    public func animationDidStop(_ anim: CAAnimation, finished flag: Bool) {
        context?.completeTransition(true)
        if operation == .push || operation == .present {
            let toVC = context?.viewController(forKey: .to)
            toVC?.view.mask = nil
        }else if operation == .pop || operation == .dismiss {
            let fromVC = context?.viewController(forKey: .from)
            fromVC?.view.mask = nil
        }
    }
}如果我们实例化一个Transition对象,则就是上面说到的animator对象。
Transition类中还可以实现CAAnimationDelegate协议方法,这样可以监听CAAnimation动画的状态,进而做一些事情。
3. UINavigationControllerDelegate协议
该协议中,如果要实现自定义的点击转场动画,则需要实现下面的协议方法:
// 在该方法中需要返回一个实现了UIViewControllerAnimatedTransitioning协议的类的实例对象。
func navigationController(_ navigationController: UINavigationController, animationControllerFor operation: UINavigationController.Operation, from fromVC: UIViewController, to toVC: UIViewController) -> UIViewControllerAnimatedTransitioning?Operation则表示是push还是pop,定义如下:
    public enum Operation : Int {

        case none = 0

        case push = 1

        case pop = 2
    }
至于fromVC和toVC,不用说大家也明白。
该协议方法要求返回一个实现了UIViewControllerAnimatedTransitioning协议的类的实例对象,在上面已经说到了这个协议。
对了要想实现UINavigationControllerDelegate协议的方法,别忘了设置delegate哦!该代理最好每次都设置,最好在viewWillAppear和viewWillDisappear中设置。
weak open var delegate: UINavigationControllerDelegate?示例:
    override func viewWillAppear(_ animated: Bool) {
        super.viewWillAppear(animated)
        self.navigationController?.delegate = self
    }

    override func viewWillDisappear(_ animated: Bool) {
        super.viewWillDisappear(animated)
        self.navigationController?.delegate = nil
    }
extension ViewController: UINavigationControllerDelegate {
// 该方法中返回一个上面说的animator对象,也就是Transition类的实例对象。
func navigationController(_ navigationController: UINavigationController, animationControllerFor operation: UINavigationController.Operation, from fromVC: UIViewController, to toVC: UIViewController) -> UIViewControllerAnimatedTransitioning? {
if operation == .push {
return createTransition(operation: .push)
}else if operation == .pop {
return createTransition(operation: .pop)
}else {
return nil
}
}
}
4. UIViewControllerTransitioningDelegate协议
该协议中,如果要实现自定义的点击转场动画,则需要实现下面的协议方法:
// 当present的时候调用该方法
func animationController(forPresented presented: UIViewController, presenting: UIViewController, source: UIViewController) -> UIViewControllerAnimatedTransitioning?

// 当dismiss的时候调用该方法
func animationController(forDismissed dismissed: UIViewController) -> UIViewControllerAnimatedTransitioning?这两个协议方法要求返回一个实现了UIViewControllerAnimatedTransitioning协议的类的实例对象,在上面已经说到了这个协议。
对了要想实现UIViewControllerTransitioningDelegate协议的方法,同样需要设置代理,这个代理名字可和上面不一样了,该代理最好每次都在调用present和dismiss方法的地方设置。
weak open var transitioningDelegate: UIViewControllerTransitioningDelegate?另外我们需要设置被弹出的ViewController的modalPresentationStyle属性为fullScreen或者currentContext的时候,动画正常,否则不会有自定义动画效果或者动画异常。至少在笔者的测试案例里面是这样的。
示例代码:
    func tableView(_ tableView: UITableView, didSelectRowAt indexPath: IndexPath) {
        let type = typeArray[indexPath.row]
        selectedTransitionType = type
        if type == .circle {
            clickView = tableView.cellForRow(at: indexPath)?.contentView
        }
        let detailVC = DetailViewController(nibName: "DetailViewController", bundle: nil)
        if indexPath.section == 0 {
            self.navigationController?.pushViewController(detailVC, animated: true)
        }else {
            detailVC.modalPresentationStyle = .fullScreen
            detailVC.transitioningDelegate = self
            self.present(detailVC, animated: true, completion: nil)
        }
    }

extension ViewController: UIViewControllerTransitioningDelegate {
    func animationController(forPresented presented: UIViewController, presenting: UIViewController, source: UIViewController) -> UIViewControllerAnimatedTransitioning? {
        return createTransition(operation: .present)
    }

    func animationController(forDismissed dismissed: UIViewController) -> UIViewControllerAnimatedTransitioning? {
        return createTransition(operation: .dismiss)
    }
}
5. 测试Demo
先看一组自定义动画:
Push和Pop:

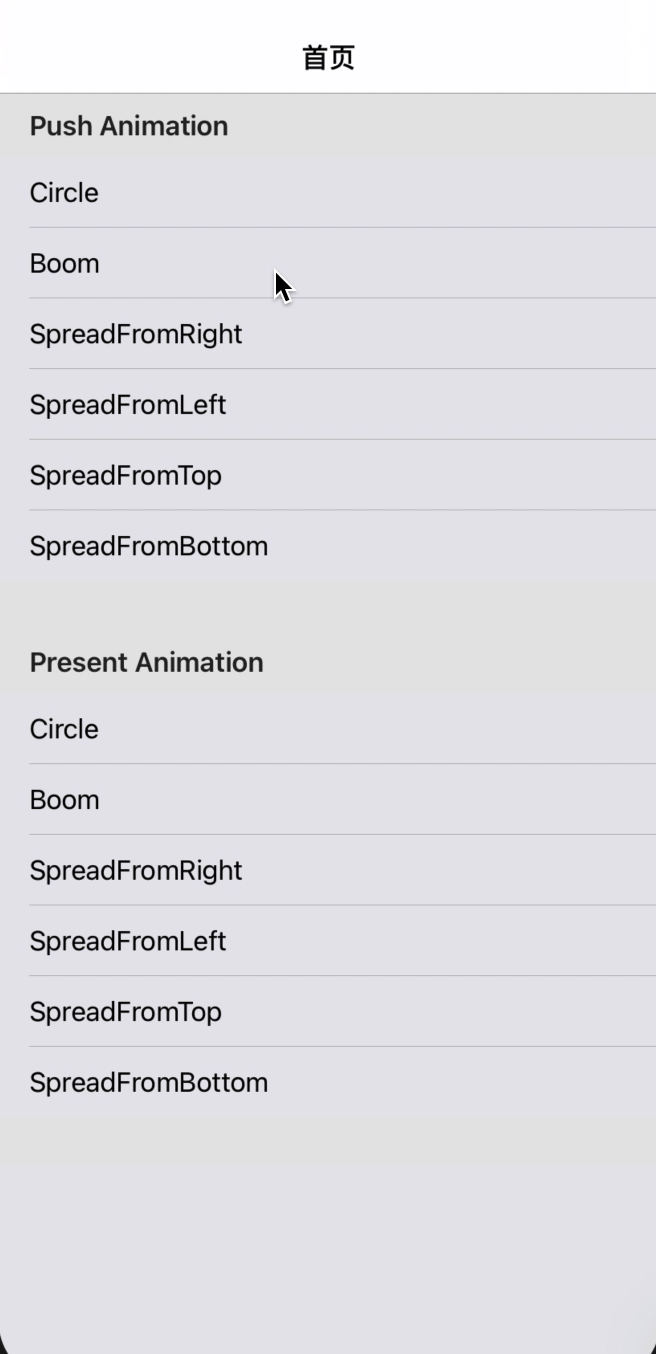
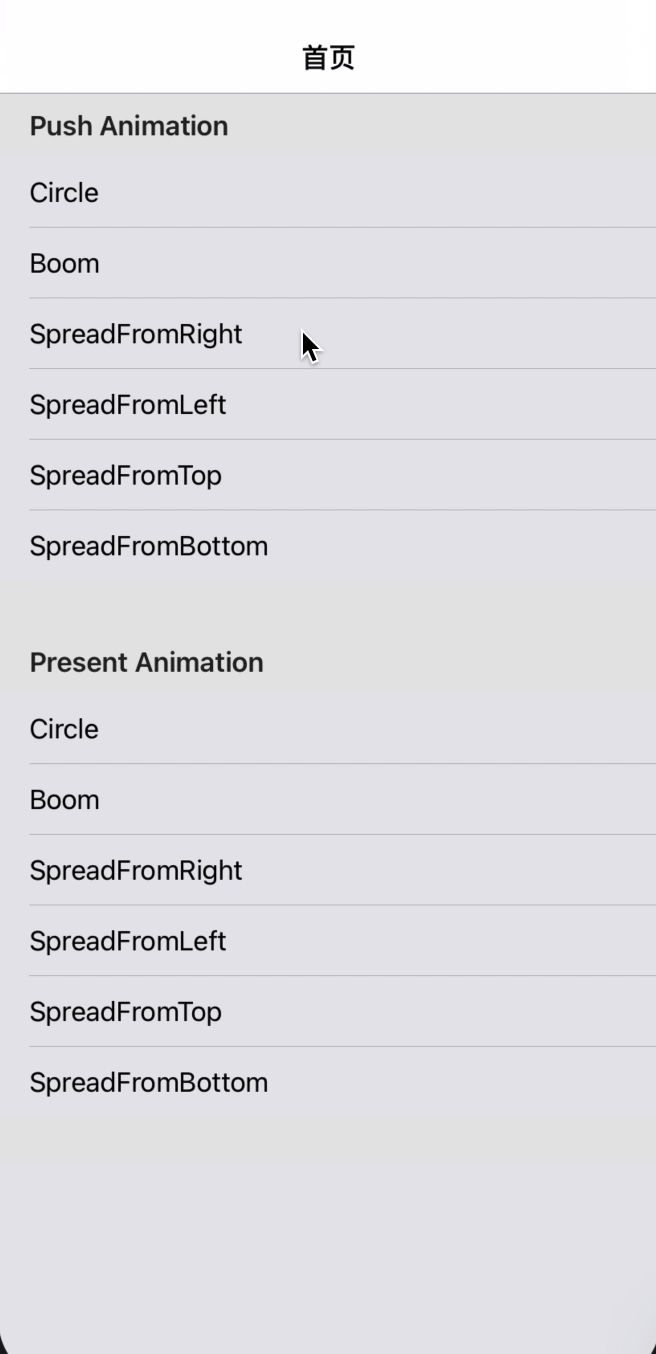
Present和Dismiss:

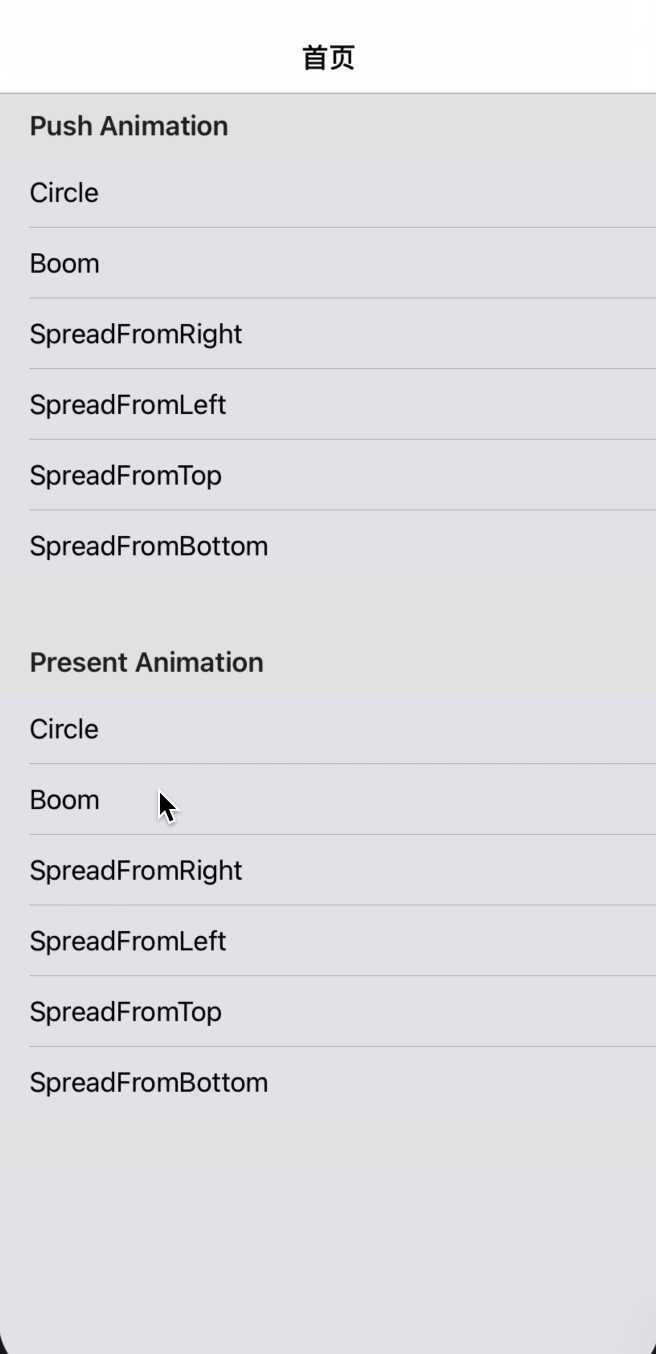
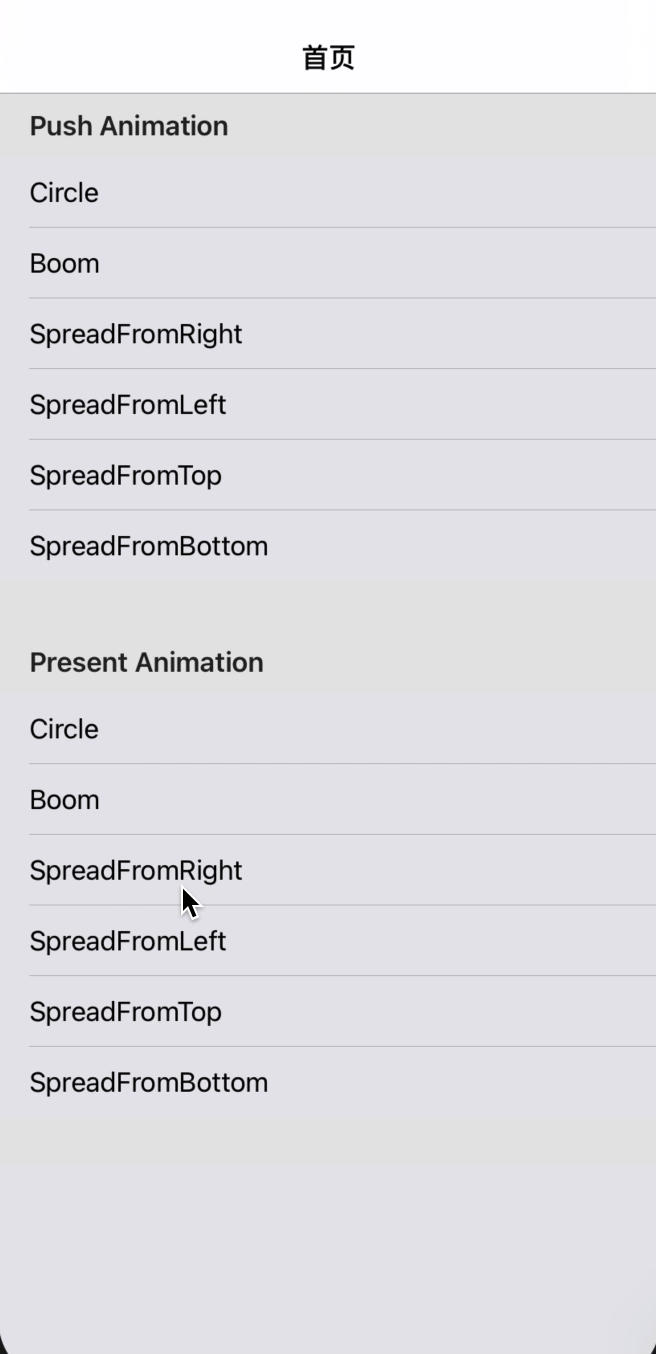
下面就以圆形动画转场来说明一下:
上面不管是Push/Pop还是Present/Dismiss的协议方法,里面都调用了下面的方法来创建一个自定义动画:
    // 创建自定义动画
    func createTransition(operation: TransitionOperation) -> Transition? {
        switch selectedTransitionType {
        case .circle:
            let animation = CircleTransition()
            animation.operation = operation
            animation.clickView = clickView
            return animation
        case .boom:
            let animation = BoomTransition()
            animation.operation = operation
            return animation
        case .spreadFromRight:
            let animation = SpreadTransition()
            animation.direction = .fromRight
            animation.operation = operation
            return animation
        case .spreadFromLeft:
            let animation = SpreadTransition()
            animation.direction = .fromLeft
            animation.operation = operation
            return animation
        case .spreadFromTop:
            let animation = SpreadTransition()
            animation.direction = .fromTop
            animation.operation = operation
            return animation
        case .spreadFromBottom:
            let animation = SpreadTransition()
            animation.direction = .fromBottom
            animation.operation = operation
            return animation
        default:
            return nil
        }
    }
根据点击不同的cell,从而选择不同的动画。
整体架子就是这样,主要的就是在动画实现部分,Demo中定义了一个Super类Transition,见下面代码,其他的自定义的动画类都继承这个类。
import UIKit

// 自定义的行为方式。
public enum TransitionOperation: Int {
    case push
    case pop
    case present
    case dismiss
}

// 动画类型枚举
public enum TransitionType: Int {
    case none = 0           // 系统默认
    case circle             // 圆形效果
    case boom               // 爆炸效果
    case spreadFromRight    // 从右侧展开进入
    case spreadFromLeft     // 从左侧展开进入
    case spreadFromTop      // 从上面展开进入
    case spreadFromBottom   // 从底部展开进入

    var index: Int {
        return self.rawValue
    }

    var text: String {
        switch self {
        case .circle:
            return "Circle"
        case .boom:
            return "Boom"
        case .spreadFromRight:
            return "SpreadFromRight"
        case .spreadFromLeft:
            return "SpreadFromLeft"
        case .spreadFromTop:
            return "SpreadFromTop"
        case .spreadFromBottom:
            return "SpreadFromBottom"
        default:
            return "default"
        }
    }
}

public class Transition: NSObject {
    public var operation: TransitionOperation = .push
    public var context: UIViewControllerContextTransitioning?

    // 当是Push或者Present的时候执行该方法
    func executePushOrPresentTransition() { }

    // 当是Pop或者Dismiss的时候执行该方法
    func executePopOrDismissTransition() { }
}

extension Transition: UIViewControllerAnimatedTransitioning {
    public func transitionDuration(using transitionContext: UIViewControllerContextTransitioning?) -> TimeInterval {
        return 0.5
    }

    public func animateTransition(using transitionContext: UIViewControllerContextTransitioning) {
        context = transitionContext
        if operation == .push || operation == .present {
            executePushOrPresentTransition()
        }else if operation == .pop || operation == .dismiss {
            executePopOrDismissTransition()
        }
    }
}

extension Transition: CAAnimationDelegate {
    public func animationDidStop(_ anim: CAAnimation, finished flag: Bool) {
        context?.completeTransition(true)
        if operation == .push || operation == .present {
            // 动画结束后,移除mask。
            let toVC = context?.viewController(forKey: .to)
            toVC?.view.mask = nil
        }else if operation == .pop || operation == .dismiss {
            // 动画结束后,移除mask。
            let fromVC = context?.viewController(forKey: .from)
            fromVC?.view.mask = nil
        }
    }
}
子类只需要复写父类的方法即可,比如圆形转场效果:
import UIKit

// 圆形放大缩小动画
public class CircleTransition: Transition {
    // 外界传入的点击视图
    public var clickView: UIView?

    // Push和Present执行的动画
    override func executePushOrPresentTransition() {
        // 通过UIViewControllerContextTransitioning获取视图容器
        guard let containerView = context?.containerView else { return }
        // 获取当前Controller和将要跳转的Controller
        guard let fromVC = context?.viewController(forKey: .from), let toVC = context?.viewController(forKey: .to) else { return }

        // 将讲个VC的view添加到容器中,默认容器中会有一个当前的VC视图。重复添加也没关系,只会改变层级关系。
        containerView.addSubview(fromVC.view)
        containerView.addSubview(toVC.view)

        // 计算点击视图的在容器视图中的位置。
        var clickPoint: CGPoint = .zero
        if let startView = clickView {
            clickPoint = startView.convert(startView.center, to: containerView)
        }

        // 画小圆路径,先设置小圆半径为1.
        let smallPath = UIBezierPath(arcCenter: clickPoint, radius: 1, startAngle: 0, endAngle: CGFloat(Double.pi * 2), clockwise: true)

        // 画大圆,大圆的半径取点击点到屏幕四个角距离的最大值。
        let topLeftDistance = sqrtf(Float(pow(clickPoint.x, 2) + pow(clickPoint.y, 2)))
        let topRightDistance = sqrtf(Float(pow(containerView.bounds.size.width - clickPoint.x, 2) + pow(clickPoint.y, 2)))
        let bottomLeftDistance = sqrtf(Float(pow(clickPoint.x, 2) + pow(containerView.bounds.size.height - clickPoint.y, 2)))
        let bottomRightDistance = sqrtf(Float(pow(containerView.bounds.size.width - clickPoint.x, 2) + pow(containerView.bounds.size.height - clickPoint.y, 2)))

        let bigCircleRadius = max(max(topLeftDistance, topRightDistance), max(bottomLeftDistance, bottomRightDistance))

        // 画大圆路径
        let bigPath = UIBezierPath(arcCenter: clickPoint, radius: CGFloat(bigCircleRadius), startAngle: 0, endAngle: CGFloat(Double.pi * 2), clockwise: true)

        // 画圆
        let maskLayer = CAShapeLayer()
        maskLayer.path = bigPath.cgPath
        toVC.view.layer.mask = maskLayer
        // 创建动画,从小圆变化到大圆。
        let animation = CABasicAnimation(keyPath: "path")
        animation.duration = self.transitionDuration(using: context)
        animation.fromValue = smallPath.cgPath
        animation.toValue = bigPath.cgPath
        animation.timingFunction = CAMediaTimingFunction(name: .easeInEaseOut)
        animation.delegate = self

        maskLayer.add(animation, forKey: "maskLayerAnimation")
    }

    override func executePopOrDismissTransition() {
        guard let containerView = context?.containerView else { return }
        guard let fromVC = context?.viewController(forKey: .from), let toVC = context?.viewController(forKey: .to) else { return }

        containerView.addSubview(toVC.view)
        containerView.addSubview(fromVC.view)

        var clickPoint: CGPoint = .zero
        if let startView = clickView {
            clickPoint = startView.convert(startView.center, to: containerView)
        }

        let smallPath = UIBezierPath(arcCenter: clickPoint, radius: 1, startAngle: 0, endAngle: CGFloat(Double.pi * 2), clockwise: true)

        let topLeftDistance = sqrtf(Float(pow(clickPoint.x, 2) + pow(clickPoint.y, 2)))
        let topRightDistance = sqrtf(Float(pow(containerView.bounds.size.width - clickPoint.x, 2) + pow(clickPoint.y, 2)))
        let bottomLeftDistance = sqrtf(Float(pow(clickPoint.x, 2) + pow(containerView.bounds.size.height - clickPoint.y, 2)))
        let bottomRightDistance = sqrtf(Float(pow(containerView.bounds.size.width - clickPoint.x, 2) + pow(containerView.bounds.size.height - clickPoint.y, 2)))

        let bigCircleRadius = max(max(topLeftDistance, topRightDistance), max(bottomLeftDistance, bottomRightDistance))

        let bigPath = UIBezierPath(arcCenter: clickPoint, radius: CGFloat(bigCircleRadius), startAngle: 0, endAngle: CGFloat(Double.pi * 2), clockwise: true)

        let maskLayer = CAShapeLayer()
        maskLayer.path = smallPath.cgPath
        fromVC.view.layer.mask = maskLayer

        // 创建动画,从大圆变化到小圆。
        let animation = CABasicAnimation(keyPath: "path")
        animation.duration = self.transitionDuration(using: context)
        animation.fromValue = bigPath.cgPath
        animation.toValue = smallPath.cgPath
        animation.timingFunction = CAMediaTimingFunction(name: .easeInEaseOut)
        animation.delegate = self

        maskLayer.add(animation, forKey: "maskLayerAnimation")
    }

}
6. 结束语
本文主要介绍了UIViewController自定义转场协议以及动画配置,在自定义动画部分没有详细讲解,配上Demo供大家参考:传送门。
文中如有不正确或者可优化的地方,还请路过的朋友指正。
本篇文章出自https://blog.csdn.net/guoyongming925的博客,如需转载,请标明出处。


 5312
5312


 被折叠的 条评论
为什么被折叠?
被折叠的 条评论
为什么被折叠?
 到【灌水乐园】发言


