


本系列旨在用Numpy和PIL实现一些基本的图像处理功能,后者只用来做文件的读入与保存,涉及到的所有处理均用Numpy实现,最后用Matplotlib实现可视化,下文涉及的各种算法算不上简洁,更多地只是提供原理上的参考,若读者发现某些环节存在错误,还请回复指正。
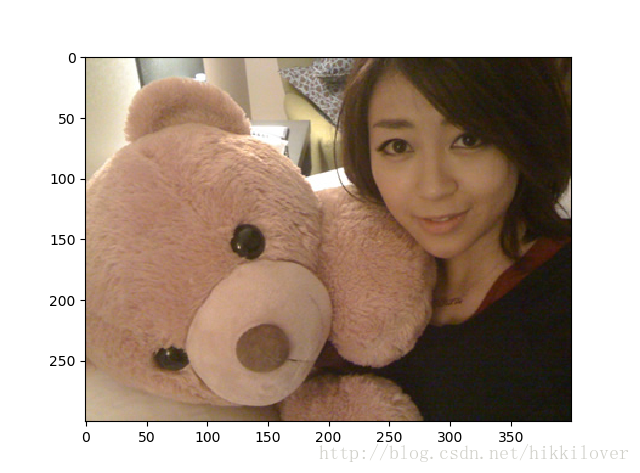
上面是我们的实验用图,原图大小300*400,原文件格式JPG。
Part 1 图像文件的读取与保存
读取和保存的实现简单明了,唯一值得注意的是,load_image()返回的图像对象与save_image()接收的图像对象,其类型(type)都是numpy.array,array里的元素类型(dtype)均为numpy.uint8。
def load_image(ground_truth_path):
    '''
    load a picture as numpy.ndarray
    :param ground_truth_path: path of picture file
    :return: numpy.array
    '''
    image = np.array(Image.open(ground_truth_path))
    return image
def save_image(image, path_and_name):
    '''
    save image as any format you want
    :param image: numpy.array
    :param path_and_name: path and filename(mark out the format)
    '''
    image = Image.fromarray(image, mode='RGB')
    image.save(path_and_name)
Tip:这里的dtype是uint8,也就是说单像素单通道的值是0~255之间的整数,这是标准RGB图像的表示方法。尝试用numpy.astype()方法改变元素类型(可以变成numpy.float32),再用imshow()绘制,看此时程序将如何“理解”这幅图像。
part 2 图像的剪裁与填充
图像的剪裁(crop)和图像填充(pad)两个操作的应用,远比你想象的要广泛,例如,可以数据集中一张原始的图像,经过剪裁可以派生出N张不同的图像(保留不同的部分),对一个模型训练过程来说,相当于训练集规模直接增长了N倍,这也是一种常见的数据增强(Data Augmentation)手段。
对于剪裁,只要剪裁框不超出画布,怎么剪都行,这里实现了中心剪裁和定点剪裁。
def crop_image(image, new_size, cropmode='center', left_top_point=(0,0)):
    '''
    crop a picture
    :param image: numpy.array, shgape = [H,W,C]
    :param new_size: list (like [H, W, C]), shape = [3]
    :param cropmode: choose from below:
                    'center'
                    'handcraft': need param left_top_point
    :param left_top_point: tuple(like (h,w)), shape = [2]
    :return: numpy.array, shape = new_size
    '''
    assert (new_size[-1] == image.shape[-1]) &\
           (image.shape[0] >= new_size[0]) &\
           (image.shape[1] >= new_size[1])
    if cropmode == 'center':
        h_top = int((image.shape[0] - new_size[0]) / 2)
        h_bottom = h_top + new_size[0]
        w_left = int((image.shape[1] - new_size[1]) / 2)
        w_right = w_left + new_size[1]
    if cropmode == 'handcraft':
        assert (left_top_point[0] + new_size[0]) <= image.shape[0]
        h_top = left_top_point[0]
        h_bottom = left_top_point[0] + new_size[0]
        assert (left_top_point[1] + new_size[1]) <= image.shape[1]
        w_left = left_top_point[1]
        w_right = left_top_point[1] + new_size[1]
    return image[h_top:h_bottom, w_left:w_right, :]
我们测试一下中心剪裁的功能,从图片中间剪裁出一个200*300的小图片。

图像填充就并不如剪裁那么随意,因为毕竟走的是“无中生有”的路子,总要依照一定的规约。常见的填充方式有以下这些:
1. 纯色填充:涂黑或者涂白。
2. 边缘填充:按最边上一圈的像素值做填充,填充的部分呈现“条形码”的形态。
3. 均值填充:填充部分像素点各通道按对应通道的均值填充,最后取到“主题色”的效果。
下面的代码实现了这几种填充模式
def pad_image(image, new_size, mode = 'channel_mean'):
    '''
    mean padding and keep original picture in center
    :param image: numpy.array, shape = [H,W,C]
    :param new_size: list (like [H, W, C]), shape = [3]
    :return: numpy.array, shape = new_size
    '''
    assert (new_size[-1] == image.shape[-1]) &\
           (image.shape[0] <= new_size[0]) &\
           (image.shape[1] <= new_size[1])
    h_need_pad = int(new_size[0] - image.shape[0])
    h_top = int(h_need_pad/2)
    h_bottom = h_need_pad - h_top
    w_need_pad = int(new_size[1] - image.shape[1])
    w_left = int(w_need_pad/2)
    w_right = w_need_pad - w_left
    pd_image = np.zeros(shape=new_size, dtype=np.uint8)
    for i in range(image.shape[-1]):
        ch_mean = np.mean(image[:, :, i], axis=(0, 1))
        if mode == 'channel_mean':
            pd_image[:, :, i] = np.pad(image[:, :, i],
                                       ((h_top, h_bottom), (w_left, w_right)),
                                       mode='constant',
                                       constant_values=ch_mean)
        elif mode == 'edge':
            pd_image[:, :, i] = np.pad(image[:, :, i],
                                       ((h_top, h_bottom), (w_left, w_right)),
                                       mode='edge')
        elif mode == 'black':
            pd_image[:, :, i] = np.pad(image[:, :, i],
                                       ((h_top, h_bottom), (w_left, w_right)),
                                       mode='constant',
                                       constant_values=0)
        elif mode == 'white':
            pd_image[:, :, i] = np.pad(image[:, :, i],
                                       ((h_top, h_bottom), (w_left, w_right)),
                                       mode='constant',
                                       constant_values=255)
    return pd_image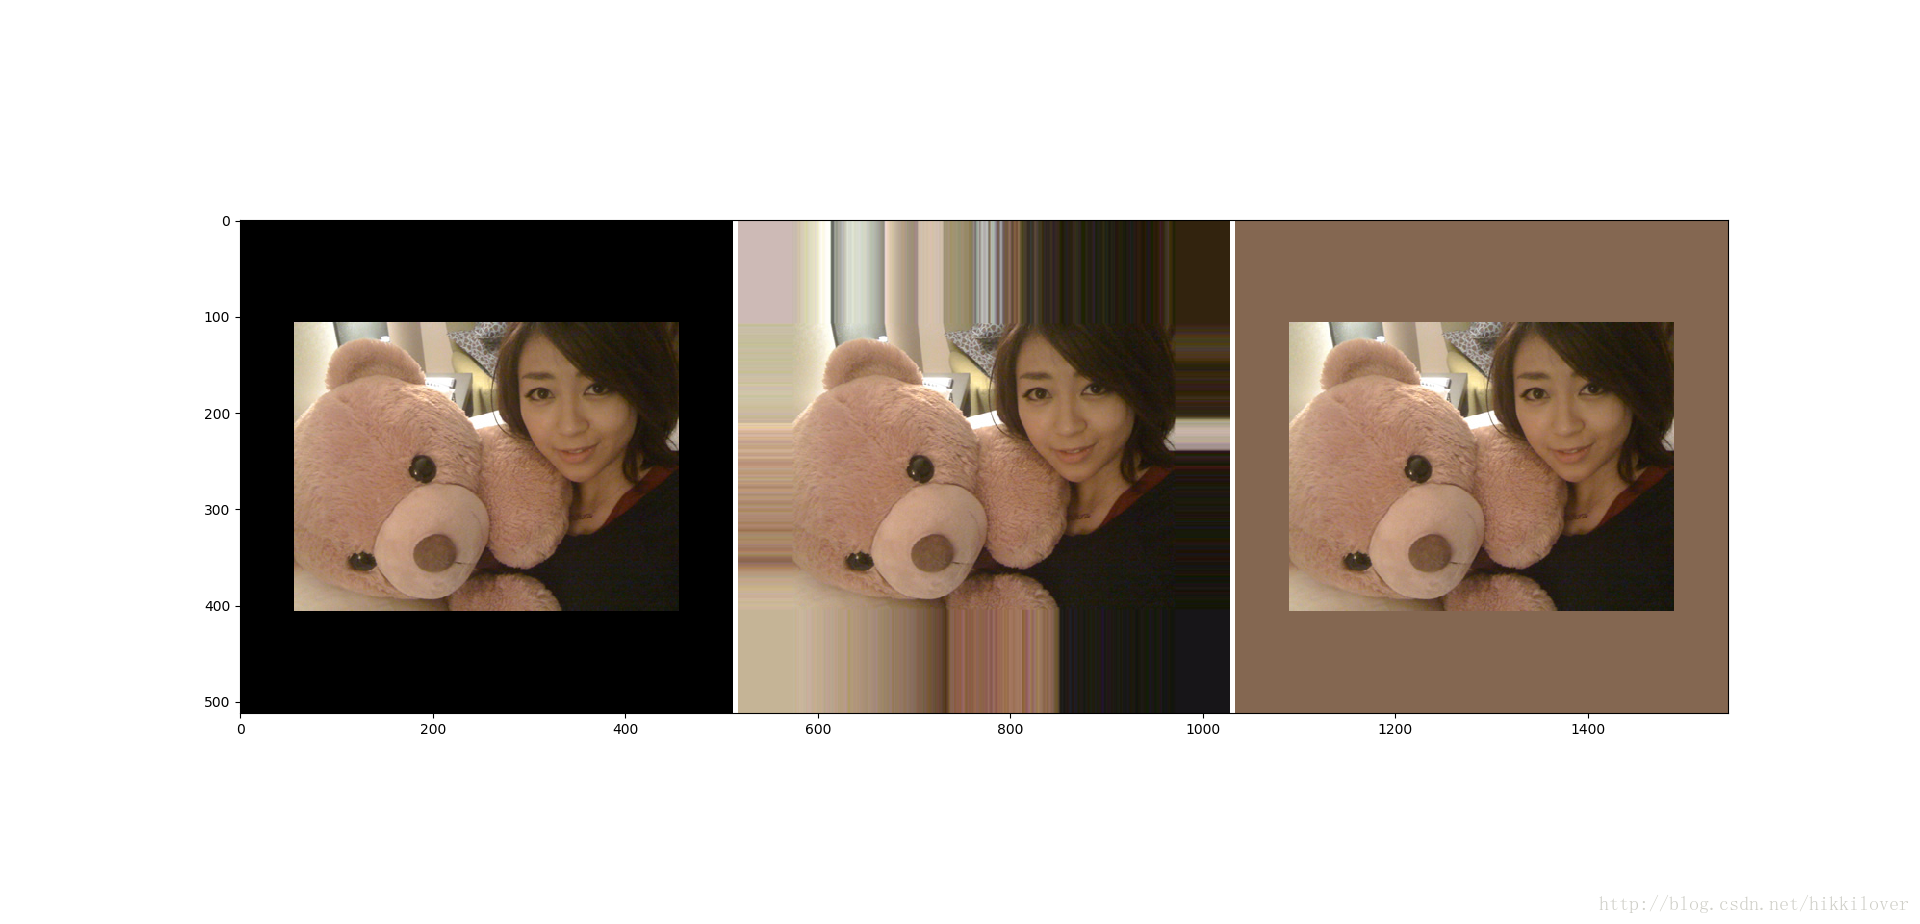
Tip:图像填充一般默认原始图像呆在中间,没怎么见过把原始图像放在角上的。
Part 3 为图像加噪声
这里实现两类最常见噪声模型——白噪声和椒盐噪声:
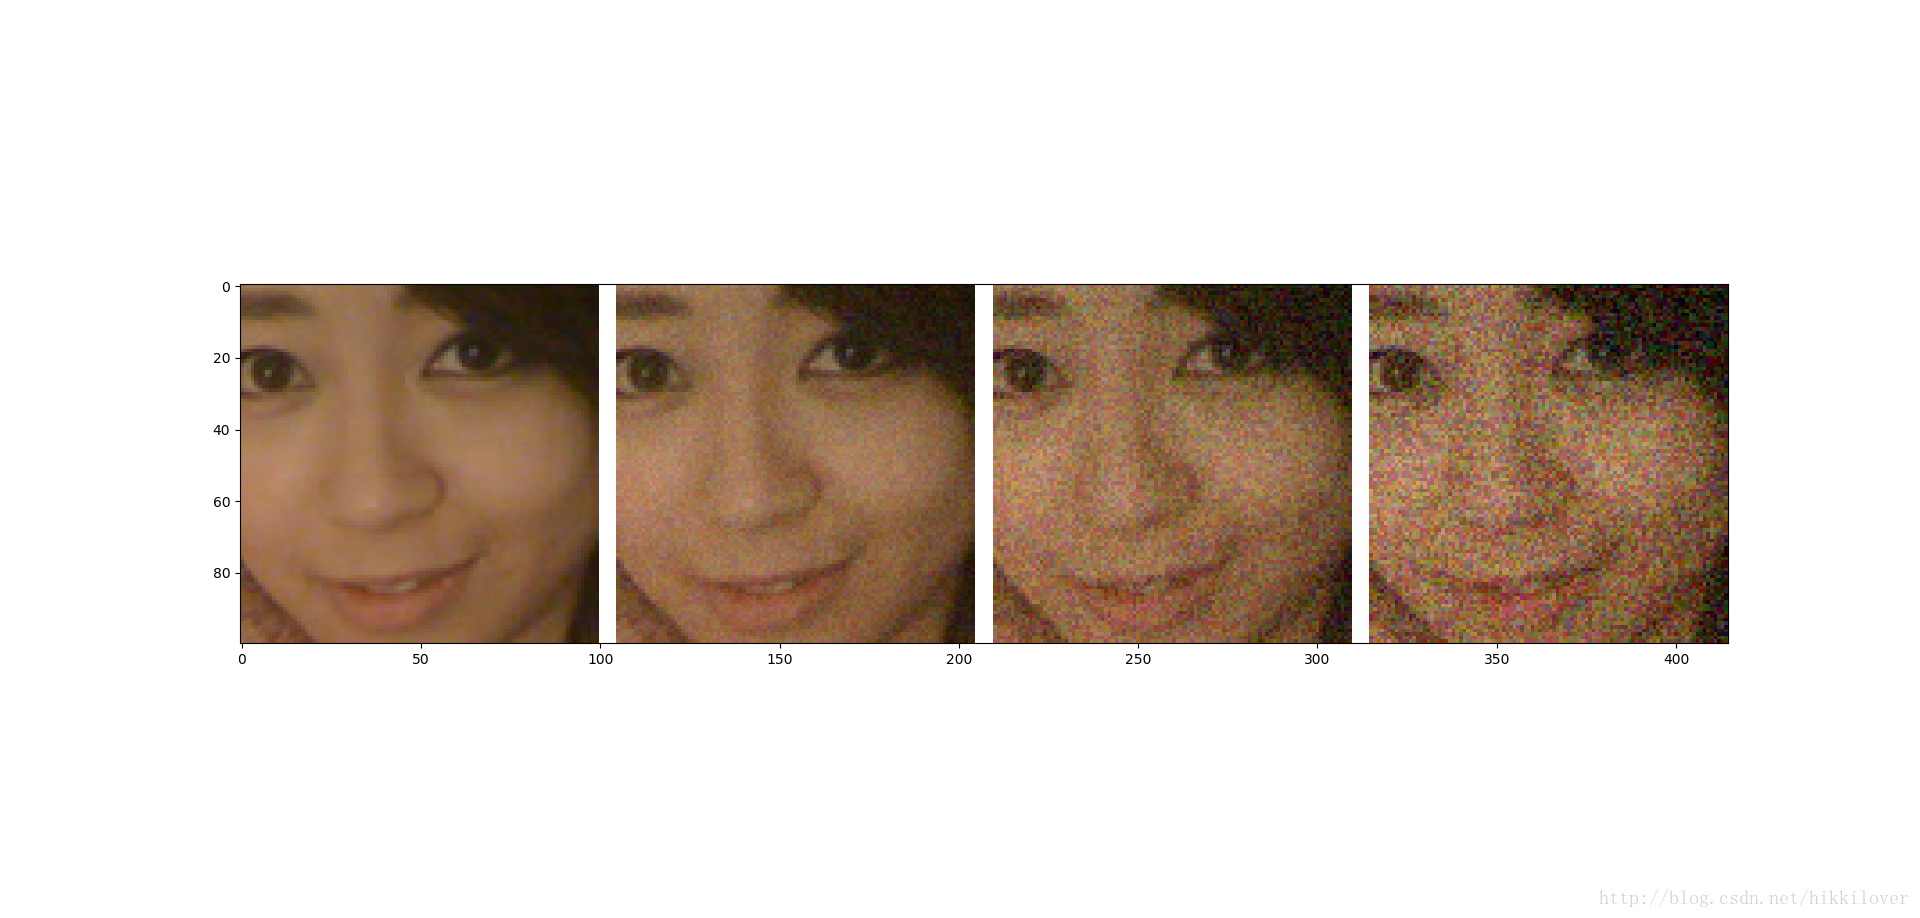
1 高斯噪声/白噪声:噪声信号的值符合高斯分布,可以说,每一个像素点的每一个通道都包含有噪声信号。
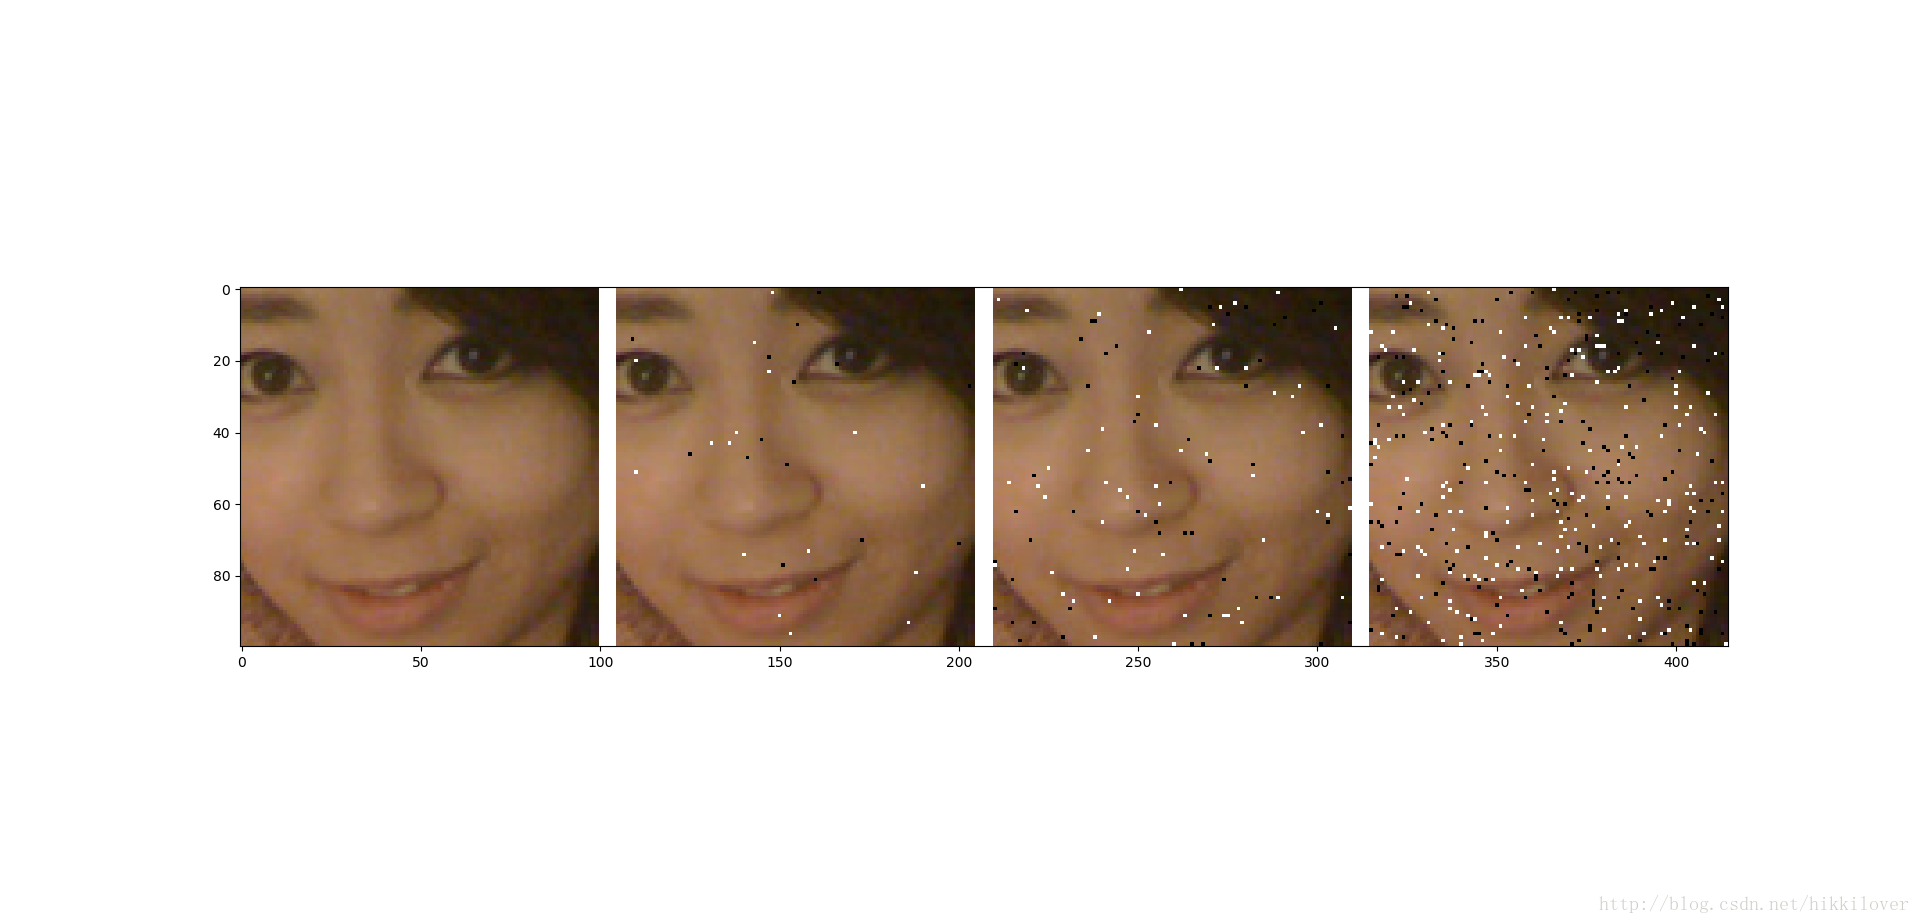
2 椒盐噪声:图像上随机分布着一些全白或全黑的像素点,实际上并不是每一个像素点都包含噪声信号。
从后文的效果图中,你将更直观地分辨这两种噪声。
首先是白噪声。
def AWN_image(image, NS):
    '''
    'AWN' donotes add white noise
    :param image: numpy.array, shape=[H,W,C]
    :param NS: noise strength (NS<=1)
    :return: numpy.array, shape=[H,W,C]
    '''
    assert NS <= 1
    image_temp = np.array(image, dtype=np.float32)
    noise = np.random.randint(int(-255*NS), int(255*NS),
                              size=image_temp.shape)
    ny_image = np.add(image_temp, noise)
    ny_image = (ny_image >= 255) * 255 +\
               (ny_image <= 0) * 0 +\
               ((ny_image > 0) & (ny_image < 255)) * ny_image
    ny_image = ny_image.astype(np.uint8)
    return ny_image
上图中最左侧为原图,之后从左至右噪声强度依次增大,将上述各图的局部放大后观察,可以对白噪声的形式有进一步的了解,并体会到为什么说白噪声在整个图片上“无处不在”。
相较于白噪声,椒盐噪声的存在形式似乎更加简单。以下是它的实现与效果。
def ASPN_image(image, NS):
    '''
    'ASPN' means add salt & pepper noise
    :param image: numpy.array, shape=[H,W,C]
    :param NS: noise strength (NS>0)
    :return: numpy.array, shape=[H,W,C]
    '''
    assert NS > 0
    ny_image = np.array(image, dtype=np.uint8)
    noise_mask = np.random.normal(0, 1,
                             size=(image.shape[0], image.shape[1]))
    for i in range(ny_image.shape[2]):
        ny_image[:,:,i] = (noise_mask >= NS) * 255 +\
                          (noise_mask <= (-NS)) * 0 +\
                          ((noise_mask > (-NS)) & (noise_mask < NS)) * ny_image[:,:,i]
    ny_image = ny_image.astype(np.uint8)
    return ny_image
上图可能略小,我们还是把图像局部放大来看。
本文内容为作者原创,转载请注明出处
Original Picture from Twitter of UtadaHikaru


 854
854

 被折叠的 条评论
为什么被折叠?
被折叠的 条评论
为什么被折叠?
 到【灌水乐园】发言


