


目录
VSCode安装wsl1后升级wsl2一直不成功,报错如下:
WSL2 is not supported with your current machine configuration.
Please enable the "Virtual Machine Platform" optional component and ensure virtualisation is enabled in the BIOS.
Enable "Virtual Machine Platform" by running: wsl.exe --install --no-distribution
For information please visit https://aka.ms/enablevirtualization
Error code: Wsl/Service/CreateVm/HCS/HCS_E_HYPERV_NOT_INSTALLED
解决方案
-
尝试升级wsl:
wsl --update如果安装的是wsl1,默认安装的OS版本也会是1,所以考虑先升级wsl后再指定OS版本;
-
尝试开启Virtual Machine Platform
Control Panel > Programs > Turn Windows features on or off > Tick Virtual Machine Platform > Ok > Restart-
尝试重启Hyper-V服务
Control Panel > Programs > Turn Windows features on or off > Untick Hyper-V > Ok > Restart
Control Panel > Programs > Turn Windows features on or off > Tick Hyper-V > Ok > Restart-
查看hypervisor launch状态
bcdedit /enum | findstr -i hypervisorlaunchtype
if hypervisorlaunchtype is Off, then
bcdedit /set hypervisorlaunchtype Auto
restart
VSCode安装WSL
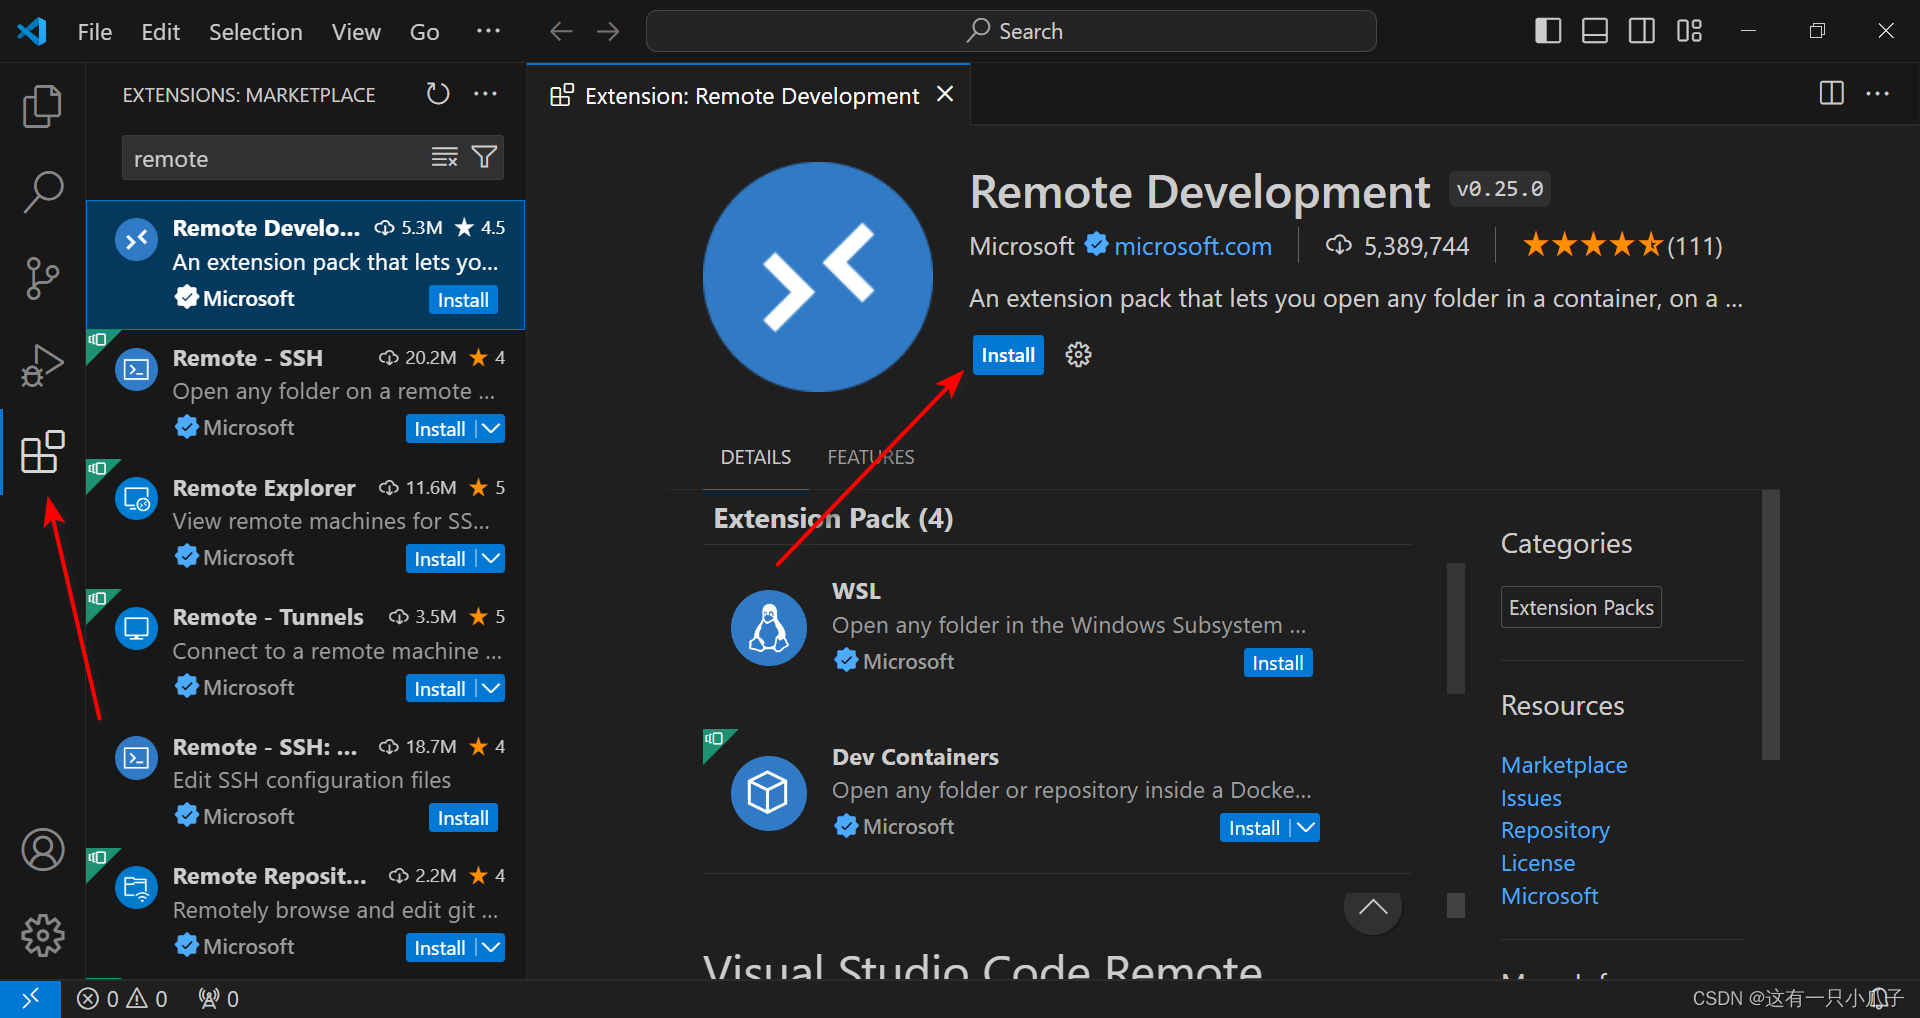
VSCode > Extensions > Remote Development安装;
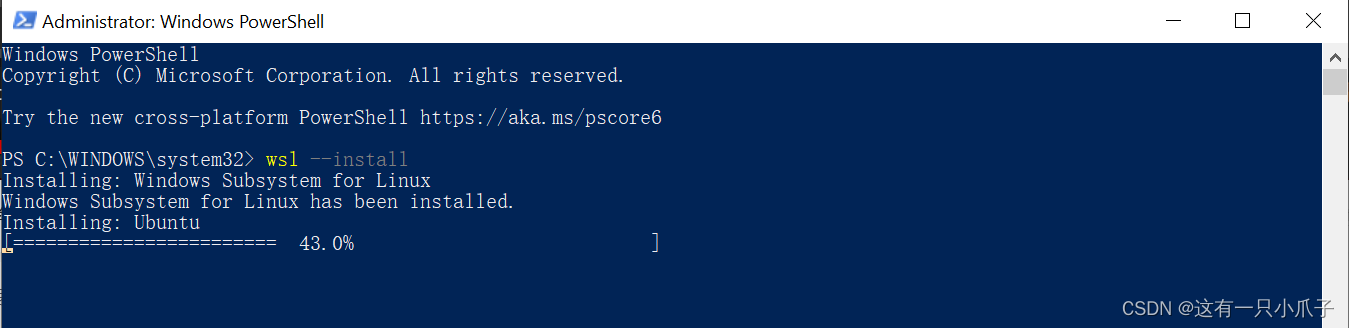
PowerShell 运行 wsl --install 开始安装支持组件;
运行 wsl.exe --install --no-distribution 安装其他默认组件;
运行 wsl --list --online or wsl -l -o 查看在线版本;
运行 wsl --install -d Ubuntu 安装Ubuntu的distro。
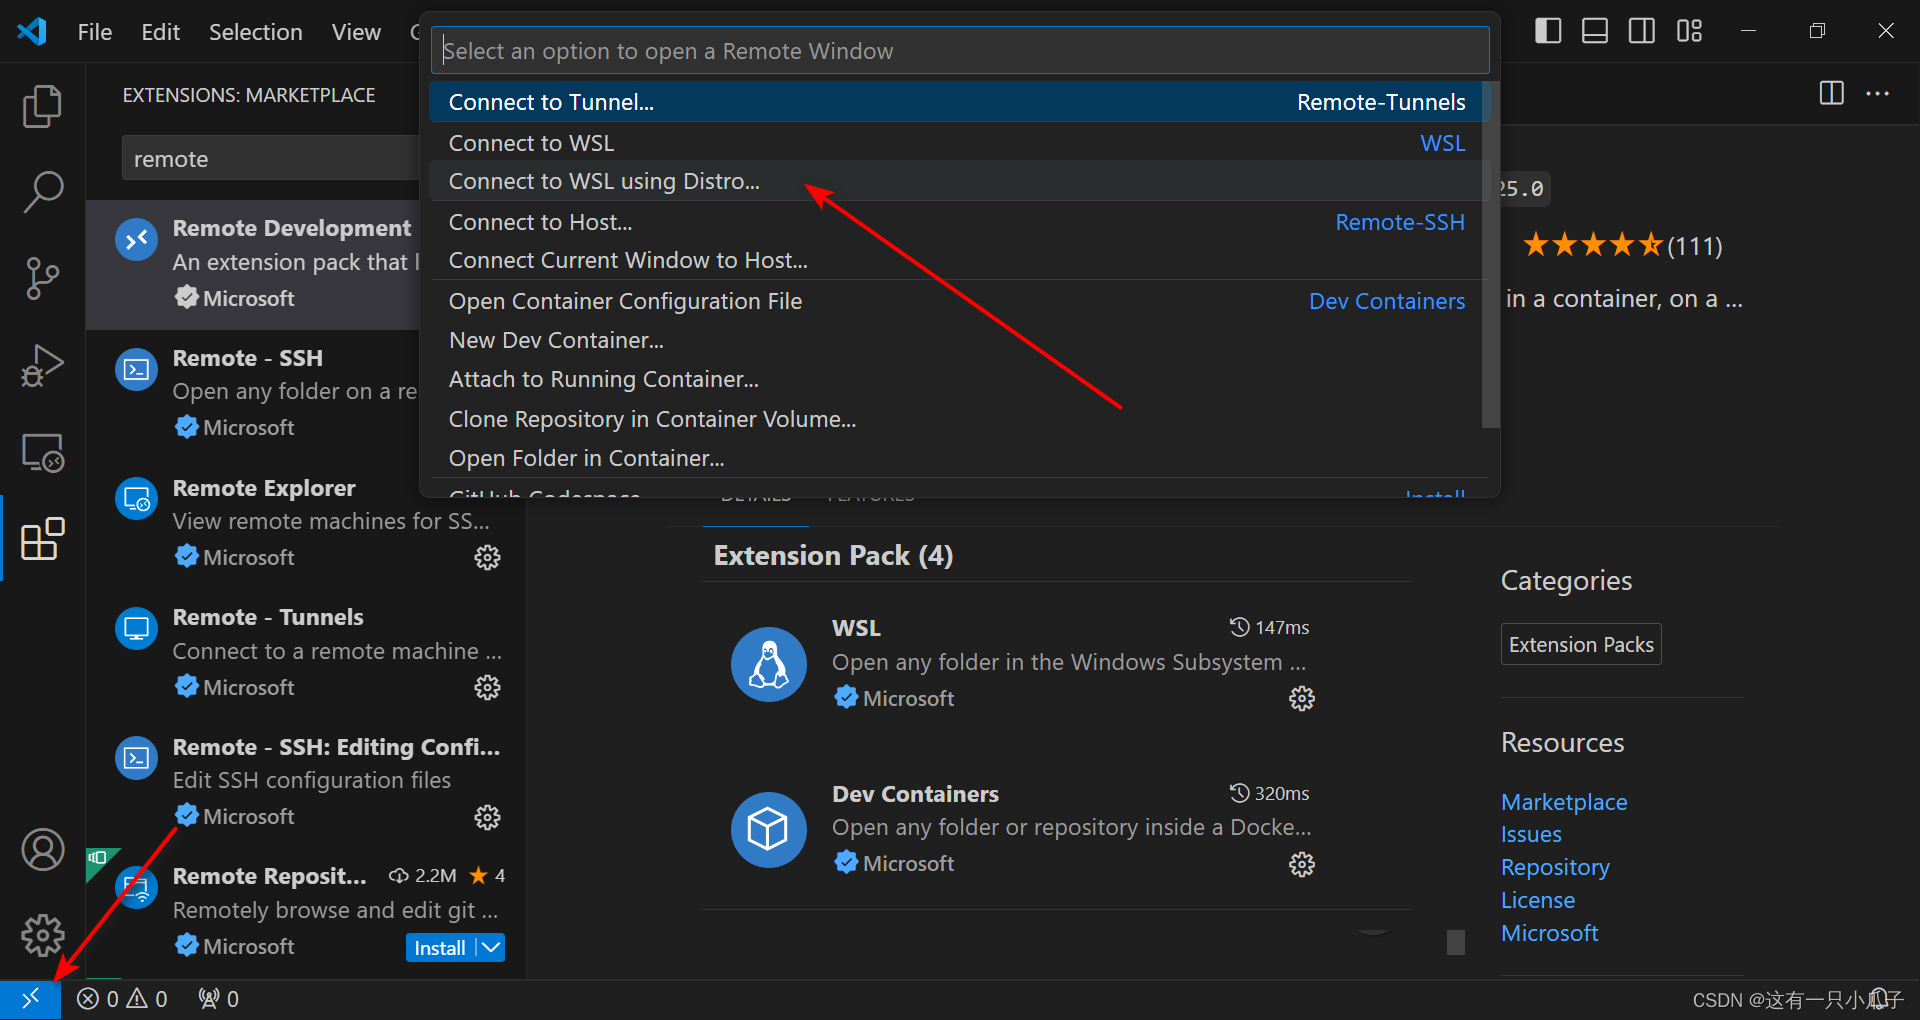
左下角Open a Remote Window - Connect to WSL using Distro...
WSL常用命令
// PowerShell -> Run as administrator

wsl --install // 安装Windows Subsystem for Linux组件,不是安装指定distro的OS系统

wsl --list --online | wsl -l -o //a list of available distros

wsl --install -d <DistroName> //install a distro

wsl -l -v // list your installed Linux distributions and its version

wsl --set-default-version <Version#> // set the default version to WSL 1 or WSL 2

wsl --set-default <DistributionName> | wsl -s <DistributionName> // set the default Linux distribution

wsl --set-version <distro name> 2 // upgrade version from WSL 1 to WSL 2

wsl --unregister // unregisters the distribution and deletes the root filesystem.


 3319
3319

 被折叠的 条评论
为什么被折叠?
被折叠的 条评论
为什么被折叠?
 到【灌水乐园】发言


