


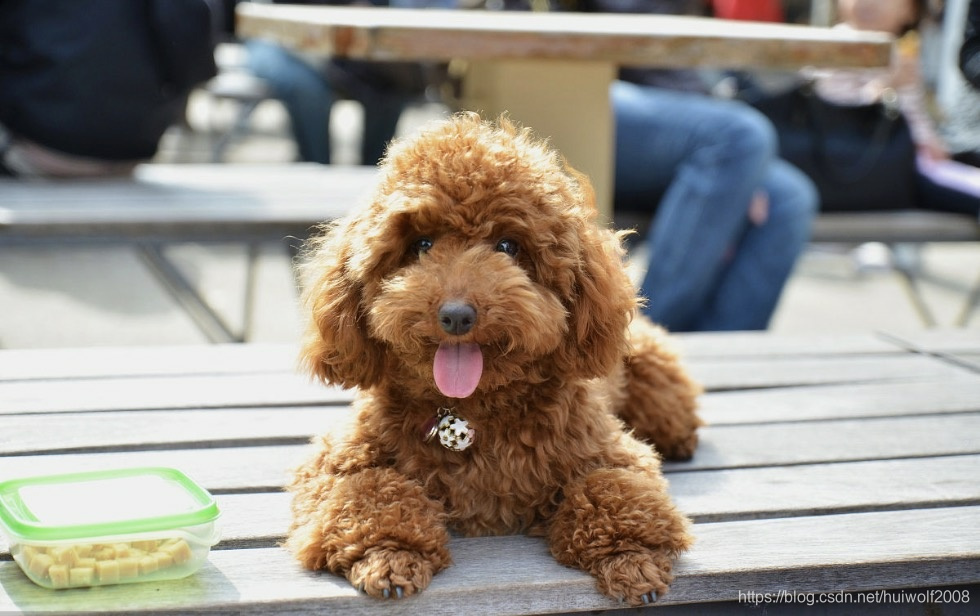
在处理深度学习图片分类问题时,训练素材的数量是一个很大的问题,除了疯狂的采集图片,通过对图片预处理的方式,可以提高图片数量,降低训练干扰因素,提高识别确认度。
读取图片,转换为实数后方便后边对图片进行转换处理。
image_raw_data = tf.gfile.FastGFile(temp_path, 'rb').read()
img_data = tf.image.decode_jpeg(image_raw_data)
# 数据类型转换为实数方便程序对图像进行处理
img_data = tf.image.convert_image_dtype(img_data, dtype=tf.float32)
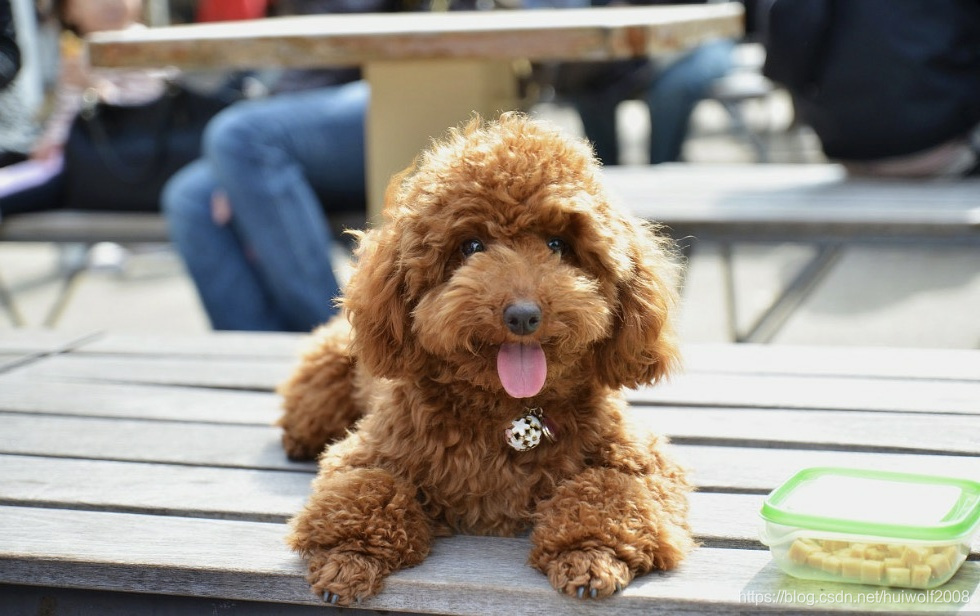
img_data = tf.image.convert_image_dtype(img_data, dtype=tf.uint8)思路:通过对图片进行翻转、放大、亮度调节、对比度调节、色相调节、饱和度调节、灰度图片,进行训练素材的扩展。减少色差光线等因素对训练结果的影响。
# 左右翻转
flipped = tf.image.flip_left_right(img_data)
#上下翻转
flipped = tf.image.flip_up_down(img_data)
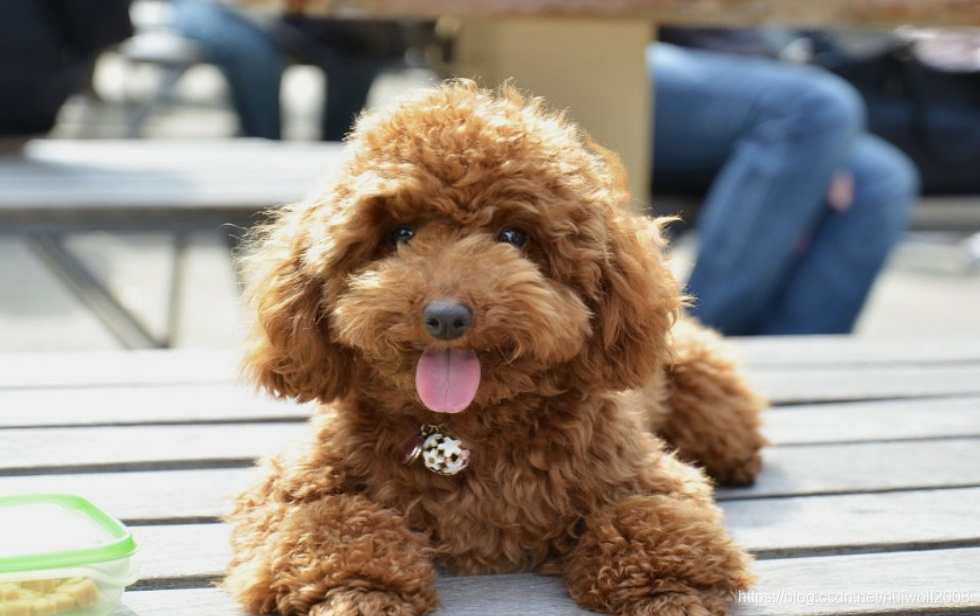
#调整图像的大小 双线性插值法
resized = tf.image.resize_images(img_data, [720, 1280], method=0)
resized = np.asarray(resized.eval(), dtype='uint8')
adjusted = tf.image.resize_image_with_crop_or_pad(resized,616 , 980)
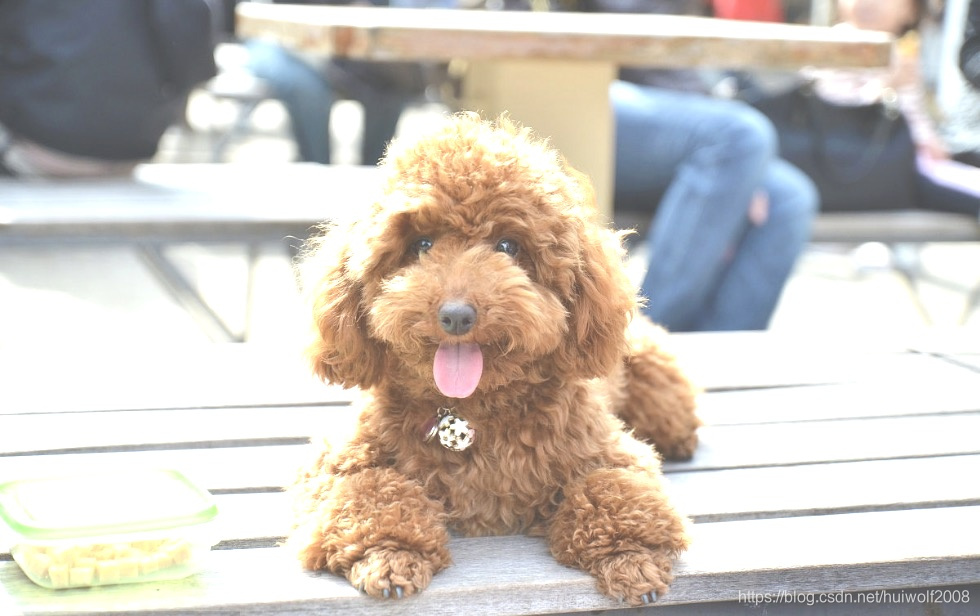
# 在[-max_delta, max_delta)的范围随机调整图片的亮度。
adjusted = tf.image.random_brightness(img_data, max_delta=0.2)
# 在[lower, upper]的范围随机调整图的对比度。
adjusted = tf.image.random_contrast(img_data, 0.5, 1)
# 在[-max_delta, max_delta]的范围随机调整图片的色相。max_delta的取值在[0, 0.5]之间。
adjusted = tf.image.random_hue(img_data, 0.1)
# 在[lower, upper]的范围随机调整图的饱和度。
adjusted = tf.image.random_saturation(img_data, 0.0, 2.0)
#灰度图片
adjusted = tf.image.rgb_to_grayscale(img_data)处理后图片为:
 最低0.47元/天 解锁文章


 1045
1045

 被折叠的 条评论
为什么被折叠?
被折叠的 条评论
为什么被折叠?
 到【灌水乐园】发言


