


 该代码示例展示了如何在HTML文件中利用JavaScript的MediaRecorderAPI和navigator.mediaDevices.getDisplayMedia方法实现简单的屏幕录制和下载功能。用户可以点击按钮开始和停止录制,录制的视频会自动播放并提供下载选项。
复制下面的代码至html文件,然后直接打开html文件即可使用录屏功能
<!DOCTYPE html>
<html lang="zh-CN">
<head>
   <meta charset="utf-8">
   <title>屏幕录制</title>
   <style>
       body{
           font-family: Arial;
           margin: 4vh auto;
           width: 90vw;
           max-width: 600px;
           text-align: center;
       }
       #controls{
           text-align: center;
       }
       .btn{
           margin: 10px 5px;
           padding: 15px;
           background-color: #2bcbba;
           border: none;
           color: white;
           font-weight: bold;
           border-radius: 6px;
           outline: none;
           font-size: 1.2em;
           width: 120px;
           height: 50px;
       }
       .btn:hover{
           background-color: #26de81;
           cursor: hand;
       }
       .btn:disabled{
           background-color: #2bcbba80;
       }
       #stop{
           background-color: #fc5c65;
       }
       #video{
           margin-top: 10px;
           margin-bottom: 20px;
           border: 12px solid #a5adb0 ;
           border-radius: 15px;
           outline: none;
           width: 100%;
           height: 400px;
           background-color: black;
       }
       h1{
           color: #2bcbba;
           letter-spacing:-2.5px;
           line-height: 30px;
       }
       .created{
           color: lightgrey;
           letter-spacing: -0.7px;
           font-size: 1em;
           margin-top: 40px;
       }
       .created > a{
           color: #4b7bec;
           text-decoration: none;
       }
   </style>
</head>

<body>
<video autoplay='true' id='video' controls='true' controlsList='nodownload'></video>
<button class='btn' id='record' onclick='record()'>录制</button>
<button style='display: none' class='btn' id='stop' onclick='stop()'>停止</button>
<button disabled='true' class='btn' id='download' onclick='download()'>下载</button>
<div class='created'>  </div>
<footer>

</footer>
</body>
<script>
const video = document.getElementById('video')
const downloadBtn = document.getElementById('download')
const recordBtn = document.getElementById('record')
const stopBtn = document.getElementById('stop')
let recorder

async function record() {
  // 开始录屏
  let captureStream

  try{
    captureStream = await navigator.mediaDevices.getDisplayMedia({
      video: true,
      // audio: true,   not support
      cursor: 'always'
    })
  }catch(e){
    // 取消录屏或者报错
    alert("Could not get stream")
    return
  }

  downloadBtn.disabled = true
  recordBtn.style = 'display: none'
  stopBtn.style = 'display: inline'

  // 删除之前的 Blob
  window.URL.revokeObjectURL(video.src)

  video.autoplay = true

  // 实时的播放录屏
  video.srcObject = captureStream

  // new 一个媒体记录
  recorder = new MediaRecorder(captureStream)
  recorder.start()

  captureStream.getVideoTracks()[0].onended = () => {
    // 录屏结束完成
    recorder.stop()
  }

  recorder.addEventListener("dataavailable", event => {
    // 录屏结束,并且数据可用
    console.log("dataavailable------------")
    let videoUrl = URL.createObjectURL(event.data, {type: 'video/ogg'})

    video.srcObject = null
    video.src = videoUrl
    video.autoplay = false

    downloadBtn.disabled = false
    recordBtn.style = 'display: inline'
    stopBtn.style = 'display: none'
  })
}

function download(){
  // 下载
  const url = video.src
  const name = new Date().toISOString().slice(0, 19).replace('T',' ').replace(" ","_").replace(/:/g,"-")
  const a = document.createElement('a')

  a.style = 'display: none'
  // a.download = `${name}.ogg`
  a.download = `${name}.mp4`
  a.href = url

  document.body.appendChild(a)

  a.click()
}

function stop(){
  let tracks = video.srcObject.getTracks()
  tracks.forEach(track => track.stop())
  recorder.stop()
}
</script>
</html>
效果: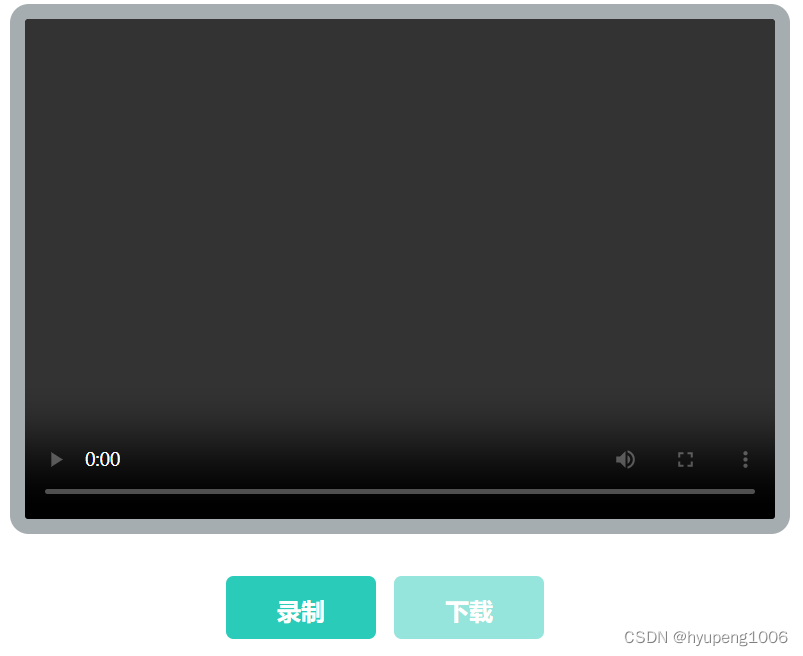


 2580
2580

 被折叠的 条评论
为什么被折叠?
被折叠的 条评论
为什么被折叠?
 到【灌水乐园】发言


