


from https://towardsdatascience.com/finding-lane-lines-simple-pipeline-for-lane-detection-d02b62e7572b
Identifying lanes of the road is very common task that human driver performs. This is important to keep the vehicle in the constraints of the lane. This is also very critical task for an autonomous vehicle to perform. And very simple Lane Detection pipeline is possible with simple Computer Vision techniques. This article will describe simple pipeline that can be used for simple lane detection using Python and OpenCV.
Note that this pipeline comes with its own limitations (described below) and can be improved. Improvements will be described in further articles.
Lane Detection Pipeline:
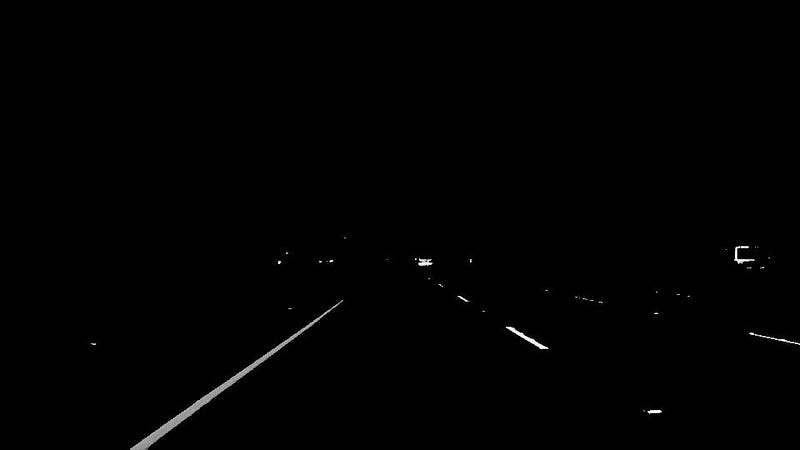
- Convert original image to grayscale.
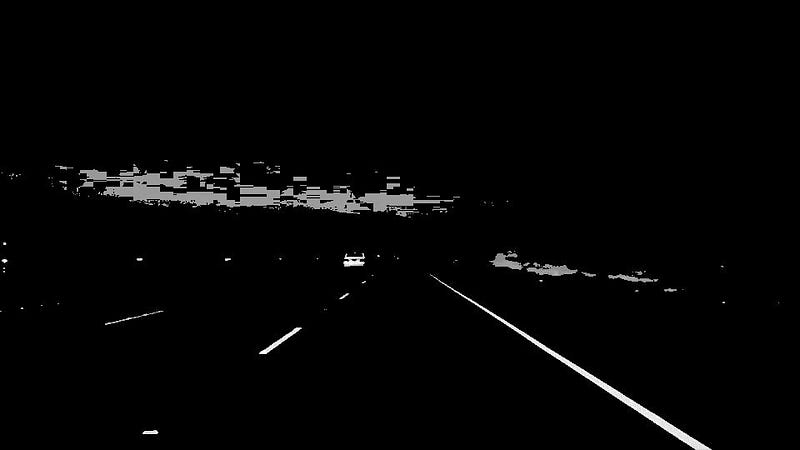
- Darkened the grayscale image (this help in reducing contrast from discoloured regions of road)
- Convert original image to HLS colour space.
- Isolate yellow from HLS to get yellow mask. ( for yellow lane markings)
- Isolate white from HLS to get white mask. (for white lane markings)
- Bit-wise OR yellow and white masks to get common mask.
- Bit-wise AND mask with darkened image .
- Apply slight Gaussian Blur.
- Apply canny Edge Detector (adjust the thresholds — trial and error) to get edges.
- Define Region of Interest. This helps in weeding out unwanted edges detected by canny edge detector.
- Retrieve Hough lines.
- Consolidate and extrapolate the Hough lines and draw them on original image.
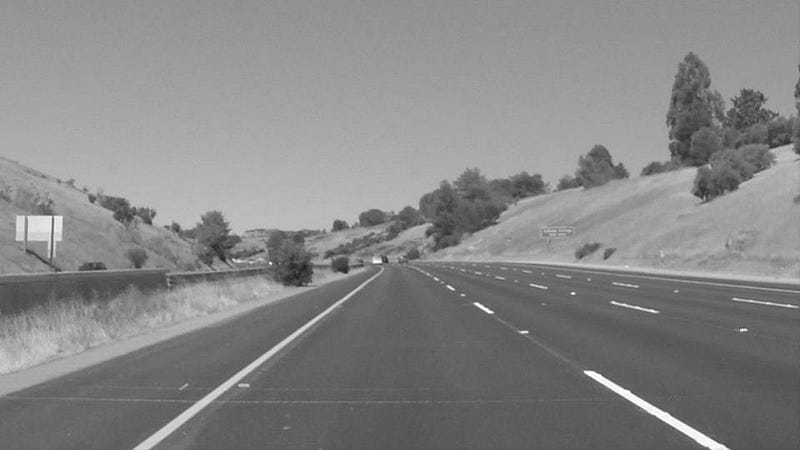
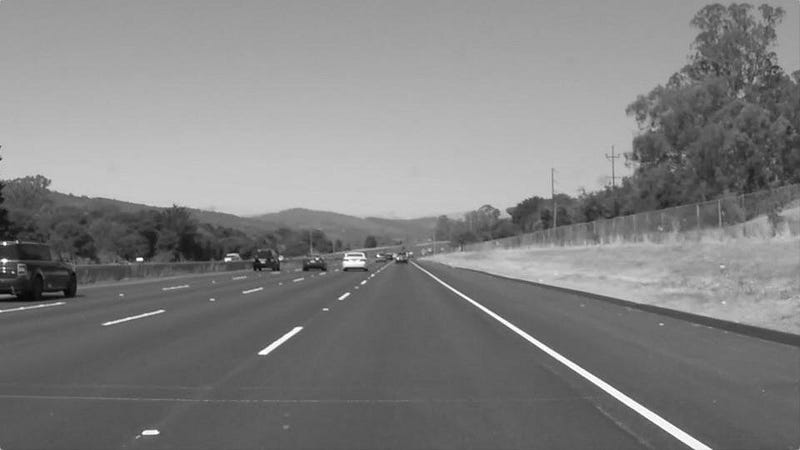
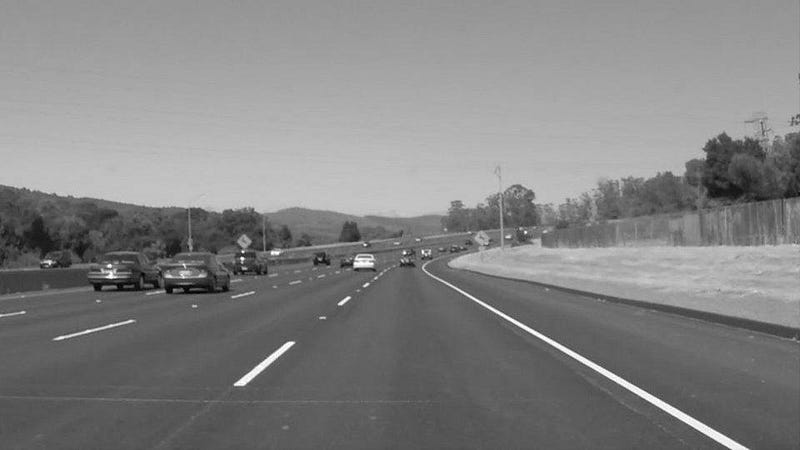
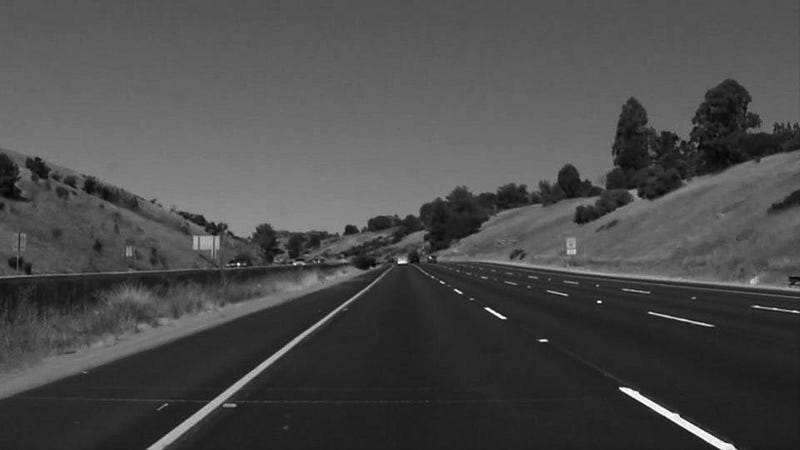
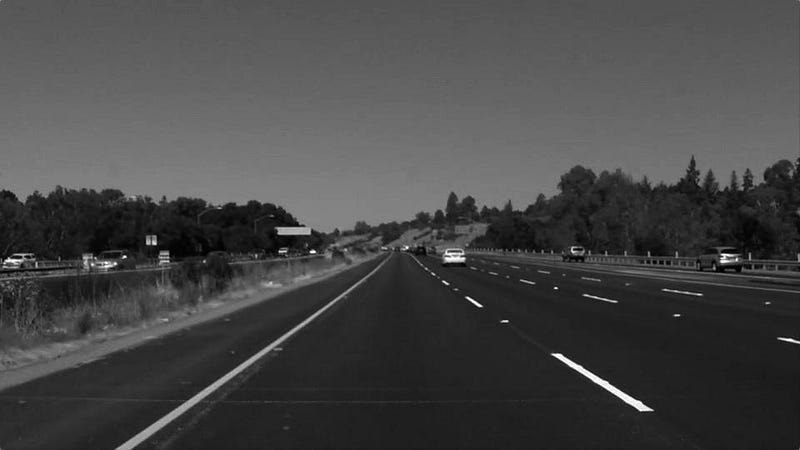
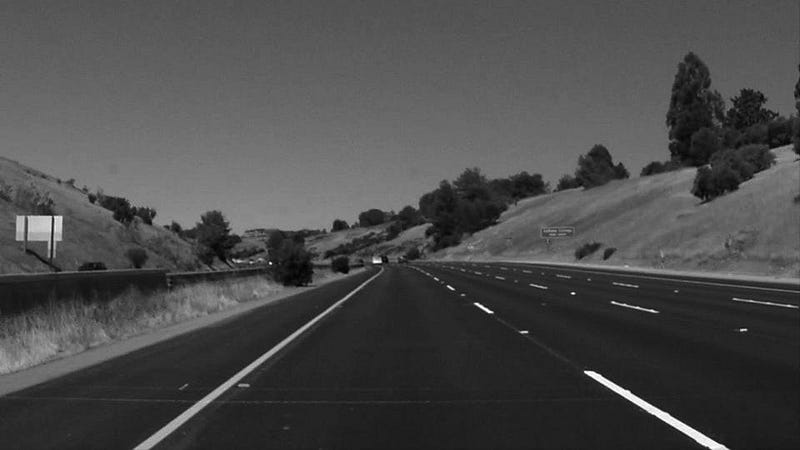
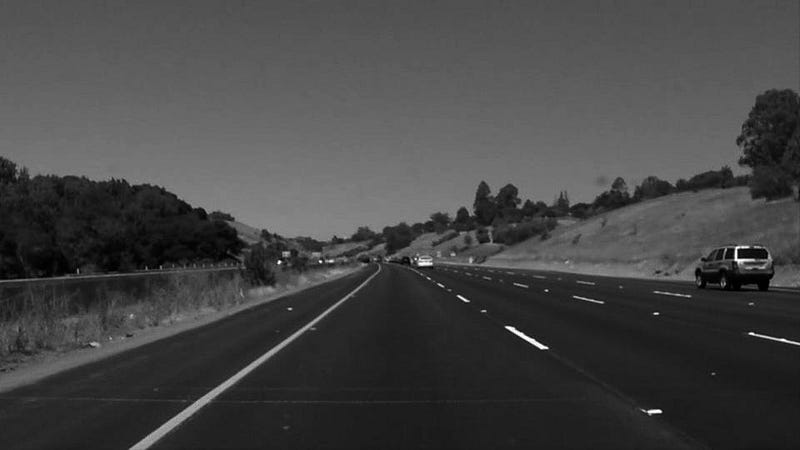
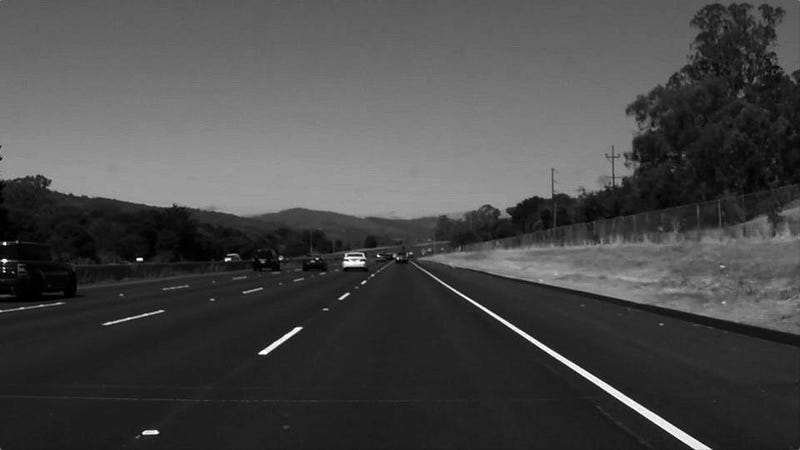
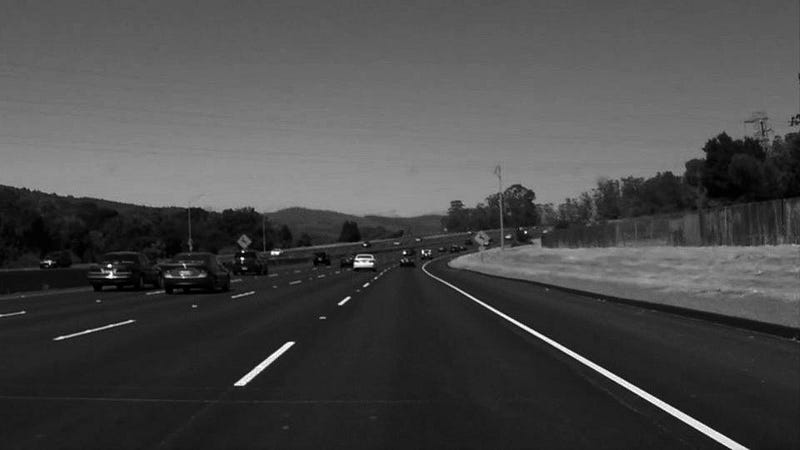
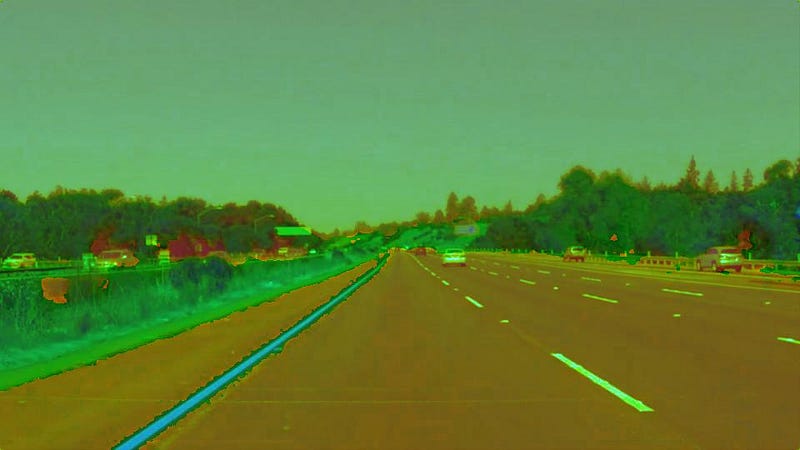
Original Test Images
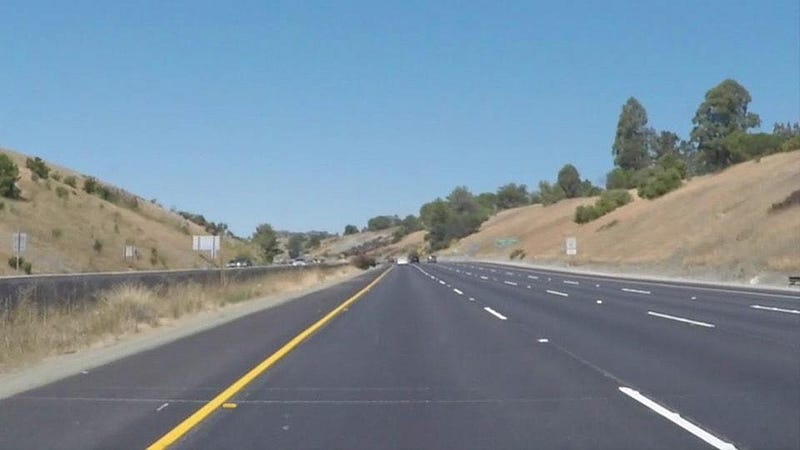
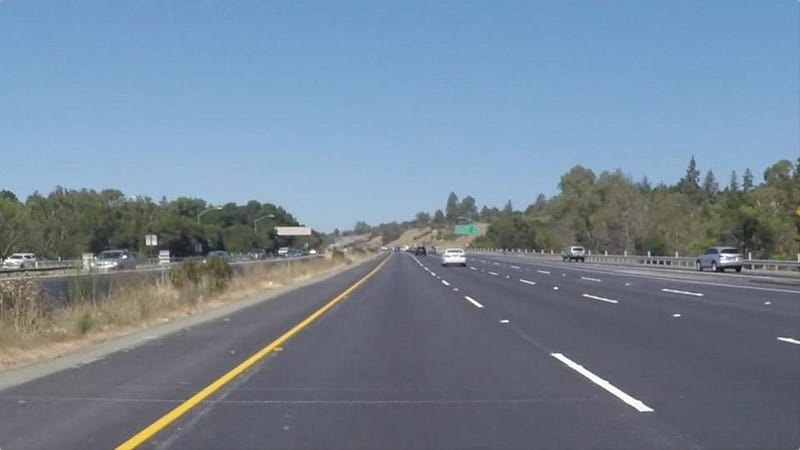
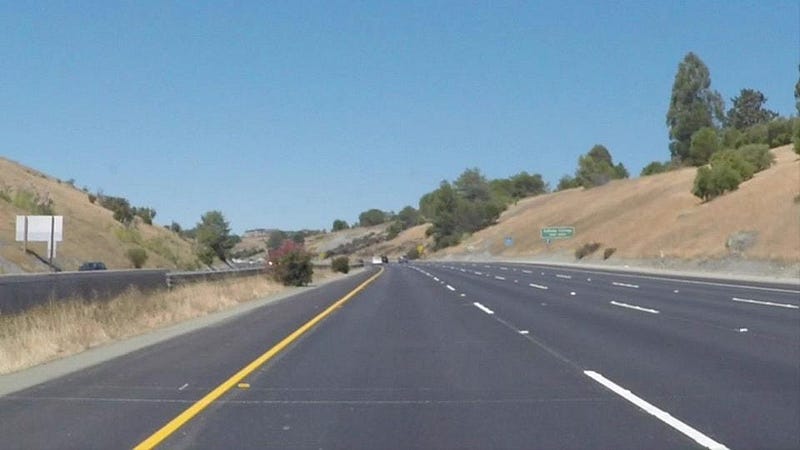
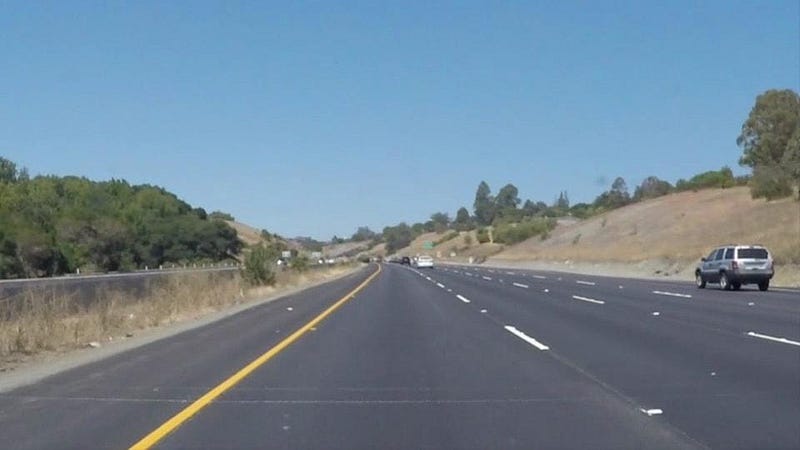
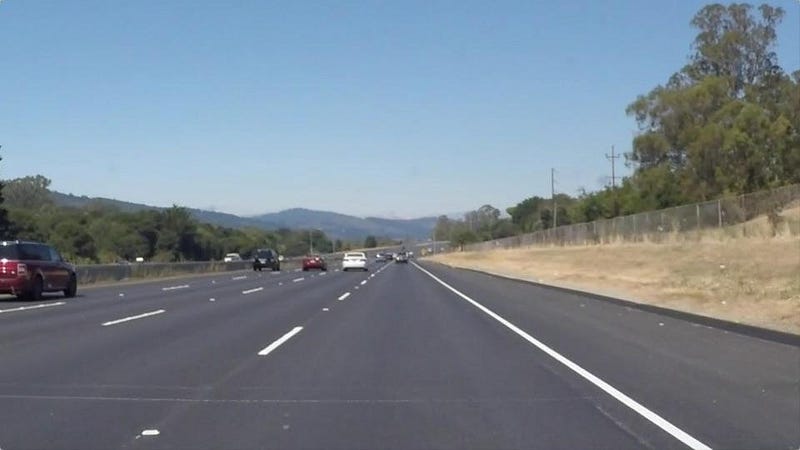
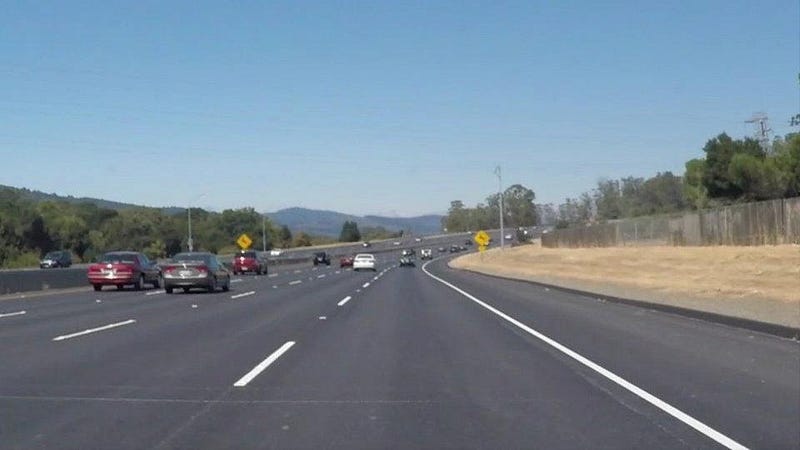
Original Test Images
Convert to grayscale
Converting original image to grayscale has its benefit. We have to find yellow and white lanes , and converting original image to grayscale increases the contrast of lanes with respect to road.
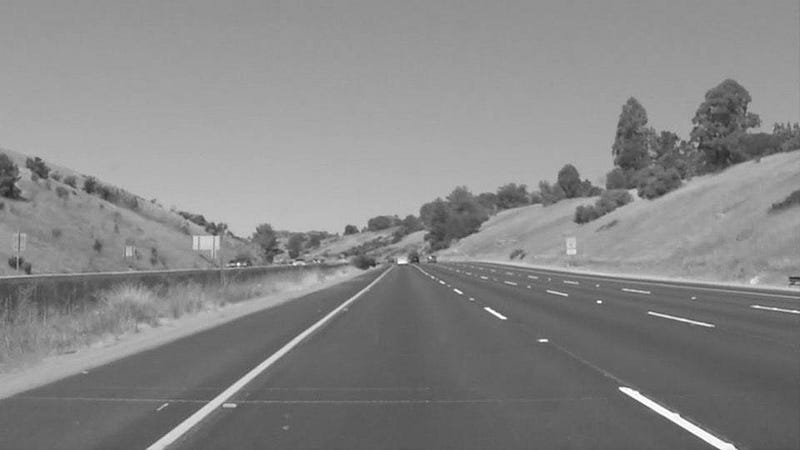
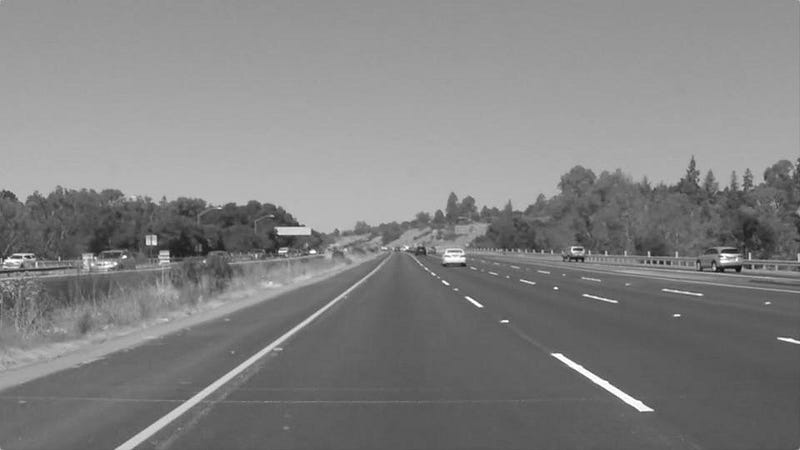

Original Images to Grayscale
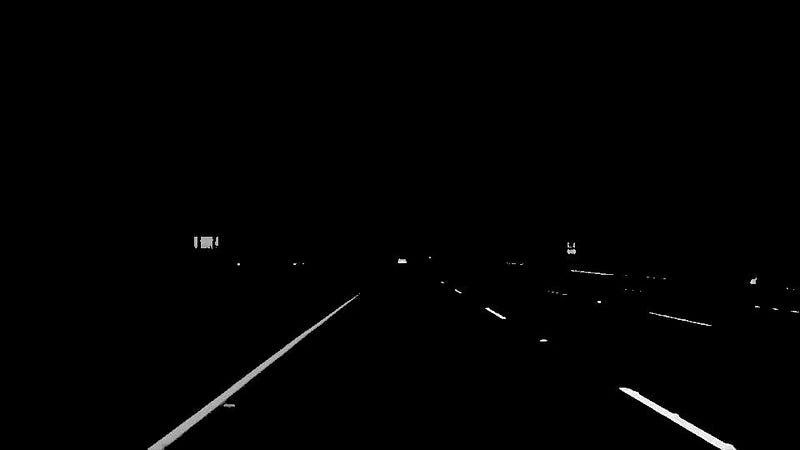
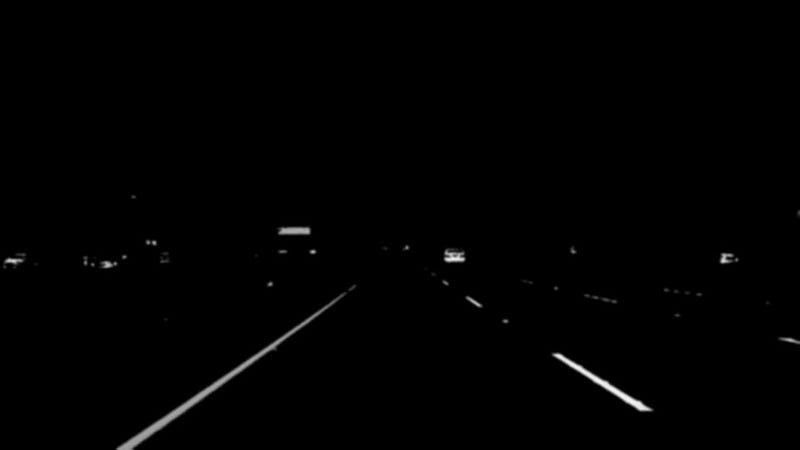
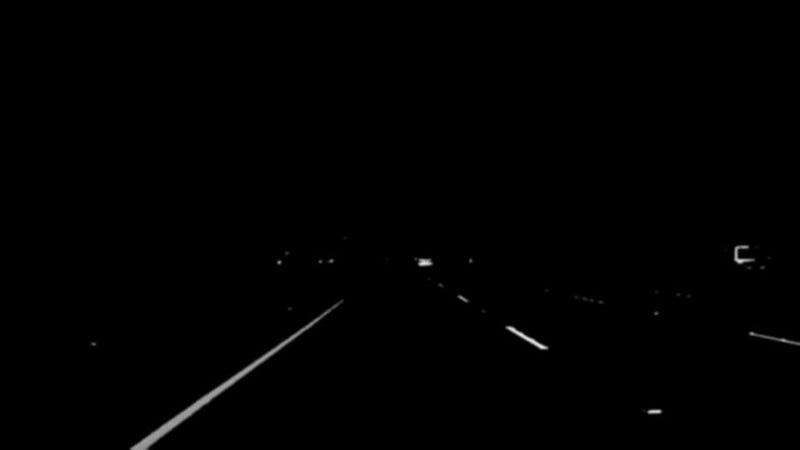
Darken the grayscale image
This is done with the intent of reducing contrast of discoloured patches of the road.
Darkened grayscale images
Convert original image to HLS colour space
Original images are in RGB, but we should also explore other colour spaces like HSV and HLS. When looked at side-by-side, one can easily see that we can get better colour contrast in HLS colour space from road. This may help in better colour selection and in turn lane detection.
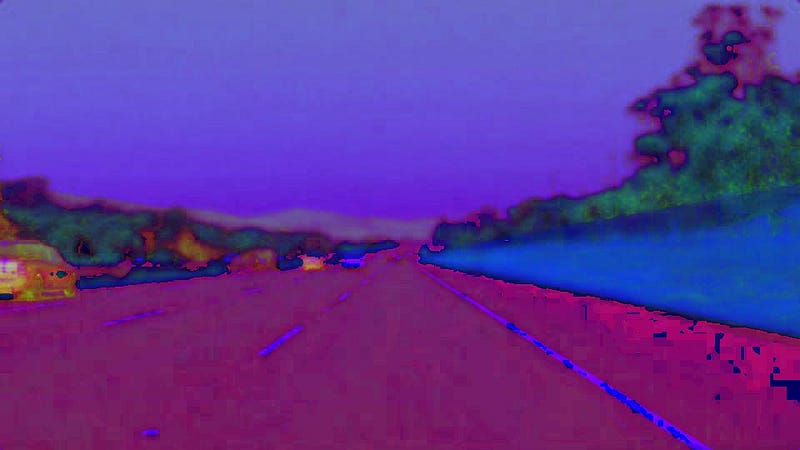
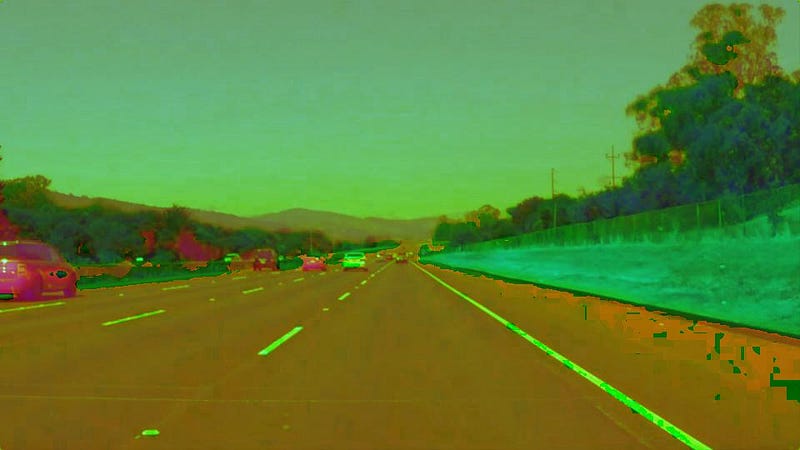
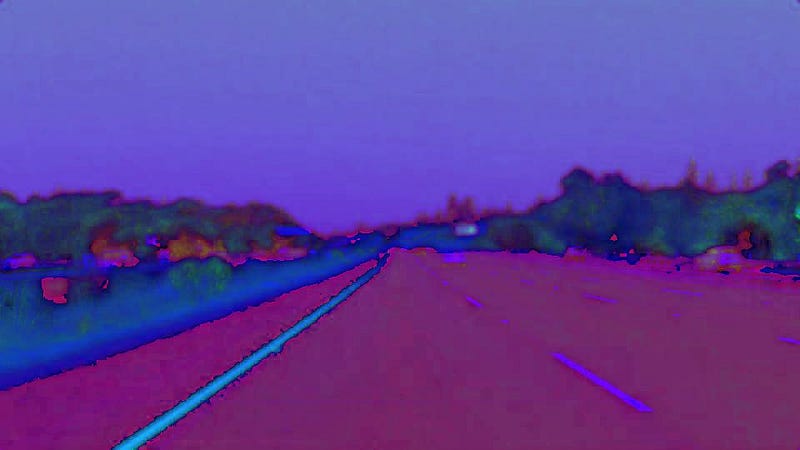
RGB vs HSV vs HLS
Colour Selection
Here we use OpenCV’s inRange to get mask between thresh hold value. After some trial and error, we can find out range for threshold.
For yellow mask:
- Hue value was used between 10 and 40.
- We use higher saturation value(100–255) to avoid yellow from hills.
For white mask:
- We use higher lightness value (200–255) for white mask.
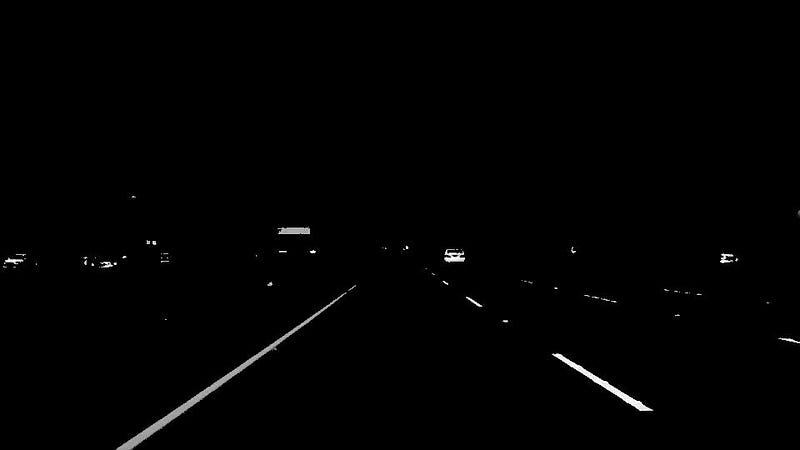
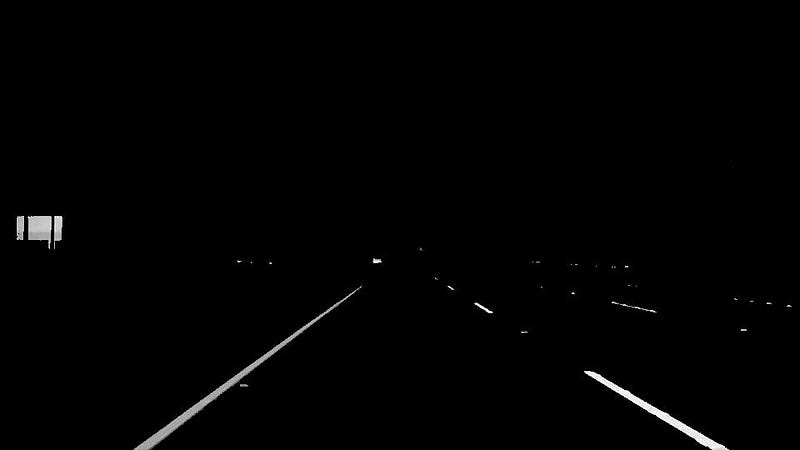
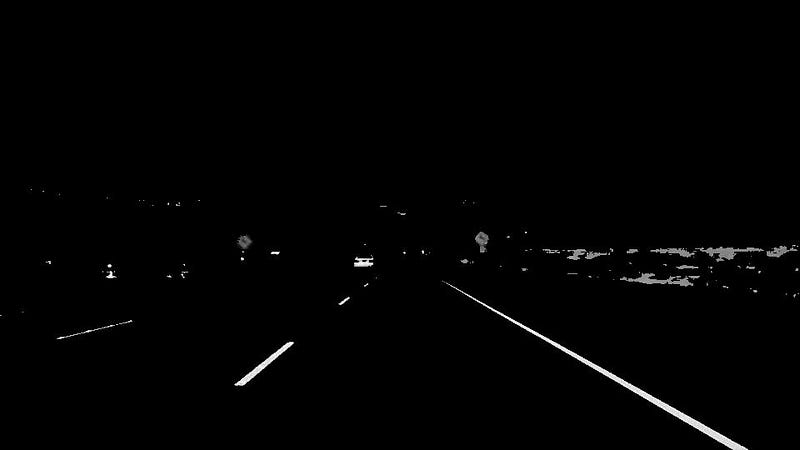
We bit-wise OR both mask to get combined mask.
Below images show combined mask being bit-wise AND with darkened image.
Gaussian Blur
Gaussian blur (Gaussian smoothing) is pre-processing step used to reduce the noise from image ( or to smooth the image). We use this pre-processing step to remove many detected edges and only keep the most prominent edges from the image.
GaussianBlur from OpenCV expect kernel size(odd value) for blurring. After trying some values, We used 7.
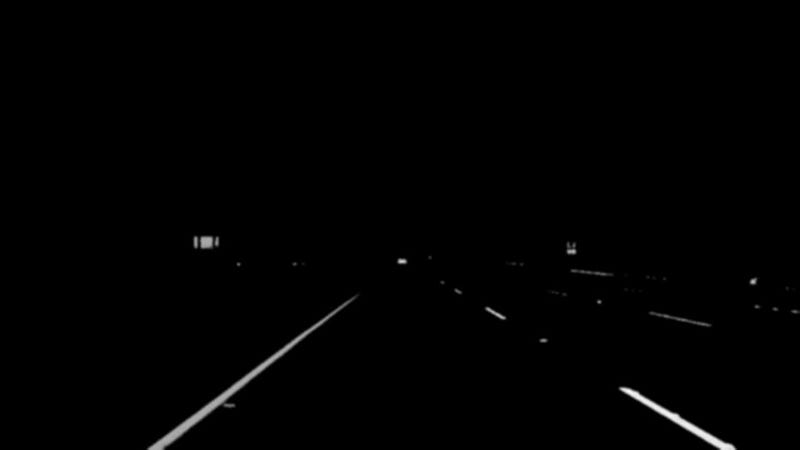


Gaussian Blur
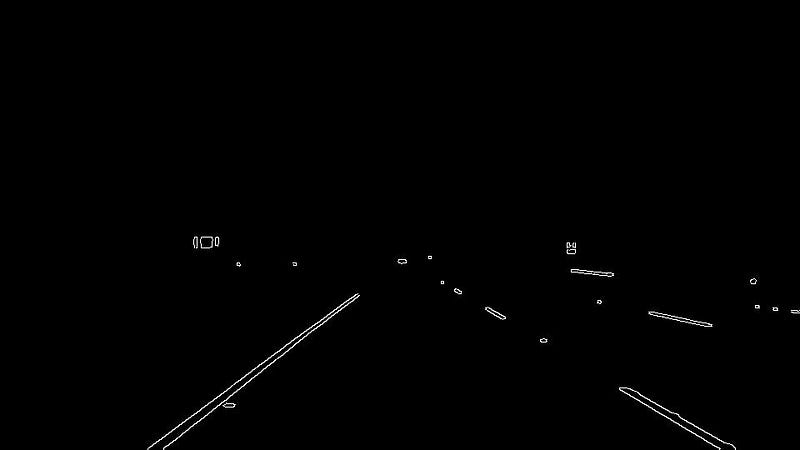
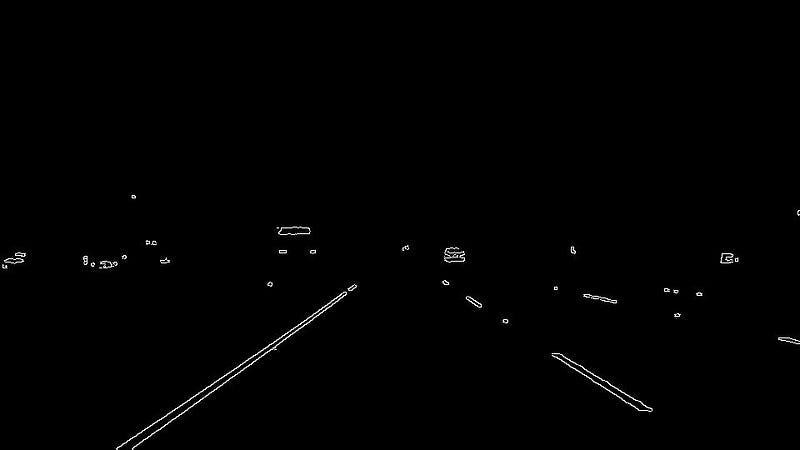
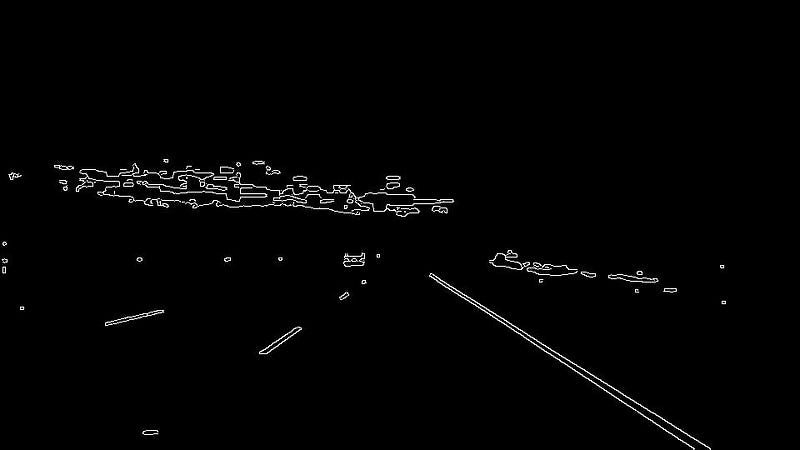
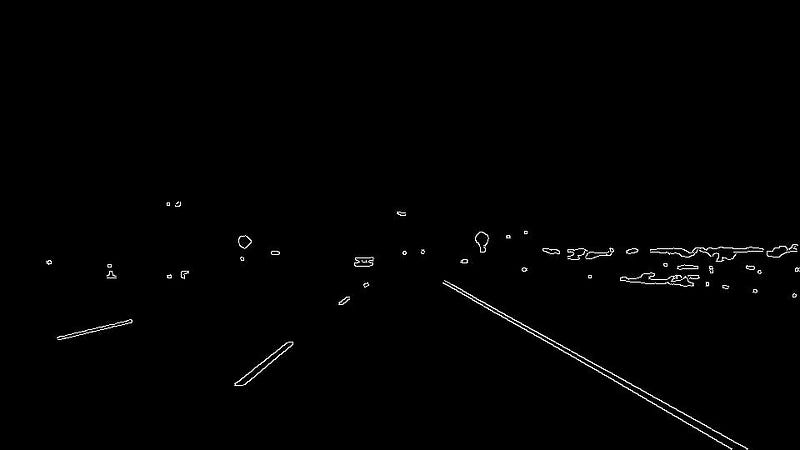
Apply Canny Edge Detection
Now we apply Canny edge detection to these Gaussian blurred images. Canny Edge Detection is algorithm that detects edges based on gradient change. Not that the first step of Canny Edge detection is image smoothing with default kernel size 5, we still apply explicit Gaussian blur in previous step. The other steps in Canny Edge detection include:
- Finding Intensity Gradient of the Image
- Non-maximum Suppression
- Hysteresis Thresholding
This link provides very good explanation of Canny Edge Detection.
Select Region of Interest
Even after applying Canny Edge Detection, there are still many edges that are detected which are not lanes. Region of Interest is a polygon that defines area in the image, from where edges we are interested.
Note that , the co-ordinate origin in the image is top-left corner of image. rows co-ordinates increase top-down and column co-ordinates increase left-right.
Assumption here is camera remains in constant place and lanes are flat, so that we can “guess” region of interest.
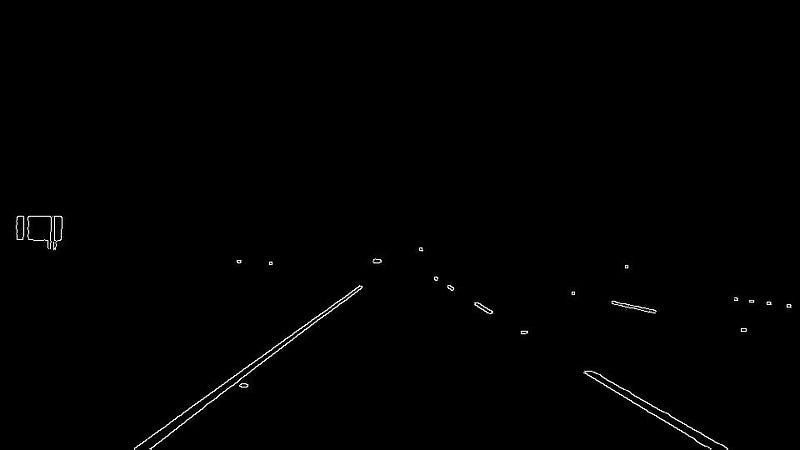
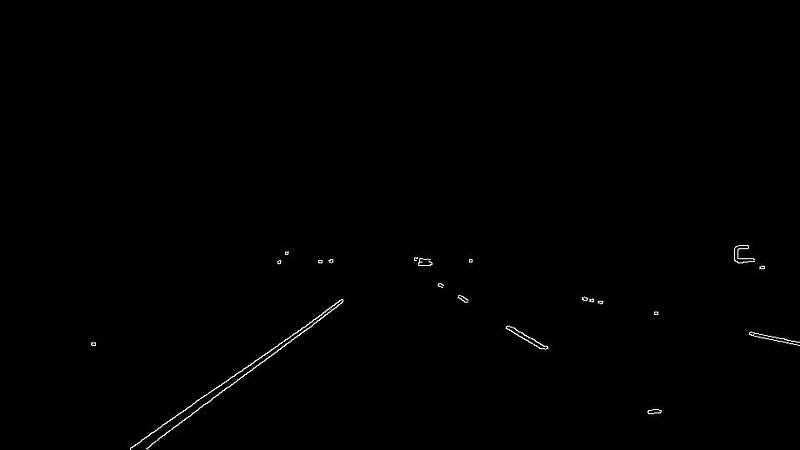
Region of Interest applied to Canny Edge Detected Images.
Hough Transformation Lines Detection
Hough Transform is the technique to find out lines by identifying all points on the line. This is done by representing a line as point. And points are represented as lines/sinusoidal(depending on Cartesian / Polar co-ordinate system). If multiple lines/sinusoidal pass through the point , we can deduce that these points lie on the same line.
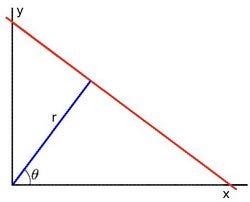
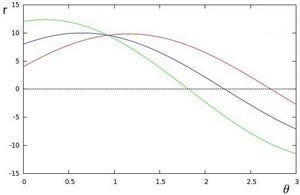
Line in polar co-ordinates and sinusoidal that represent point , intersection point represent line.
More information can be found here.
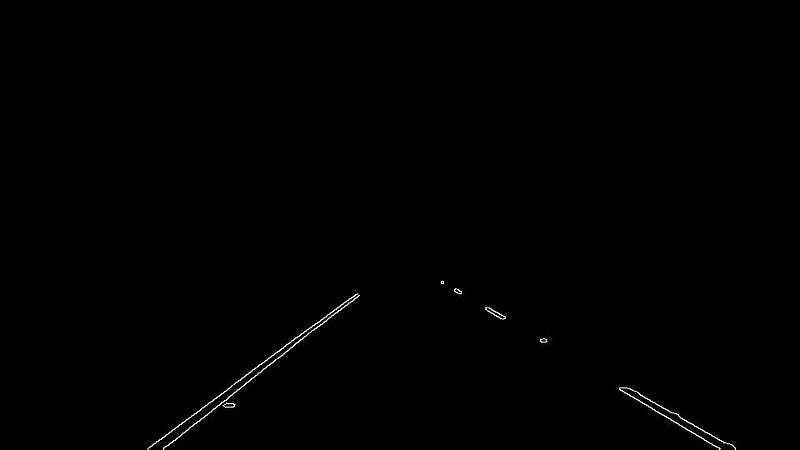
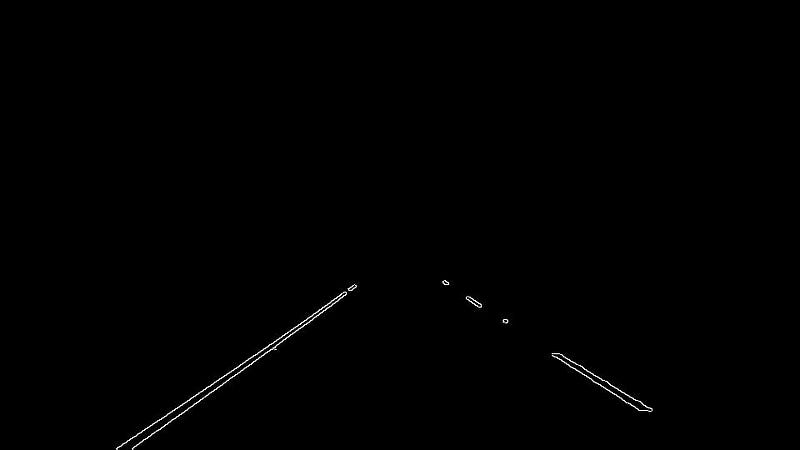
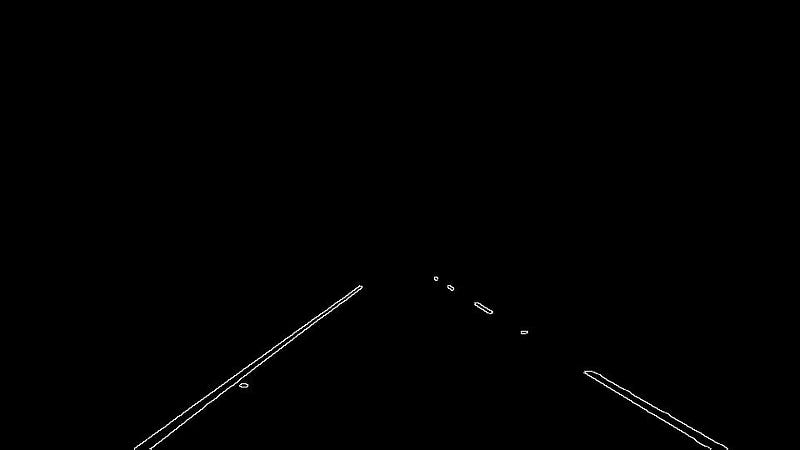
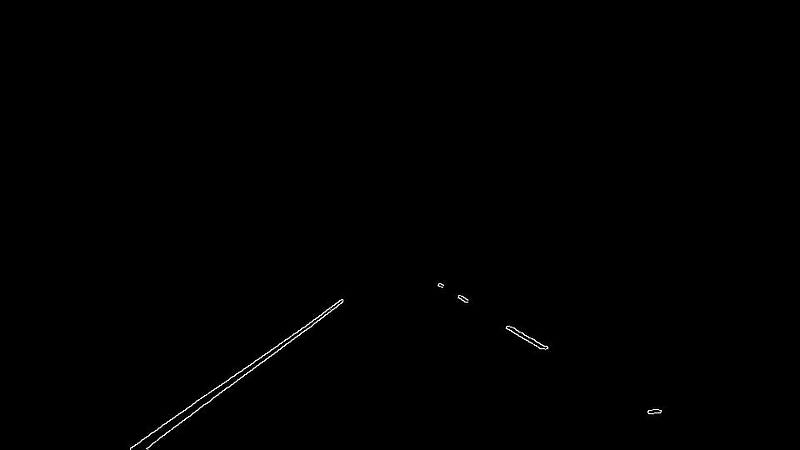
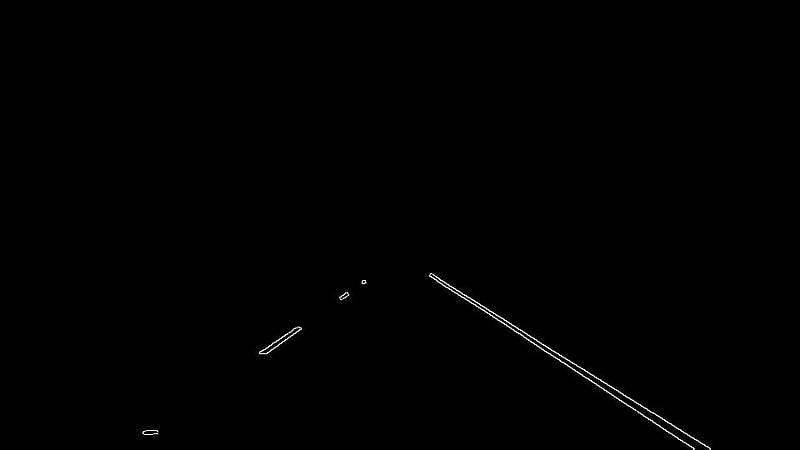
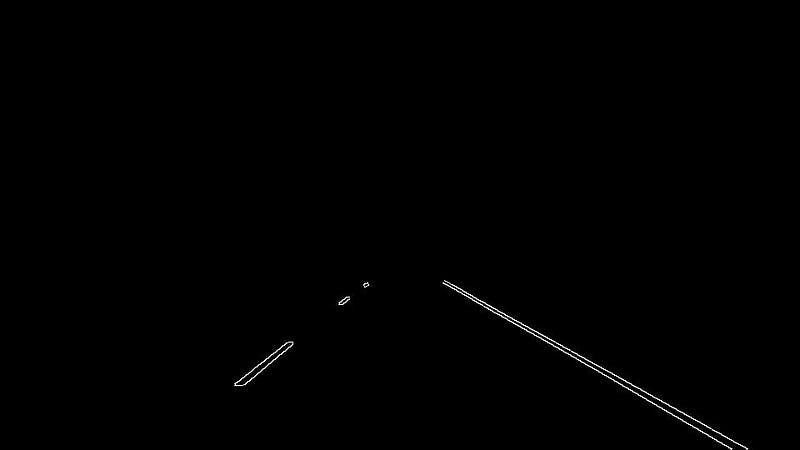
After finding out Hough lines from Region Of Interest images and then drawn on original images.
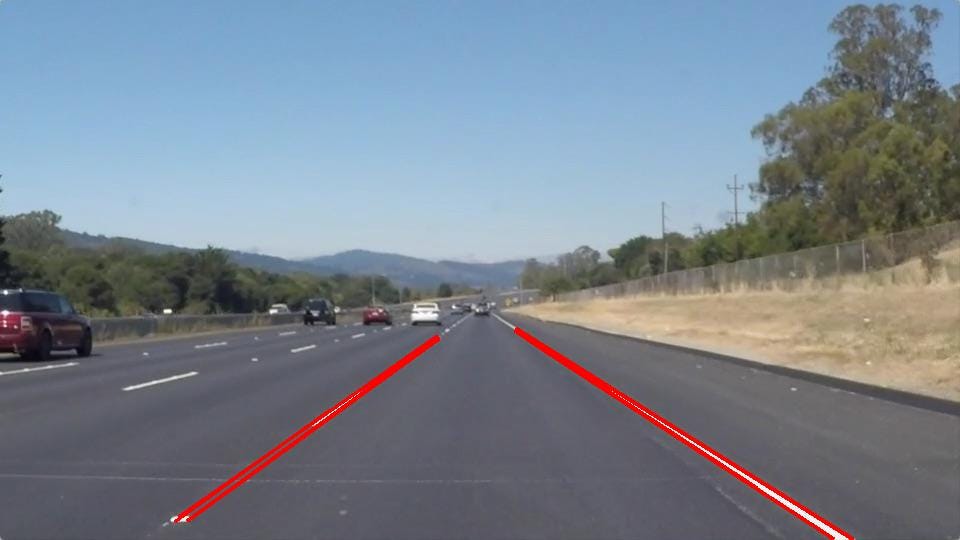
Hough Lines
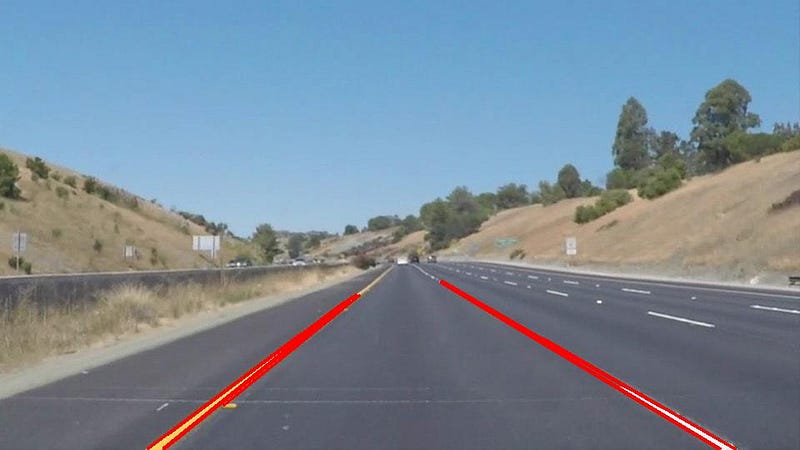
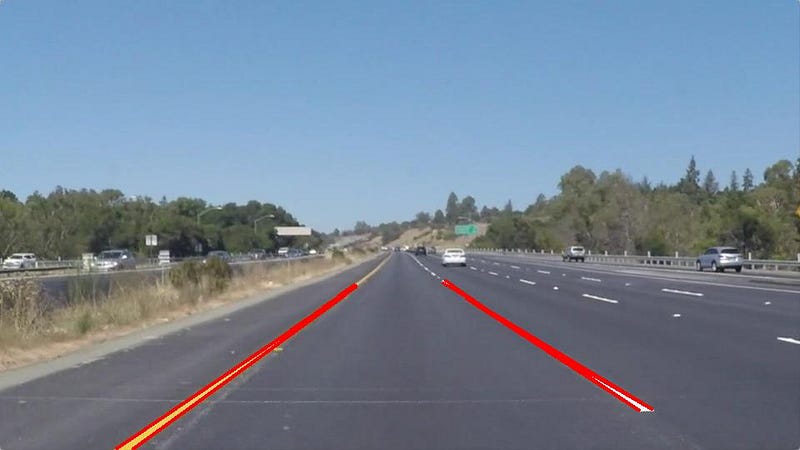
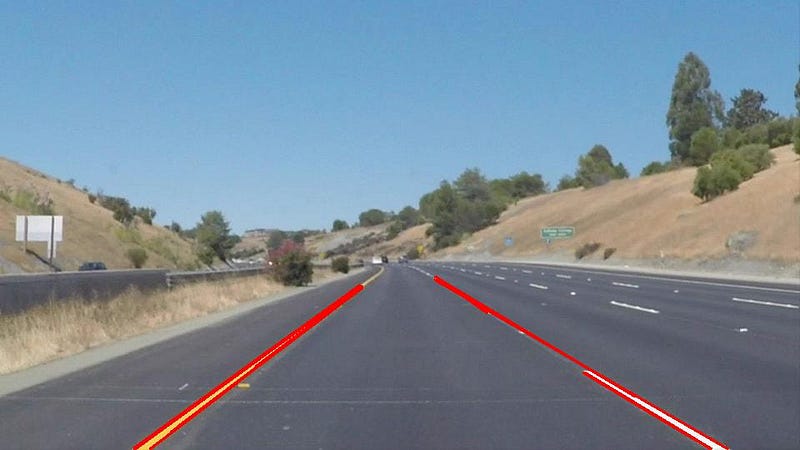
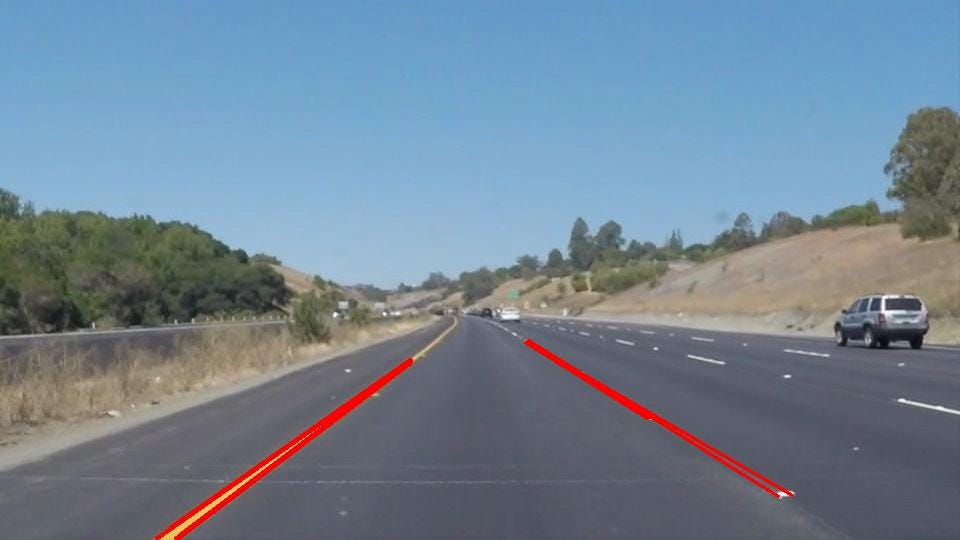
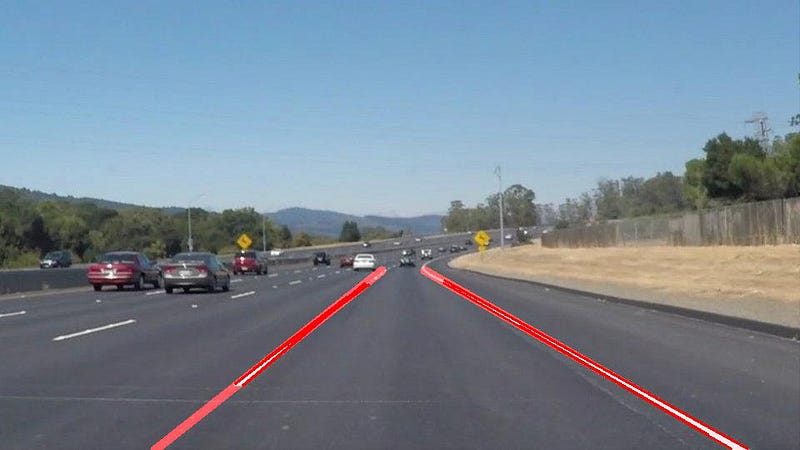
Consolidation and extrapolation of the Hough lines
We need to trace complete lane markings. For this the first thing we need to distinguish between left lane and right lane. There is easy way of identifying left lane and right lane.
- Left Lane: As the values of column co-ordinate increases , the values of rows co-ordinate decreases. So the gradient must be negative.
- Right Lane: As the values of column co-ordinate increases , the values of rows co-ordinate increases. So the gradient must be positive.
- We’ll ignore the vertical lines.
After identifying left lane and right lane Hough lines , we’ll extrapolate these lines. There are 2 things we do:
- There are many lines detected for Lane, we’ll average the lines
- There are some partially detected lines , we’ll extrapolate them.
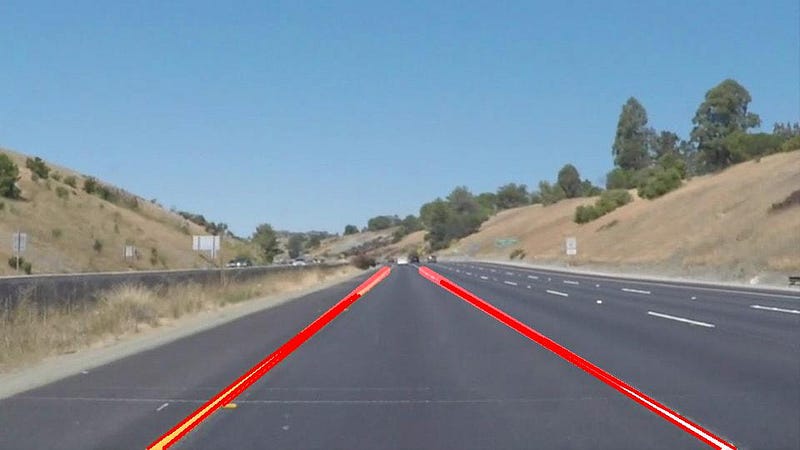
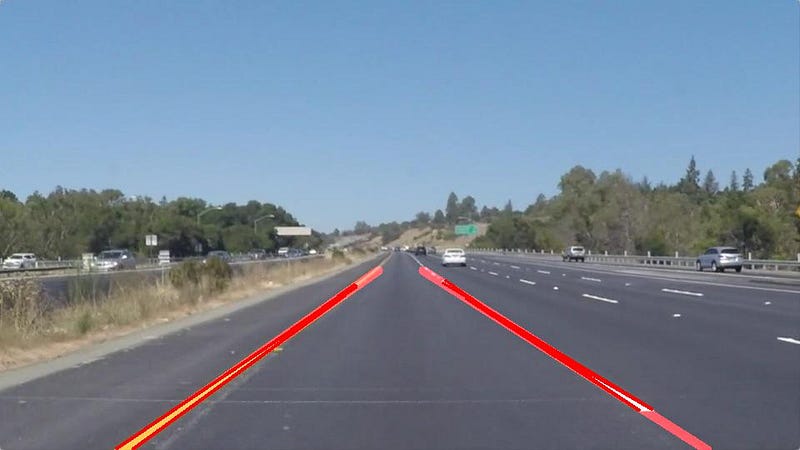


Applying Pipeline to videos
Now let’s apply this pipeline for videos.
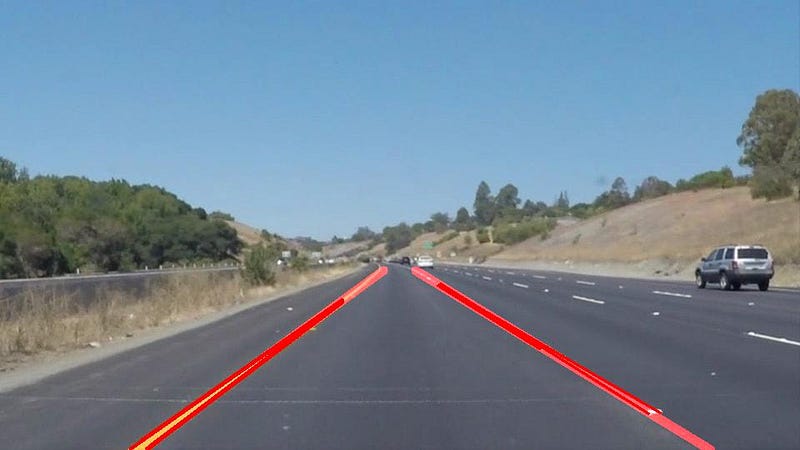
Pipeline works pretty good for straight lanes.
But this doesn’t work well for curved lanes.
Shortcomings
- Hough Lines based on straight lines do not work good for curved road/lane.
- There are many trial-and-error to get hyper parameters correct. Also Region of Interest assumes that camera stays at same location and lanes are flat. So there is “guess” work or hard coding involved in deciding polygon vertices.
- In general, there are many roads which might not be with lane markings where this won’t work.
Future Improvements
- Instead of line , it would be beneficial to use higher degree curve that will be useful on curved road.
- Even when we used information from previous frames, just averaging lanes might not be very good strategy. may be weight average or some form of priority value might work.
The code is available on GitHub


 1万+
1万+

 被折叠的 条评论
为什么被折叠?
被折叠的 条评论
为什么被折叠?
 到【灌水乐园】发言


