


OCCT的版本是7.6.0. Modeling项目,代码学习记录。
OCCT示例学习笔记3--Modeling项目
-
-
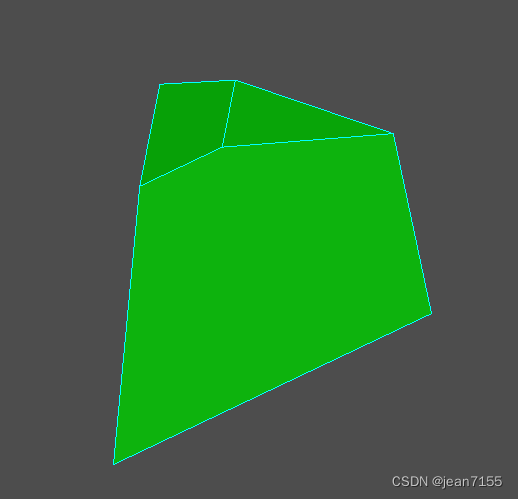
- 1、点镜像
- 2、轴镜像
- 3、旋转效果
- 4、缩放效果
- 5、移动效果
- 6、轴坐标位移效果
- 7、移动效果
- 8、各种基础模型显示
- 9、各种元素的旋转建模
- 10、pipe的建模
- 11、thru的建模
- 12、进化形状的建模
- 13、锥形变换
- 14、布尔运算
- 15、截面运算
- 16、平面的截面运算
- 17、倒角运算
- 18、复杂倒角的建模
- 19、倒直角的建模
- 20、草图拉伸
- 21、拔模棱镜的建模
- 22、旋转的建模
- 23、管道的建模
- 24、肋或凹槽的建模
- 25、局部粘合的建模
- 26、局部切割的建模
- 27、局部抽壳的建模
- 28、偏移的建模
- 29、vertex的建模
- 30、edge的建模
- 31、wire的建模
- 32、Face的建模
- 33、Shell的建模
- 34、Compound的建模
- 35、缝合的建模
- 36、手动的建模
- 37、基本几何建模
- 38、子图形显示
- 39、检查形状是否“正确”
- 40、曲线长度、质心和惯性矩阵
- 41、曲面的面积、质心和惯性矩阵
- 42、实体的体积、质心和惯性矩阵
- 43、edge修补建模(有点难懂。暂时略)
- 44、OnFillwithtang建模(有点难懂。暂时略)
-
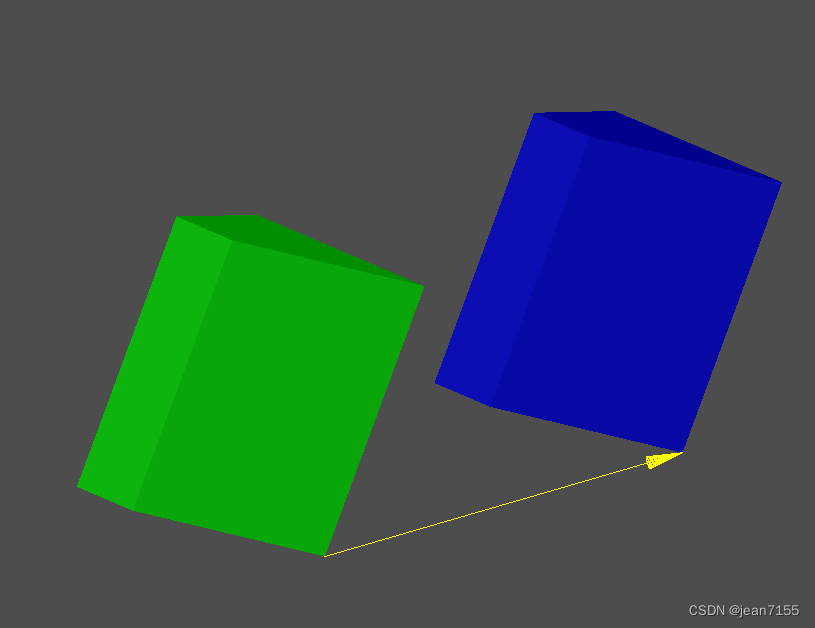
1、点镜像
在void CModelingDoc::OnMirror() 函数中。
显示效果如下:
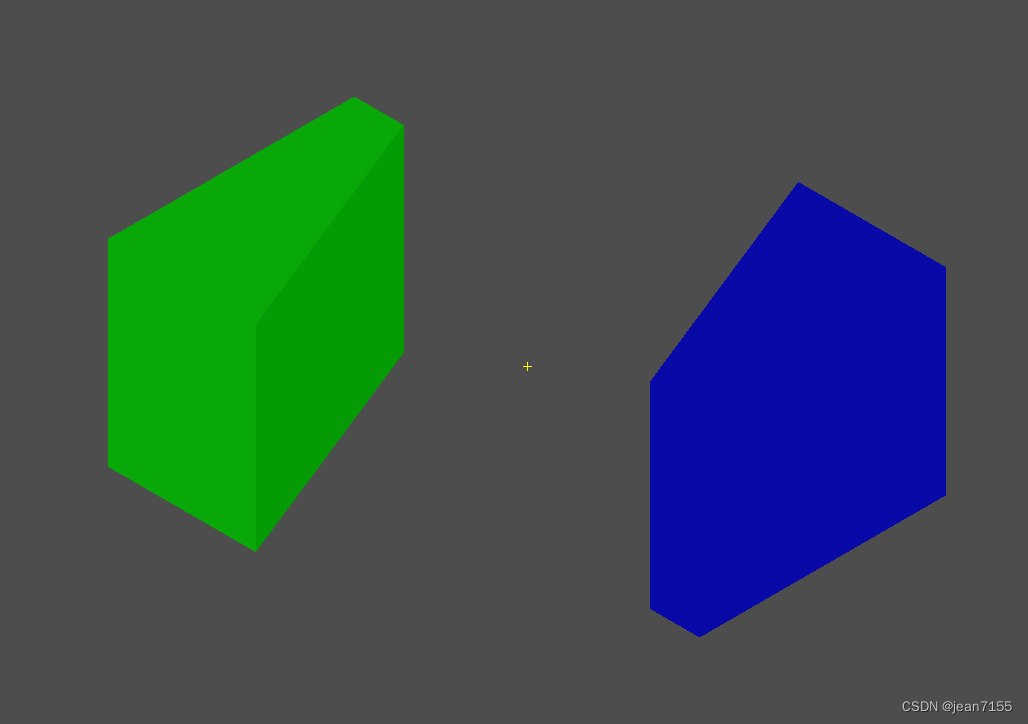
应用的类如下:
- BRepPrimAPI_MakeWedge类;上图显示的绿色梯形
- Geom_CartesianPoint类;点Geom_Point的实现类。
- AIS_Point类,显示点的类,上图中间的黄色十字。
- gp_Trsf类,设置镜像移动。
- BRepBuilderAPI_Transform类;移动变换。
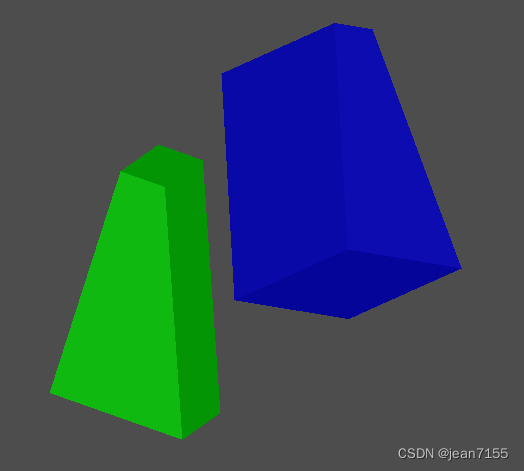
2、轴镜像
在void CModelingDoc::OnMirroraxis()函数中。
显示效果如下:
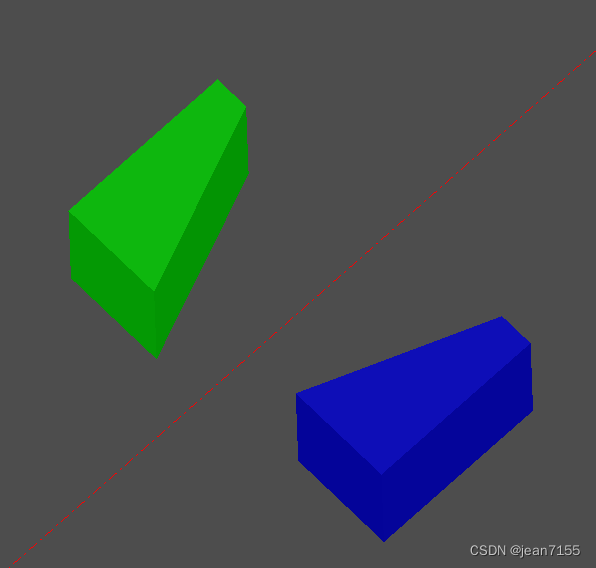
应用的类如下:
- gp_Ax1类,描述轴的类
- Geom_Axis1Placement类;描述 3D 空间中的轴。
- AIS_Axis类,显示轴的类。
3、旋转效果
在void CModelingDoc::OnRotate()函数中。
显示效果如下:
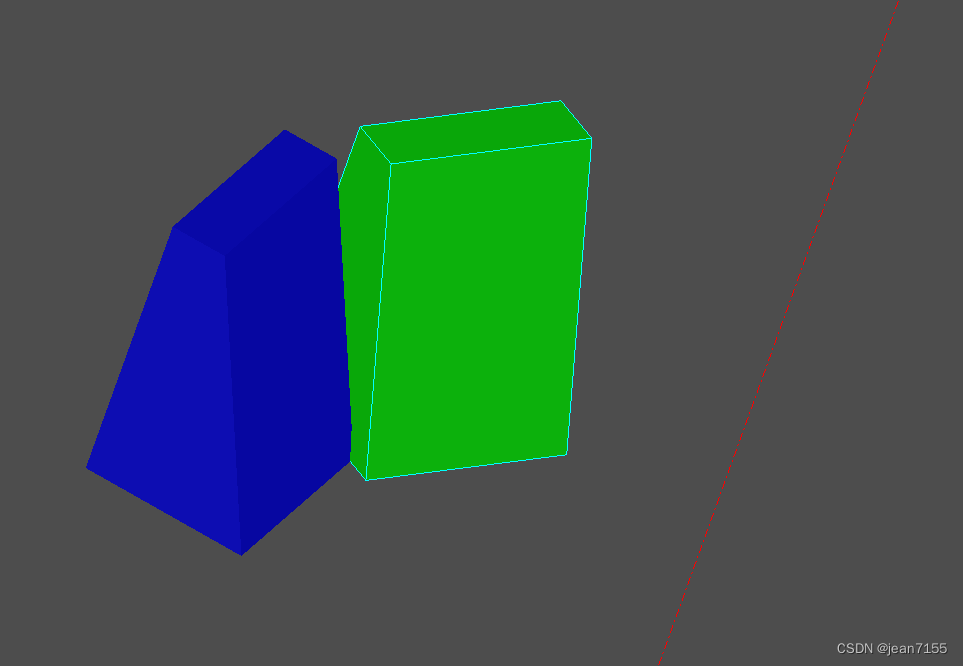
应用的类如下:
上面都有了。略
4、缩放效果
在void CModelingDoc::OnScale()函数中。
显示效果如下:
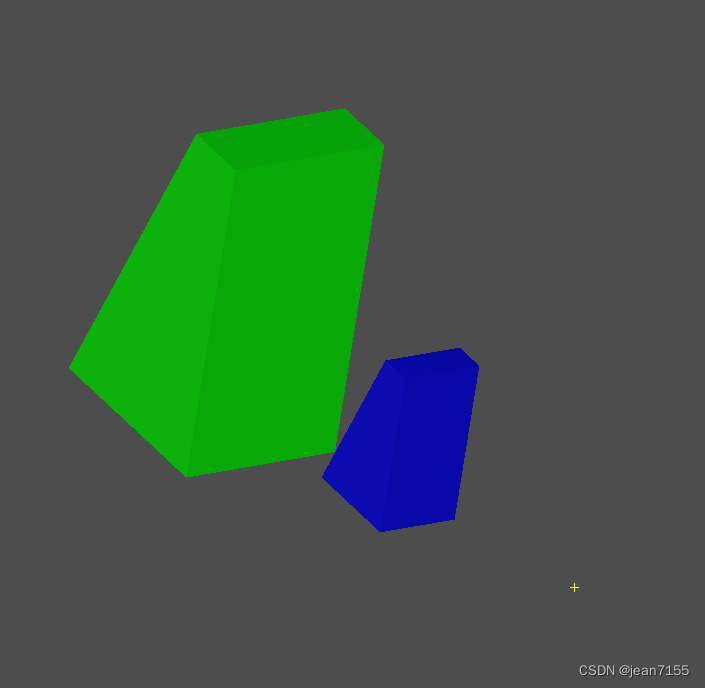
应用的类如下:
上面都有了。略
5、移动效果
在void CModelingDoc::OnTranslation()函数中。
显示效果如下:
应用的类如下:
ISession_Direction类,AIS_InteractiveObject类的子类,显示移动轴。
6、轴坐标位移效果
在void CModelingDoc::OnDisplacement()函数中。
显示效果如下:
应用的类如下:
通过设置轴来设置位移效果。
	gp_Ax3 ax3_1(gp_Pnt(0,0,0),gp_Dir(0,0,1));
	gp_Ax3 ax3_2(gp_Pnt(60,60,60),gp_Dir(1,1,1));
	gp_Trsf theTransformation;
	theTransformation.SetDisplacement(ax3_1, ax3_2);
7、移动效果
在void CModelingDoc::OnDeform()函数中。
显示效果如下:
应用的类如下:
- BRepBuilderAPI_GTransform类
- gp_GTrsf类,定义 3D 空间中的非持久变换
- gp_Mat类
	gp_GTrsf theTransformation;
	gp_Mat rot(5, 0, 0, 0, 3, 0, 0, 0, 1);
	theTransformation.SetTranslationPart(gp_XYZ(5, 5, 5));//平移和缩放的位置前后没有变换
	theTransformation.SetVectorialPart(rot);//这个是不同轴向的缩放
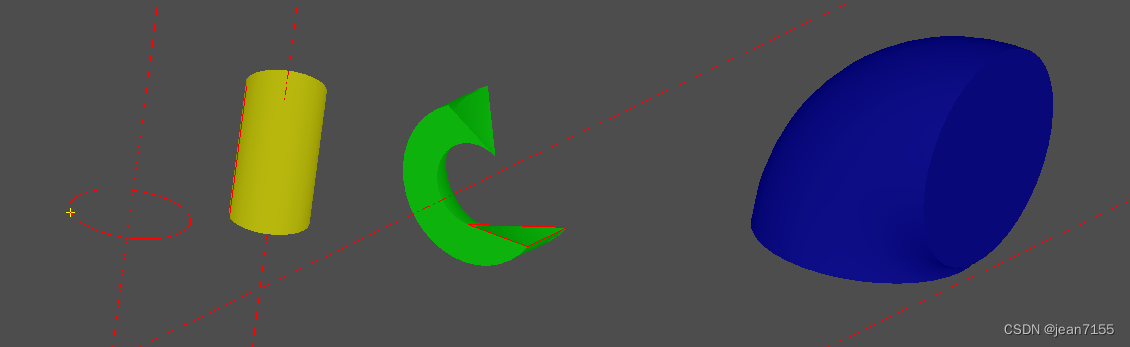
8、各种基础模型显示
在void CModelingDoc::OnBox() 函数中。显示效果如下:
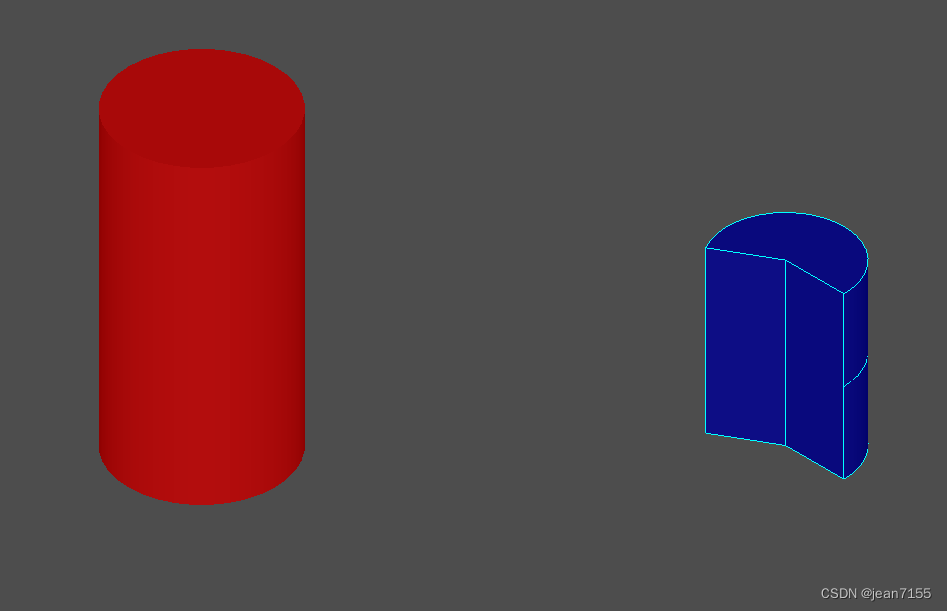
在void CModelingDoc::OnCylinder() 函数中。显示效果如下:
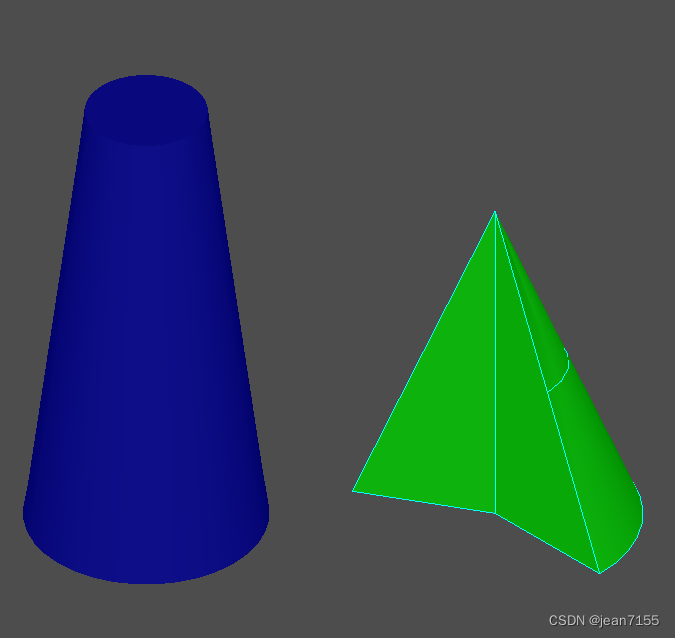
在void CModelingDoc::OnCone() 函数中。显示效果如下:
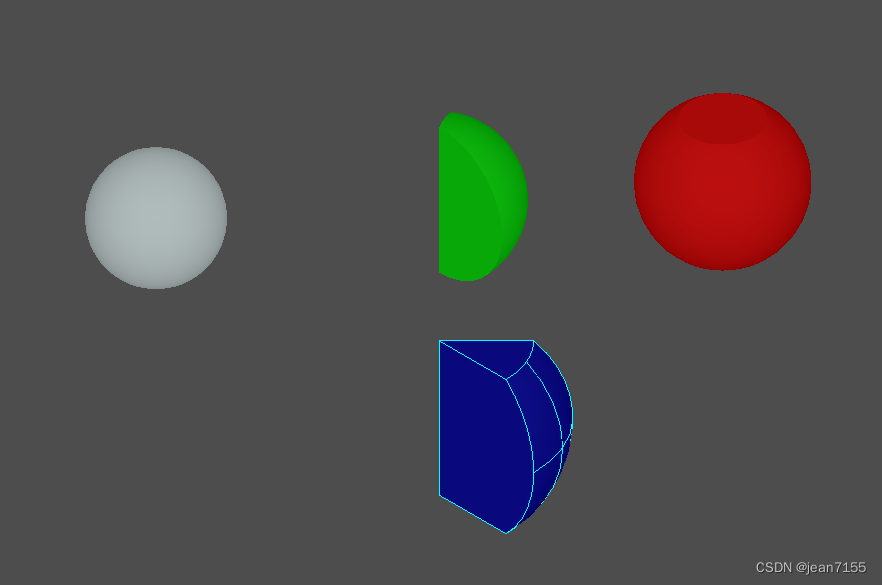
在void CModelingDoc::OnSphere()函数中。显示效果如下:
在CModelingDoc::OnTorus()函数中。显示效果如下:
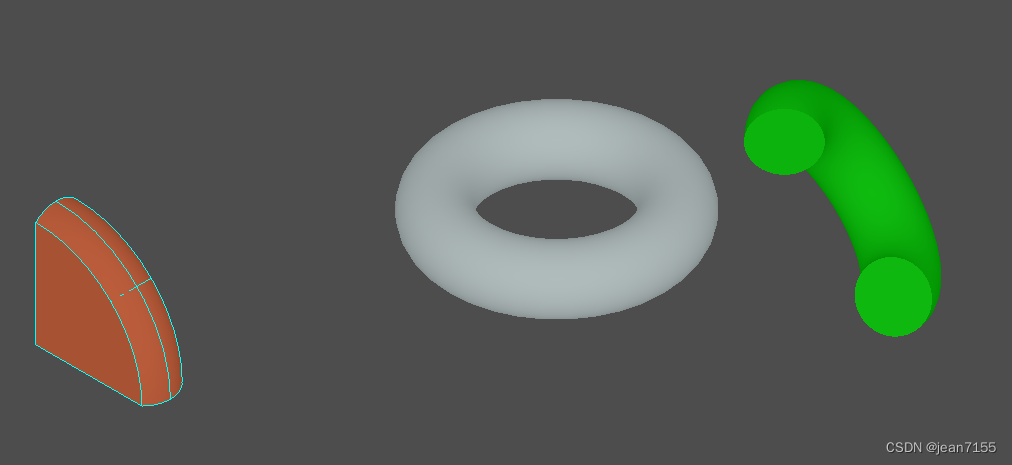
在CModelingDoc::OnWedge()函数中。显示效果如下:
在CModelingDoc::OnPrism()函数中。显示效果如下:(拉伸功能)

应用的类如下:
- BRepPrimAPI_MakeBox类
- BRepPrimAPI_MakeCylinder类
- BRepPrimAPI_MakeCone类
- BRepPrimAPI_MakeSphere类
- BRepPrimAPI_MakeTorus类
- BRepPrimAPI_MakeWedge类
- BRepPrimAPI_MakePrism
- BRepBuilderAPI_MakeVertex
- BRepBuilderAPI_MakeEdge
- BRepBuilderAPI_MakeWire
- BRepBuilderAPI_MakeFace
- BRepPrimAPI_MakePrism
9、各种元素的旋转建模
在void CModelingDoc::OnRevol()函数中。显示效果如下:
应用的类如下:
- BRepPrimAPI_MakeRevol类,制作旋转扫描拓扑的类。
- Geom_Axis1Placement类,描述 3D 空间中的轴。
- AIS_Axis类,显示 3D 空间中的轴。
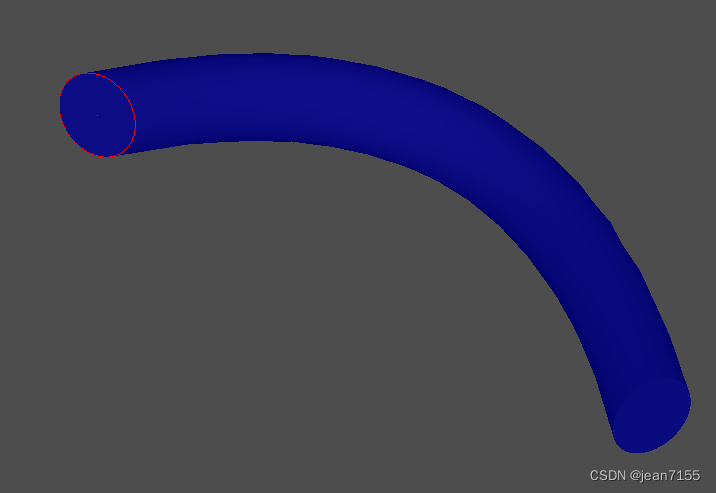
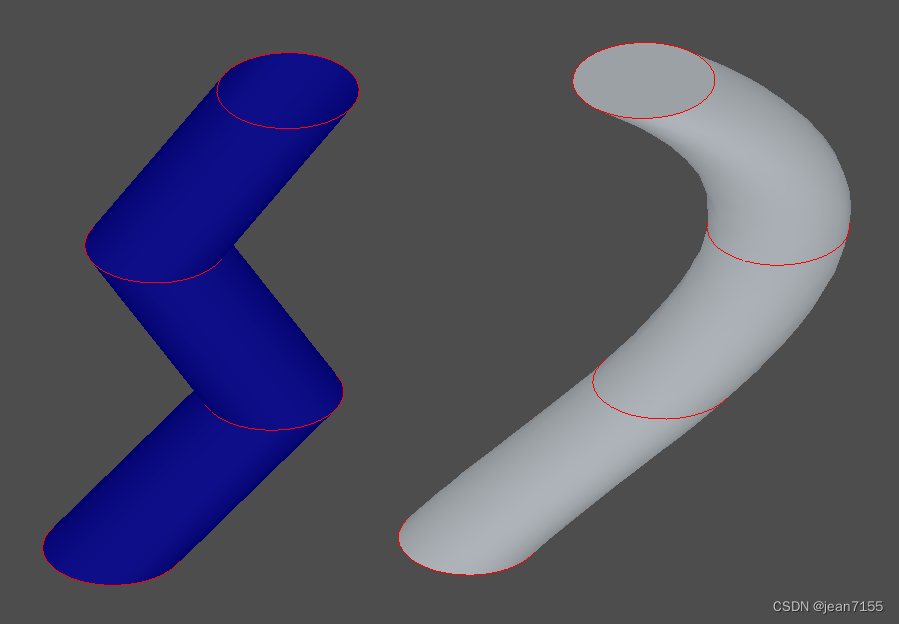
10、pipe的建模
在void CModelingDoc::OnPipe()函数中。显示效果如下:
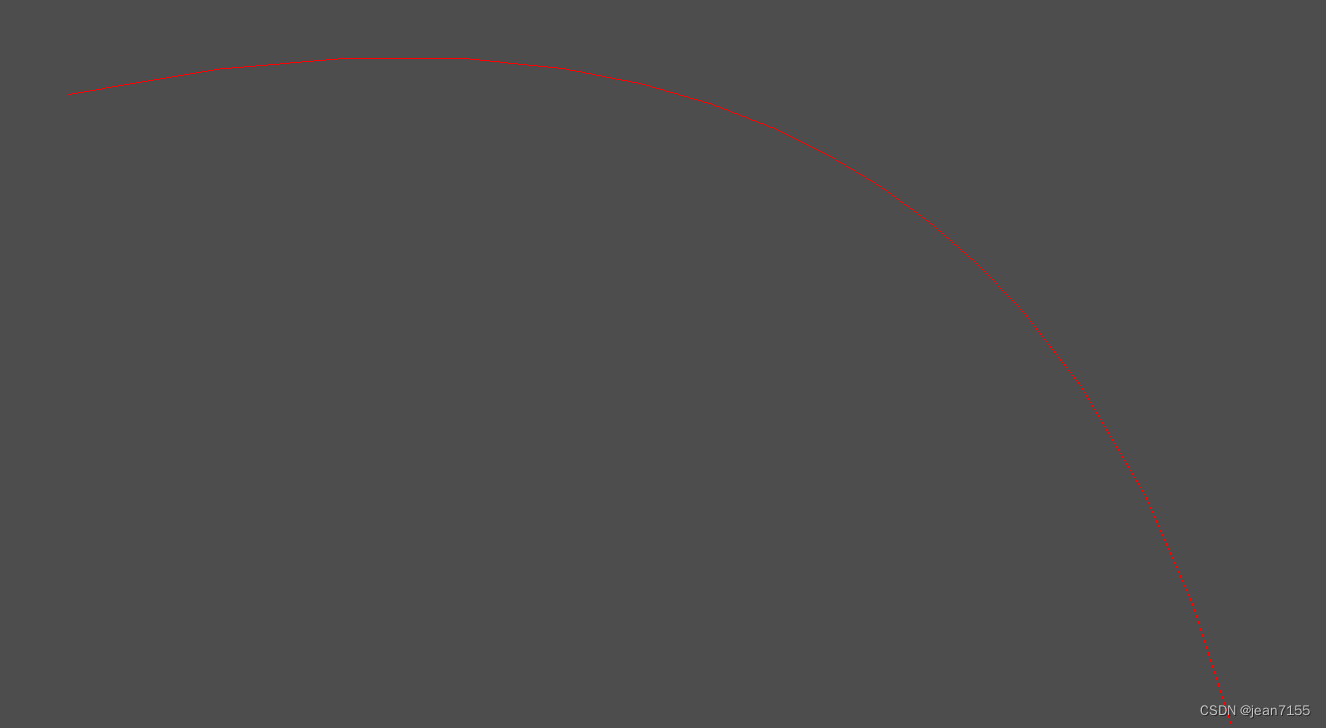
应用的类如下:
- TColgp_Array1OfPnt类,是gp_Pnt 的容器。
- gp_Pnt类,三维描述一个点。
- Geom_BezierCurve类,描述有理或非有理贝塞尔曲线。(不懂)
- gp_Circ类,描述三维的一个圆。
- BRepOffsetAPI_MakePipe类,描述构建管道的函数。管道通过扫掠沿线(称为脊柱)构建基本形状(称为轮廓)。轮廓不得包含实体。
主要代码如下:
	TopoDS_Edge E = BRepBuilderAPI_MakeEdge(curve);
	TopoDS_Wire wire = BRepBuilderAPI_MakeWire(E);

	gp_Circ c = gp_Circ(gp_Ax2(gp_Pnt(0.,0.,0.),gp_Dir(0.,1.,0.)),10.);
	TopoDS_Edge Ec = BRepBuilderAPI_MakeEdge(c);
	TopoDS_Wire Wc = BRepBuilderAPI_MakeWire(Ec);
	TopoDS_Face F = BRepBuilderAPI_MakeFace(gp_Pln(gp::ZOX()),Wc);
	TopoDS_Shape S = BRepOffsetAPI_MakePipe(wire,F);
11、thru的建模
在void CModelingDoc::OnThru()函数中。显示效果如下:
应用的类如下:
- BRepOffsetAPI_ThruSections类,这是一个壳或实体以给定的顺序通过一组部分。通常部分是连线,但第一个和最后一个部分可能是顶点。上图就是该类的两个创建效果一个是平滑化的建模。
主要代码如下:
	BRepOffsetAPI_ThruSections generator(Standard_False,Standard_True);
	generator.AddWire(W1);
	generator.AddWire(W3);
	generator.AddWire(W4);
	generator.AddWire(W2);
	generator.Build();
	TopoDS_Shape S1 = generator.Shape();
12、进化形状的建模
在void CModelingDoc::OnEvolved()函数中。显示效果如下:
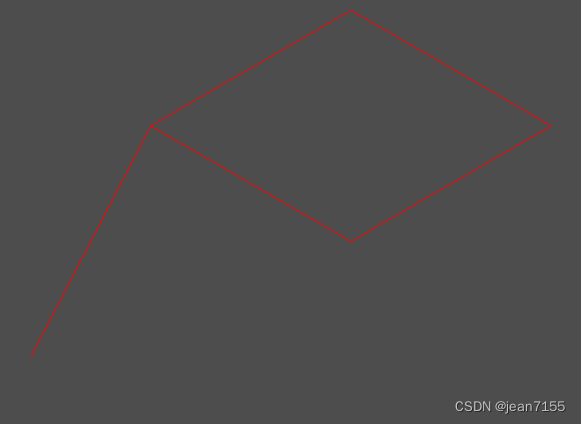
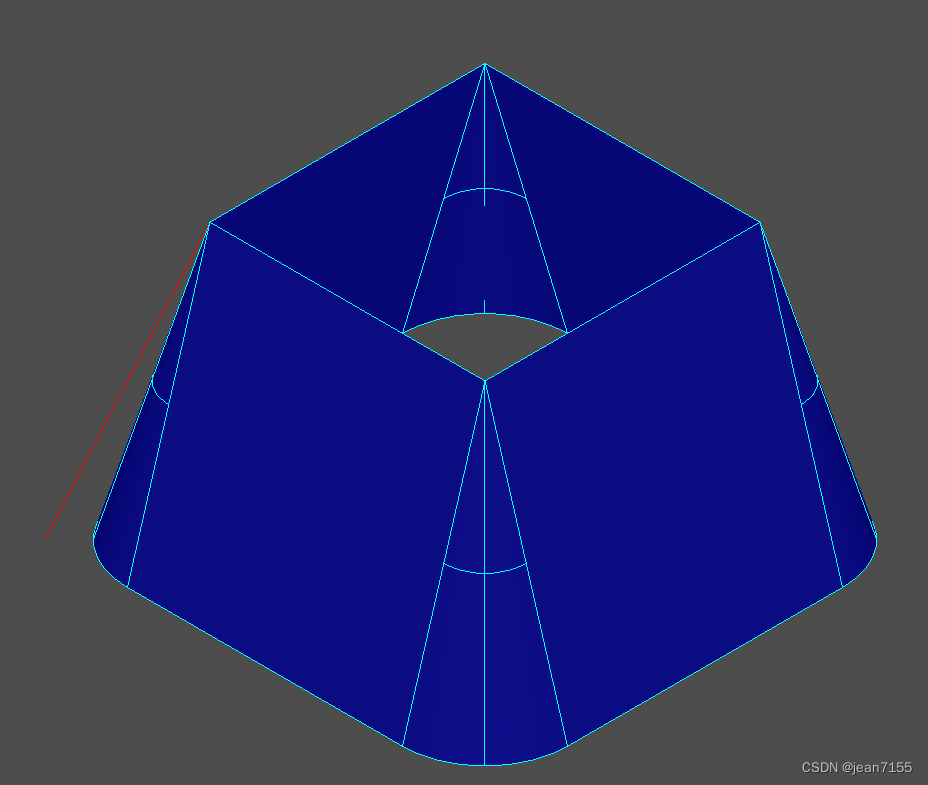
GeomAbs_Arc类型的效果图。
应用的类如下:
- BRepBuilderAPI_MakePolygon类,描述构建多边形线的函数。
- BRepOffsetAPI_MakeEvolved类,描述构建进化形状的函数。演化的形状由平面脊(面或线)和轮廓(线)构建而成。
主要代码如下:
	BRepBuilderAPI_MakePolygon P;
	P.Add(gp_Pnt(0.,0.,0.));
	P.Add(gp_Pnt(200.,0.,0.));
	P.Add(gp_Pnt(200.,200.,0.));
	P.Add(gp_Pnt(0.,200.,0.));
	P.Add(gp_Pnt(0.,0.,0.));
	TopoDS_Wire W = P.Wire();

	TopoDS_Wire wprof = BRepBuilderAPI_MakePolygon(
				gp_Pnt(0.,0.,0.),gp_Pnt(-60.,-60.,-200.));

	TopoDS_Shape S = BRepOffsetAPI_MakeEvolved(
			W,wprof,GeomAbs_Arc,Standard_True,Standard_False,
			Standard_True,0.0001);
	Handle(AIS_Shape) ais3 = new AIS_Shape(wprof);
	myAISContext->Display(ais3,Standard_False);
13、锥形变换
在void CModelingDoc::OnDraft()函数中。显示效果如下:
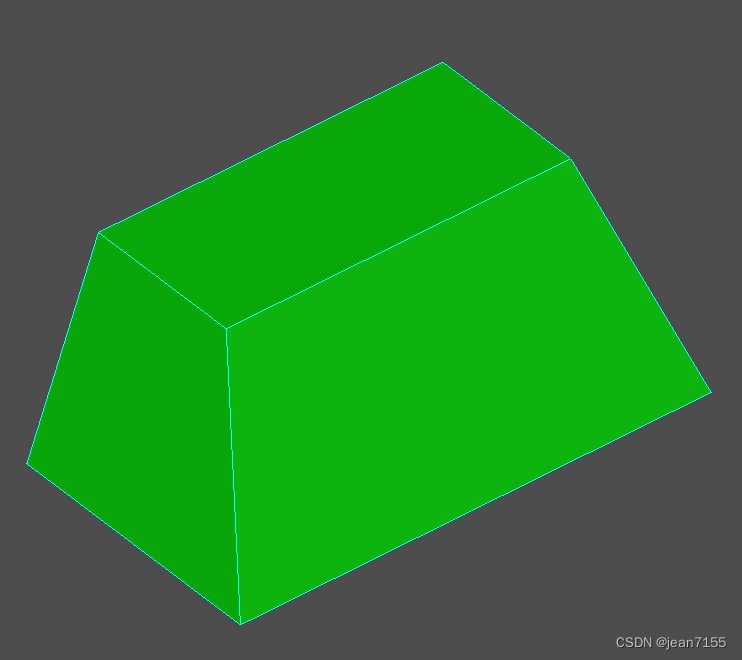
应用的类如下:
- BRepOffsetAPI_DraftAngle类,形状上的锥形添加变换。
主要代码如下:
	BRepOffsetAPI_DraftAngle adraft(S);
	int i =1;
	TopExp_Explorer Ex;
	for (Ex.Init(S,TopAbs_FACE); Ex.More(); Ex.Next()) {


		TopoDS_Face F = TopoDS::Face(Ex.Current());
		Handle(Geom_Plane) surf = Handle(Geom_Plane)::DownCast(BRep_Tool::Surface(F));
		gp_Pln apln = surf->Pln();
		gp_Dir dirF = apln.Axis().Direction();
		if (dirF.IsNormal(gp_Dir(0.,0.,1.),Precision::Angular()))
			adraft.Add(F, gp_Dir(0.,0.,1.), 15.0*M_PI/180, gp_Pln(gp::XOY()));
	}
	ais1->Set(adraft.Shape());
	myAISContext->Redisplay(ais1,Standard_False);
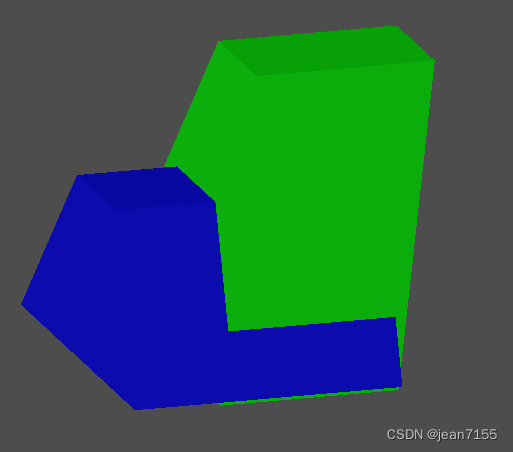
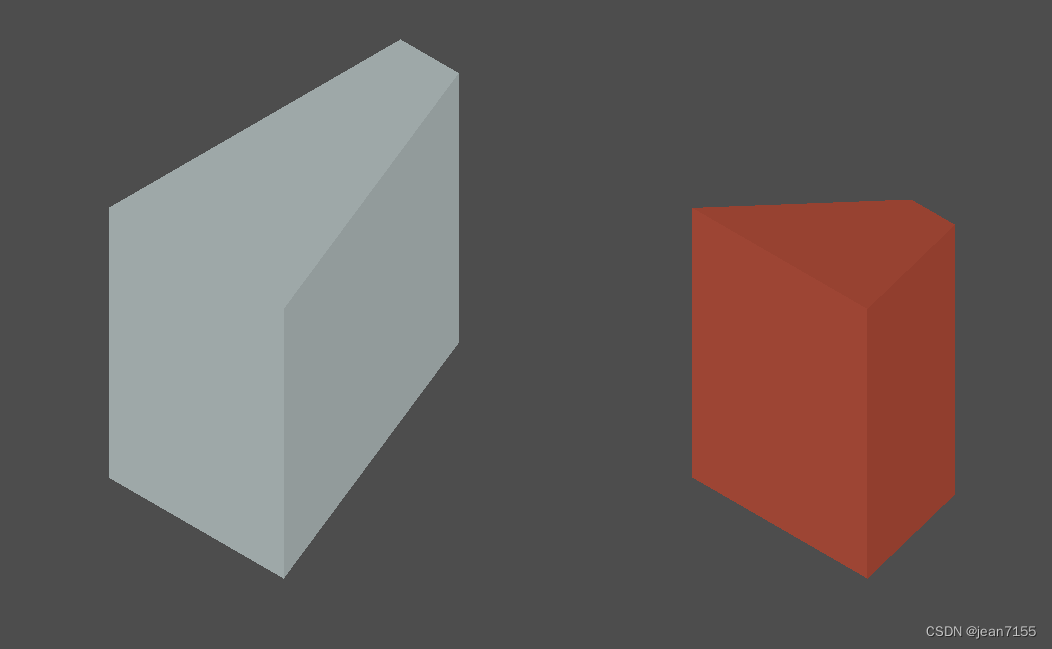
14、布尔运算
在void CModelingDoc::OnCut()函数中。显示效果如下:
在void CModelingDoc::OnFuse()函数中。显示效果如下:
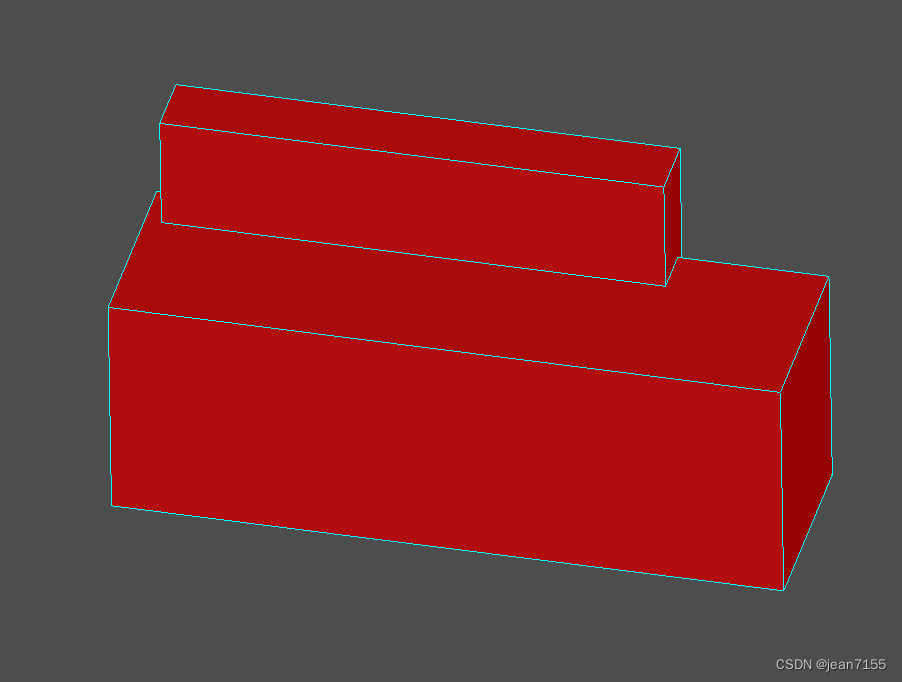
在void CModelingDoc::OnCommon()函数中。显示效果如下:
应用的类如下:
- BRepAlgoAPI_Cut类,布尔减运算。
- BRepAlgoAPI_Fuse类,布尔加运算。
- BRepAlgoAPI_Common类,布尔交集运算。
主要代码如下:
		TopoDS_Shape FusedShape = BRepAlgoAPI_Fuse(theBox1, theBox2);
		TopoDS_Shape ShapeCut = BRepAlgoAPI_Cut(theSphere, theBox);
		TopoDS_Shape theCommonSurface = BRepAlgoAPI_Common(theBox, theWedge);
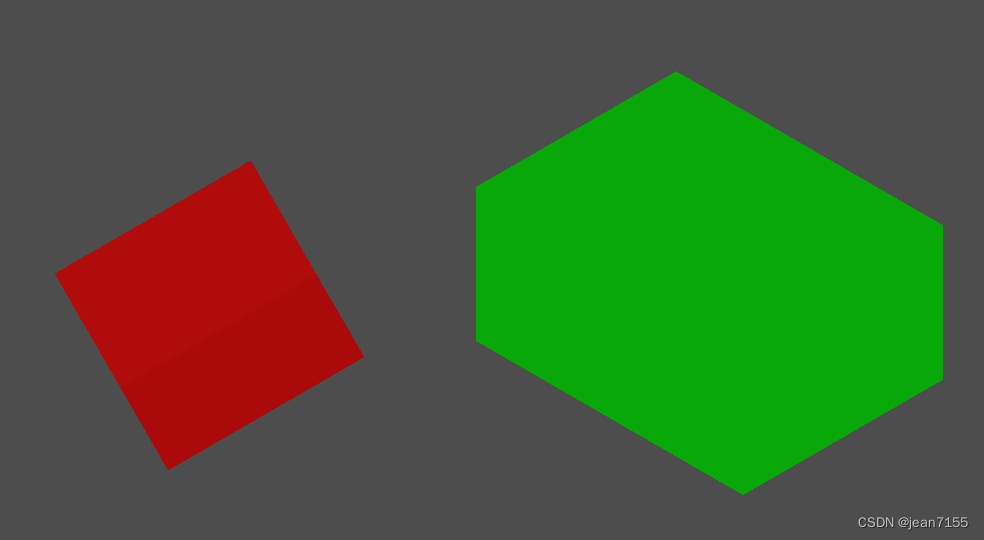
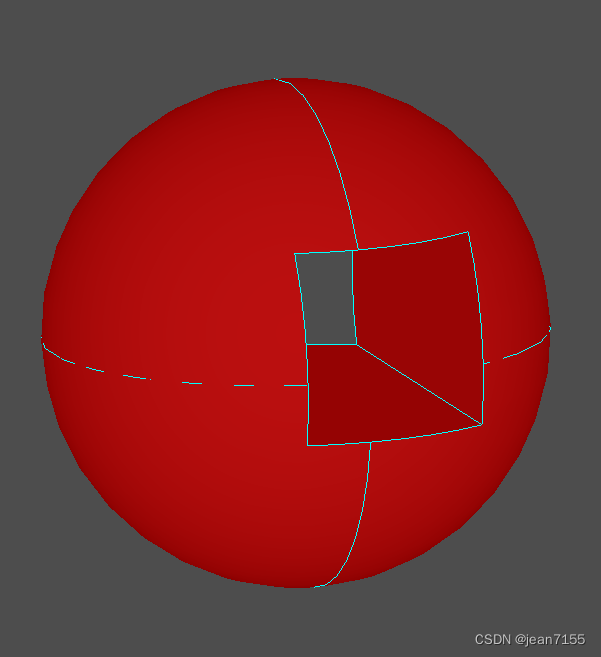
15、截面运算
在void CModelingDoc::OnSection()函数中。显示效果如下:
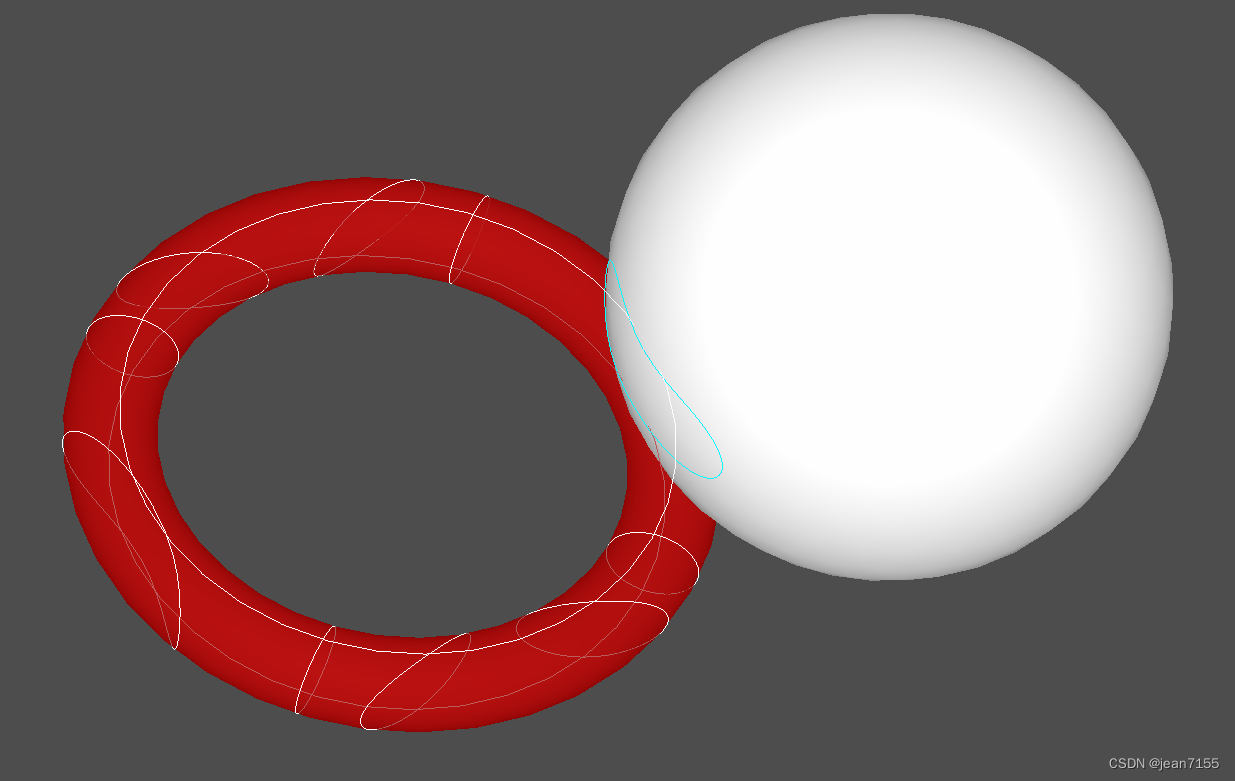
应用的类如下:
- BRepPrimAPI_MakeTorus类,构建圆环形状类。
- BRepPrimAPI_MakeSphere类,构建球体形状类。
- BRepAlgoAPI_Section类,是在参数和工具之间建立一个截面算法。Section运算的结果由顶点和边组成。
主要代码如下:
		BRepAlgoAPI_Section section(atorus, asphere, PerformNow);
		section.ComputePCurveOn1(Standard_True);
		section.Approximation(TopOpeBRepTool_APPROX);
		section.Build();

		Handle(AIS_Shape) asection = new AIS_Shape(section.Shape());
		myAISContext->SetDisplayMode(asection, 0, Standard_False);
16、平面的截面运算
在void CModelingDoc::OnPsection()函数中。显示效果如下:
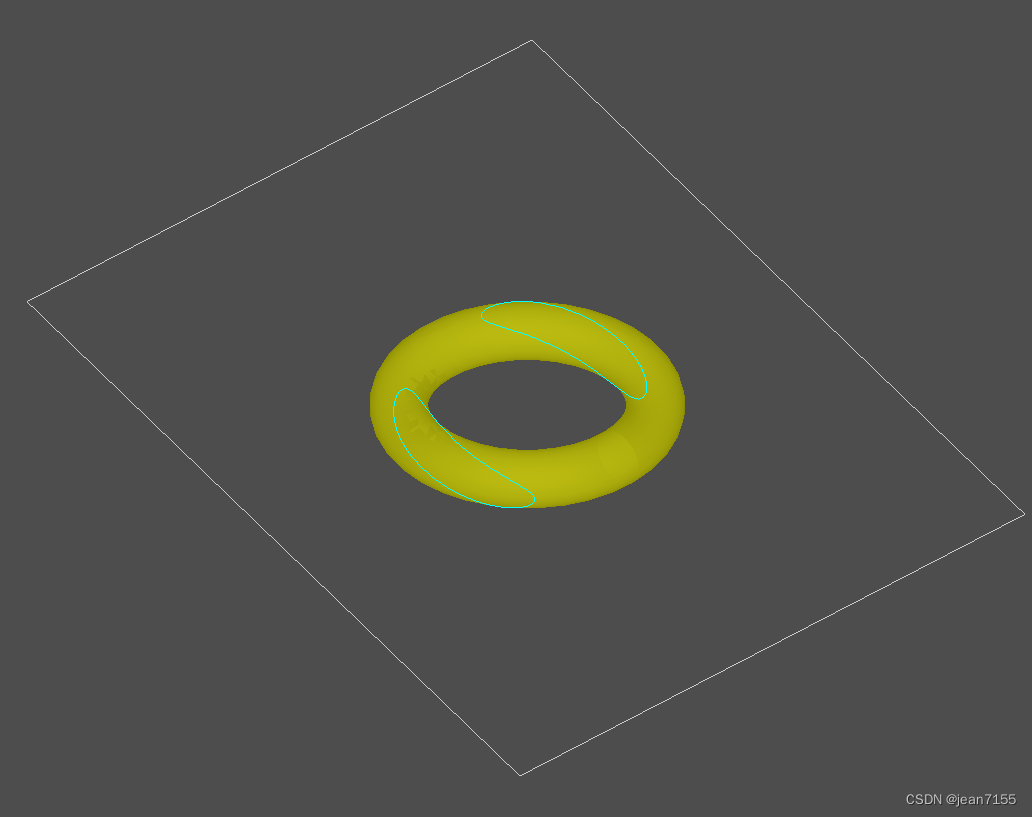
应用的类如下:
- gp_Pln类,描述 3D 空间中的平面。
- Geom_Plane类,描述 3D 空间中的平面。
- gce_MakePln类,实现了以下用于从 gp 创建平面的算法。
- gp_Pln类,Geom_Plane类和gce_MakePln类,都是描述三维空间中的平面,他们是不同包中的不同算法,每个类里面有一些不同的算法。
- AIS_Plane类,构造用于显示复合形状的平面基准。
- BRepAlgoAPI_Section类,是在参数和工具之间建立一个截面算法。Section运算的结果由顶点和边组成。
主要代码如下:
		BRepAlgoAPI_Section section(atorus, asphere, PerformNow);
		section.ComputePCurveOn1(Standard_True);
		section.Approximation(TopOpeBRepTool_APPROX);
		section.Build();

		Handle
最低0.47元/天 解锁文章


 4019
4019

 被折叠的 条评论
为什么被折叠?
被折叠的 条评论
为什么被折叠?
 到【灌水乐园】发言


