trusty-server-cloudimg-amd64-disk1.img是ubuntu官方提供的cloud image,但是默认不能使用密码登陆,大小为2.2G,普通使用很不方便,下面是修改登录密码的方法:
# ubuntu 16.04上执行的操作,安装修改工具包
sudo apt install -y libguestfs-tools
guestfish --rw -a trusty-server-cloudimg-amd64-disk1.img
# 加载image
run
# 挂载磁盘镜像到/
mount /dev/sda1 /
vi /etc/cloud/cloud.conf
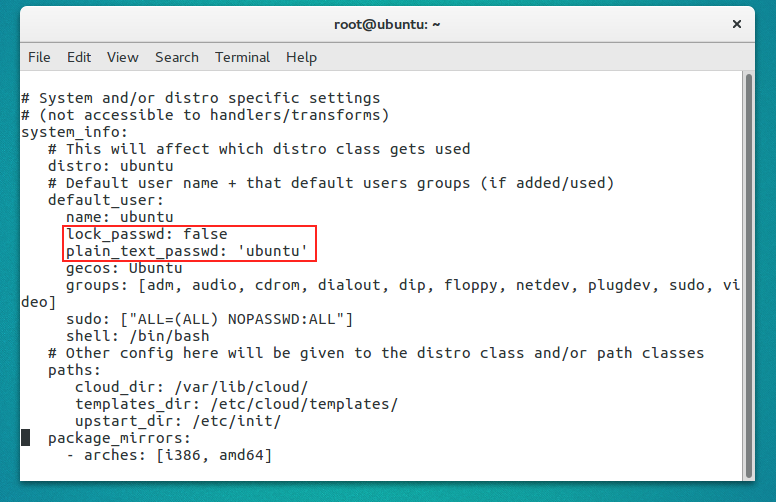
编辑/etc/cloud/cloud.cfg文件,修改默认用户ubuntu的密码:

找到default_user字段

1.把lock_passwd:True修改为:lock_passwd:false.其中lock_passwd默认为true,禁用密码登陆,因此我们要改成false

2.增加plain_text_passwd:'密码'.例如我的:
# vi /etc/ssh/sshd.conf将PasswordAuthentication字段修改为
PasswordAuthentication yes
# 然后退出,再次启动即可

# 调整img大小
qemu-img resize xxx.qcow2 60G
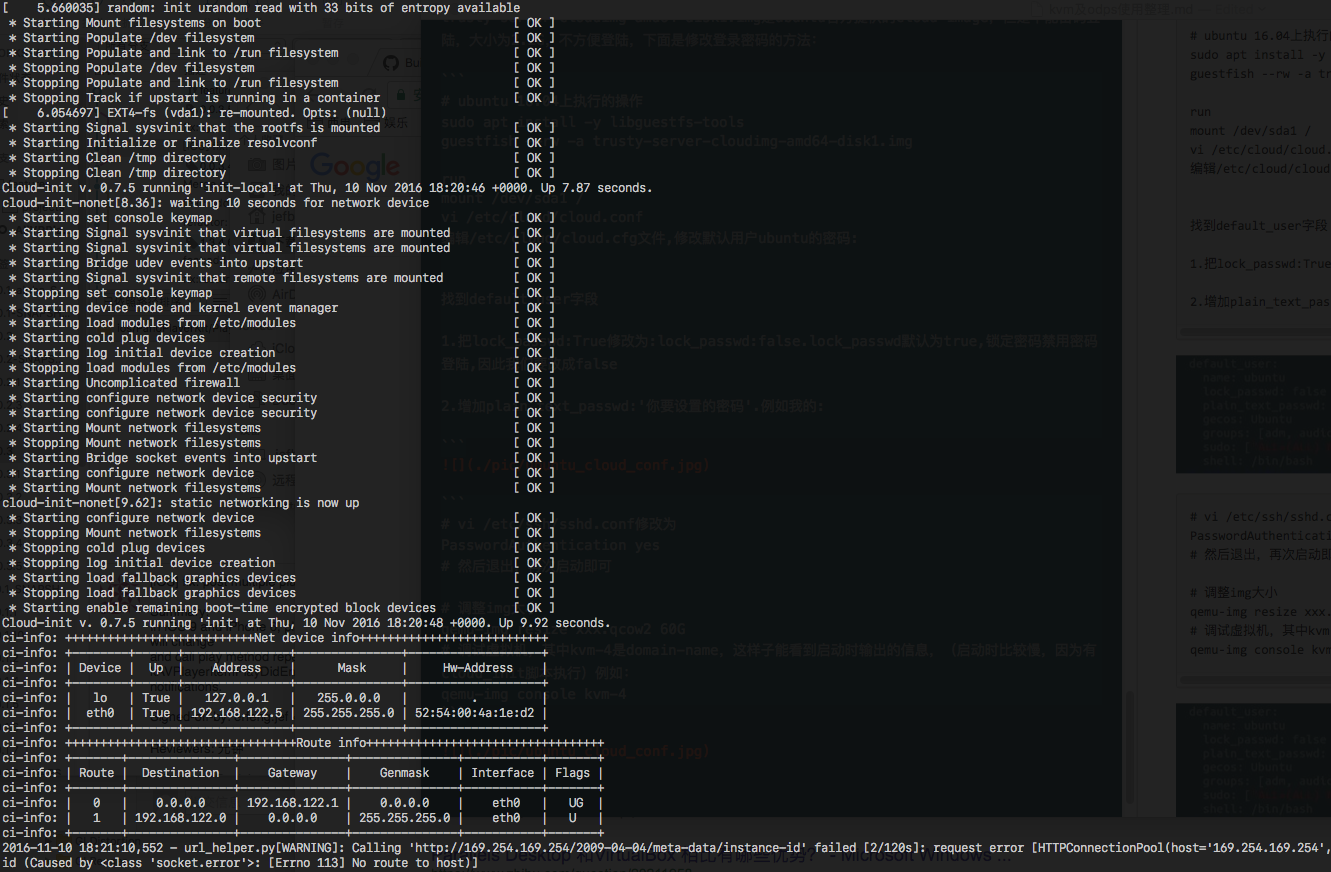
# 调试虚拟机,其中kvm-4是domain-name,这样子能看到启动时输出的信息,(启动时比较慢,因为有cloud_init脚本执行)例如:
qemu-img console kvm-4


 804
804

 被折叠的 条评论
为什么被折叠?


