Halcon学习之旅
从零基础开始学习halcon,希望能一直坚持下去。。。
1.安装
首次是安装halcon-10.0-windows.exe和halcon-10.0-images-windows.exe,然后各种替换文件破解,之后打开一个例程,F5能正常。
2.安装是否成功
开始以例程中

对现实场景中的瓶盖打标进行识别提取。
3.例程学习
例程中的代码量很少,但是万事开头难,想很好的理解并不容易:
dev_update_window ('off')
dev_update_var ('off')
dev_update_pc ('off')
dev_close_window ()
dev_open_window (0, 0, 640, 480, 'black', WindowHandle)
set_display_font (WindowHandle, 16, 'mono', 'true', 'false')
dev_set_colored (12)
dev_set_draw ('margin')
for J := 1 to 5 by 1
    read_image (Image, 'dot_print_rotated/dot_print_rotated_'+J$'02d')
    text_line_orientation (Image, Image, 50, rad(-30), rad(30), OrientationAngle)
    rotate_image (Image, ImageRotate, -OrientationAngle/rad(180)*180, 'constant')
    dots_image (ImageRotate, ImageDots, 3, 'dark', 2)
    scale_image_max (ImageDots, ImageScaleMax)
    intensity (ImageRotate, ImageRotate, Mean, Deviation)
    threshold (ImageScaleMax, RegionThresh, Mean-25, 255)
    connection (RegionThresh, ConnectedDots)
    select_shape (ConnectedDots, SelectedDots, 'area', 'and', 5, 300)
    closing_circle (RegionThresh, RegionClosing, 9.5)
    connection (RegionClosing, ConnectedRegions)
    * Connect splitted parts
    smallest_rectangle1 (ConnectedRegions, Row11, Column11, Row21, Column21)
    gen_rectangle1 (Rectangle1, Row11, Column11, Row21, Column21)
    union1 (Rectangle1, RegionUnion3)
    connection (RegionUnion3, ConnectedRegions2)
    select_shape (ConnectedRegions2, SelectedRegions, ['area','height','width'], 'and', [1000,30,20], [3200,70,70])
    * Get rectangular shape
    smallest_rectangle1 (SelectedRegions, Row1, Column1, Row2, Column2)
    gen_rectangle1 (RectangularShape, Row1, Column1, Row2, Column2)
    * Build lines
    union1 (SelectedRegions, RegionUnion)
    dilation_rectangle1 (RegionUnion, RegionDilation, 50, 1)
    connection (RegionDilation, ConnectedLines)
    select_shape (ConnectedLines, SelectedLines, 'area', 'and', 10000, 99999)
*     dev_display (ImageRotate)
*     dev_display (ConnectedLines)
    * Element of lines
    intersection (SelectedLines, RectangularShape, ElementOfLines)
    intersection (ElementOfLines, SelectedDots, RegionDots)
    dev_clear_window ()
    dev_display (ImageRotate)
    dev_display (ElementOfLines)
    dev_display (RegionDots)
    disp_continue_message (WindowHandle, 'black', 'true')
    stop ()
endfor
dev_clear_window ()
首先前面几行无非是设置显示窗体的颜色、类型之类的,从readImage开始;
a. “$”及for语句
读图使用for循环,J$’02d’可以理解为,图片名称后缀,其中变量J(两位十进制数),省略了后缀.png。其支持的格式有“ima, .tif, .tiff, .gif, .bmp, .jpg, .jpeg, .jp2, .png, .pcx, .ras, .xwd, .pbm, .pnm, .pgm, .ppm”;
b.函数签名
通过多看几次函数调用,基本发现规律:比如-
text_line_orientation (Operator)其签名为:
text_line_orientation(Region, Image : : CharHeight, OrientationFrom, OrientationTo : OrientationAngle) 其中有3个“:”,抽象Fun(A:B:C:D),四个参数A、B、C、D参数集合,分别为:
1. A-图像输入
2. B-图像输出
3. C-参数输入
4. D-参数输出
各个集合中多个参数采用“,”隔开,没有则为空。
c.使用方式
由于英文很久没用,而且也不会如此多的专业术语,有道词典是必备的,通过翻译,其功用是确定文本行或段落的方向。通过图像的传入,该算子能返回图像应该偏移的角度值OrientationAngle,供后续的算子作图形校正之用,值此,对HDevelop语法的套路有初步的了解。
5.牛刀小试

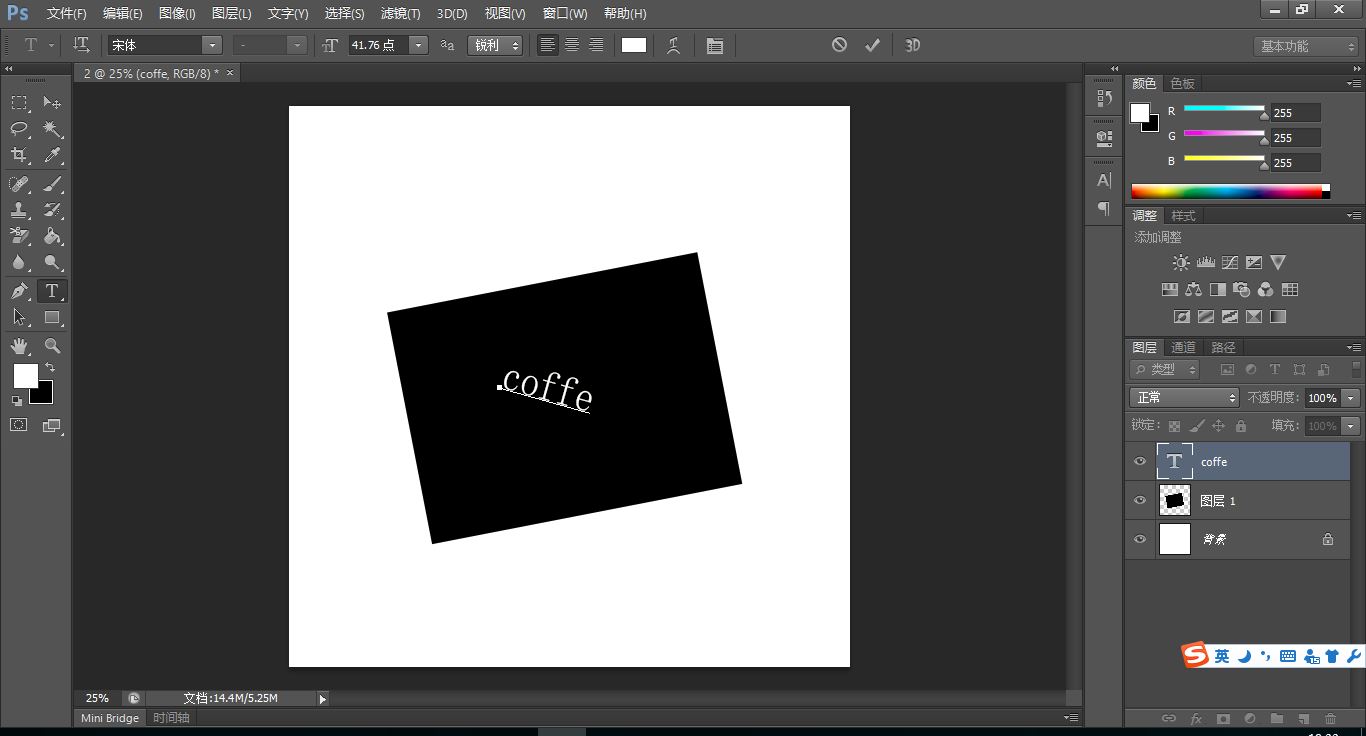
这里使用PS黑图层旋转-30度,白色字体旋转8.5度(独立图层哦),使用
 text_line_orientation (Image, Image, 50, rad(-30), rad(30), OrientationAngle)
 rotate_image (Image, ImageRotate, -OrientationAngle/rad(180)*180, 'constant')
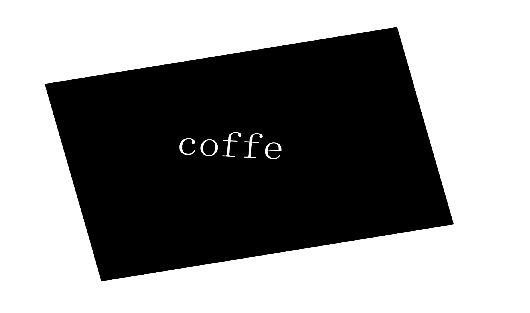
原套路校正效果:

这里要注意text_line_orientation算子的限制条件,即能接收旋转角度复原的最大承受角度为(-45度至45度)。
感觉学习一天就能看到小小效果,满怀激动,希望能坚持学习,加油!


 2094
2094

 被折叠的 条评论
为什么被折叠?


