在看这篇文章之前,需要大家掌握的知识技能:
让我们看看这篇文章中有哪些知识点:
- get方法
- post方法
- header参数,模拟用户
- data参数,提交数据
- proxies参数,使用代理
- 进阶学习
安装上requests库
先来看下帮助文档,看看requests的介绍,用python自带的help命令
| 1 2 | import requests
help(requests)
|
output:
| 1 2 3 4 5 6 7 8 9 10 11 12 13 14 15 16 17 18 19 20 21 22 23 24 25 26 27 28 29 30 31 32 33 34 35 36 37 38 | Help on package requests:
NAME
requests
DESCRIPTION
Requests HTTP Library
~~~~~~~~~~~~~~~~~~~~~
Requests is an HTTP library, written in Python, for human beings. Basic GET
usage:
>>> import requests
>>> r = requests.get('https://www.python.org')
>>> r.status_code
200
>>> 'Python is a programming language' in r.content
True
... or POST:
>>> payload = dict(key1='value1', key2='value2')
>>> r = requests.post('https://httpbin.org/post', data=payload)
>>> print(r.text)
{
...
"form": {
"key2": "value2",
"key1": "value1"
},
...
}
The other HTTP methods are supported - see `requests.api`. Full documentation
is at <http://python-requests.org>.
:copyright: (c) 2017 by Kenneth Reitz.
:license: Apache 2.0, see LICENSE for more details.
|
这里解释下,requests库是由python编写的对人类友好的http库,并且举例了GET与POST的方法。
GET方法
好的,那我们自己来测试下,就以请求百度为例吧,,,(谁让百度这么耐抗的)
| 1 2 3 4 | import requests
r = requests.get('https://www.baidu.com')
print(r.status_code) #打印返回的http code
print(r.text) #打印返回结果的text
|
方便点,截了个图给大家看,返回的code是200,说明请求正常拉回网页了。
看下返回的text,有点不对头,少了一些html标签,最起码百度两个字得有吧。嗯,这是什么原因,,,
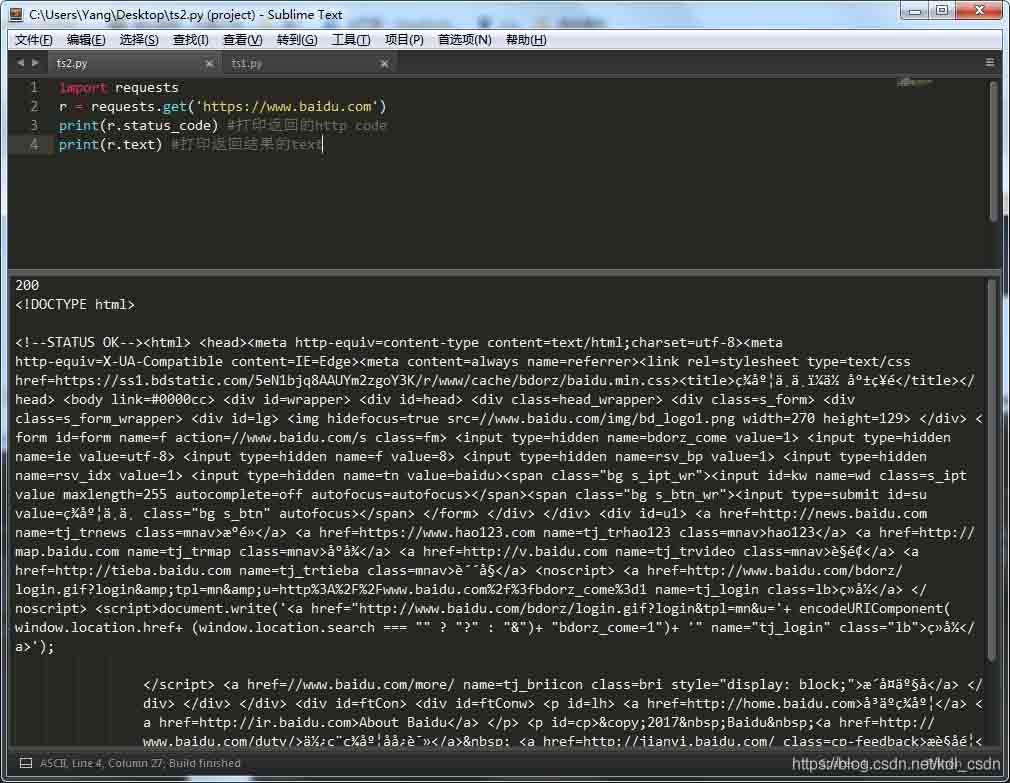
相信有些同学已经想到了,是没有真实模拟用户的请求,你去爬数据,还不模拟用户请求,那肯定限制你啊。这个时候需要加一个header参数来搞定,至少要加一个user-agent吧。好,那咋们去找一个ua吧。别百度了,自己动手,丰衣足食。教大家一个办法,用谷歌或者火狐的开发者工具。
谷歌浏览器的开发者工具
打开新标签 —— 按F12——访问下百度——找到NetWork——随便点开一个——往下翻——看到ua了吧,复制上。

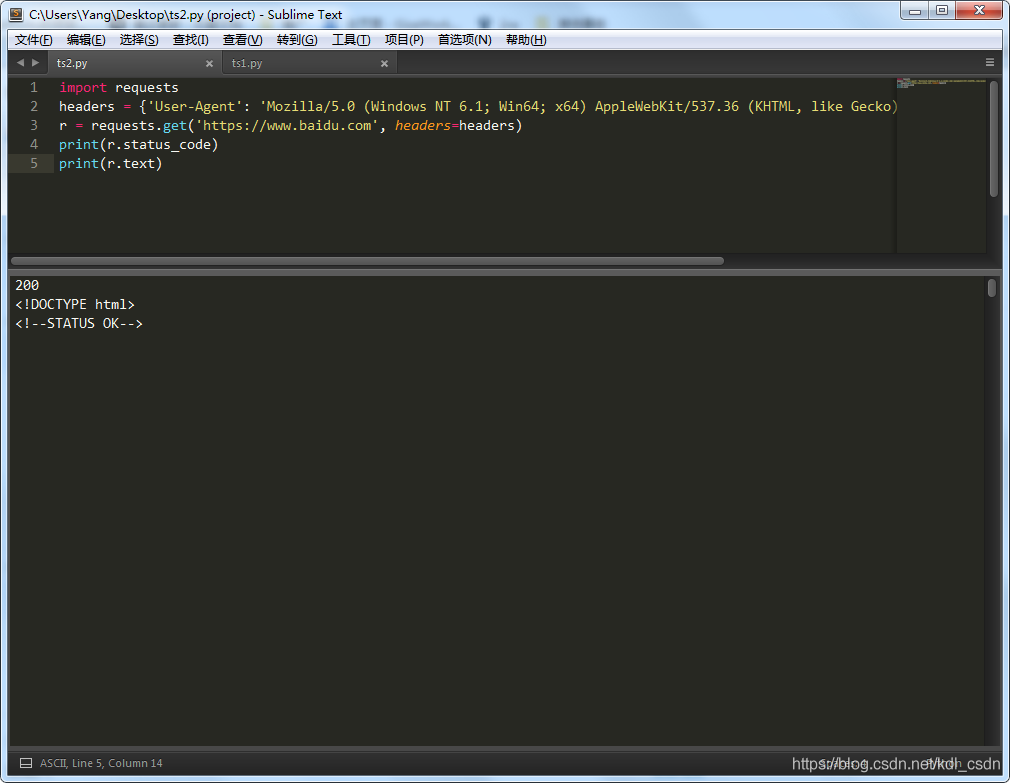
| 1 2 3 4 5 | import requests
headers = {'User-Agent': 'Mozilla/5.0 (Windows NT 6.1; Win64; x64) AppleWebKit/537.36 (KHTML, like Gecko) Chrome/74.0.3729.131 Safari/537.36'}
r = requests.get('https://www.baidu.com', headers=headers)
print(r.status_code)
print(r.text)
|
嗯~~~数据有点多,往下翻翻,这下就正常了嘛,数据都有了。。。PS:不信?可以自己输出一个html文件,浏览器打开看看呗
POST方法
只需要把get改成post就好了
| 1 2 3 4 5 | import requests
headers = {'User-Agent': 'Mozilla/5.0 (Windows NT 6.1; Win64; x64) AppleWebKit/537.36 (KHTML, like Gecko) Chrome/74.0.3729.131 Safari/537.36'}
r = requests.post('https://www.baidu.com', headers=headers)
print(r.status_code)
print(r.text)
|
运行下试试看。一般post都是用来提交表单信息的,嗯,这里找一个能提交数据的url,去post下。
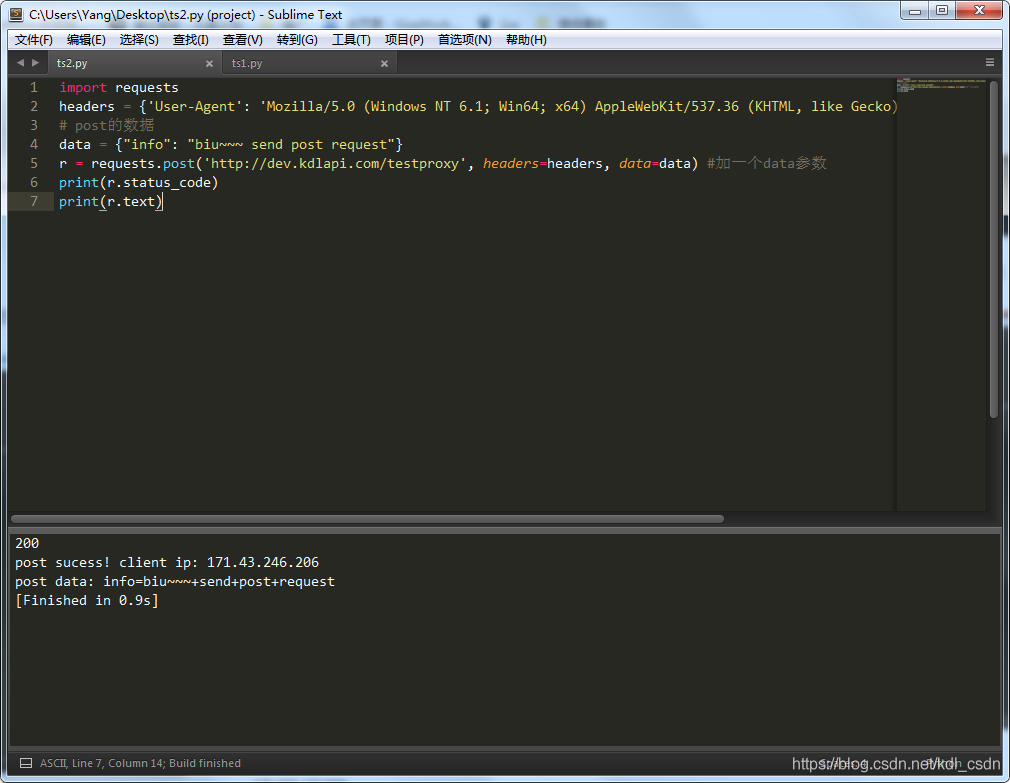
用我自己写的接口(PS:django写的,挺方便),大家复制过去就好了。注意看代码,data是要post的数据,post方法里加了一个data参数。
| 1 2 3 4 5 6 7 | import requests
headers = {'User-Agent': 'Mozilla/5.0 (Windows NT 6.1; Win64; x64) AppleWebKit/537.36 (KHTML, like Gecko) Chrome/74.0.3729.131 Safari/537.36'}
# post的数据
data = {"info": "biu~~~ send post request"}
r = requests.post('http://dev.kdlapi.com/testproxy', headers=headers, data=data) #加一个data参数
print(r.status_code)
print(r.text)
|
截个图给大家看下,http code 200,body信息说的post成功,并且返回的了我自己的IP信息以及post的数据
使用代理
为什么用代理?一般网站都有屏蔽的限制策略,用自己的IP去爬,被封了那该网站就访问不了,这时候就得用代理IP来解决问题了。封吧,反正封的不是本机IP,封的代理IP。
既然使用代理,得先找一个代理IP。PS:自己写个代理服务器太麻烦了,关键是我也不会写啊,,,哈哈哈
| 1 2 3 4 5 6 7 8 9 10 11 12 13 14 15 16 | import requests
headers = {'User-Agent': 'Mozilla/5.0 (Windows NT 6.1; Win64; x64) AppleWebKit/537.36 (KHTML, like Gecko) Chrome/74.0.3729.131 Safari/537.36'}
# post的数据
data = {"info": "biu~~~ send post request"}
# 代理信息,由快代理赞助
proxy = '115.203.28.25:16584'
proxies = {
"http": "http://%(proxy)s/" % {'proxy': proxy},
"https": "http://%(proxy)s/" % {'proxy': proxy}
}
r = requests.post('http://dev.kdlapi.com/testproxy', headers=headers, data=data, proxies=proxies) #加一个proxies参数
print(r.status_code)
print(r.text)
|
主要方法里加个proxies参数,这就用上代理IP了。


 2584
2584


 被折叠的 条评论
为什么被折叠?
被折叠的 条评论
为什么被折叠?
 到【灌水乐园】发言


