


跑个demo累的半死
前后不同时间不同电脑跑了三次,所有问题应该都碰到过了。
Faster R-CNN教程
本教程主要基于python版本的faster R-CNN,因为python layer的使用,这个版本会比matlab的版本速度慢10%,但是准确率应该是差不多的。
目前已经实现的有两种方式:
- Alternative training
- Approximate joint training
推荐使用第二种,因为第二种使用的显存更小,而且训练会更快,同时准确率差不多甚至略高一点。
Contents
- 配置环境
- 安装步骤
- Demo
- 建立自己的数据集
- 训练和检测
配置环境
1配置python layers
#In your Makefile.config, make sure to have this line uncommented
WITH_PYTHON_LAYER := 1
# Unrelatedly, it's also recommended that you use CUDNN
USE_CUDNN := 12安装几个依赖cython, python-opencv, easydict
sudo apt-get install python-opencv
sudo pip install cython easydict
注:有时候不能加sudo, 多试
安装步骤
1克隆工程
git clone --recursive https://github.com/rbgirshick/py-faster-rcnn.git2编译Cython模块
cd $FRCN_ROOT/lib
make
3编译caffe和pycaffe
cd $FRCN_ROOT/caffe-fast-rcnn
# Now follow the Caffe installation instructions here:
#   http://caffe.berkeleyvision.org/installation.html

# If you're experienced with Caffe and have all of the requirements installed
# and your Makefile.config in place, then simply do:
make -j8 && make pycaffe
Demo
安装步骤完成后,就可以运行一下demo了。
cd $FRCN_ROOT
./tools/demo.py
注:有时候报错:permission denied
如果sudo不行,用下面一句:
chmod 777 ./tools/demo.py
这是执行以上步骤遇到的其中两个问题百度到的解决方案,python-yaml 安装,我的unbuntu14.04直接用
sudo apt-get install python-yaml,如图:

问题二:显卡不行
将demo.py 的net 改为default=ZF((不对!!!是小写zf!!!细心!!)

2016.11.02 第二次跑多出现几个错误 折腾!!!:
ImportError:can not find module skimage.io
ImportError: No module named google.protobuf
此时只要按照以下命令操作即可:
$ sudo apt-get install python-numpy python-scipy python-matplotlib python-sklearn python-skimage python-h5py python-protobuf python-leveldb python-networkx python-nose python-pandas python-gflags Cython ipython
$ pip install protobuf
$ make pycaffe
cd $FRCN_ROOT
./tools/demo.py方法一:chmod a+x tools/demo.py
方法二: python ./tools/demo.py
方法二解决问题,但是有新的错误:
from nms.cpu_nms import cpu_nms
ImportError: /media/jing/000A9C35000B43B9/py-faster-rcnn/tools/../lib/nms/cpu_nms.so: undefined symbol: PyFPE_jbuf
在博客http://www.cnblogs.com/justinzhang/p/5386837.html找到解决方法:在根目录下的lib/fast_rcnn里找到nms_wrapper.py:注释一句话from nms.cpu_nms import cpu_nms,如图:

接着
python ./tools/demo.py
大功告成:
第二次换了图片:

我的安装主要参考以下三个博客:
http://www.cnblogs.com/wangxiaocvpr/p/5717018.html
http://www.cnblogs.com/CarryPotMan/p/5390336.html
http://blog.csdn.net/helloeveryon/article/details/48789079
我跑的结果::
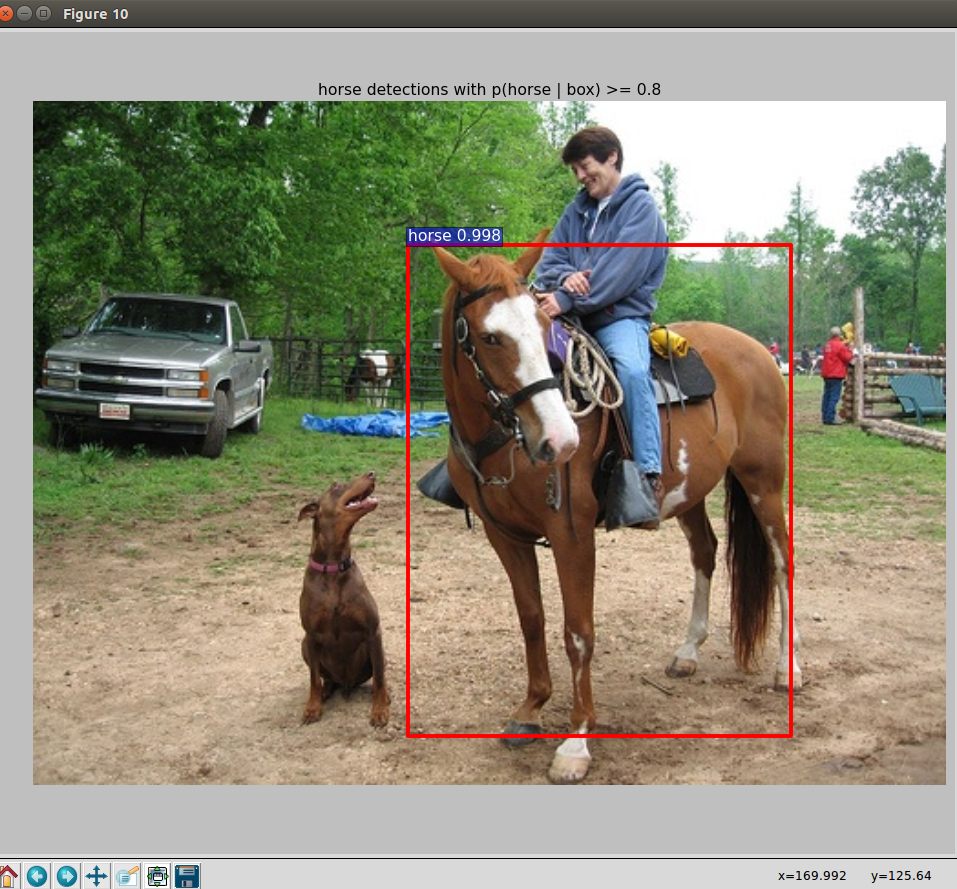
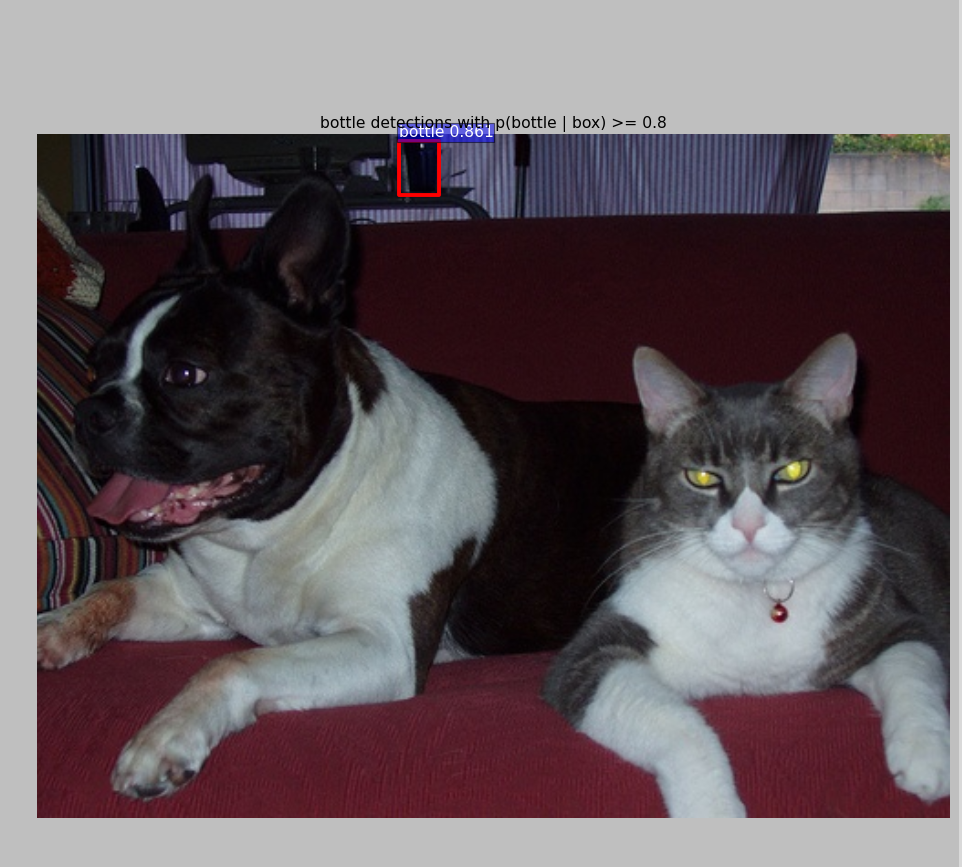
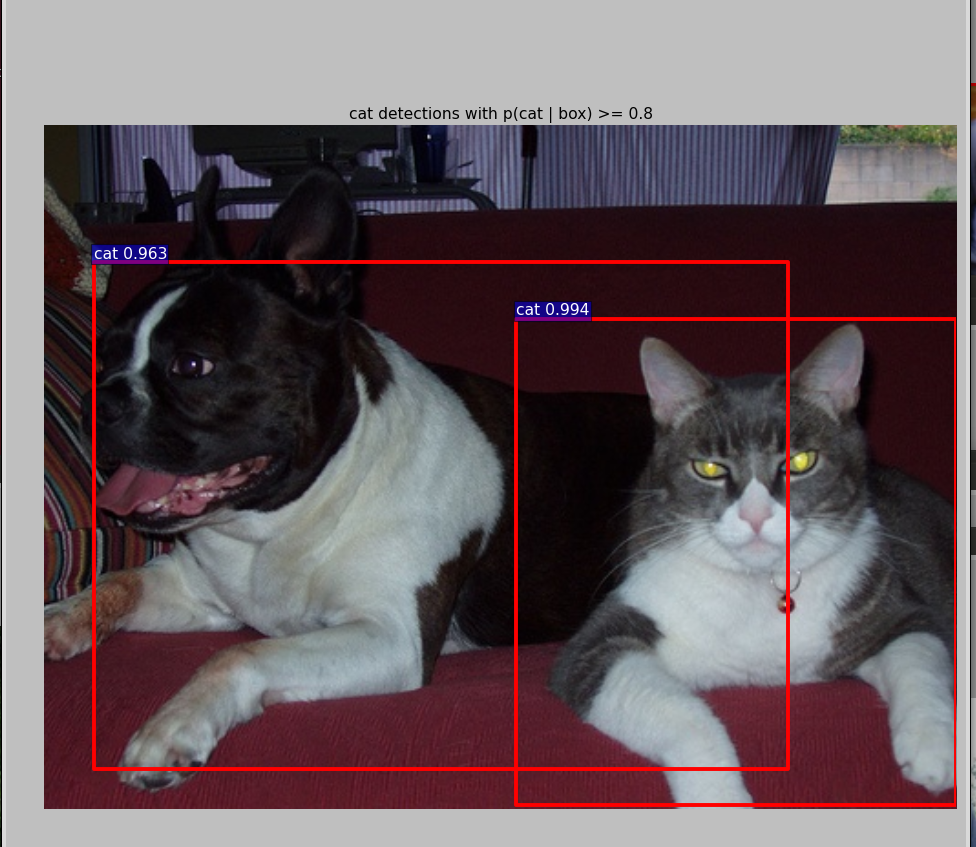
一直纠结这么犀利的cnn怎么会有误报?可能模型不够好,
解决方法:
将cudnn 打开, 可以恢复 default= vgg16 这样误报没啦!!!cudnn配置见点击打开链接

</div>


 891
891


 被折叠的 条评论
为什么被折叠?
被折叠的 条评论
为什么被折叠?
 到【灌水乐园】发言


