


综合练习: 请给openlab搭建web网站
1.准备
[root@server ~]# setenforce 0
setenforce: SELinux is disabled
[root@server ~]# systemctl stop firewalld
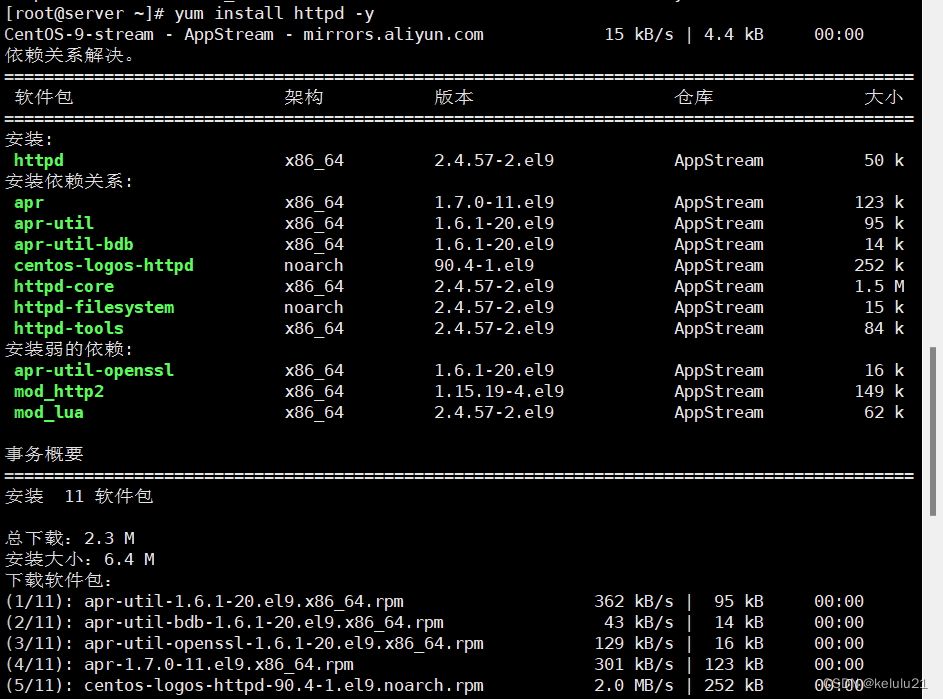
[root@server ~]# yum install httpd -y
[root@server ~]# systemctl start httpd
[root@server ~]# systemctl enable httpd
Created symlink /etc/systemd/system/multi-user.target.wants/httpd.service → /usr/lib/systemd/system/httpd.service.
2.下载httpd并设置开机启动和查看运行状态
基于域名www.openlab.com可以访问网站内容为 welcome to openlab
[root@server ~]# mkdir -p /www/openlab
[root@server ~]# touch /www/openlab/index.html
[root@server ~]# echo  'welcome to openlab!!!'  >  /www/openlab/index.html


[root@server ~]# vim  /etc/httpd/conf/httpd.conf
<VirtualHost  192.168.37.140>
         DocumentRoot    /www/openlab
         ServerName      'www.openlab.com'
         <Directory  /www/openlab>
                 AllowOverride  None
                require all granted
        </Directory>
</VirtualHost>


[root@server ~]# systemctl restart  httpd


[root@server ~]# vim  /etc/hosts
192.168.119.138  www.openlab.com

# windows端,打开C:\Windows\System32\drivers\etc\hosts,添加以下内容:
192.168.37.140 www.openlab.com 
给该公司创建三个子界面,分别显示学生信息,教学资料和缴费网站,基于
www.openlab.com/student 网站访问学生信息
www.openlab.com/data网站访问教学资料
www.openlab.com/money 网站访问缴费网站
[root@server ~]# mkdir -p /www/openlab/student
[root@server ~]# touch /www/openlab/student/index.html
[root@server ~]# echo  '网站访问学生信息,welcome to www.openlab.com/student,网站访问学生信息'  >  /www/openlab/student/index.html

[root@server ~]# mkdir -p /www/openlab/data
[root@server ~]# touch /www/openlab/data/index.html
[root@server ~]# echo  '网站访问教学资料,welcome to www.openlab.com/data,网站访问教学资料'  >  /www/openlab/data/index.html

[root@server ~]# mkdir -p /www/openlab/money
[root@server ~]# touch /www/openlab/money/index.html
[root@server ~]# echo  '网站访问缴费网站,welcome to www.openlab.com/money,网站访问缴费网站'  >  /www/openlab/money/index.html

[root@server ~]# vim  /etc/httpd/conf/httpd.conf
<VirtualHost  192.168.37.140>
         DocumentRoot    /www/openlab/student
         ServerName      'www.openlab.com/student'
         alias /data /www/openlab/student
         <Directory  /www/openlab/student>
                 AllowOverride  None
                require all granted
         </Directory>
</VirtualHost>
<VirtualHost  192.168.37.140>
         DocumentRoot    /www/openlab/data
         ServerName      'www.openlab.com/data'
         alias /data /www/openlab/data
         <Directory  /www/openlab/data>
                 AllowOverride  None
                require all granted
         </Directory>
</VirtualHost>
<VirtualHost  192.168.37.140>
         DocumentRoot    /www/openlab/money
         ServerName      'www.openlab.com/money'
         alias /money  /www/openlab/money
         <Directory  /www/openlab/money>
                 AllowOverride  None
                require all granted
         </Directory>
</VirtualHost>


学生信息网站只有song和tian两人可以访问,其他用户不能访问。
[root@server ~]# vim  /etc/httpd/conf.d/userdir.conf
    #UserDir disabled
    UserDir /www/openlab/student

[root@server ~]# useradd  song
[root@server ~]# passwd   song
更改用户 song 的密码 。
新的密码:                   # 密码123456
无效的密码: 密码少于 8 个字符
重新输入新的密码:
passwd:所有的身份验证令牌已经成功更新。

[root@server ~]# useradd  tian
[root@server ~]# passwd   tian
更改用户 tian 的密码 。
新的密码:                  # 密码654321
无效的密码: 密码少于 8 个字符
重新输入新的密码:
passwd:所有的身份验证令牌已经成功更新。

[root@server ~]$ chmod  -Rf  755  /www/openlab/student

[root@server ~]# systemctl restart  httpd

[root@server ~]# htpasswd  -c  /etc/httpd/passwd  song
New password:            # 123456
Re-type new password:
Adding password for user song


[root@server ~]# htpasswd  /etc/httpd/passwd tian
New password:
Re-type new password:
Adding password for user tian

[root@server ~]# vim  /etc/httpd/conf/httpd.conf
#<VirtualHost  192.168.37.140>
#         DocumentRoot    /www/openlab/student
#         ServerName      'www.openlab.com/student'
#         alias /data /www/openlab/student
#         <Directory  /www/openlab/student>
#                AllowOverride  None
#                require all granted
#         </Directory>
# </VirtualHost>

[root@server ~]# vim  /etc/httpd/conf.d/userdir.conf
<Directory "/www/openlab/student">
        authuserfile   "/etc/httpd/passwd"
        authname       "My  privately  website"
        authtype       basic
        require  user  song
</Directory>
<Directory "/www/openlab/student">
        authuserfile   "/etc/httpd/passwd"
        authname       "My  privately  website"
        authtype       basic
        require  user  tian
</Directory>

[root@server ~]# systemctl restart httpd
# windows端打开浏览器,输入www.openlab.com/student,此时会有对话框出现需要输入密码
访问缴费网站实现数据加密基于https访问
[root@server ~]# yum  install  mod_ssl  -y

[root@server ~]# cd  /etc/pki/tls/private/
[root@server private]# openssl  genrsa  -aes128   2048  >  money.key
Enter PEM pass phrase:   # 设置私钥文件的加密密码 ,123456
Verifying - Enter PEM pass phrase:

[root@server private]# cd  /etc/pki/tls/certs/
[root@server certs]# openssl  req  -utf8  -new  -key  /etc/pki/tls/private/money.key  -x509  -days  365  -out  money.crt

Enter pass phrase for /etc/pki/tls/private/zy.key:
You are about to be asked to enter information that will be incorporated
into your certificate request.
What you are about to enter is what is called a Distinguished Name or a DN.
There are quite a few fields but you can leave some blank
For some fields there will be a default value,
If you enter '.', the field will be left blank.
-----
Country Name (2 letter code) [XX]:86
State or Province Name (full name) []:shacnxi
Locality Name (eg, city) [Default City]:xi'an
Organization Name (eg, company) [Default Company Ltd]:OpenLab
Organizational Unit Name (eg, section) []:Finance
Common Name (eg, your name or your server's hostname) []:server
Email Address []:923452780@qq.com

[root@server ~]# vim  /etc/httpd/conf/httpd.conf
#<VirtualHost  192.168.37.140>
#         DocumentRoot    /www/openlab/money
#         ServerName      'www.openlab.com/money'
#         alias /money  /www/openlab/data
#         <Directory  /www/openlab/money>
#               AllowOverride  None
#                require all granted
#         </Directory>
# </VirtualHost>

[root@server ~]# vim  /etc/httpd/conf.d/ssl.conf
<VirtualHost  192.168.37.140:443>
        SSLEngine on
        SSLCertificateFile /etc/pki/tls/certs/money.crt
        SSLCertificateKeyFile /etc/pki/tls/private/money.key
        ServerName      'www.openlab.com/money'
        DocumentRoot    /www/openlab/money
        alias /money /www/openlab/money
</VirtualHost>

<Directory  /www/openlab/money>
        AllowOverride  none
        Require all granted
</Directory>

[root@server ~]# systemctl start httpd 


 206
206


 被折叠的 条评论
为什么被折叠?
被折叠的 条评论
为什么被折叠?
 到【灌水乐园】发言


