


一、修改allure中allure.yml文件配置
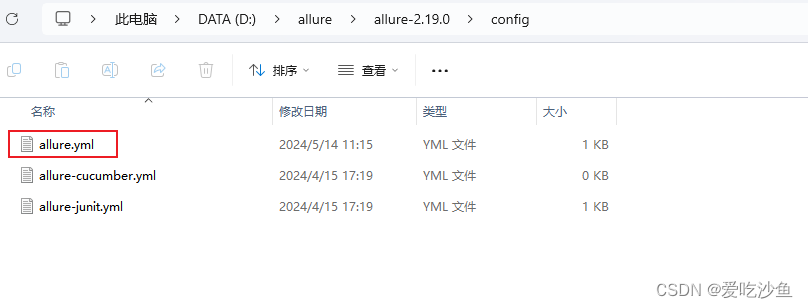
1.进入allure安装目录,D:\allure\allure-2.19.0\config,找到allure.yml文件
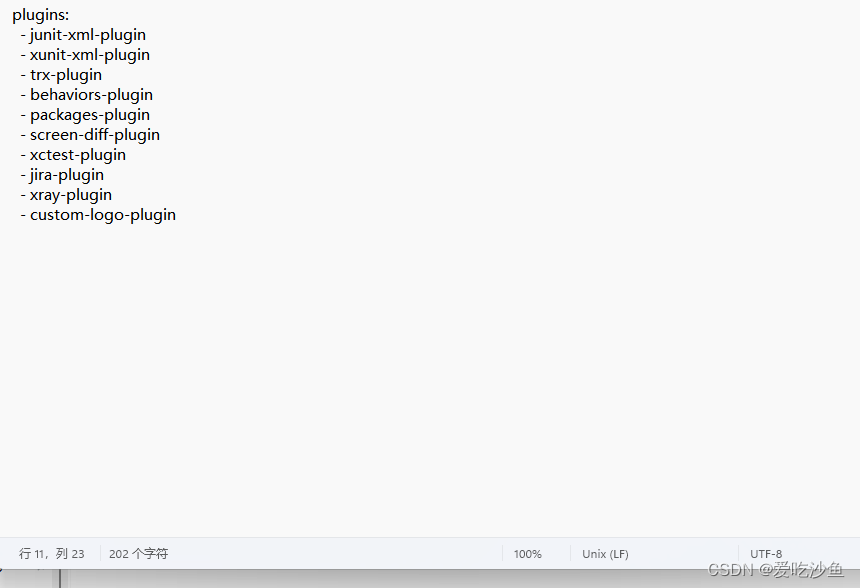
2.在末尾加上- custom-logo-plugin,注意空格!!!!
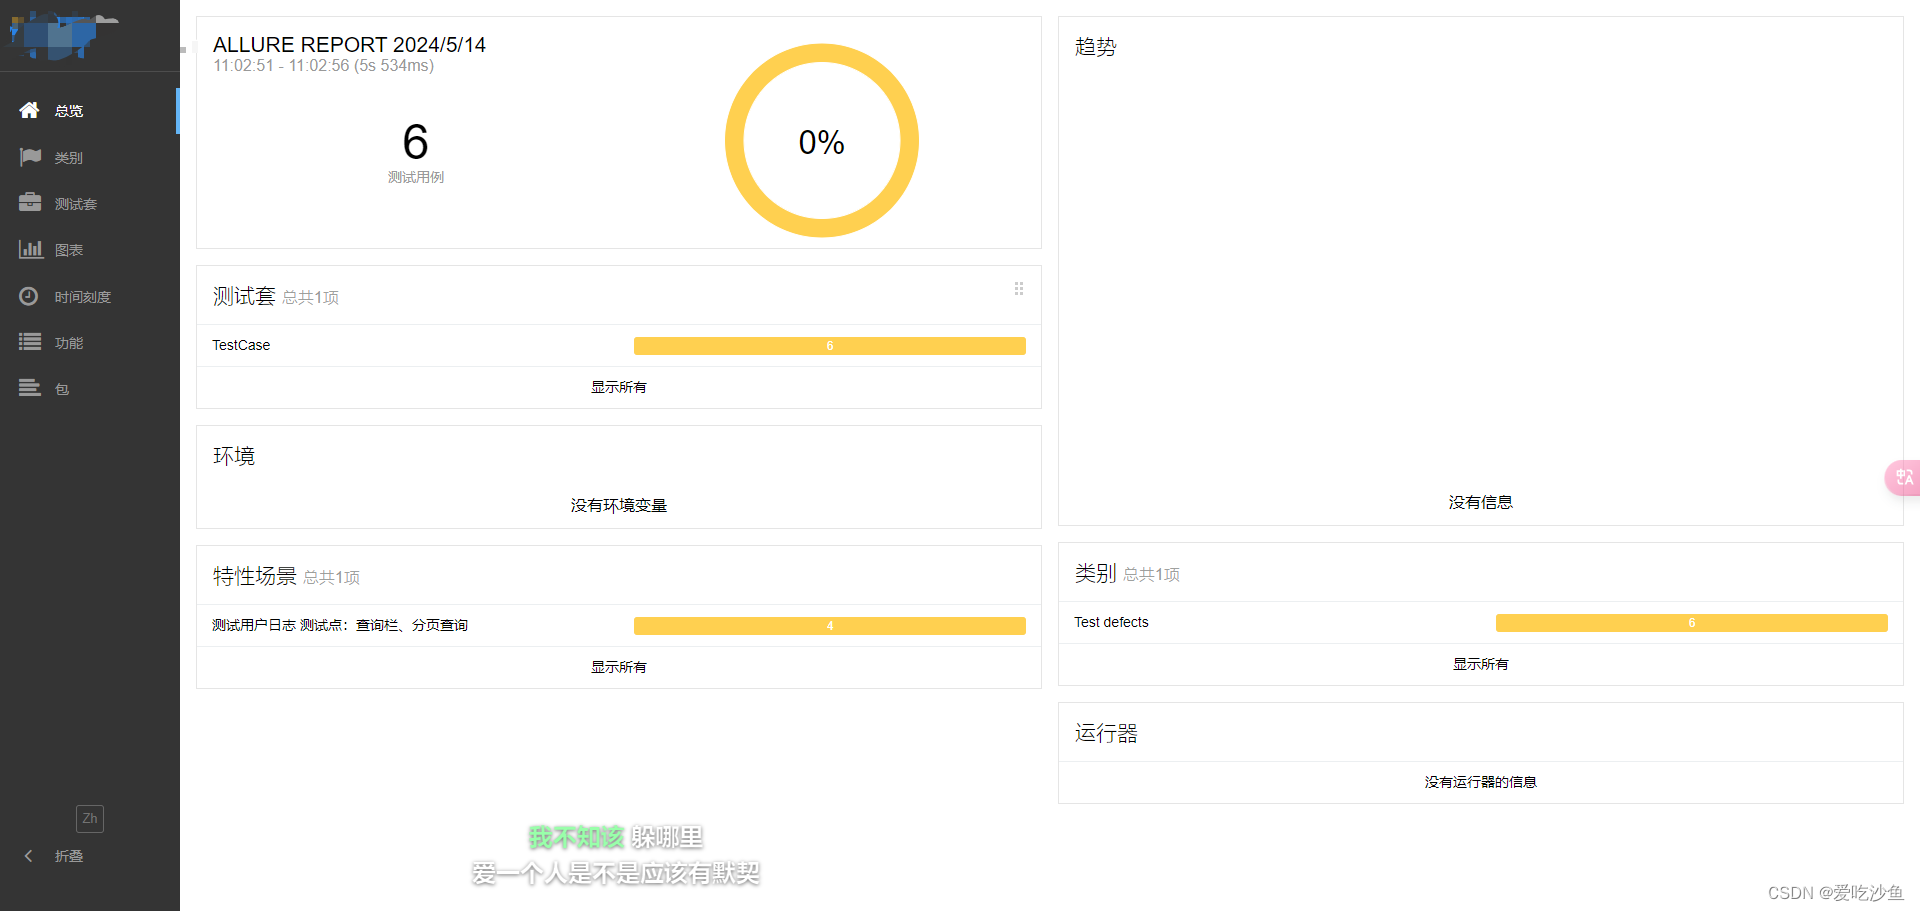
修改完后,先测试一下,logo应该会改为如下图:

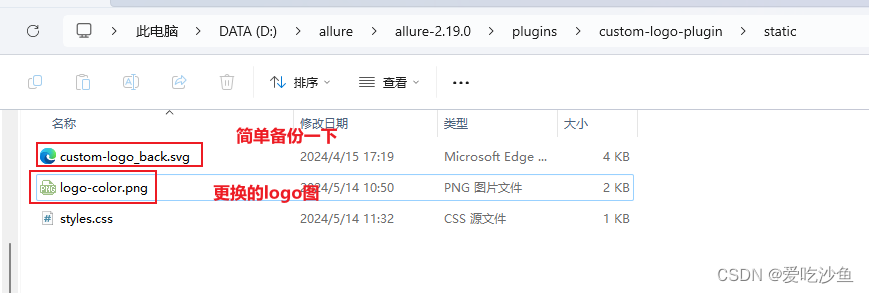
二、进入custom-logo-plugin下修改其logo图片,具体目录如下:D:\allure\allure-2.19.0\plugins\custom-logo-plugin\static
修改style.css文件,如下:
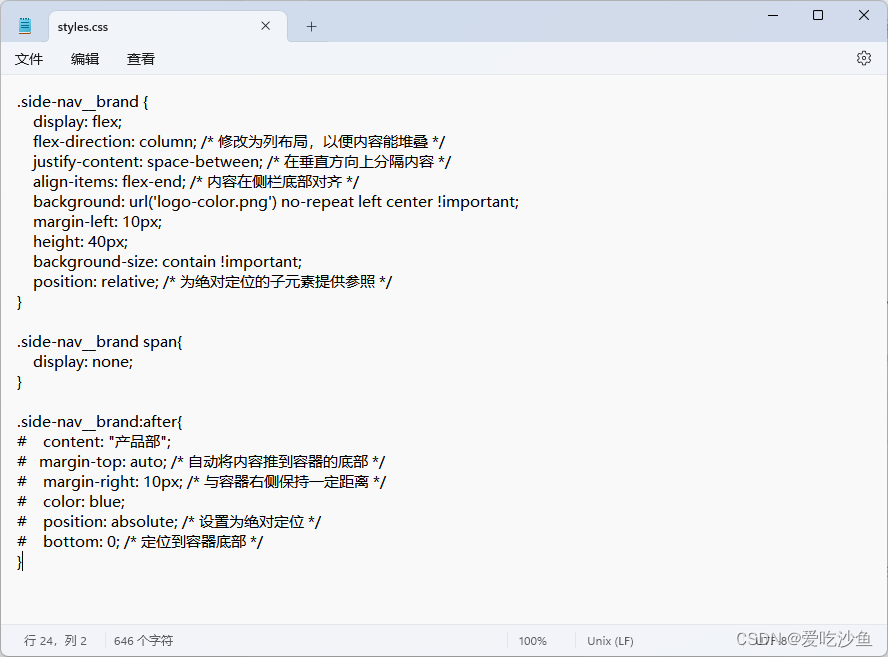
.side-nav__brand {
    display: flex;
    flex-direction: column; /* 修改为列布局,以便内容能堆叠 */
    justify-content: space-between; /* 在垂直方向上分隔内容 */
    align-items: flex-end; /* 内容在侧栏底部对齐 */
    background: url('logo-color.png') no-repeat left center !important;
    margin-left: 10px;
    height: 40px;
    background-size: contain !important;
    position: relative; /* 为绝对定位的子元素提供参照 */
}

.side-nav__brand span{
    display: none;
}

.side-nav__brand:after{
#    content: "产品部";
#   margin-top: auto; /* 自动将内容推到容器的底部 */
#    margin-right: 10px; /* 与容器右侧保持一定距离 */
#    color: blue;
#    position: absolute; /* 设置为绝对定位 */
#    bottom: 0; /* 定位到容器底部 */
}
注释部分是因为发现文字加上去有点丑,怎么调都不太好看,干脆去掉了
2.在命令行中执行
allure generate allure-results -c -o allure-report
如下图:
![]()
打开index.html文件测试一下:


 618
618

 被折叠的 条评论
为什么被折叠?
被折叠的 条评论
为什么被折叠?
 到【灌水乐园】发言


