


前言
就像一部电影原谅惨败的票房,我走在街上,闷着头游荡,把心事流放。
简介
在之前的一篇文章中点击查看,我们曾讲过Android中AIDL的使用,它可以实现进程间的通信。今天来整理之前写的东西,突然发现了新的问题。
由于本次博文是基于之前的AIDL文章来写的,所以今天我们只是大概做个总结,如果你还没有看过我之前写的关于AIDL的文章点击打开链接,可以先去阅读下。
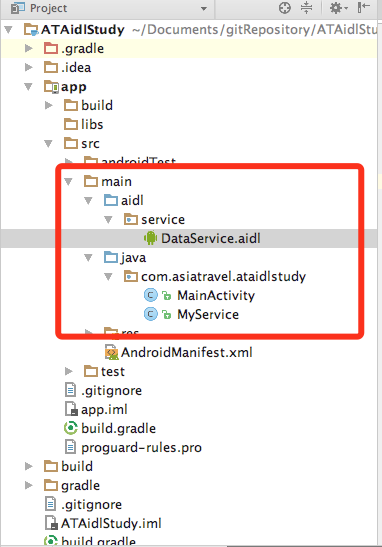
项目结构
1. 服务端
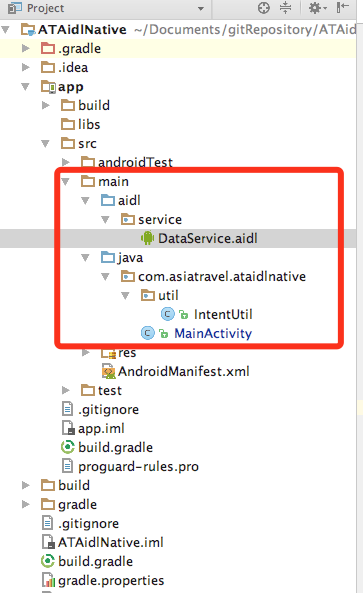
2. 客户端
问题
1. 隐式启动service代码
 private void startService() {
        Intent intent = new Intent();
        intent.setAction("service.DataService");
        conn = new MyServiceConnection();
        bindService(intent, conn, BIND_AUTO_CREATE);
 }
2. 运行截图(Android 6.0系统)
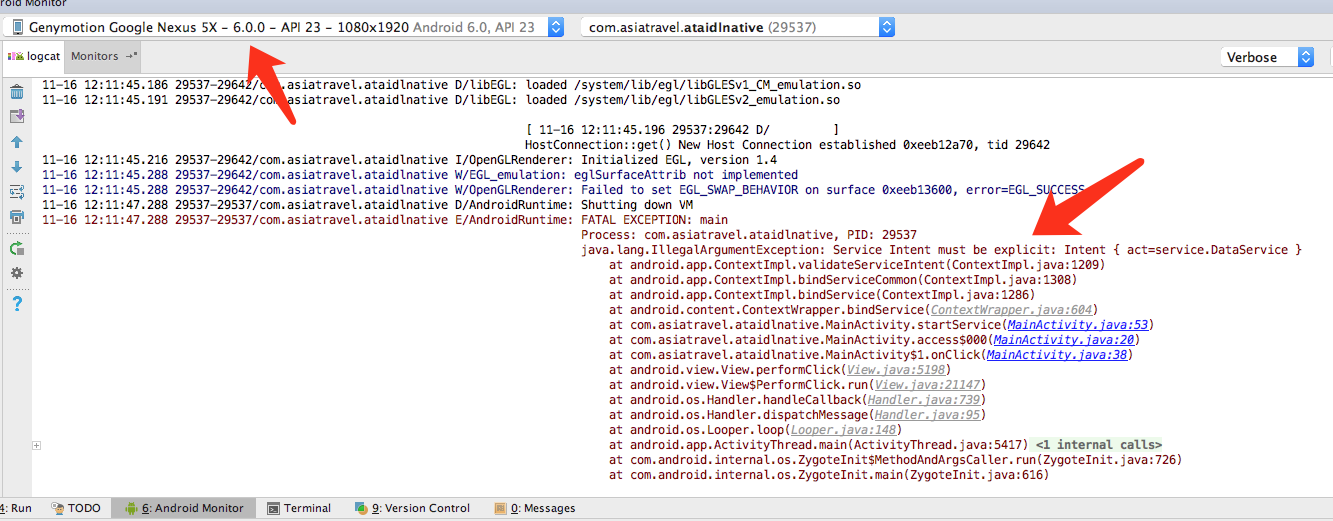
这是当我们点击按钮绑定服务时产生的crash,原因是“Service Intent must be explicit(显式地)”,意思是“与服务相关的intent必须显式地绑定”。
原来从Android 5.0之后,为了安全性考虑,google就不建议隐式地启动服务,而必须要显示指定。
3. 处理
转换为显式地Intent
public class IntentUtil {

    public static Intent getExplicitIntent(Context context, Intent implicitIntent) {
        // Retrieve all services that can match the given intent
        PackageManager pm = context.getPackageManager();
        List<ResolveInfo> resolveInfo = pm.queryIntentServices(implicitIntent, 0);
        // Make sure only one match was found
        if (resolveInfo == null || resolveInfo.size() != 1) {
            return null;
        }
        // Get component info and create ComponentName
        ResolveInfo serviceInfo = resolveInfo.get(0);
        String packageName = serviceInfo.serviceInfo.packageName;
        String className = serviceInfo.serviceInfo.name;
        ComponentName component = new ComponentName(packageName, className);
        // Create a new intent. Use the old one for extras and such reuse
        Intent explicitIntent = new Intent(implicitIntent);
        // Set the component to be explicit
        explicitIntent.setComponent(component);
        return explicitIntent;
    }

}
根据api版本进行intent的显式转换:
private void startService() {
        Intent intent = new Intent();
        intent.setAction("service.DataService");
        Intent explicitIntent;
        if (Build.VERSION.SDK_INT >= Build.VERSION_CODES.LOLLIPOP) {
            explicitIntent = IntentUtil.getExplicitIntent(this, intent);
        } else {
            explicitIntent = intent;
        }
        conn = new MyServiceConnection();
        bindService(explicitIntent, conn, BIND_AUTO_CREATE);
    }
我们在系统api版本大于21的情况下做了intent的显式转换。
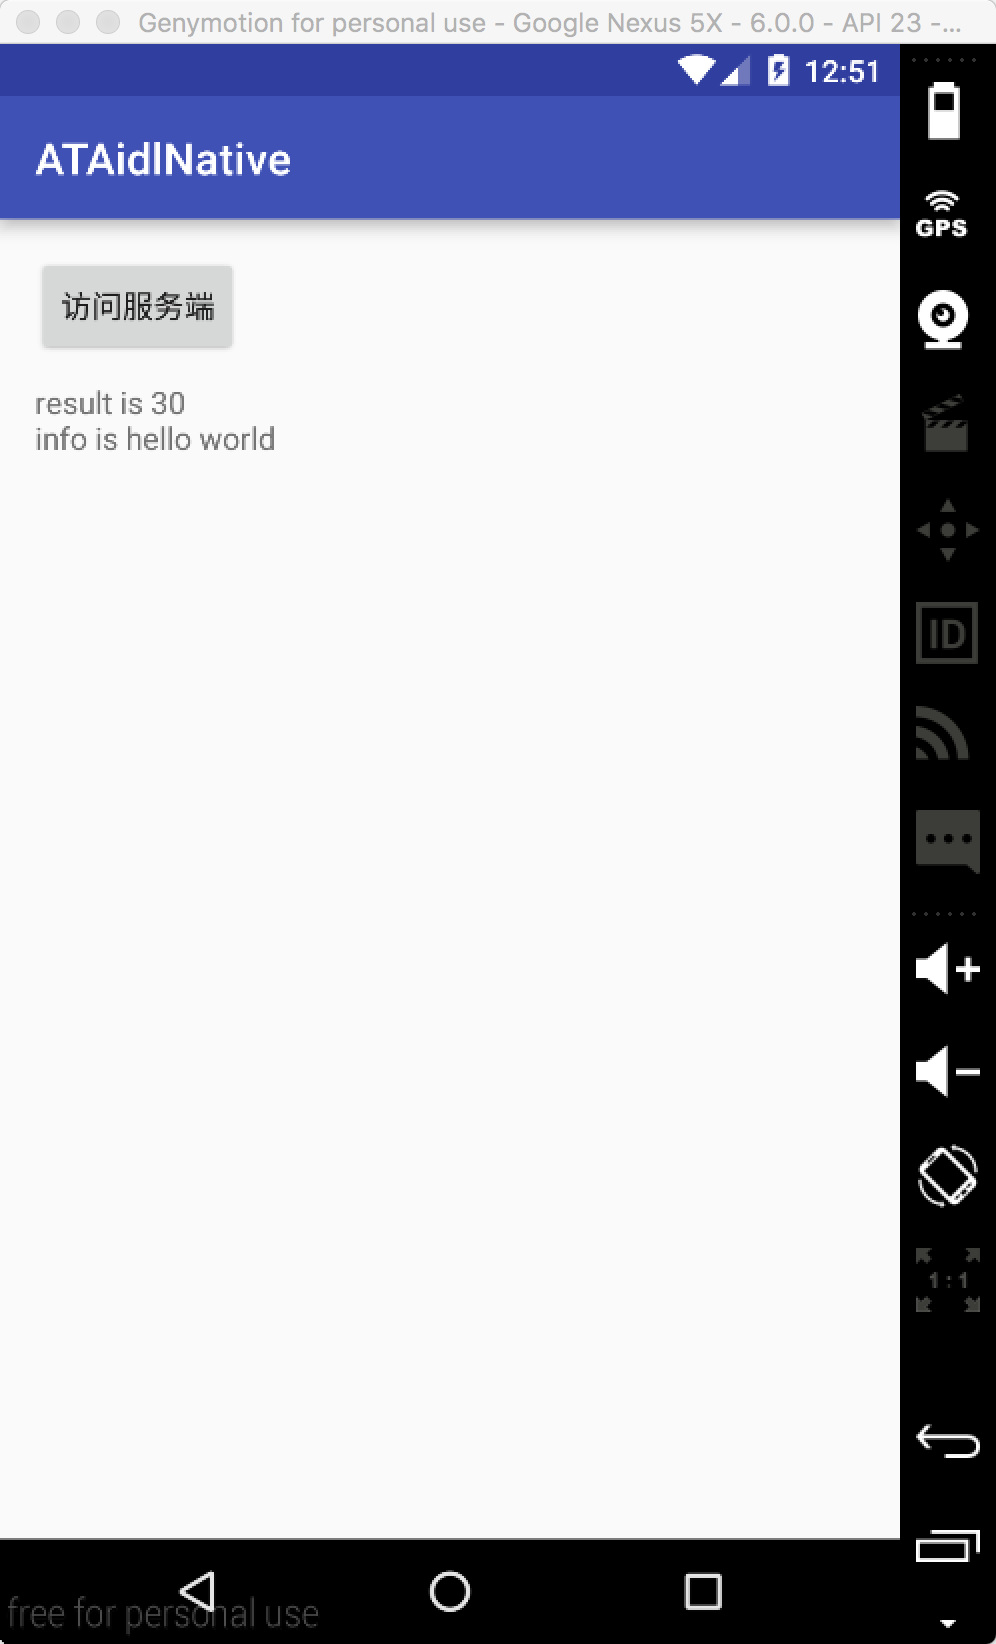
4. 运行截图
通过转换,我们成功访问到了服务端定义的方法。
总结
由于Android系统本身就处在一个不断迭代的过程,所以有可能我们之前写的东西在运行到最新的系统上时会出问题,这就要求我们要勤于思索,善于实践,这样才能发现我们在写代码中所犯的失误,从而更好地提高我们自己。
源码
服务端源码
https://github.com/kuangxiaoguo0123/ATAidlStudy
客户端源码
https://github.com/kuangxiaoguo0123/ATAidlNative


 87
87

 被折叠的 条评论
为什么被折叠?
被折叠的 条评论
为什么被折叠?
 到【灌水乐园】发言


