


安装教程
1 下载仓库源码
git clone https://github.com/Stability-AI/generative-models.git
2 创建conda环境
conda create -n svd python=3.10
conda activate svd
3 安装pytorch gpu
cuda和cudnn请参考其他链接配置,使用 conda 或者 pip 安装 pytorch
# 使用conda 安装 pytorch ,推荐该方式,防止gpu版本安装不上,出现import torch错误
conda install pytorch==2.0.1 torchvision==0.15.2 torchaudio==2.0.2 pytorch-cuda=11.8 -c pytorch -c nvidia
# 使用 pip 安装 pytorch
pip install torch==2.0.1 torchvision==0.15.2 torchaudio==2.0.2 --index-url https://download.pytorch.org/whl/cu118
4 安装其他依赖包
cd generative-models
# pip联网安装依赖库
pip install -r requirements/pt2.txt
# 编译安装本地sgm
pip install .
# 安装sdata用于训练,贫民显卡3090也训练不起,无需安装
pip3 install -e git+https://github.com/Stability-AI/datapipelines.git@main#egg=sdata
--------------------------------------------安装结束-----------------------------------------
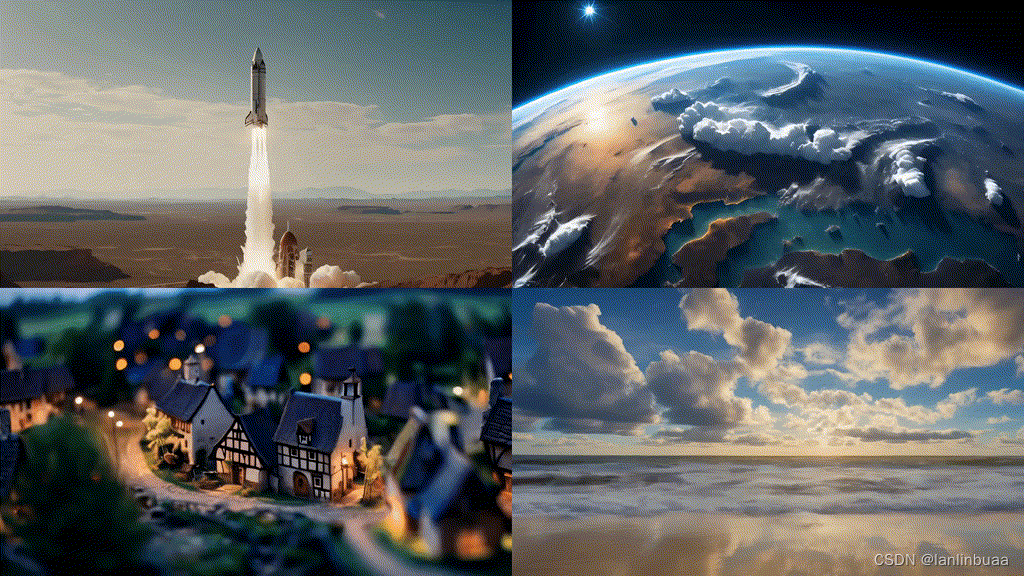
图片转视频教程
SVD: This model was trained to generate 14 frames at resolution 576x1024 given a context frame of the same size.
SVD-XT: Same architecture as SVD but finetuned for 25 frame generation.
下载权重文件:svd.safetensors 和 svd_image_decoder.safetensors 放到 checkpoints/ 文件夹下
方案一:streamlit 网页可视化
streamlit run scripts/demo/video_sampling.py
方案二:python 脚本执行
python scripts/sampling/simple_video_sample.py
可能遇到的问题
1 pip安装时import torch报错
使用conda 安装,会自动配置cuda版本
2 显存不足报错
将 decoding_t 调小
decoding_t: int = 2, # Number of frames decoded at a time! This eats most VRAM. Reduce if necessary.
3 opencv报错
错误信息:OpenCV: FFMPEG: tag 0x5634504d/‘MP4V’ is not supported with codec id 12 and format ‘mp4 / MP4 (MPEG-4 Part 14)’
解决:将 cv2.VideoWriter_fourcc(*"MP4V") 改为 cv2.VideoWriter_fourcc('m', 'p', '4', 'v')


 2317
2317

 被折叠的 条评论
为什么被折叠?
被折叠的 条评论
为什么被折叠?
 到【灌水乐园】发言


