


大家好,今天跟大家介绍如何用stable diffusion webui布置自己的Ai作画工作环境。
这部分主要就是实操,没有太多理论知识介绍。跟着做就好了,当成是一次计算机实验上机课就好
基础环境布置
这次开发环境选择的是AutoDL的GPU云环境,链接:https://www.autodl.com/
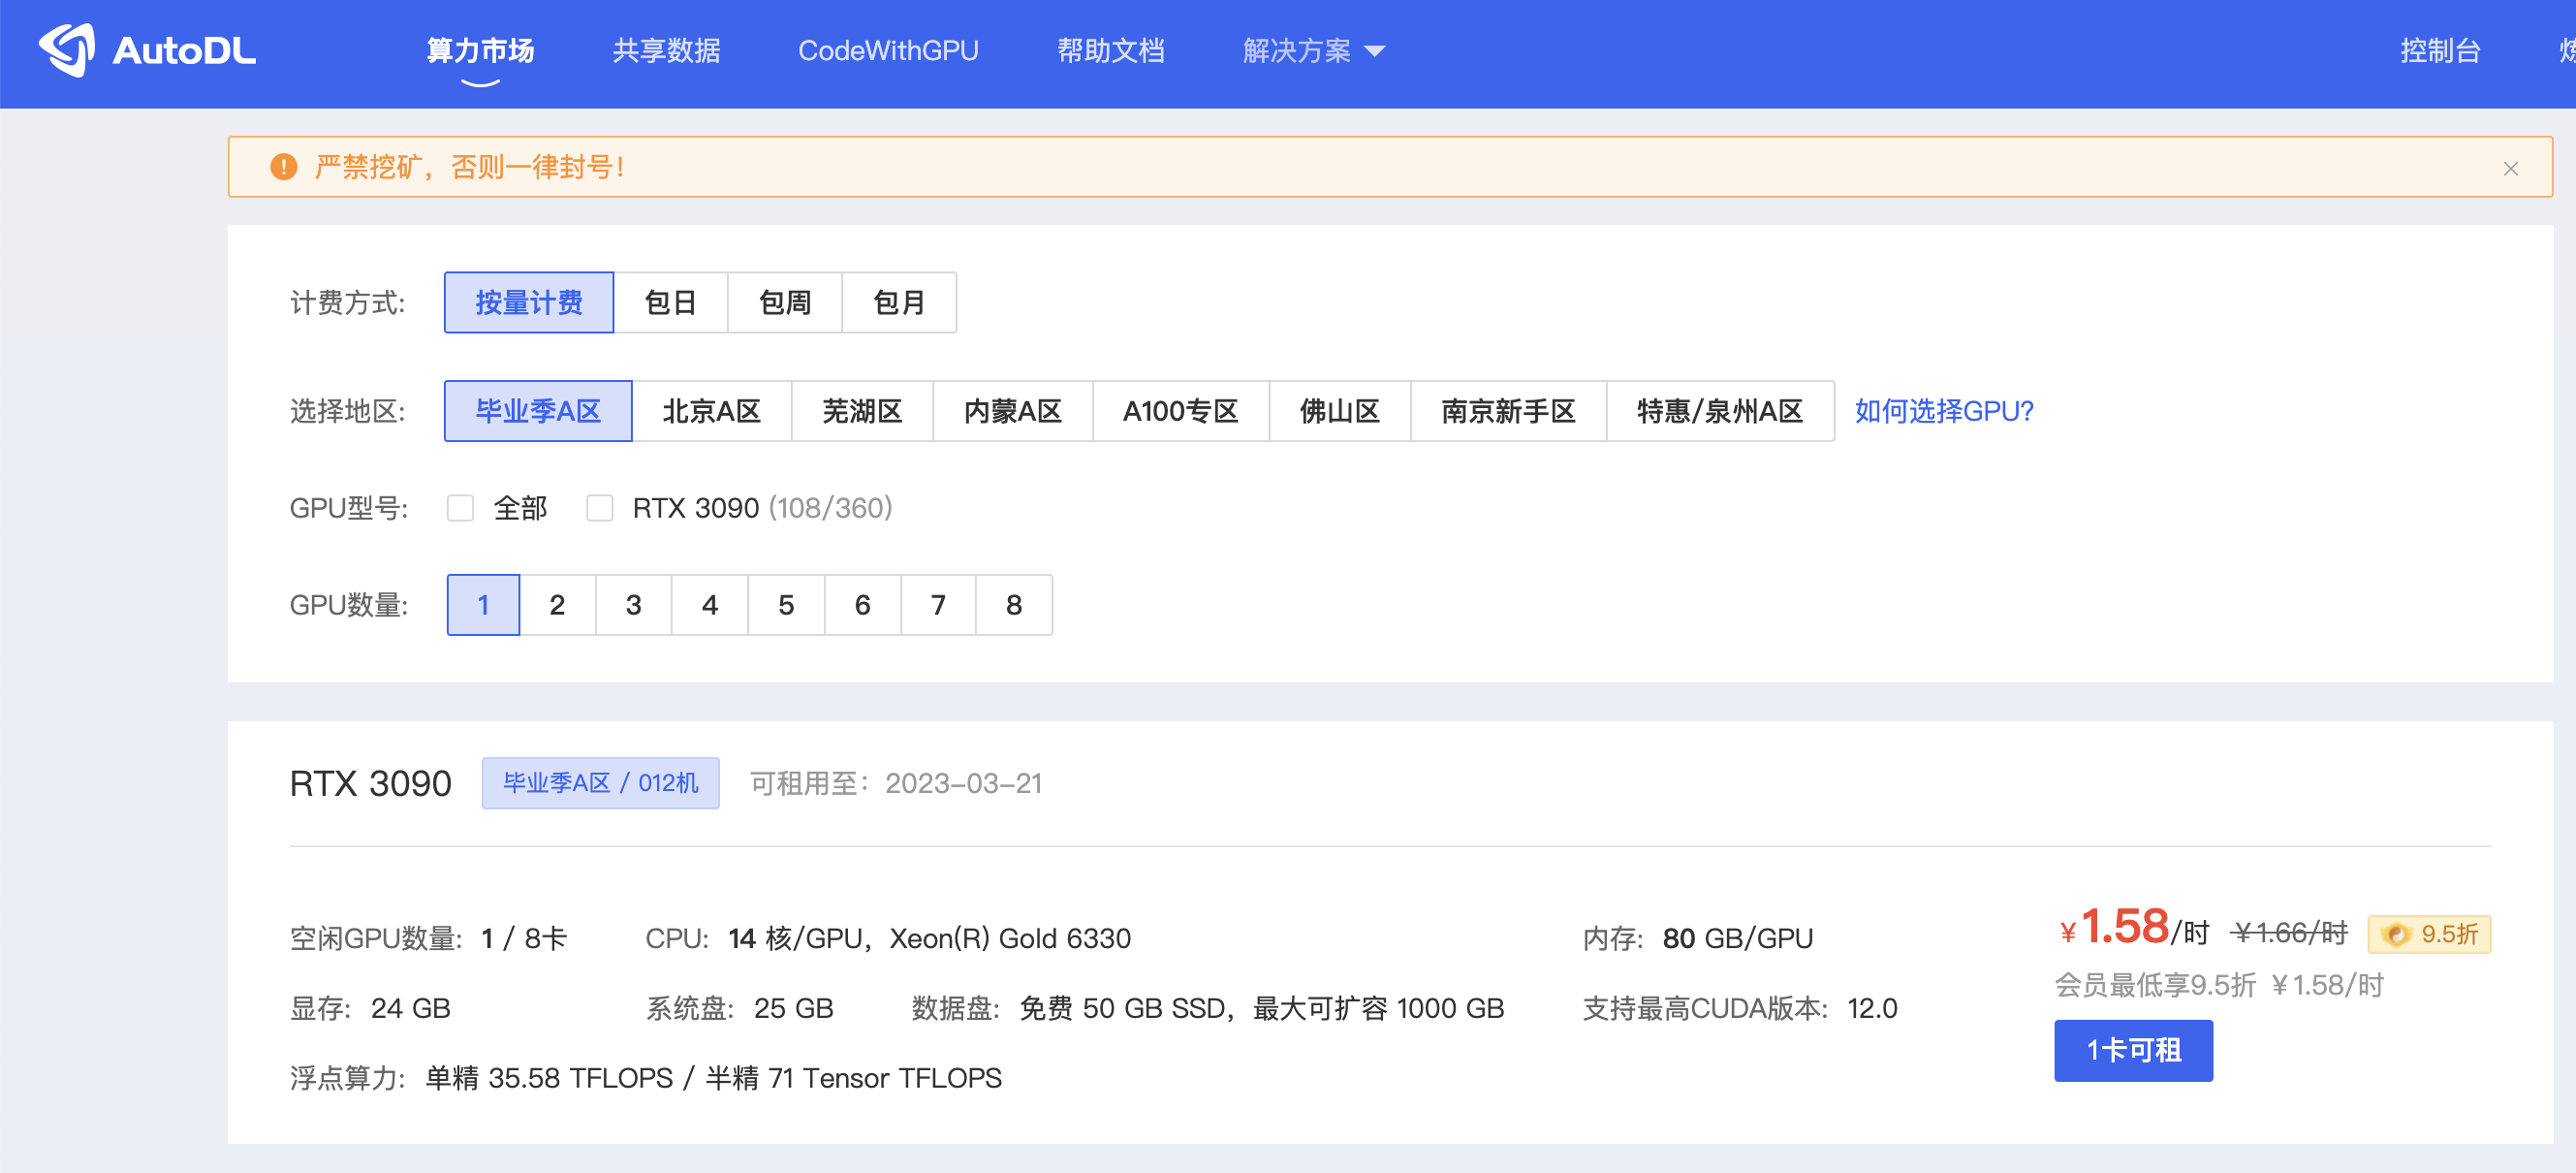
1.选择“算力市场”进来,
2.选择地区,我选的是“毕业季A区”,
3.然后选择一台合适的机器,前期训练数据不大选择一张gpu卡就够(rtx3090 ,80g内存)
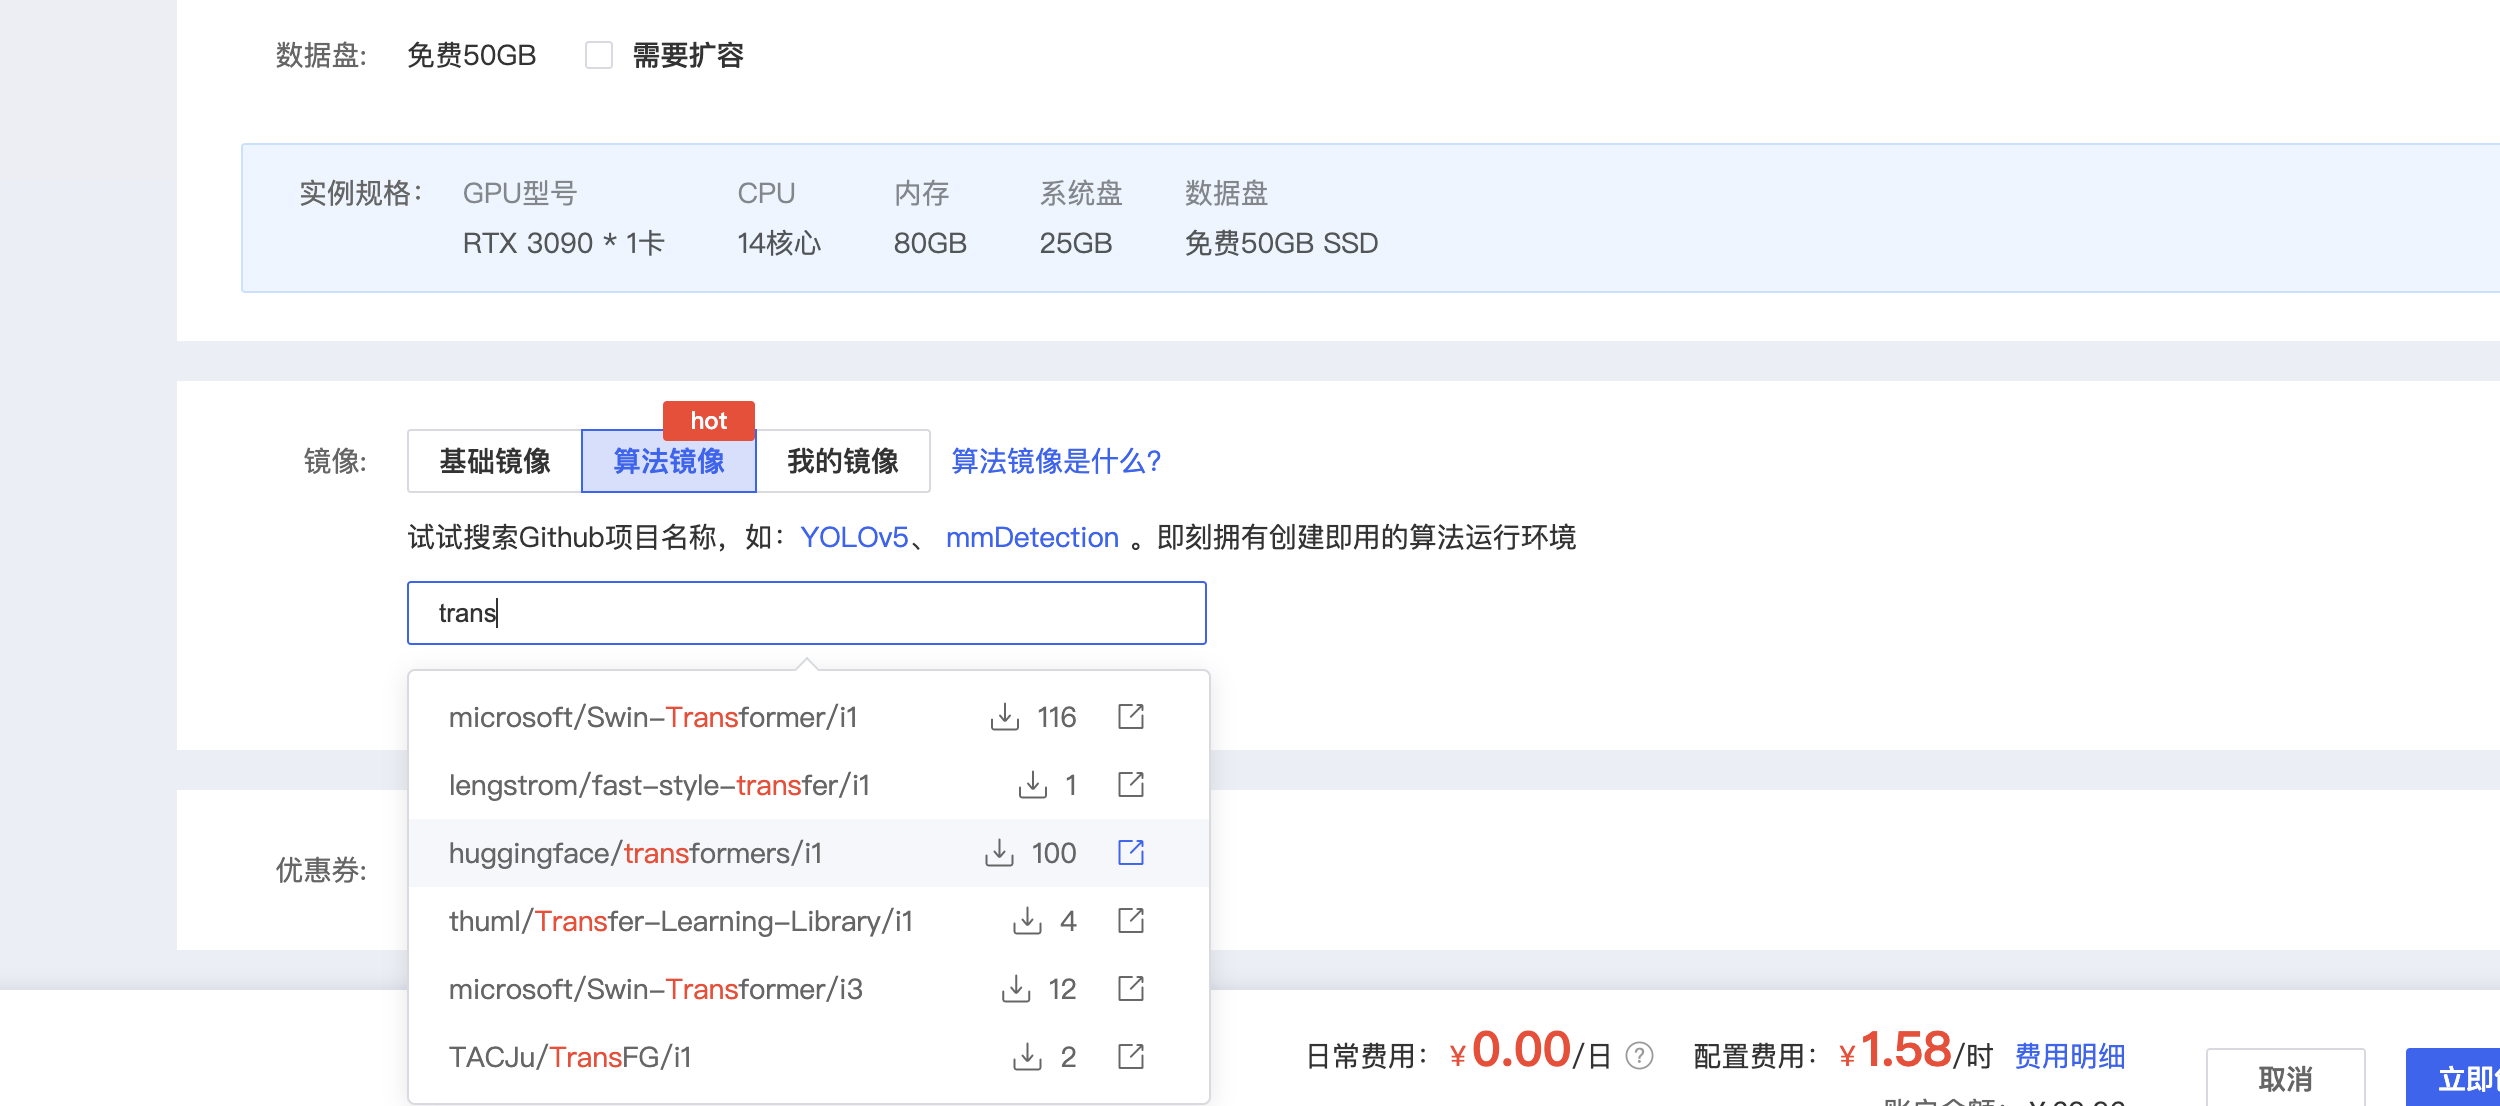
4.选择算法镜像,我选的的是“hugginface/transformers/“
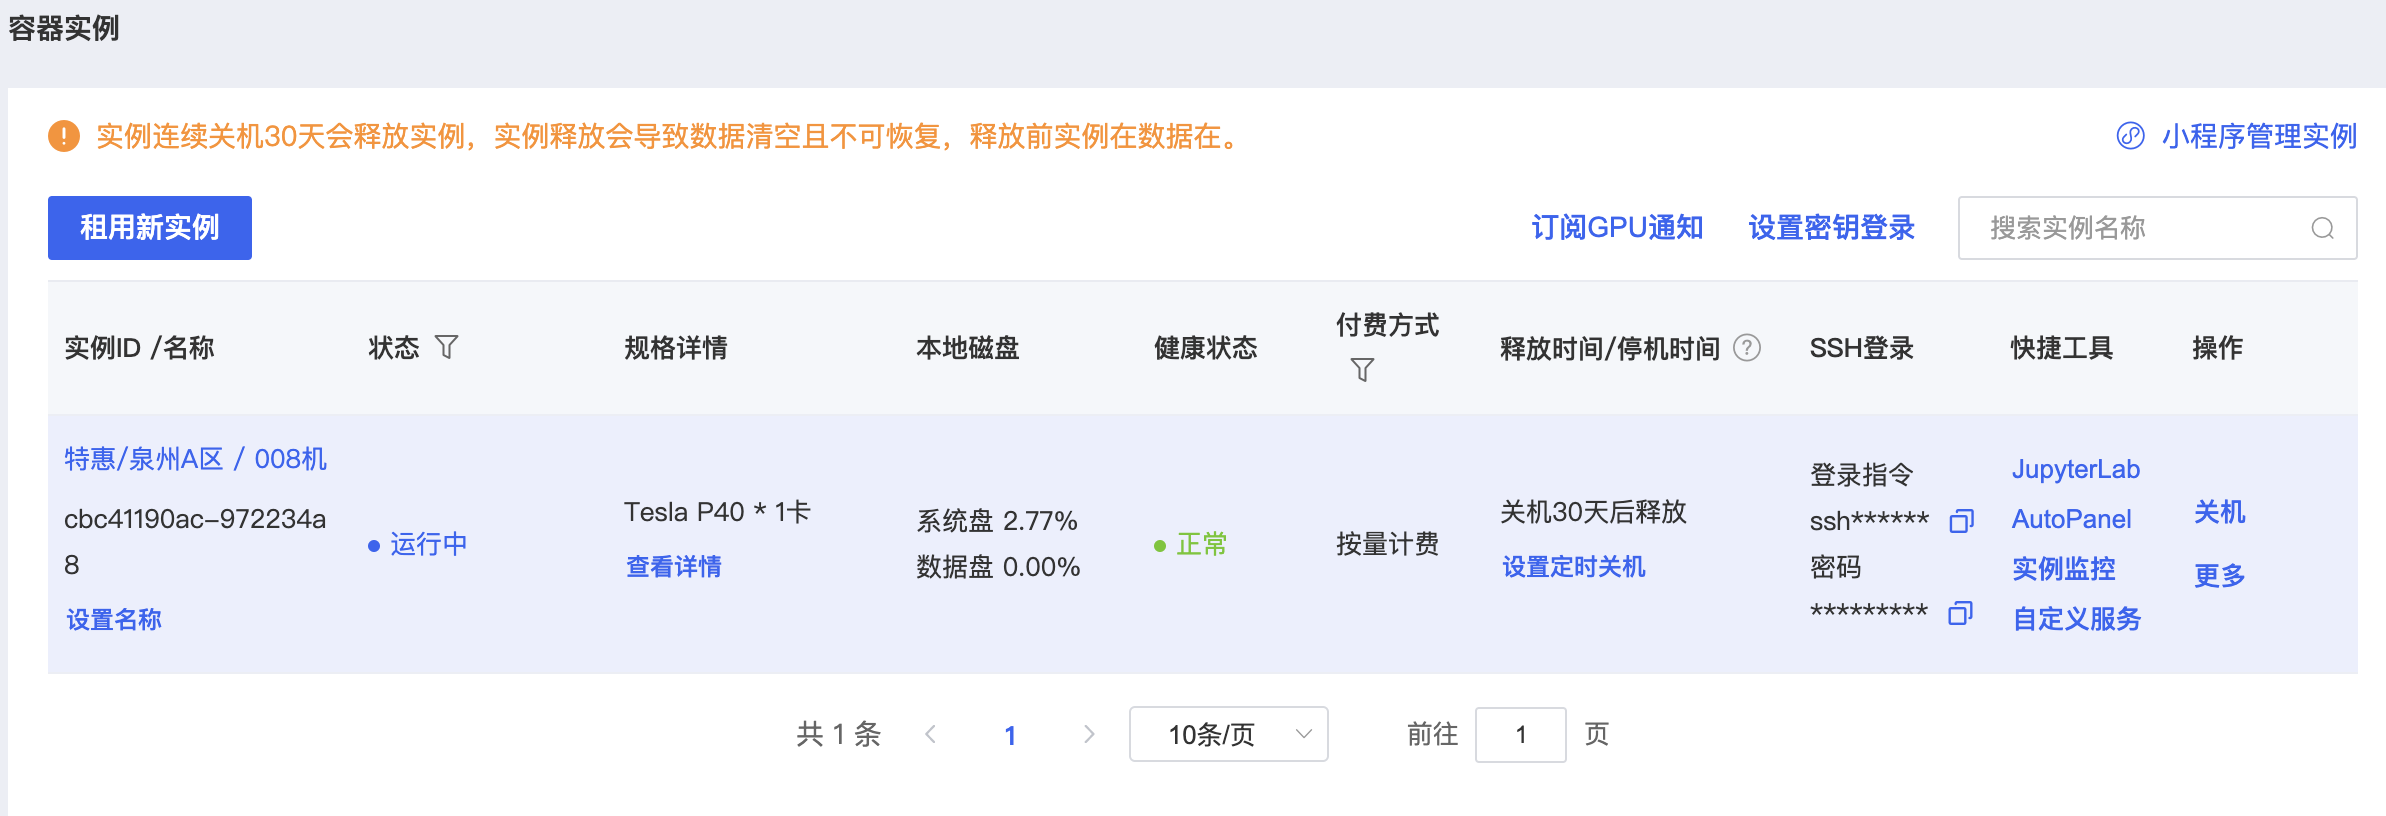
5.云环境初始化(预计要1-2min),可以看到如下界面
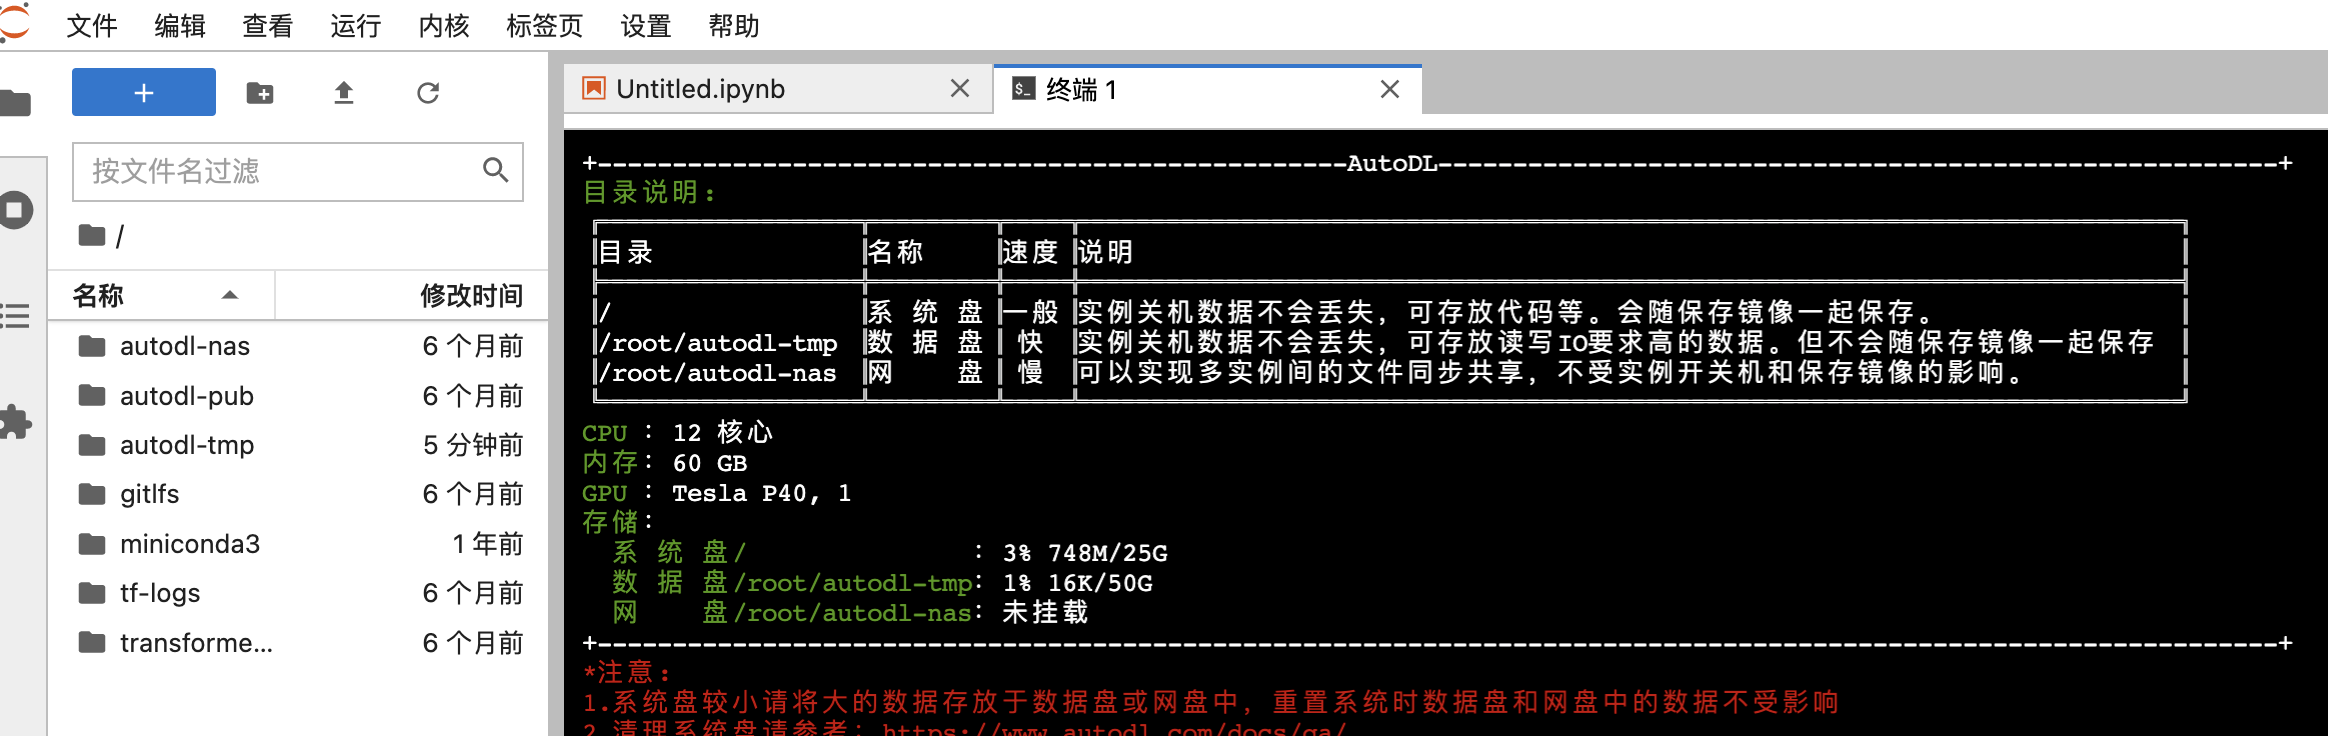
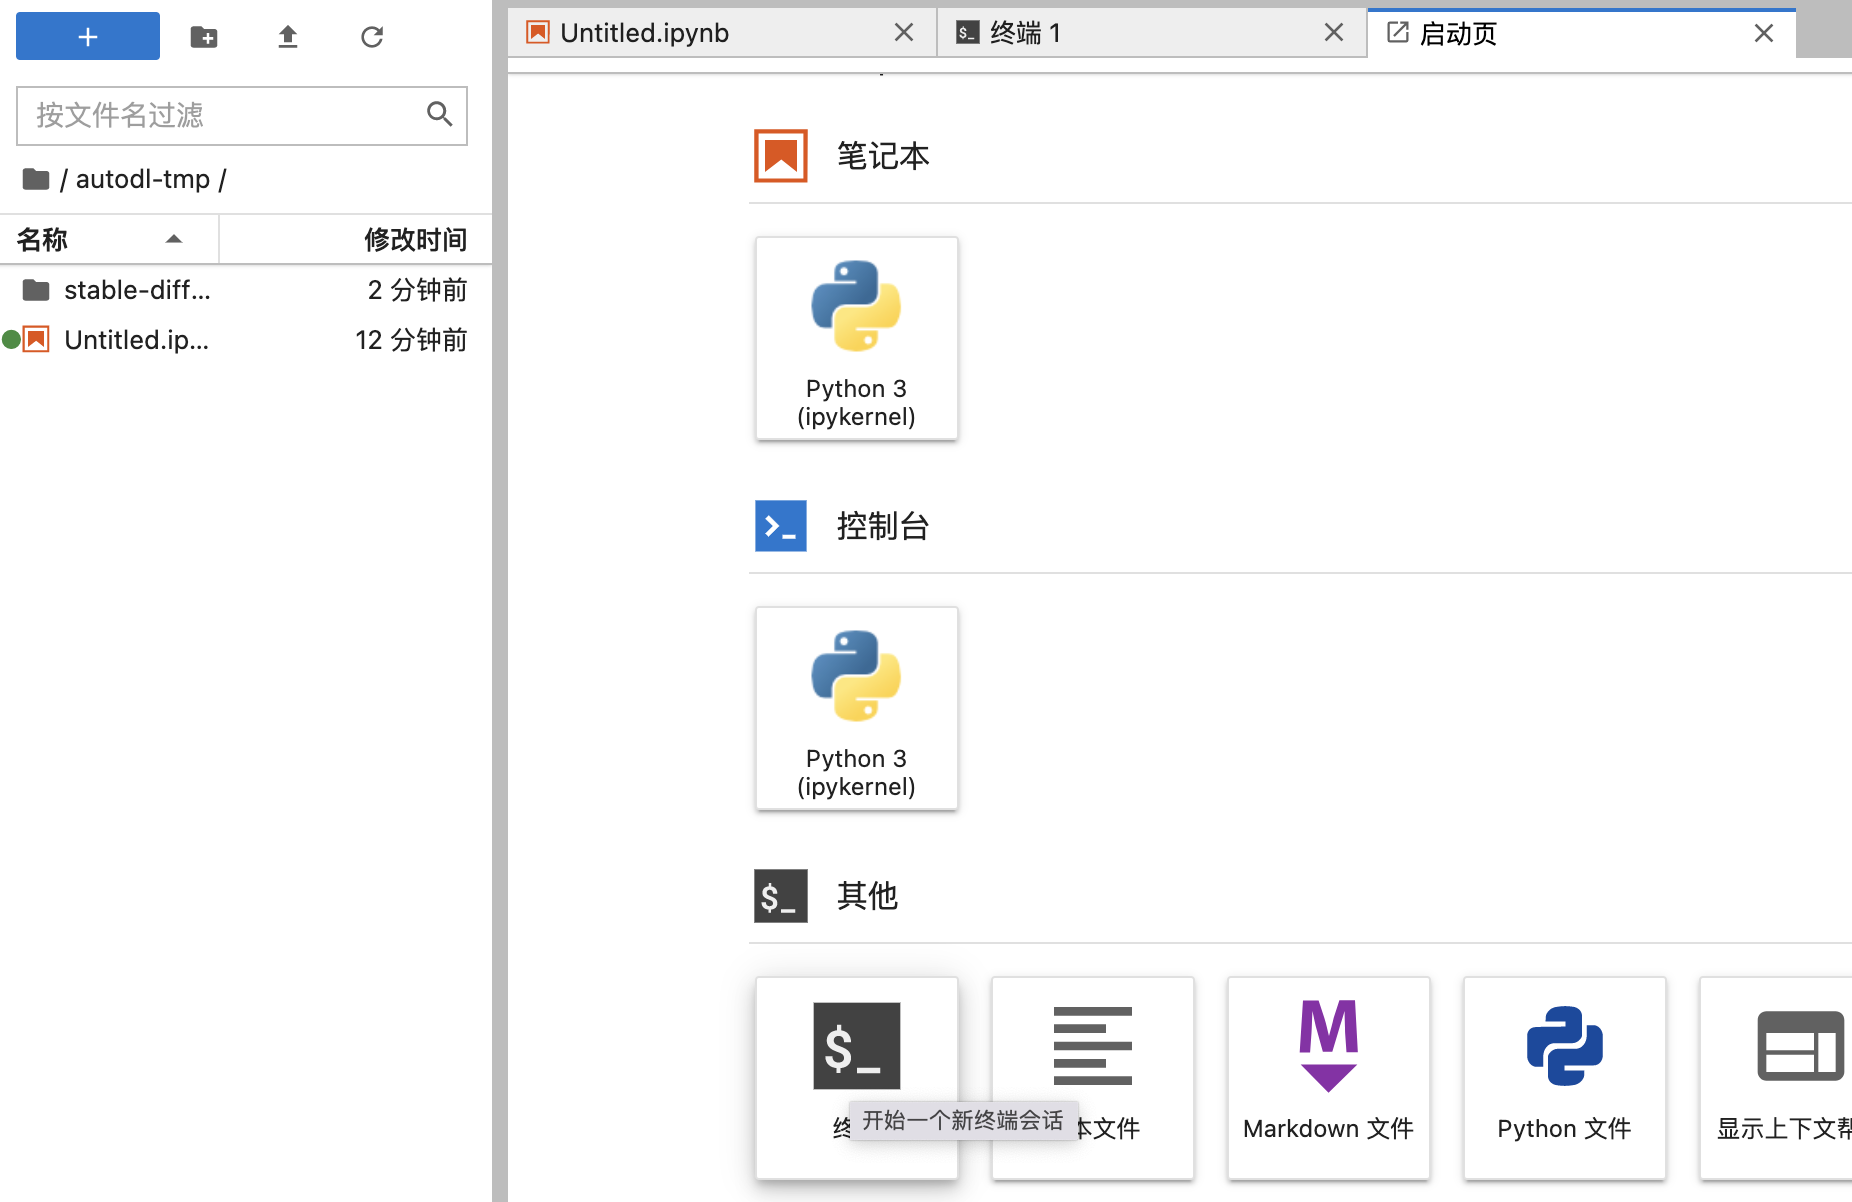
6.然后点击JupyterLab进入界面,如下
作画ide布置
1.打开一个终端
进入auto-tmp(这是我们数据盘,大概有60-80g空间,在这里布置环境不容易导致存储不够),命令
cd autodl-tmp
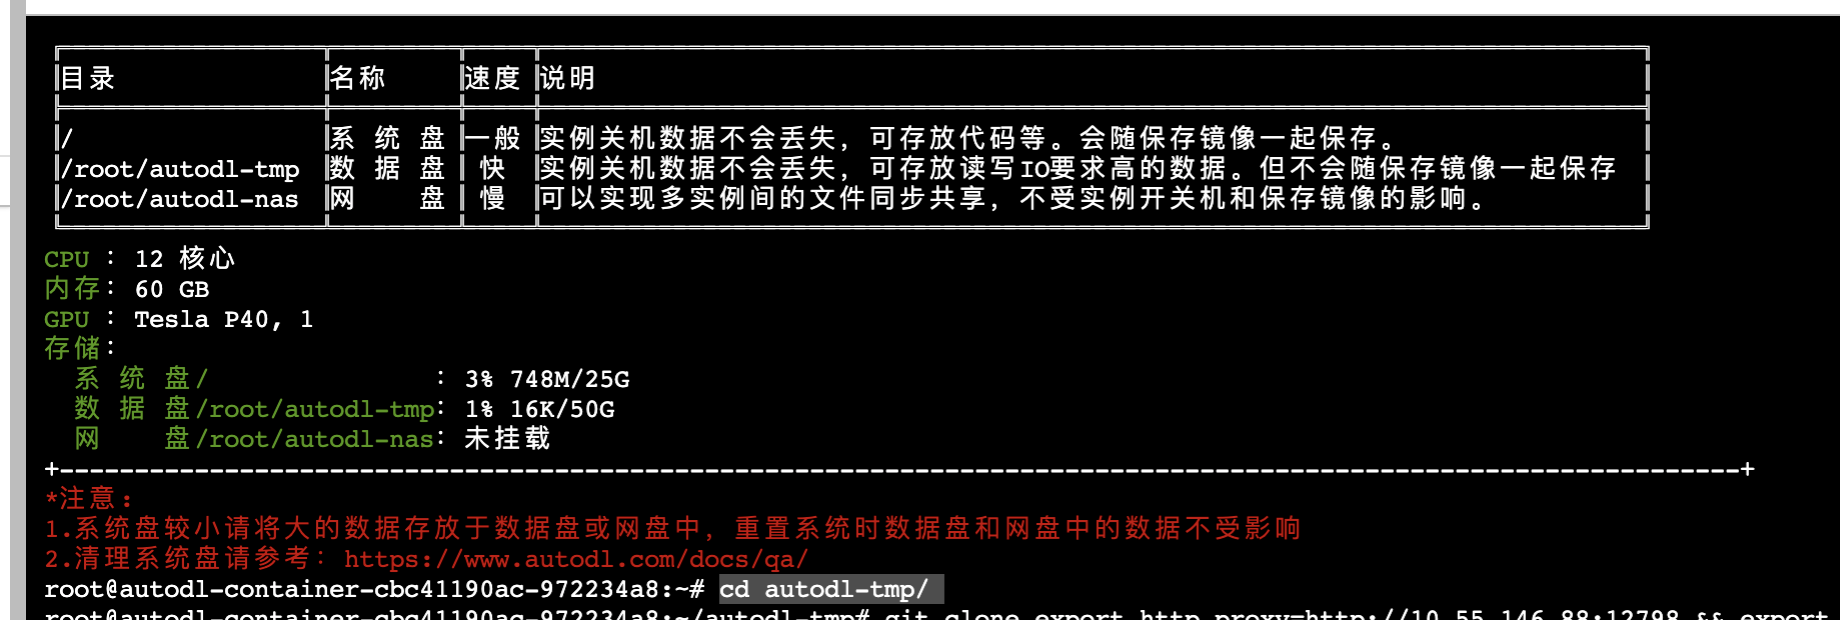
3.加速网络,具体命令跟你选择区域有关系,见https://www.autodl.com/docs/network_turbo/
export http_proxy=http://10.55.146.88:12798 && export https_proxy=http://10.55.146.88:12798
下载stable-diffusion-web-ui
git clone https://github.com/AUTOMATIC1111/stable-diffusion-webui.git
基础模型下载
进入stable-diffusion-webui文件夹
cd stable-diffusion-webui/2.把项目启动起来
python launch.py --disable-safe-unpickle --port=6006 --deepdanbooru进入launch.py文件可以看到,web-ui或自动去下载一下工具
a.clip、openclip文本转成向量的工具
b.stablediffusion图片生产引擎
c.GFPGAN人脸优化
d.taming-transformers超分
e.k-diffusion加速stable diffusion生成效率
f.CodeFormer人脸重构精细化
e.BLIP统一多模态大模型(这个没搞懂用哪了)
gfpgan_package = os.environ.get('GFPGAN_PACKAGE', "git+https://github.com/TencentARC/GFPGAN.git@8d2447a2d918f8eba5a4a01463fd48e45126a379")
clip_package = os.environ.get('CLIP_PACKAGE', "git+https://github.com/openai/CLIP.git@d50d76daa670286dd6cacf3bcd80b5e4823fc8e1")
openclip_package = os.environ.get('OPENCLIP_PACKAGE', "git+https://github.com/mlfoundations/open_clip.git@bb6e834e9c70d9c27d0dc3ecedeebeaeb1ffad6b")

stable_diffusion_repo = os.environ.get('STABLE_DIFFUSION_REPO', "https://github.com/Stability-AI/stablediffusion.git")
taming_transformers_repo = os.environ.get('TAMING_TRANSFORMERS_REPO', "https://github.com/CompVis/taming-transformers.git")
k_diffusion_repo = os.environ.get('K_DIFFUSION_REPO', 'https://github.com/crowsonkb/k-diffusion.git')
codeformer_repo = os.environ.get('CODEFORMER_REPO', 'https://github.com/sczhou/CodeFormer.git')
blip_repo = os.environ.get('BLIP_REPO', 'https://github.com/salesforce/BLIP.git')
如果发现通过web-UI直接下载太慢,其实可以把上面的模型github链接拿出来
#假设我要装stablediffusion
cd repositories/  #web-ui把这些模型代码放在这个位置
git clone https://github.com/Stability-AI/stablediffusion.git
热门插件布置
前期准备
安装aria2
1.打开终端
2.
apt-get install aria2生成模型参数文件

打开终端,进入stablediffusion模型路径地址
cd ~/autodl-tmp/stable-diffusion-webui/models/Stable-diffusion
下载亚洲美女脸sd模型
aria2c https://civitai.com/api/download/models/8137 #亚洲美女脸下载动漫sd模型
aria2c https://huggingface.co/andite/anything-v4.0/resolve/main/anything-v4.0-pruned-fp16.ckptlora参数文件
打开终端,进入stablediffusion模型路径地址
cd ~/autodl-tmp/stable-diffusion-webui/models/Lora
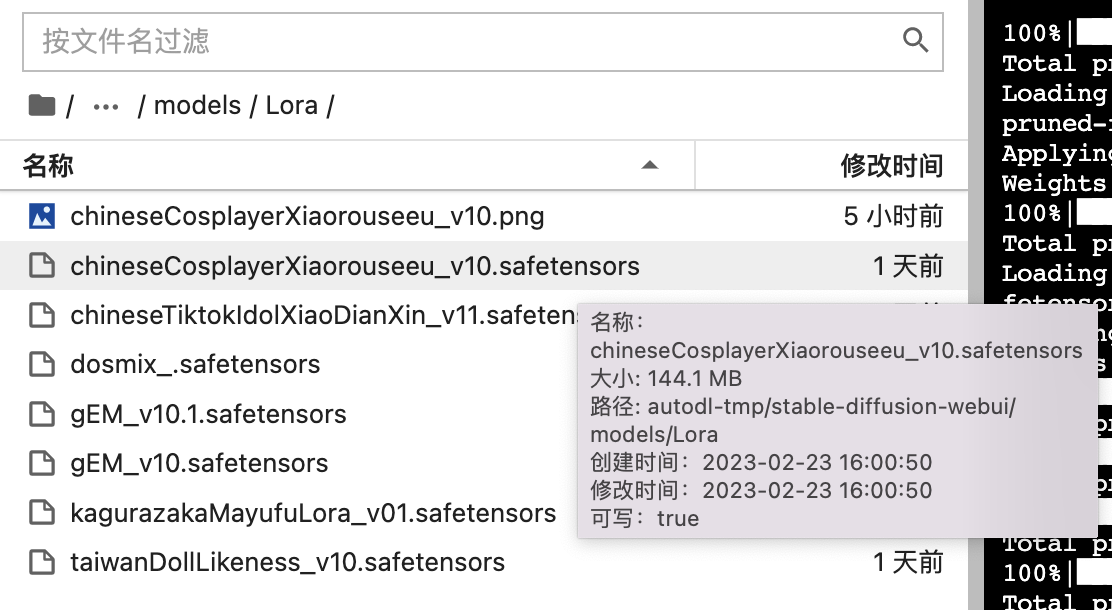
2.台湾妹子风格lora
aria2c https://civitai.com/api/download/models/9070
3.汉服妹子风格lora
aria2c https://civitai.com/api/download/models/13688
安装插件
近期webUI更新后 现在可以在extension选项卡下直接输入你要安装的脚本的URL(下面介绍每个插件时会给出相应的仓库链接) 然后点击安装按钮即可自动帮你去完成上面下载安装及使用方法 段落中的手动下载安装流程
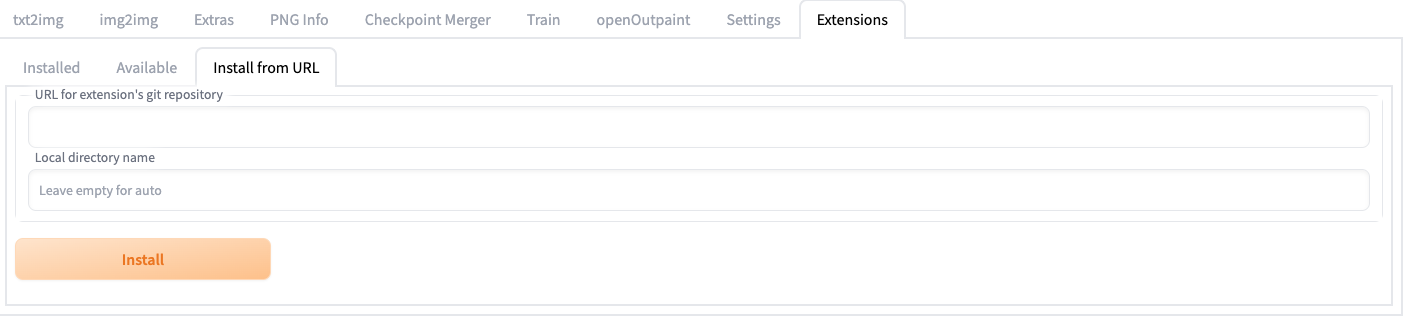
从URL安装
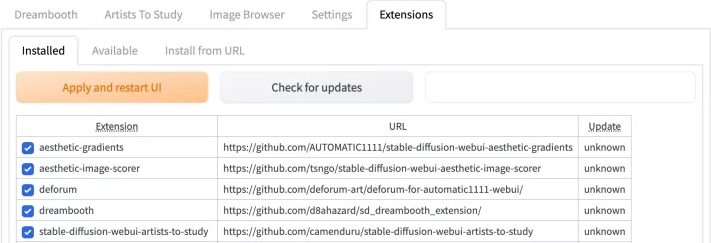
检查已安装插件
一个demo
1.想要画以下风格的妹子

2.首先进入civiai网页,把prompt词copy,参照以下操作
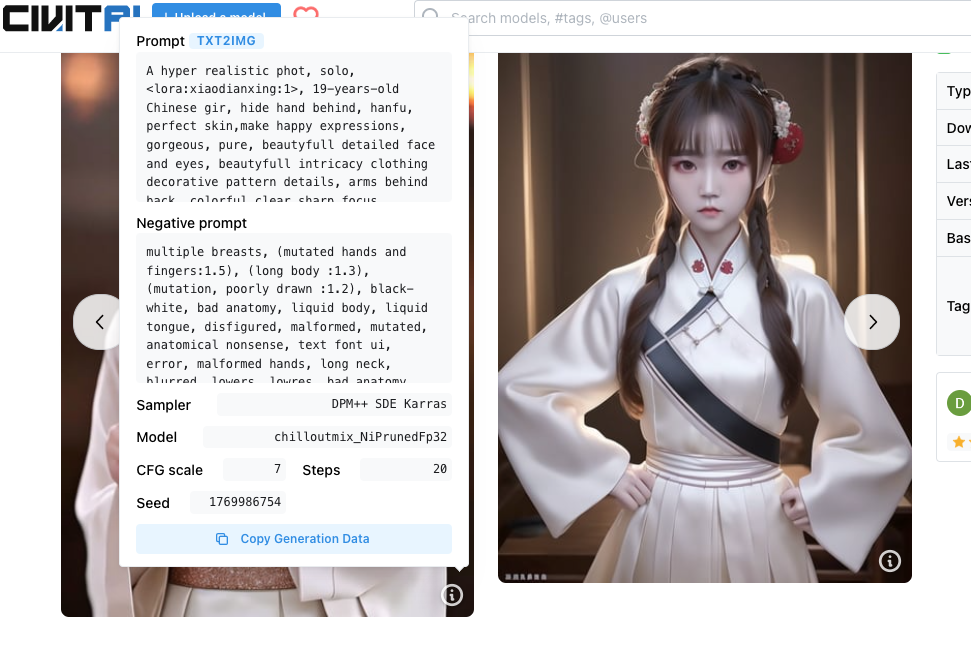
3.把复制过来的prompt填到webui合适位置,选择模型realdosmix

4.开始生成图片

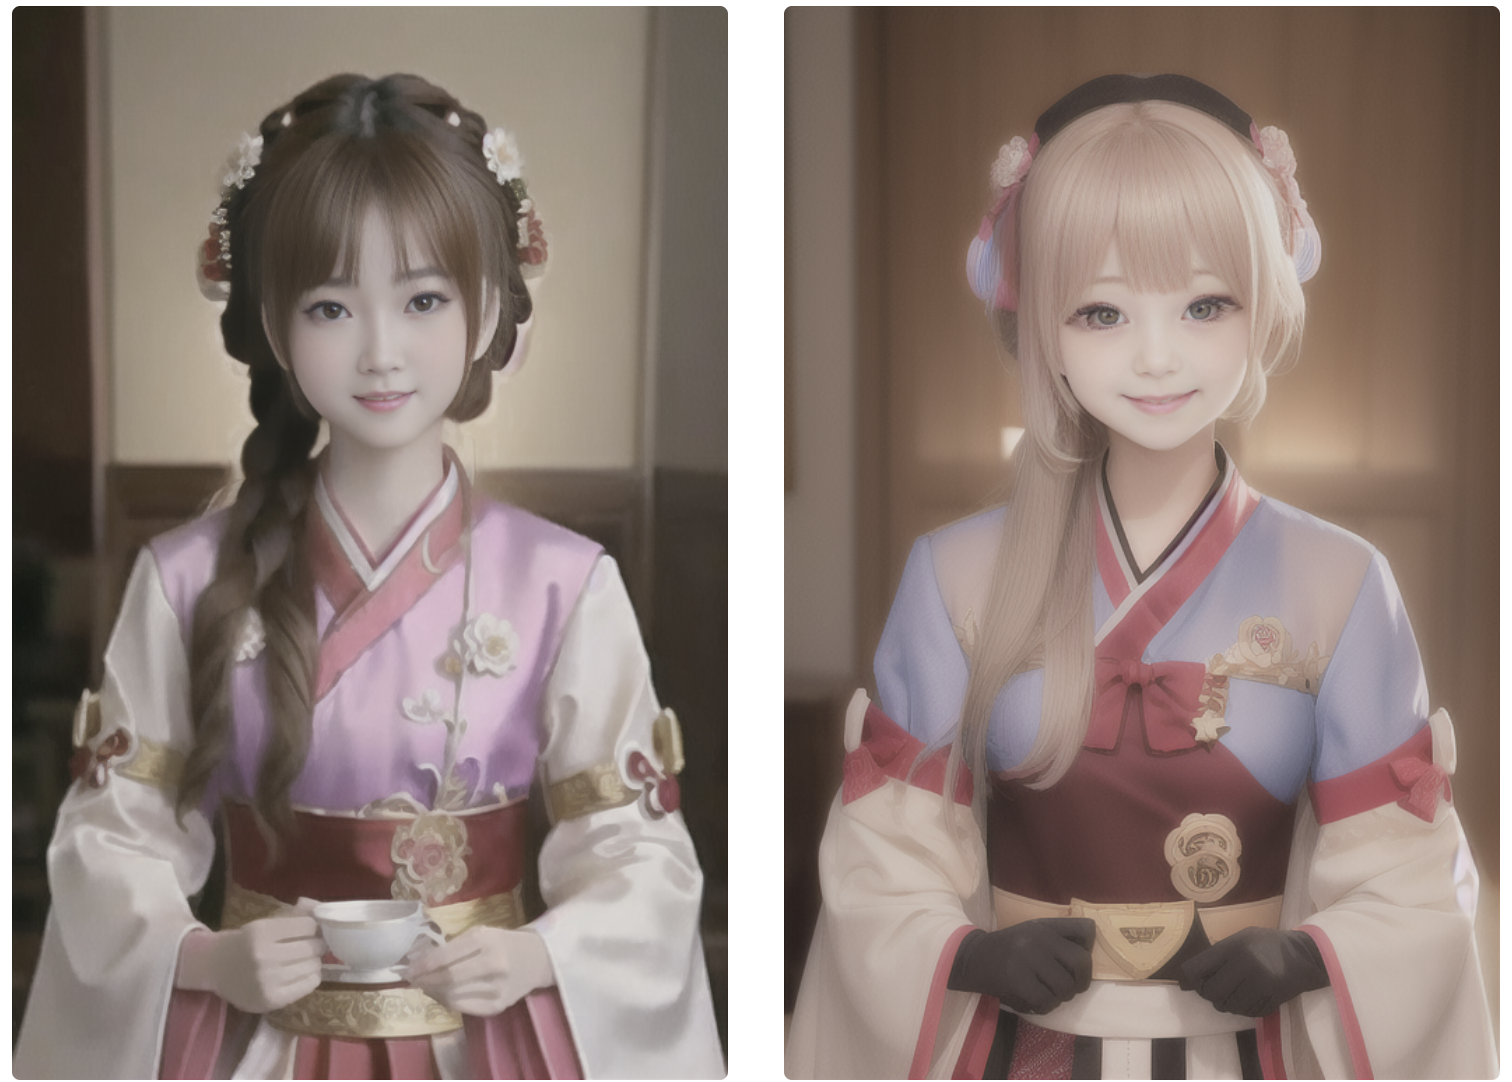
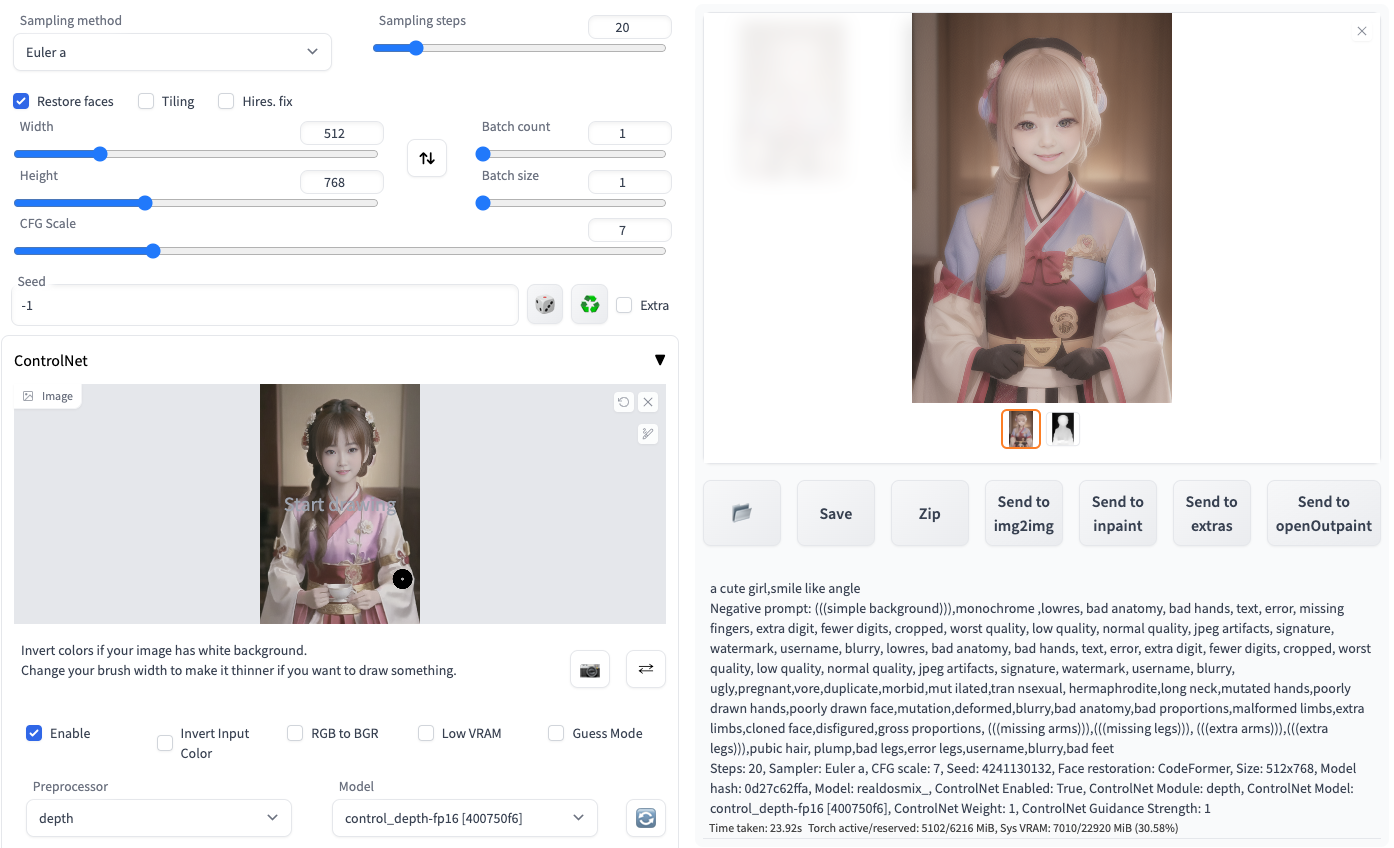
这次没讲如何安装controlnet,但是可以看看它控制能力的强大,用左边图做depth控制生成一个“a cute girl smile like angle”生成右边图,动作上真是如出一辙啊。厉害
具体的webui设置如下:
后续会跟大家介绍一些高级的图片优化技巧,让大家可以产出更高质量的图片。后面也会有几篇来介绍怎么准备数据集,怎么训练自己模型,自己的lora。关注我不错过精彩


 1534
1534


 被折叠的 条评论
为什么被折叠?
被折叠的 条评论
为什么被折叠?
 到【灌水乐园】发言


