


要想使用allure的强大注解,首先我们要正确的引入allure相关的jar包,这里以maven项目为例。1,在pom.xml中添加allure配置,如下:
<?xml version="1.0" encoding="UTF-8"?>
<project xmlns="http://maven.apache.org/POM/4.0.0"
xmlns:xsi="http://www.w3.org/2001/XMLSchema-instance"
xsi:schemaLocation="http://maven.apache.org/POM/4.0.0 http://maven.apache.org/xsd/maven-4.0.0.xsd">
<modelVersion>4.0.0</modelVersion>
<groupId>cn.mango</groupId>
<artifactId>MavenTestNg</artifactId>
<version>0.0.1-SNAPSHOT</version>
<packaging>war</packaging>
<name>MavenTestNg Maven Webapp</name>
<!-- FIXME change it to the project's website -->
<url>http://www.example.com</url>
<properties>
<project.build.sourceEncoding>UTF-8</project.build.sourceEncoding>
<maven.compiler.source>1.8</maven.compiler.source>
<maven.compiler.target>1.8</maven.compiler.target>
<java.version>8</java.version>
</properties>
<dependencies>
<dependency>
<groupId>junit</groupId>
<artifactId>junit</artifactId>
<version>4.11</version>
</dependency>
<dependency>
<groupId>javax.servlet</groupId>
<artifactId>servlet-api</artifactId>
<version>2.5</version>
<scope>provided</scope>
</dependency>
<dependency>
<groupId>org.seleniumhq.selenium</groupId>
<artifactId>selenium-java</artifactId>
<version>3.141.59</version>
</dependency>
<dependency>
<groupId>org.testng</groupId>
<artifactId>testng</artifactId>
<version>6.14.3</version>
</dependency>
<dependency>
<groupId>com.squareup.okhttp3</groupId>
<artifactId>okhttp</artifactId>
<version>3.13.0</version>
</dependency>
<dependency>
<groupId>io.qameta.allure</groupId>
<artifactId>allure-testng</artifactId>
<version>2.20.0</version>
</dependency>
<dependency>
<groupId>org.aspectj</groupId>
<artifactId>aspectjweaver</artifactId>
<version>1.9.6</version>
</dependency>
<dependency>
<groupId>com.shiro.book</groupId>
<artifactId>shiro.book</artifactId>
<version>0.0.1-SNAPSHOT</version>
</dependency>
</dependencies>
<build>
<finalName>MavenTestNg</finalName>
<pluginManagement><!-- lock down plugins versions to avoid using Maven
defaults (may be moved to parent pom) -->
<plugins>
<plugin>
<groupId>org.apache.maven.plugins</groupId>
<artifactId>maven-surefire-plugin</artifactId>
<version>2.20</version>
<configuration>
<argLine>
-javaagent:"${settings.localRepository}/org/aspectj/aspectjweaver/1.9.6/aspectjweaver-1.9.6.jar"
</argLine>
</configuration>
<dependencies>
<dependency>
<groupId>org.aspectj</groupId>
<artifactId>aspectjweaver</artifactId>
<version>1.9.6</version>
</dependency>
</dependencies>
</plugin>
<plugin>
<artifactId>maven-clean-plugin</artifactId>
<version>3.1.0</version>
</plugin>
<!-- see
http://maven.apache.org/ref/current/maven-core/default-bindings.html#Plugin_bindings_for_war_packaging -->
<plugin>
<artifactId>maven-resources-plugin</artifactId>
<version>3.0.2</version>
</plugin>
<plugin>
<artifactId>maven-compiler-plugin</artifactId>
<version>3.8.0</version>
</plugin>
<plugin>
<artifactId>maven-surefire-plugin</artifactId>
<version>2.22.1</version>
</plugin>
<plugin>
<artifactId>maven-war-plugin</artifactId>
<version>3.2.2</version>
</plugin>
<plugin>
<artifactId>maven-install-plugin</artifactId>
<version>2.5.2</version>
</plugin>
<plugin>
<artifactId>maven-deploy-plugin</artifactId>
<version>2.8.2</version>
</plugin>
<plugin>
<groupId>io.qameta.allure</groupId>
<artifactId>allure-maven</artifactId>
<version>2.10.0</version>
<configuration>
<reportVersion>2.14.0</reportVersion>
</configuration>
</plugin>
</plugins>
</pluginManagement>
</build>
</project>
2,我们这时候会看到我们项目的maven依赖下会有下载下来的包,如图:
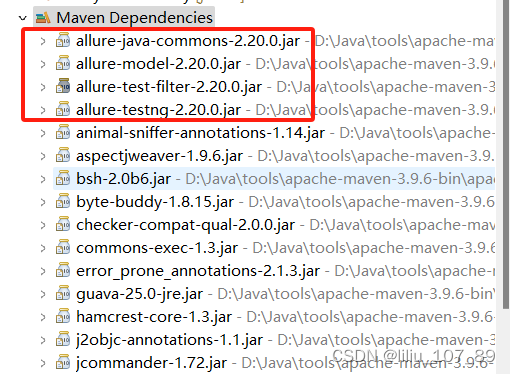
PS:遇到了小问题,就是你在代码里面想加入注解的时候,比如@@Description,它会报错,没有相关的包被引入。可能你的jar已经下下来了,但是是黑色的。解决方法是你在pom.xml里面去添加或者删除或者添加了再删除你的<scope>标签,亲测有效。
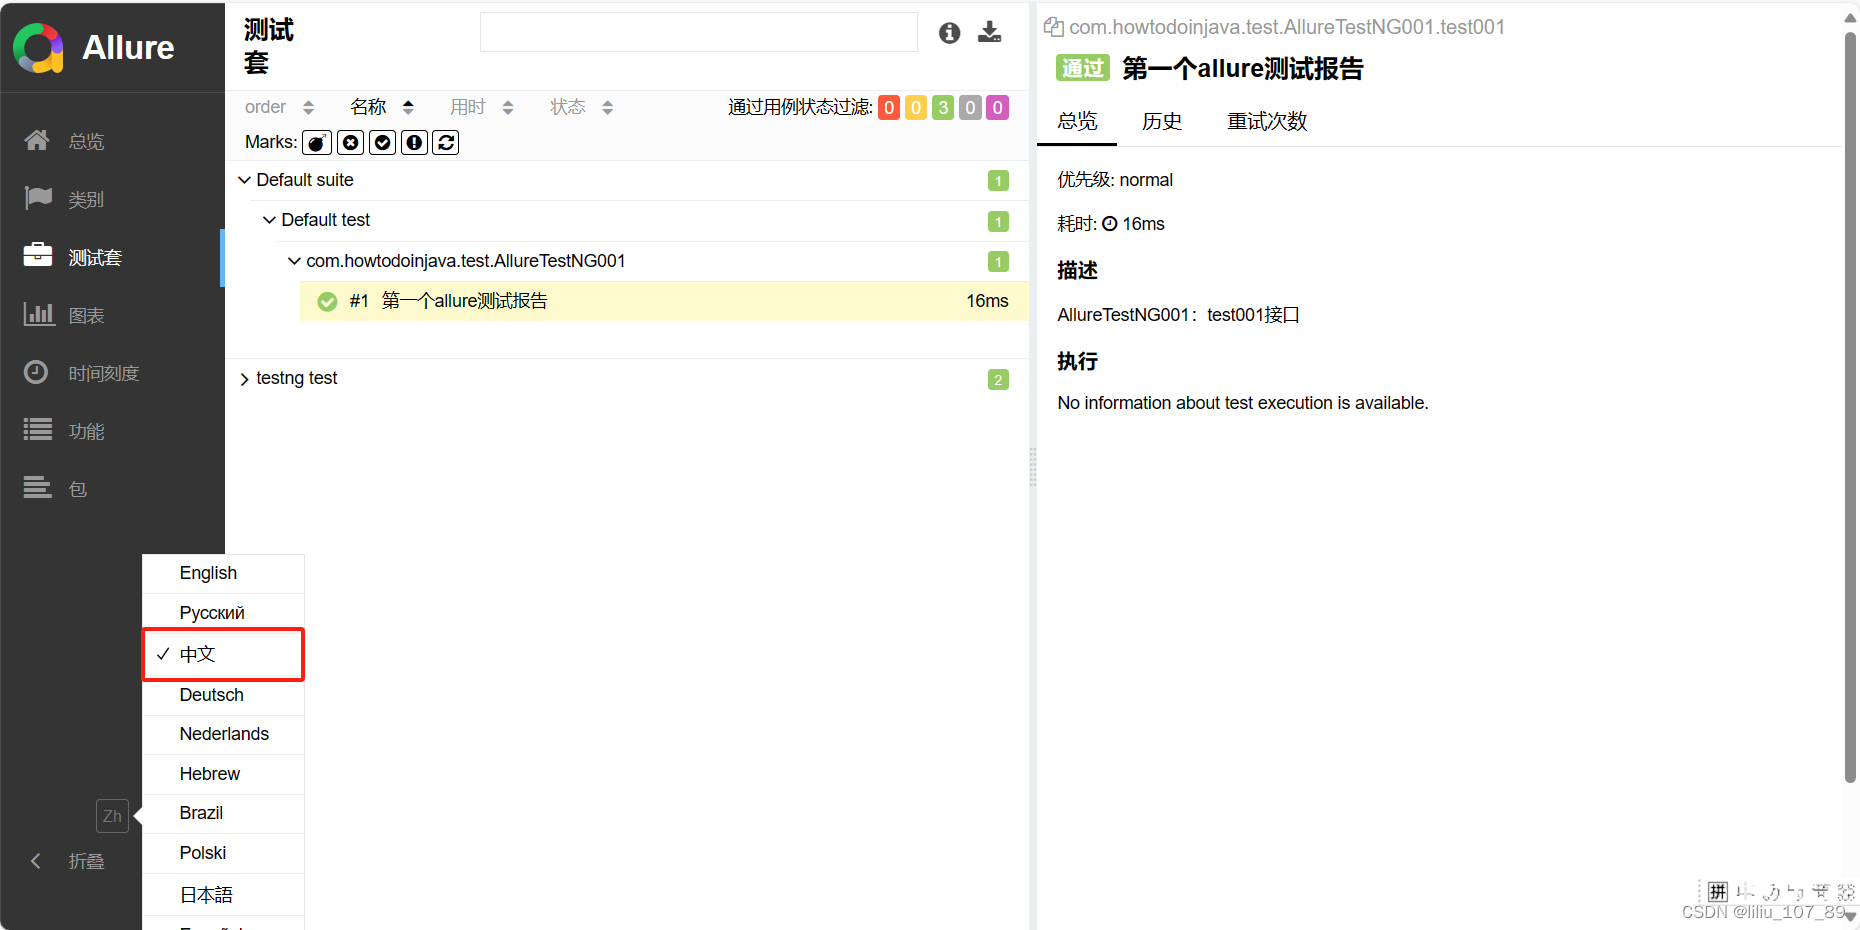
3,在eclipse里面运行TestNG文件之后,在cmd,运行allure serve 你的allure-result文件目录,也就是生成的json所在的文件目录。这个时候就可以得到你的测试报表图
4,为了直观好看,在下图位置选择中文


 490
490

 被折叠的 条评论
为什么被折叠?
被折叠的 条评论
为什么被折叠?
 到【灌水乐园】发言


