


使用命令行,GDB调试如下:
https://blog.csdn.net/qq_41451702/article/details/135252964
https://www.cnblogs.com/_bob/p/18140351
但是测试下来不好用
使用下面的方法:
在 vscode 中进行 ROS2 C++ 断点调试 - 知乎 (zhihu.com)
关键点:
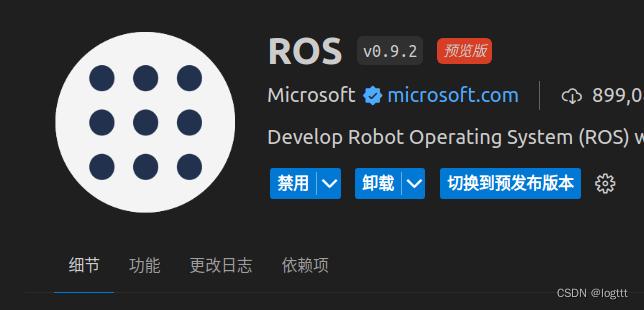
1. 安装ROS插件
2、编译
colcon build \
    --cmake-args  -DCMAKE_BUILD_TYPE=RelWithDebInfo\
    -Wall -Wextra -Wpedantic \
    -DCMAKE_EXPORT_COMPILE_COMMANDS=ON \
    --symlink-install
3、创建/修改配置文件
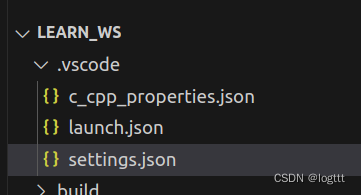
在setting.json中添加
    "ros.distro": "humle",
    "ros.rosSetupScript": "${workspaceFolder}/install/setup.bash"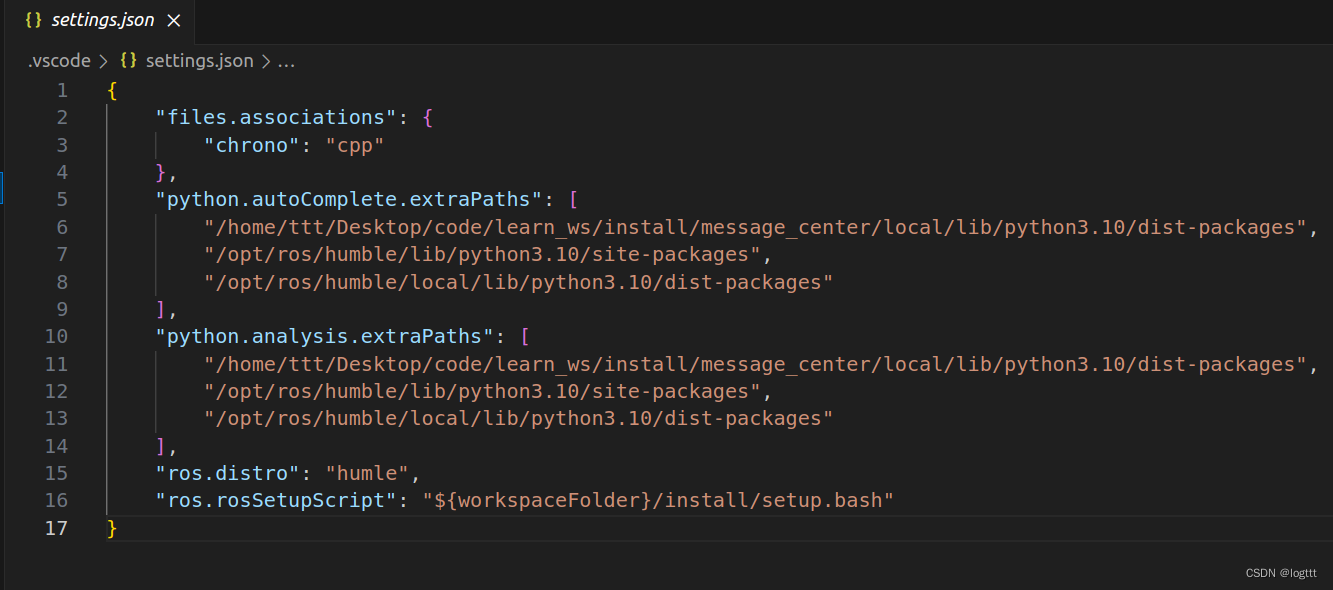
4、创建 launch.json 文件
如果是全部节点调试
{
    // Use IntelliSense to learn about possible attributes.
    // Hover to view descriptions of existing attributes.
    // For more information, visit: https://go.microsoft.com/fwlink/?linkid=830387
    "version": "0.2.0",
    "configurations": [
        {
            "name": "ROS: Launch my file",
            "request": "launch",
            "target": "${workspaceFolder}/install/agv_position_control/share/agv_position_control/launch/agv_navigation.launch.py",
            "launch": ["rviz", "gz", "gzserver", "gzclient"],
            "type": "ros"
        }
    ]
}
如果是单个节点(见上文连接,我这里没有试过)
// rest of code ...
            {
                "name": "C++ Debugger",
                "request": "launch",
                "type": "cppdbg",
                "miDebuggerServerAddress": "localhost:3000",
                "cwd": "/",
                "program": "${workspaceFolder}/install/sub_pub/lib/sub_pub/sub"
            }
// rest of code ...
5、点击调试
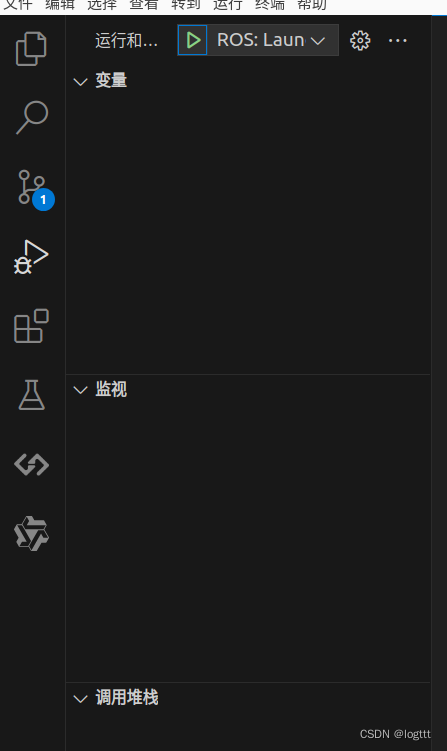
会自动选择launch.json文件

点击左边按钮,便可以进行调试,断点可以正常运行

并且出现调试界面如下,可以愉快玩耍ROS2了!!!
这个调试方法非常重要,可以提高研发效率,怕原连接失效,故记录在此。


 399
399


 被折叠的 条评论
为什么被折叠?
被折叠的 条评论
为什么被折叠?
 到【灌水乐园】发言


