


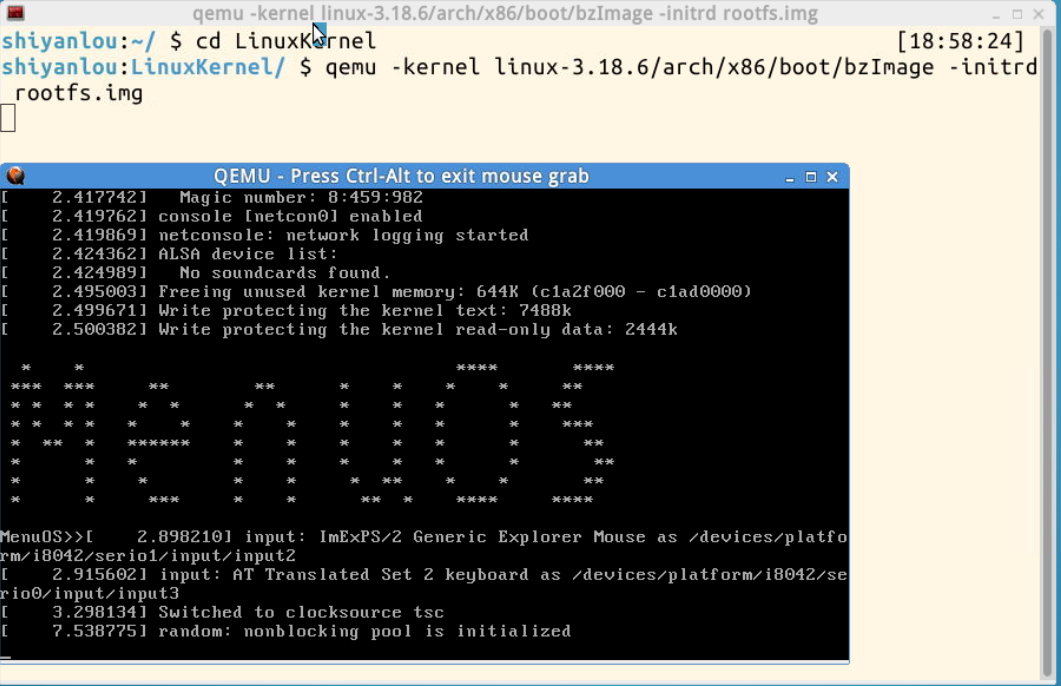
环境搭建
使用实验楼的环境
start_kernel
从start_kernel开始,才真正进入了Linux内核的启动过程。我们可以把start_kernel看做平时用C编程时的main函数。
在平时应用程序编程中,main函数并不是一开始就启动的,而是先使用汇编和C准备一些变量,例如我们使用的argc和argv参数,以及一些全局变量的初始化。所以我们使用gdb调试程序时,使用bt打印栈痕迹,发现最下面的函数并不是main,而是__libc_start_main。
在内核启动过程中,前面的汇编代码部分,就是在为运行start_kernel这个main函数做准备。
- start_kernel的代码
asmlinkage __visible void __init start_kernel(void)
{
    char *command_line;
    char *after_dashes;

    /*
     * Need to run as early as possible, to initialize the
     * lockdep hash:
     */
    lockdep_init();
    set_task_stack_end_magic(&init_task);
    smp_setup_processor_id();
    debug_objects_early_init();

    // .......

    /* Do the rest non-__init'ed, we're now alive */
    rest_init();
}
其实刚进入start_kernel时,Linux还没有进程的概念,整个进程只有一个控制流,在这个函数中,开始的代码主要是运行了一些初始化工作,初始化了init_task这个全局变量。此时的Linux才算是拥有了第一个进程,也就是0号进程。这些代码将start_kernel之前的代码纳入0号进程的上下文中,我们可以将这个进程看做所谓的操作系统进程。
然后我们要重点分析rest_init函数,在这个函数中,我们创建了第一个真正意义上的用户进程,也就是1号进程init。
rest_init
- rest_init
static noinline void __init_refok rest_init(void)
{
    int pid;

    rcu_scheduler_starting();
    /*
     * We need to spawn init first so that it obtains pid 1, however
     * the init task will end up wanting to create kthreads, which, if
     * we schedule it before we create kthreadd, will OOPS.
     */
    kernel_thread(kernel_init, NULL, CLONE_FS);
    numa_default_policy();
    pid = kernel_thread(kthreadd, NULL, CLONE_FS  CLONE_FILES);
    rcu_read_lock();
    kthreadd_task = find_task_by_pid_ns(pid, &init_pid_ns);
    rcu_read_unlock();
    complete(&kthreadd_done);

    /*
     * The boot idle thread must execute schedule()
     * at least once to get things moving:
     */
    init_idle_bootup_task(current);
    schedule_preempt_disabled();
    /* Call into cpu_idle with preempt disabled */
    cpu_startup_entry(CPUHP_ONLINE);
}
在这段代码中,我们注意到kernel_thread(kernel_init, NULL, CLONE_FS);
kernel_thread函数的代码只有一行:
pid_t kernel_thread(int (*fn)(void *), void *arg, unsigned long flags)
{
    return do_fork(flagsCLONE_VMCLONE_UNTRACED, (unsigned long)fn,
        (unsigned long)arg, NULL, NULL);
}
所以我们可以确定,这样代码创建一个内核线程,该线程的运行逻辑为kernel_init函数。
注意到,Linux系统实际上是没有真正的线程的,所谓的线程是通过进程模拟实现的,所以这里就是创建了一个用户进程,所谓的init。
rest_init先fork出一个真正意义的进程-1号进程init之后,进入了一个死循环,这个死循环就是0号进程idle。我们可以认为idle进程是真正意义上的操作系统进程。
kernel_init进程
static int __ref kernel_init(void *unused)
{
    int ret;

    kernel_init_freeable();
    /* need to finish all async __init code before freeing the memory */
    async_synchronize_full();
    free_initmem();
    mark_rodata_ro();
    system_state = SYSTEM_RUNNING;
    numa_default_policy();

    flush_delayed_fput();

    if (ramdisk_execute_command) {
        ret = run_init_process(ramdisk_execute_command);
        if (!ret)
            return 0;
        pr_err("Failed to execute %s (error %d)\n",
               ramdisk_execute_command, ret);
    }

    /*
     * We try each of these until one succeeds.
     *
     * The Bourne shell can be used instead of init if we are
     * trying to recover a really broken machine.
     */
    if (execute_command) {
        ret = run_init_process(execute_command);
        if (!ret)
            return 0;
        pr_err("Failed to execute %s (error %d).  Attempting defaults...\n",
            execute_command, ret);
    }
    if (!try_to_run_init_process("/sbin/init")
        !try_to_run_init_process("/etc/init")
        !try_to_run_init_process("/bin/init")
        !try_to_run_init_process("/bin/sh"))
        return 0;

    panic("No working init found.  Try passing init= option to kernel. "
          "See Linux Documentation/init.txt for guidance.");
}
查看try_to_run_init_process函数:
static int try_to_run_init_process(const char *init_filename)
{
    int ret;

    ret = run_init_process(init_filename);

    if (ret && ret != -ENOENT) {
        pr_err("Starting init: %s exists but couldn't execute it (error %d)\n",
               init_filename, ret);
    }

    return ret;
}
run_init_process:
我们可以清楚地看到,run_init_process中,调用一个execve来替换当前进程的代码端,熟悉Unix编程的同学都知道,执行execve替换后,之前的代码不会继续执行,但是如果执行了,说明代码替换失败!!

所以,kernel_init中那几行代码的逻辑就很清楚了。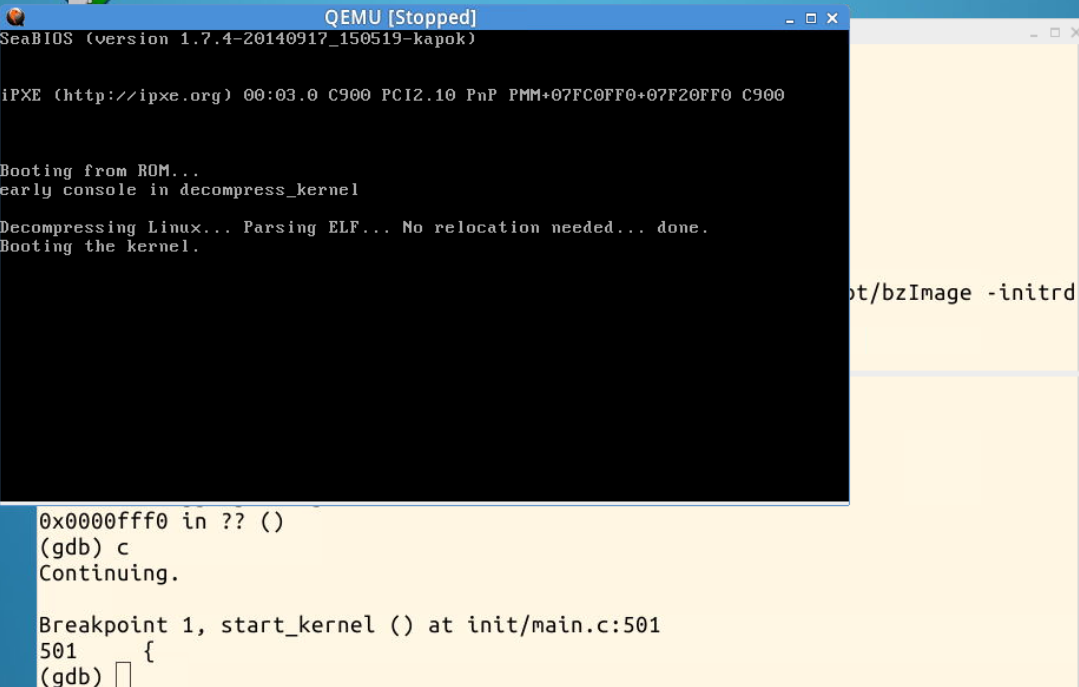
总结
通过这次实验,了解了操作系统的启动过程。
刘森林 原创作品转载请注明出处
《Linux内核分析》MOOC课程http://mooc.study.163.com/course/USTC-1000029000


 1756
1756


 被折叠的 条评论
为什么被折叠?
被折叠的 条评论
为什么被折叠?
 到【灌水乐园】发言


