


前言
如果你尝试进行 Win32 程序 开发,那么不可避免的,你一定要使用 WinAPI, 继承于 Windows 系统本身的尿性,Win32 开发也处处充满了陷阱,所以,我们从最基本的窗口创建开始探索,一起完成一个完整的 Win32 程序,踩掉坑,积累方法。
这篇文章不会关注每一个细节,所以具体的函数还有功能只要 google 一下 MSDN都会立刻获得答案。
温馨提示:务必完整看完文章再进行操作
项目配置
标准的 Win32 开发一定要使用 VisualStudio, 这个 IDE 对于 Windows 系统是最高效的,可以减少很多不必要的时间浪费。VS 的最新版本是 2022,可以自行 google 搜索,不多赘述。

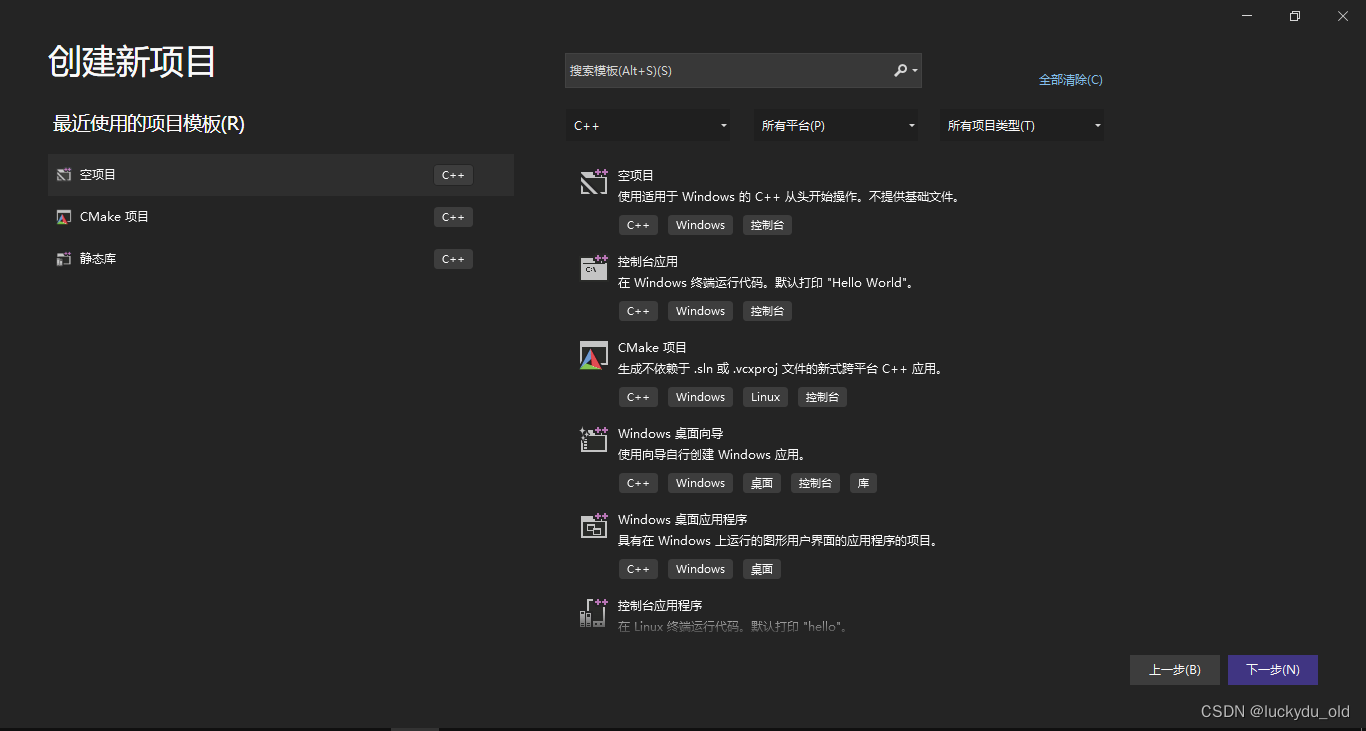
进入 IDE 之后点击如上图的“创建新项目”,进入之后在 如下图的界面中选择 C/C++ 的“空项目”。
然后就是一些最基本的项目配置,这里也不过多赘述,自行解决就好,遇到什么问题 google 一下很容易就能解决。
进入了 VS 的编辑器界面,我们首先需要进入 “项目=>属性=>链接器=>系统” 将 “子系统” 调整为“窗口”,应该是 " SUBSYSTEM:WINDOWS ", 然后推荐将 C++ 标准更改为 C++17, 11/14 不支持许多新特性,而 20 还不是很稳定和完善。
编写代码
调整好项目后我们就可以正式开始写代码了,首先添加一个 cpp 文件,然后引入 Windows.h 文件,然后——注意,第一个坑来啦!
我们在编写 Win32 程序时候,一定要记住,不能像一般情况 " int main() " 而是要使用如下的主函数签名:
int WINAPI WinMain(
	HINSTANCE hInstance,
	HINSTANCE hPrevInstance,
	LPSTR lpCmdLine,
	int nCmdShow)
// No using int main().
这个签名是 Windows 程序特有的,linux 以及 MacOSX 下都没有这条规则,所以这就是所谓的第一个坑。
然后我们就该开始创建一个窗口了,第一步是要声明一个窗口类,这个窗口类不是 C++ 中的 class, 而是 Win32 特有的用来管理窗口的结构体,可以把它看作是一个 config, 代码如下:
HINSTANCE inst = GetModuleHandle(nullptr);
WNDCLASSEX windowclass = { 0 };
windowclass.cbSize = sizeof(windowclass);
windowclass.style = CS_OWNDC;
windowclass.lpfnWndProc = DefWindowProc;
windowclass.cbClsExtra = 0;
windowclass.cbWndExtra = 0;
windowclass.hInstance = inst;
windowclass.hIcon = nullptr;
windowclass.hCursor = nullptr;
windowclass.hbrBackground = nullptr;
windowclass.lpszMenuName = nullptr;
windowclass.lpszClassName = “Win32Window”;
windowclass.hIconSm = nullptr;
RegisterClassEx(&windowclass);
窗口类有多个版本,我使用 “Ex” 版本,但是普通版本只会有一些小细节,不会有太大不同。
细心的朋友可能已经发现了,为什么在 windowclass.lpszClassName 这一行会出现红线呢,而这就是第二个坑。
Win32 的大部分功能都提供两个选择,以窗口类为例分别有 WNDCLASSEXW 和 WNDCLASSEXA 默认情况下没有 W/A 后缀的选择是指向后缀为 W 的,也就是说 WNDCLASSEX 实际上是 WNDCLASSEXW 这两个选择只有一个区别,那就是它们的字符串参数类型不同, A 后缀使用 char* 而 W 后缀使用 wchar_t* 如果想要回避许多不必要的类型转换,一定要使用 A 版本 不然如果在项目中同时使用标准库,就会出现很多麻烦的类型转换和乱码问题。
因此上面的代码应该改成这样:
HINSTANCE inst = GetModuleHandle(nullptr);
WNDCLASSEXA windowclass = { 0 };
windowclass.cbSize = sizeof(windowclass);
windowclass.style = CS_OWNDC;
windowclass.lpfnWndProc = DefWindowProcA;
windowclass.cbClsExtra = 0;
windowclass.cbWndExtra = 0;
windowclass.hInstance = inst;
windowclass.hIcon = nullptr;
windowclass.hCursor = nullptr;
windowclass.hbrBackground = nullptr;
windowclass.lpszMenuName = nullptr;
windowclass.lpszClassName = "Win32Window";
windowclass.hIconSm = nullptr;
RegisterClassExA(&windowclass);
以后的代码中,凡是有类似两个选择的函数,一定要确保都使用一个类别,在这里我会统一使用 A 后缀版本。
创建好了窗口类并注册之后,我们需要创建窗口的实例,代码如下:
//! Make width and hight only for client area.
int width = 800, height = 600;
RECT wr = {};
wr.left = 100;
wr.right = width + wr.left;
wr.top = 100;
wr.bottom = height + wr.top;
HWND handle = CreateWindowExA(0, "Win32Window",
	"Win32Window", 13565952L, // style.
	CW_USEDEFAULT, CW_USEDEFAULT, wr.right - wr.left, wr.bottom- wr.top,
	nullptr, nullptr, inst, nullptr);
然后需要再追加两行代码:
//! I don't know why, but I have to add this line.
//! Or the title showing would be like ...
SetWindowTextA(handle,"Win32Window");
//! This line will show window.
ShowWindow(handle, 10);
用来确保标题和窗口正常显示。
最后我们需要追加消息循环,确保窗口可以一直显示:
MSG msg;
BOOL gResult;

while ((gResult = GetMessageA(&msg, nullptr, 0, 0)) > 0)
{
	TranslateMessage(&msg);
	DispatchMessageA(&msg);
}
最后我们还想要在窗口关闭之前输出一个信息,于是这样做:
std::cout << "Window Terminated!" << std::endl;
return 0;
很好,看起来很不错,但是运行一下就会发现什么都没有输出…!为什么呢,这就是第三个坑。
在 Win32 程序中,类似 printf 或者是 std::cout 这样输出到标准输出流的工具全都是不能使用的,也就是说,如果想要获得调试信息,要么是将信息使用 fprintf 或者 fstream 输出到文件,要么就是使用 Win32 的 API, 而他们确实也提供了一个方便快捷的方式 MessageBox, 上面的代码应该改成:
MessageBoxA(nullptr, "Window Terminated!.", nullptr, 0);
return 0;
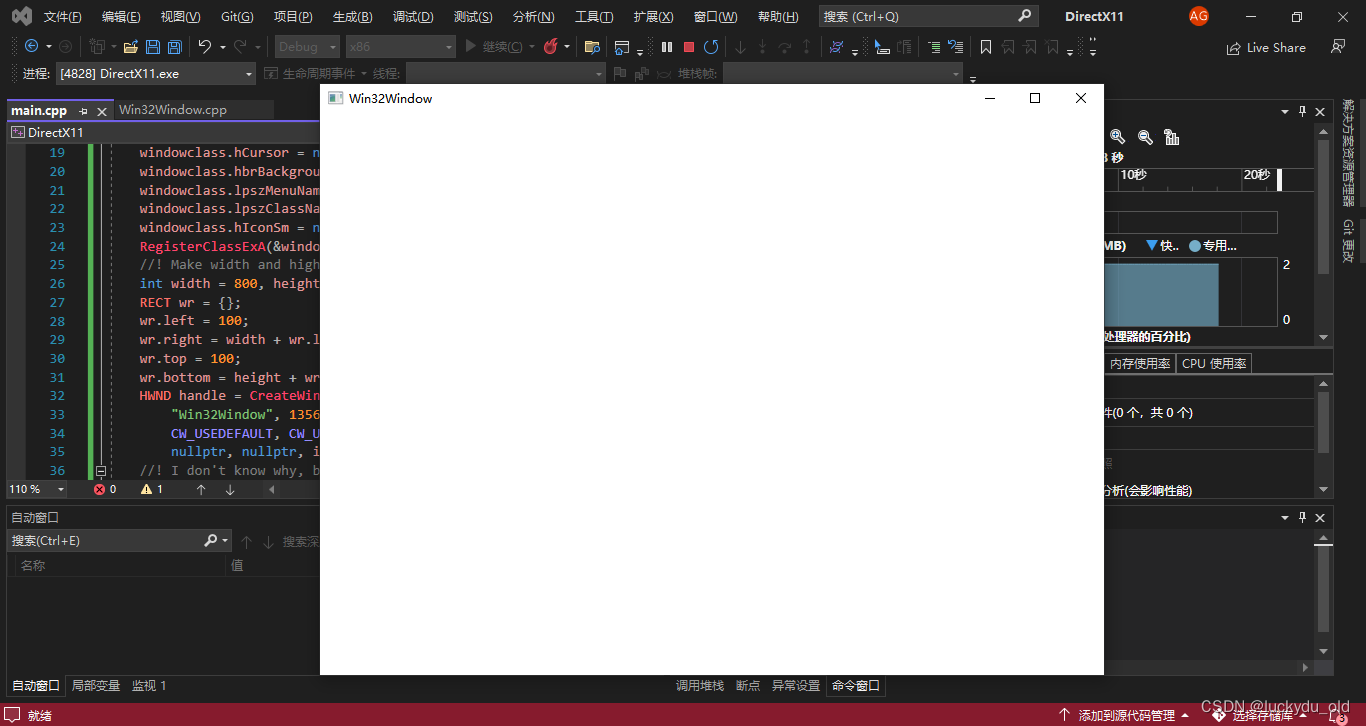
然后我们的窗口就创建好了,运行一下应该会有如下的效果。
补充
这里这个程序还有一个问题,就是关闭窗口之后程序并不会结束,必须在 VS 调试界面手动结束才会停止,而这个问题,就会在以后的文章中进行解决了(挖坑~)。
同时,如果你在编程过程中遇到任何问题 google 搜索 “MSDN+问题描述” 都会得到微软官方的详细解答和文档,这可能是 Win32 程序最好的地方——文档很充分。
完整代码
#include <Windows.h>

int WINAPI WinMain(
	HINSTANCE hInstance,
	HINSTANCE hPrevInstance,
	LPSTR lpCmdLine,
	int nCmdShow)
	// No using int main().
{
	HINSTANCE inst = GetModuleHandle(nullptr);
	WNDCLASSEXA windowclass = { 0 };
	windowclass.cbSize = sizeof(windowclass);
	windowclass.style = CS_OWNDC;
	windowclass.lpfnWndProc = DefWindowProcA;
	windowclass.cbClsExtra = 0;
	windowclass.cbWndExtra = 0;
	windowclass.hInstance = inst;
	windowclass.hIcon = nullptr;
	windowclass.hCursor = nullptr;
	windowclass.hbrBackground = nullptr;
	windowclass.lpszMenuName = nullptr;
	windowclass.lpszClassName = "Win32Window";
	windowclass.hIconSm = nullptr;
	RegisterClassExA(&windowclass);
	//! Make width and hight only for client area.
	int width = 800, height = 600;
	RECT wr = {};
	wr.left = 100;
	wr.right = width + wr.left;
	wr.top = 100;
	wr.bottom = height + wr.top;
	HWND handle = CreateWindowExA(0, "Win32Window",
		"Win32Window", 13565952L, // style.
		CW_USEDEFAULT, CW_USEDEFAULT, wr.right - wr.left, wr.bottom - wr.top,
		nullptr, nullptr, inst, nullptr);
	//! I don't know why, but I have to add this line.
	//! Or the title showing would be like ...
	SetWindowTextA(handle, "Win32Window");
	//! This line will show window.
	ShowWindow(handle, 10);

	MSG msg;
	BOOL gResult;

	while ((gResult = GetMessageA(&msg, nullptr, 0, 0)) > 0)
	{
		TranslateMessage(&msg);
		DispatchMessageA(&msg);
	}

	MessageBoxA(nullptr, "Window Terminated!.", nullptr, 0);
	return 0;
}


 1万+
1万+


 被折叠的 条评论
为什么被折叠?
被折叠的 条评论
为什么被折叠?
 到【灌水乐园】发言


