


整体思路
训练一个模型,把模型保存
写一个基于flask的web服务,在web运行时加载模型,并在对应的接口调用模型进行预测并返回
使用curl进行测试,测试通过
再创建一个html页面,接受参数输入,并返回。
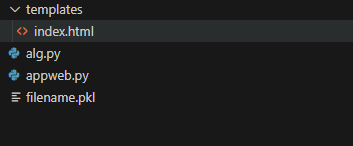
目录结构
训练一个svm模型
#导入数据集模块
from sklearn import datasets


#分别加载iris和digits数据集
iris = datasets.load_iris()  #鸢尾花数据集
# print(dir(datasets))
# print(iris_dataset.keys())
# dict_keys(['data', 'target', 'frame', 'target_names', 'DESCR', 'feature_names', 'filename', 'data_module'])

from sklearn.model_selection import train_test_split
X_train,X_test,y_train,y_test=train_test_split(iris.data,iris.target,test_size=0.4,random_state=0)
print("iris.data[0:5]:\n",iris.data[0:5])
print("iris.target[0:5]:\n",iris.target[0:5])
print("iris.data.shape:",iris.data.shape)
print("iris.target.shape:",iris.target.shape)
print("X_train.shape:",X_train.shape)
print("y_train.shape:",y_train.shape)
print("X_test.shape:",X_test.shape)
print("y_test.shape:",y_test.shape)

# 第二步使用sklearn模型的选择
from sklearn import svm
svc = svm.SVC(gamma='auto')

#第三步使用sklearn模型的训练
svc.fit(X_train, y_train)

# 第四步使用sklearn进行模型预测
print(svc.predict([[5.84,4.4,6.9,2.5]]))

#第五步机器学习评测的指标
#机器学习库sklearn中,我们使用metrics方法实现:
import numpy as np
from sklearn.metrics import accuracy_score
print("y_test:\n",y_test)
y_pred = svc.predict(X_test)
print("y_pred:\n",y_pred)
print(accuracy_score(y_test, y_pred))

#第五步机器学习评测方法:交叉验证 (Cross validation)
#机器学习库sklearn中,我们使用cross_val_score方法实现:
from sklearn.model_selection import cross_val_score
scores = cross_val_score(svc, iris.data, iris.target, cv=5)
print(scores)


#第六步机器学习:模型的保存
#机器学习库sklearn中,我们使用joblib方法实现:
# from sklearn.externals import joblib
import joblib
joblib.dump(svc, 'filename.pkl')
svc1 = joblib.load('filename.pkl')
#测试读取后的Model
print(svc1.score(X_test, y_test))
运行如下:
iris.data[0:5]:
[[5.1 3.5 1.4 0.2]
[4.9 3. 1.4 0.2]
[4.7 3.2 1.3 0.2]
[4.6 3.1 1.5 0.2]
[5. 3.6 1.4 0.2]]
iris.target[0:5]:
[0 0 0 0 0]
iris.data.shape: (150, 4)
iris.target.shape: (150,)
X_train.shape: (90, 4)
y_train.shape: (90,)
X_test.shape: (60, 4)
y_test.shape: (60,)
[2]
y_test:
[2 1 0 2 0 2 0 1 1 1 2 1 1 1 1 0 1 1 0 0 2 1 0 0 2 0 0 1 1 0 2 1 0 2 2 1 0
1 1 1 2 0 2 0 0 1 2 2 2 2 1 2 1 1 2 2 2 2 1 2]
y_pred:
[2 1 0 2 0 2 0 1 1 1 2 1 1 1 1 0 1 1 0 0 2 1 0 0 1 0 0 1 1 0 2 1 0 2 2 1 0
2 1 1 2 0 2 0 0 1 2 2 2 2 1 2 1 1 2 2 1 2 1 2]
0.95
[0.96666667 1. 0.96666667 0.96666667 1. ]
0.95
此时已经生成好了filename.pkl模型文件
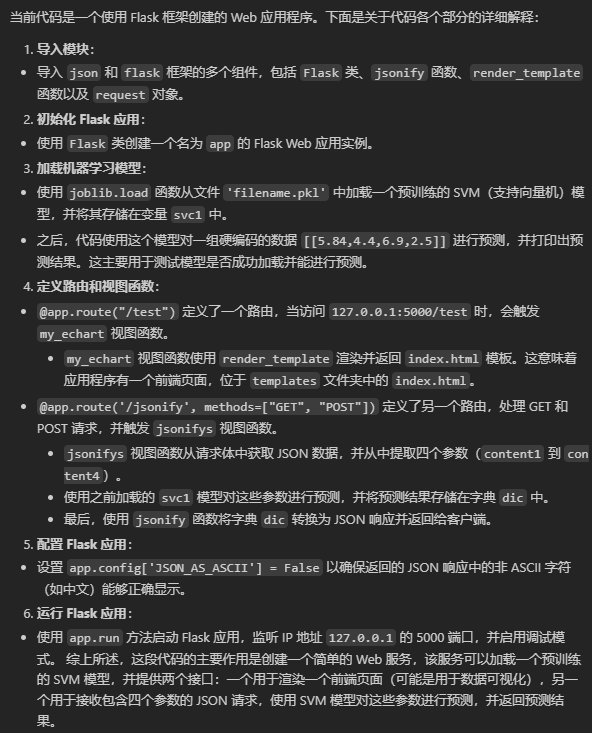
写一个appweb.py
import json
from flask import Flask, jsonify, render_template,request
app = Flask(__name__)
# 运行时,先加载文件
from sklearn import svm
import joblib
svc1 = joblib.load('filename.pkl')
print(svc1.predict([[5.84,4.4,6.9,2.5]]))
# 访问 127.0.0.1:5000/test 返回 index1.html
@app.route("/test")
def my_echart():
return render_template("index.html")
app.config['JSON_AS_ASCII'] = False
# 随便定义个json字典
dic={}
@app.route('/jsonify',methods=["GET","POST"])
def jsonifys():
print("============787878787==================")
print(request)
param1 = request.json.get("content1")
param2 = request.json.get("content2")
param3 = request.json.get("content3")
param4 = request.json.get("content4")
print("param1, param2, param3, param4",param1, param2, param3, param4)
dic['result']=svc1.predict([[param1, param2, param3, param4]]).tolist()
print("resutlt",dic)
return jsonify(dic)
# app.run(host, port, debug, options)
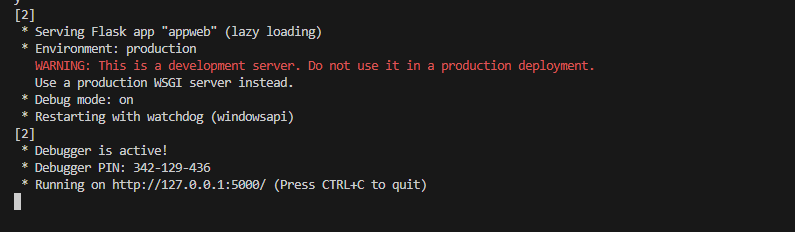
app.run("127.0.0.1",5000,debug=True,)
输出为:
curl在线测试
curl -X POST http://127.0.0.1:5000/jsonify -H "Content-Type: application/json" \
  -d "{\"content1\":\"5.1\",\"content2\":\"3.5\",\"content3\":\"1.4\",\"content4\":\"0.2\"}"
输出为:

curl -X POST http://127.0.0.1:5000/jsonify -H "Content-Type: application/json" \
  -d "{\"content1\":\"5.7\",\"content2\":\"2.8\",\"content3\":\"4.5\",\"content4\":\"1.3\"}"
输出为:

curl -X POST http://127.0.0.1:5000/jsonify -H "Content-Type: application/json" \
  -d "{\"content1\":\"6.7\",\"content2\":\"3\",\"content3\":\"5.2\",\"content4\":\"2.3\"}"
输出为:

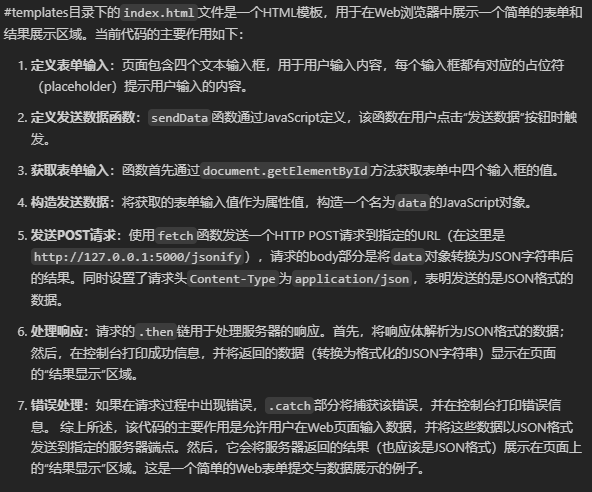
创建一个index.html
index.html位于templates下
<!DOCTYPE html>
<html lang="en">
<head>
<meta charset="UTF-8">
<meta name="viewport" content="width=device-width, initial-scale=1.0">
<title>Fetch JSON Example</title>
<script>
  function sendData() {
    // 获取表单输入的值
    const input1 = document.getElementById('input1').value;
    const input2 = document.getElementById('input2').value;
    const input3 = document.getElementById('input3').value;
    const input4 = document.getElementById('input4').value;

    // 构造要发送的数据
    const data = {
      content1: input1,
      content2: input2,
      content3: input3,
      content4: input4
    };

    // 使用fetch发送POST请求
    fetch('http://127.0.0.1:5000/jsonify', { // 替换 'your-server-endpoint' 为你的服务器接收数据的URL
      method: 'POST',
      headers: {
        'Content-Type': 'application/json',
      },
      body: JSON.stringify(data), // 将数据对象转换为JSON字符串
    })
    .then(response => response.json()) // 解析返回的JSON数据
    .then(data => {
        console.log('Success:', data);
      // 在结果栏中显示返回的JSON数据
      document.getElementById('result').textContent = JSON.stringify(data, null, 2);
    })
    .catch((error) => {
      console.error('Error:', error);
    });
  }
</script>
</head>
<body>

<h2>输入数据</h2>
<input type="text" id="input1" placeholder="内容1">

<input type="text" id="input2" placeholder="内容2">

<input type="text" id="input3" placeholder="内容3">

<input type="text" id="input4" placeholder="内容4">

<button onclick="sendData()">发送数据</button>

<h2>结果显示</h2>
<pre id="result"></pre> <!-- 用于显示结果的区域 -->

</body>
</html>
运行测试
输入
http://127.0.0.1:5000/test
返回indexl.html页面
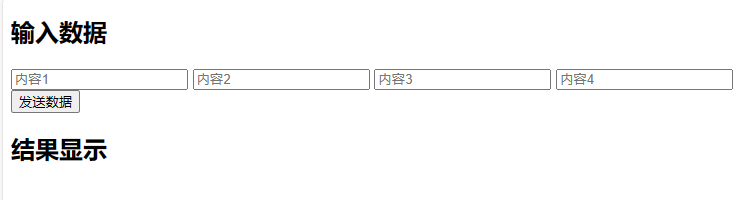
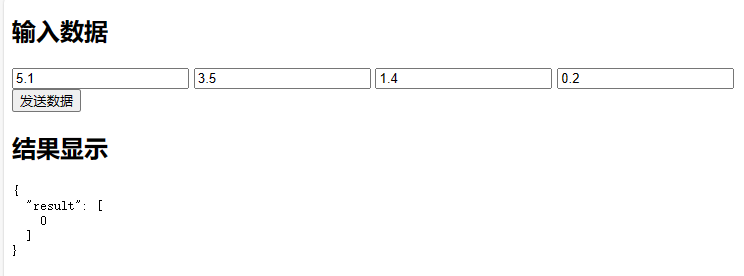
输入如下测试用例
0类别
[[5.1 3.5 1.4 0.2]
[4.9 3. 1.4 0.2]
[4.7 3.2 1.3 0.2]
[4.6 3.1 1.5 0.2]
[5. 3.6 1.4 0.2]]
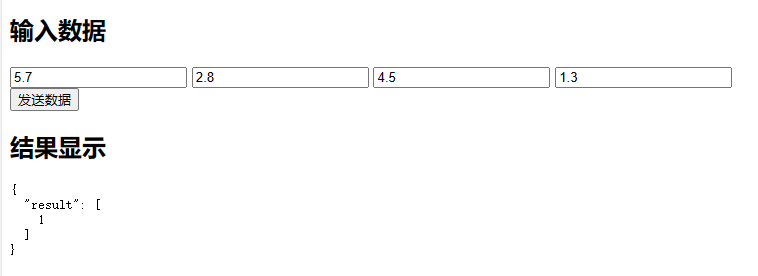
1类别
[[5.7 2.8 4.5 1.3]
[6.3 3.3 4.7 1.6]
[4.9 2.4 3.3 1. ]
[6.6 2.9 4.6 1.3]
[5.2 2.7 3.9 1.4]]
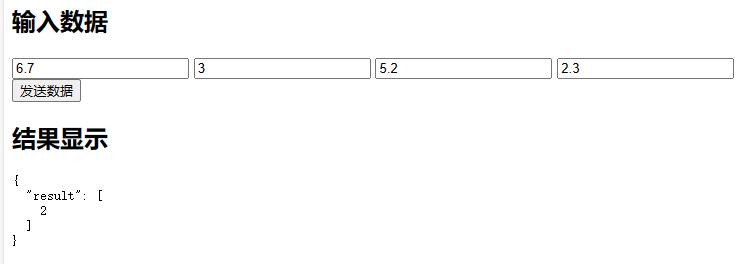
2类别
[[6.7 3. 5.2 2.3]
[6.3 2.5 5. 1.9]
[6.5 3. 5.2 2. ]
[6.2 3.4 5.4 2.3]
[5.9 3. 5.1 1.8]]


 972
972


 被折叠的 条评论
为什么被折叠?
被折叠的 条评论
为什么被折叠?
 到【灌水乐园】发言


