


目录
一:数据集准备
从官网下载比较麻烦,可根据以下链接,从百度网盘获取数据集
https://pan.baidu.com/s/13hw4LK8ihR6-6-8mpjLKDA
密码:dmp4
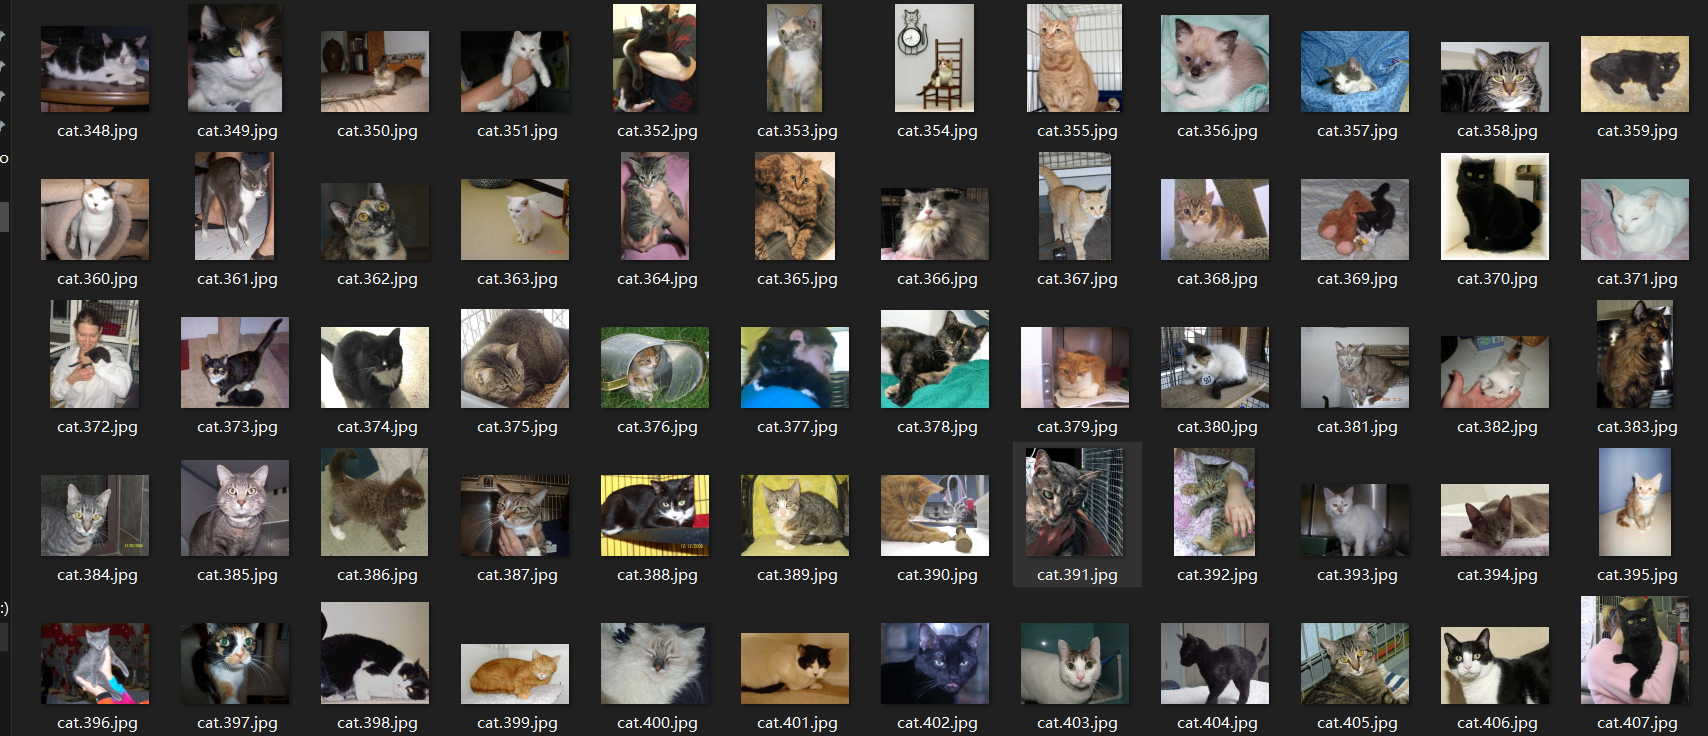
猫狗图像识别数据集 如下

二:读取自己的数据集
import os
import cv2
import numpy as np
from tqdm import tqdm  # 进度条
from random import shuffle  # 随机打乱

IMAGE_SIZE = 50


def label_img(img_name):
    label_name = img_name.split('.')[0]
    # print(label_name)
    if label_name == 'cat':
        return [1, 0]
    elif label_name == 'dog':
        return [0, 1]
    return []


def create_train_data(dir_path):
    train_data = []
    # 遍历目录获取每一张图片的路径
    for img_path in tqdm(os.listdir(dir_path)):
        # print(img_path)
        label = label_img(img_path)
        if len(label) != 0:
            img_path = os.path.join(dir_path, img_path)
            # 单通道
            img_mat = cv2.imread(img_path, cv2.IMREAD_GRAYSCALE)
            # print(img_mat, type(img_mat), img_mat.shape)
            if img_mat is not None:
                img = cv2.resize(img_mat, (IMAGE_SIZE, IMAGE_SIZE))
                # cv2.imshow("resize", img)
                # cv2.waitKey(0)
                # cv2.destoryAllWindows()
                train_data.append([np.array(img), np.array(label)])
    shuffle(train_data)
    np.save('mark_catDog_TrainData.npy', train_data)


create_train_data("./train/train")
等待加载........
直至加载完成100%

三:搭建网络 训练模型
1 导入库
import tflearn
import numpy as np
from tflearn.layers.estimator import regression
from tflearn.layers.conv import conv_2d, max_pool_2d
from tflearn.layers.core import input_data, fully_connected, dropout
2 搭建网络
# 搭建网络 卷积 激活 池化 全连
# 输入层
conv_input = input_data([None, IMAGE_SIZE, IMAGE_SIZE, 1], name='input')
# 第一层卷积
conv1 = conv_2d(conv_input, 32, 5, activation='relu')
conv1 = max_pool_2d(conv1, 2)
# 第二层网络
conv2 = conv_2d(conv1, 64, 5, activation='relu')
conv2 = max_pool_2d(conv2, 2)
# 第三层网络
conv3 = conv_2d(conv2, 1024, 5, activation='relu')
conv3 = max_pool_2d(conv3, 2)
# 全连层1
fully_layer1 = fully_connected(conv3, 1024, activation='relu')
# 防止过拟合
fully_layer1 = dropout(fully_layer1, 0.6)
# 全连层2
fully_layer2 = fully_connected(fully_layer1, 2, activation='softmax')
# 设置损失函数和优化器
model_net = regression(fully_layer2, optimizer='adam', learning_rate=0.0005, loss='categorical_crossentropy',
                       name='model_net')
3 数据集划分
# 创建模型
model = tflearn.DNN(model_net, tensorboard_dir='log')

# 加载数据npy文件
train_data = np.load('mark_catDog_TrainData.npy', allow_pickle=True)
print(train_data, len(train_data), type(train_data))
# 数据划分
train = train_data[:-30]
test = train_data[-30:]

X = np.array([i[0] for i in train]).reshape((-1, IMAGE_SIZE, IMAGE_SIZE, 1))
Y = [i[1] for i in train]
x_test = np.array([i[0] for i in test]).reshape((-1, IMAGE_SIZE, IMAGE_SIZE, 1))
y_test = [i[1] for i in test]
4 模型训练及保存
# 模型训练
model.fit({'input': X},
{'model_net': Y},
n_epoch=2,
validation_set=({'input': x_test}, {'model_net': y_test}),
snapshot_step=10,
show_metric=True,
run_id="model_class"
)
# 模型保存
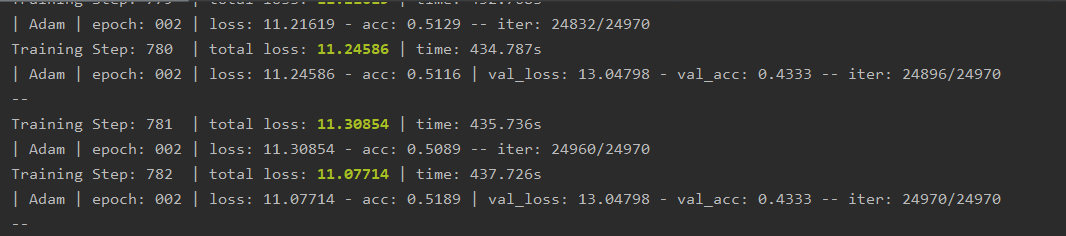
model.save("model/cat-dog.model")训练时间较长,需要耐心等待

直至加载完毕,将模型保存
训练模型 完整源码:
import tflearn
import numpy as np
from tflearn.layers.estimator import regression
from tflearn.layers.conv import conv_2d, max_pool_2d
from tflearn.layers.core import input_data, fully_connected, dropout

IMAGE_SIZE = 50

# 搭建网络 卷积 激活 池化 全连
# 输入层
conv_input = input_data([None, IMAGE_SIZE, IMAGE_SIZE, 1], name='input')
# 第一层卷积
conv1 = conv_2d(conv_input, 32, 5, activation='relu')
conv1 = max_pool_2d(conv1, 2)
# 第二层网络
conv2 = conv_2d(conv1, 64, 5, activation='relu')
conv2 = max_pool_2d(conv2, 2)
# 第三层网络
conv3 = conv_2d(conv2, 1024, 5, activation='relu')
conv3 = max_pool_2d(conv3, 2)
# 全连层1
fully_layer1 = fully_connected(conv3, 1024, activation='relu')
# 防止过拟合
fully_layer1 = dropout(fully_layer1, 0.6)
# 全连层2
fully_layer2 = fully_connected(fully_layer1, 2, activation='softmax')
# 设置损失函数和优化器
model_net = regression(fully_layer2, optimizer='adam', learning_rate=0.0001, loss='categorical_crossentropy',
                       name='model_net')

# 创建模型
model = tflearn.DNN(model_net, tensorboard_dir='log')

# 加载数据npy文件
train_data = np.load('mark_catDog_TrainData.npy', allow_pickle=True)
print(train_data, len(train_data), type(train_data))
# 数据划分
train = train_data[:-30]
test = train_data[-30:]

X = np.array([i[0] for i in train]).reshape((-1, IMAGE_SIZE, IMAGE_SIZE, 1))
Y = [i[1] for i in train]
x_test = np.array([i[0] for i in test]).reshape((-1, IMAGE_SIZE, IMAGE_SIZE, 1))
y_test = [i[1] for i in test]

# 模型训练
model.fit({'input': X},
          {'model_net': Y},
          n_epoch=2,
          validation_set=({'input': x_test}, {'model_net': y_test}),
          snapshot_step=10,
          show_metric=True,
          run_id="model_class"
          )

# 模型保存
model.save("model/cat-dog.model")
四:猫狗图像识别
模型保存后,可以使用模型测试,看看猫狗识别的准确率如何
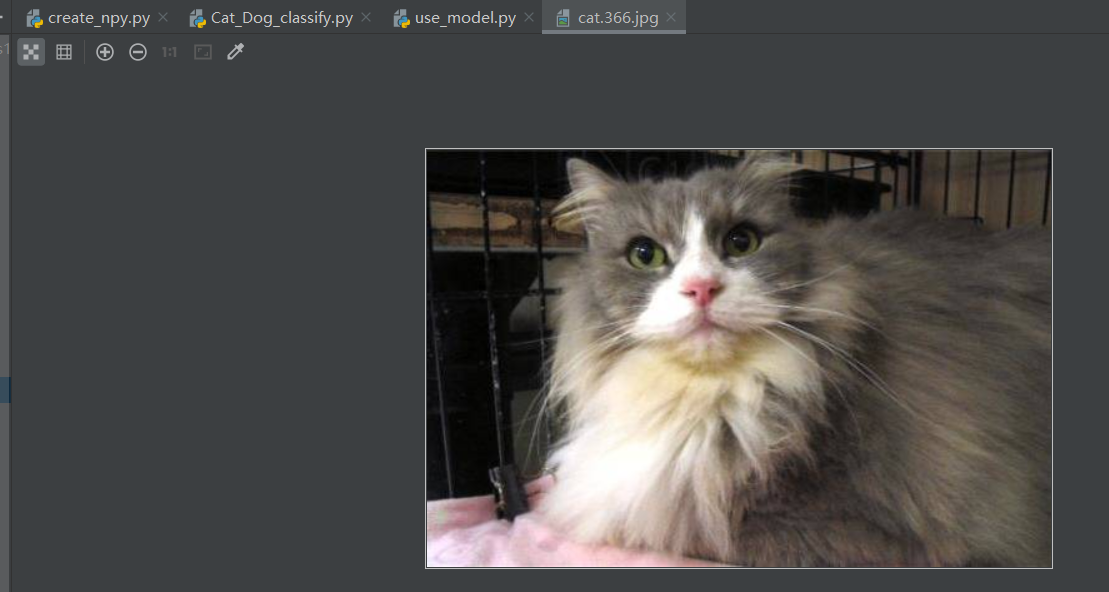
可以从数据集中下载图片至工程进行测试:
测试1

# 将检测的图片变成np array
def classify(img_path):
# 灰度读取
img = cv2.imread(img_path, cv2.IMREAD_GRAYSCALE)
if img is not None:
img = cv2.resize(img, (IMAGE_SIZE, IMAGE_SIZE))
data = img.reshape(-1, IMAGE_SIZE, IMAGE_SIZE, 1)
return data
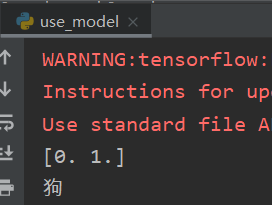
predict = model.predict(classify('dog.11392.jpg'))[0]
print(predict)
max_index = np.argmax(predict)
if max_index == 0:
print("猫")
elif max_index == 1:
print("狗")测试结果如下,识别为狗,识别正确
测试2
predict = model.predict(classify('cat.299.jpg'))[0]
print(predict)
max_index = np.argmax(predict)
if max_index == 0:
print("猫")
elif max_index == 1:
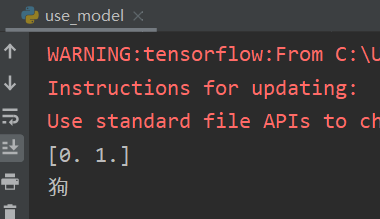
print("狗")测试结果如下,错将猫识别为狗,识别错误
经过多次测试,识别的准确率并不高,模型训练的不够好,需要调参优化,再多花时间训练
# 设置损失函数和优化器
model_net = regression(fully_layer2, optimizer='adam', learning_rate=0.0005, loss='categorical_crossentropy',
                       name='model_net')
深度学习,一般学习率 learning_rate是设置为0.0001,
若是对这个猫狗识别比较感兴趣的,可以自己调参优化,多搭建几层网络,如果训练出比较好的模型可以告诉我一下,嘻嘻(可以理解为博主很懒)
如果对于使用模型不够熟悉的,可以参考以下源码(图片自行准备,图片名称记得修改)
import tflearn
import numpy as np
import cv2
from tflearn.layers.estimator import regression
from tflearn.layers.conv import conv_2d, max_pool_2d
from tflearn.layers.core import input_data, fully_connected, dropout

IMAGE_SIZE = 50

# 搭建网络 卷积 激活 池化 全连
# 输入层
conv_input = input_data([None, IMAGE_SIZE, IMAGE_SIZE, 1], name='input')
# 第一层卷积
conv1 = conv_2d(conv_input, 32, 5, activation='relu')
conv1 = max_pool_2d(conv1, 2)
# 第二层网络
conv2 = conv_2d(conv1, 64, 5, activation='relu')
conv2 = max_pool_2d(conv2, 2)
# 第三层网络
conv3 = conv_2d(conv2, 1024, 5, activation='relu')
conv3 = max_pool_2d(conv3, 2)
# 全连层1
fully_layer1 = fully_connected(conv3, 1024, activation='relu')
# 防止过拟合
fully_layer1 = dropout(fully_layer1, 0.6)
# 全连层2
fully_layer2 = fully_connected(fully_layer1, 2, activation='softmax')
# 设置损失函数和优化器
model_net = regression(fully_layer2, optimizer='adam', learning_rate=0.0005, loss='categorical_crossentropy',
                       name='model_net')

# 加载数据npy文件
train_data = np.load('mark_catDog_TrainData.npy', allow_pickle=True)
print(train_data, len(train_data), type(train_data))
# 数据划分
train = train_data[:-30]
test = train_data[-30:]

X = np.array([i[0] for i in train]).reshape((-1, IMAGE_SIZE, IMAGE_SIZE, 1))
Y = [i[1] for i in train]
x_test = np.array([i[0] for i in test]).reshape((-1, IMAGE_SIZE, IMAGE_SIZE, 1))
y_test = [i[1] for i in test]

# 创建模型
model = tflearn.DNN(model_net, tensorboard_dir='log')
# 加载模型
model.load("./model/cat-dog.model")


# 将检测的图片变成np array
def classify(img_path):
    # 灰度读取
    img = cv2.imread(img_path, cv2.IMREAD_GRAYSCALE)
    if img is not None:
        img = cv2.resize(img, (IMAGE_SIZE, IMAGE_SIZE))
        data = img.reshape(-1, IMAGE_SIZE, IMAGE_SIZE, 1)
        return data


predict = model.predict(classify('cat.299.jpg'))[0]
print(predict)
max_index = np.argmax(predict)
if max_index == 0:
    print("猫")
elif max_index == 1:
    print("狗")


 470
470


 被折叠的 条评论
为什么被折叠?
被折叠的 条评论
为什么被折叠?
 到【灌水乐园】发言


