


接上篇文章安装跑通环境,下来就是训练预测了
一、制作数据集
下载labelimg打标签(具体不多介绍,CSD上到处都是)
在object_detection下建立training_demo文件夹,作为根目录。然后在里面建立如下文件夹,多的后面自动会生成
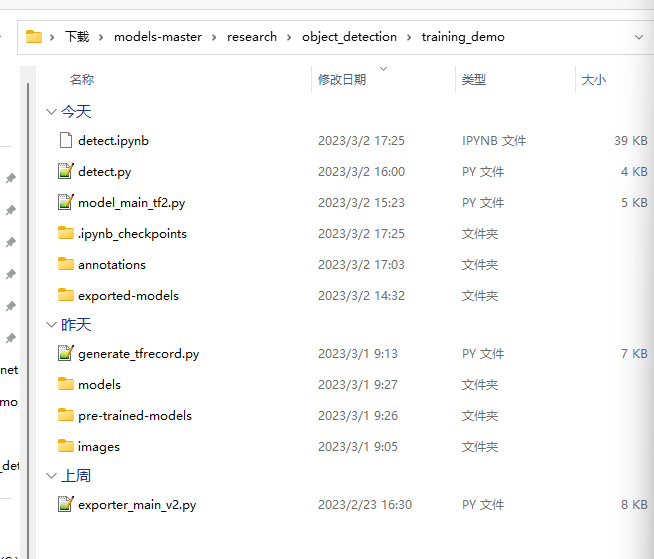
annotations存放生成的数据,record格式的数据集,pbtxt文件标签,img预测使用的图片
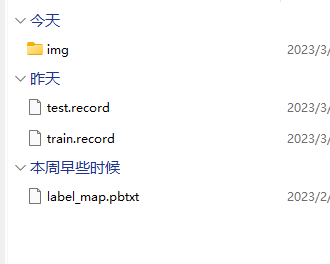
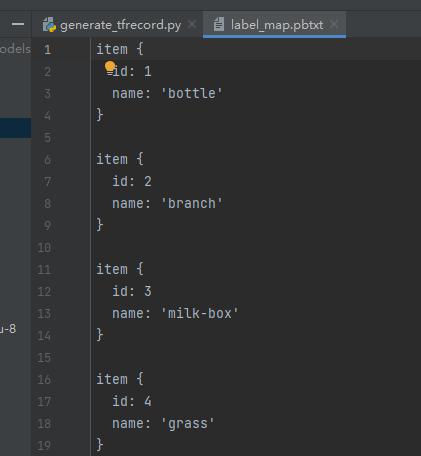
pb.txt文件为自己构建类标签
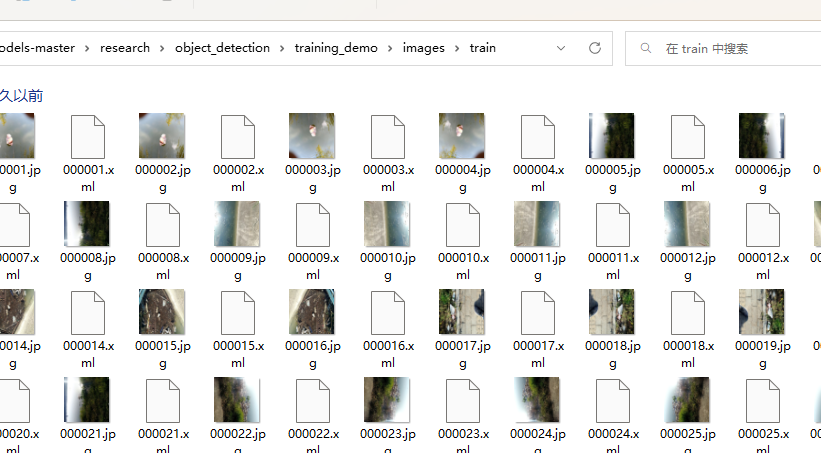
exported-models存放训练好的模型、pre-trained-models存放预训练的模型、models存放预训练模型修改后的模型、images存放image打标签后的数据。image下包含train和test文件,将分类好的图片及其xml文件放入
在根目录下编译generate_tfrecord.py
python generate_tfrecord.py -x C:\Users\Admin\Downloads\models-master\research\object_detection\training_demo\images\test -l C:\Users\Admin\Downloads\models-master\research\object_detection\training_demo\annotations\label_map.pbtxt -o C:\Users\Admin\Downloads\models-master\research\object_detection\training_demo\annotations\test.record""" Sample TensorFlow XML-to-TFRecord converter
usage: generate_tfrecord.py [-h] [-x XML_DIR] [-l LABELS_PATH] [-o OUTPUT_PATH] [-i IMAGE_DIR] [-c CSV_PATH]
optional arguments:
-h, --help show this help message and exit
-x XML_DIR, --xml_dir XML_DIR
Path to the folder where the input .xml files are stored.
-l LABELS_PATH, --labels_path LABELS_PATH
Path to the labels (.pbtxt) file.
-o OUTPUT_PATH, --output_path OUTPUT_PATH
Path of output TFRecord (.record) file.
-i IMAGE_DIR, --image_dir IMAGE_DIR
Path to the folder where the input image files are stored. Defaults to the same directory as XML_DIR.
-c CSV_PATH, --csv_path CSV_PATH
Path of output .csv file. If none provided, then no file will be written.
"""
import os
import glob
import pandas as pd
import io
import xml.etree.ElementTree as ET
import argparse
os.environ['TF_CPP_MIN_LOG_LEVEL'] = '2' # Suppress TensorFlow logging (1)
import tensorflow.compat.v1 as tf
from PIL import Image
from object_detection.utils import dataset_util, label_map_util
from collections import namedtuple
# Initiate argument parser
parser = argparse.ArgumentParser(
description="Sample TensorFlow XML-to-TFRecord converter")
parser.add_argument("-x",
"--xml_dir",
help="Path to the folder where the input .xml files are stored.",
type=str)
parser.add_argument("-l",
"--labels_path",
help="Path to the labels (.pbtxt) file.", type=str)
parser.add_argument("-o",
"--output_path",
help="Path of output TFRecord (.record) file.", type=str)
parser.add_argument("-i",
"--image_dir",
help="Path to the folder where the input image files are stored. "
"Defaults to the same directory as XML_DIR.",
type=str, default=None)
parser.add_argument("-c",
"--csv_path",
help="Path of output .csv file. If none provided, then no file will be "
"written.",
type=str, default=None)
args = parser.parse_args()
if args.image_dir is None:
args.image_dir = args.xml_dir
label_map = label_map_util.load_labelmap(args.labels_path)
label_map_dict = label_map_util.get_label_map_dict(label_map)
def xml_to_csv(path):
"""Iterates through all .xml files (generated by labelImg) in a given directory and combines
them in a single Pandas dataframe.
Parameters:
----------
 最低0.47元/天 解锁文章


 4128
4128


 被折叠的 条评论
为什么被折叠?
被折叠的 条评论
为什么被折叠?
 到【灌水乐园】发言


