


1月14号的日记(昨天的),由于做完风格迁移已经很晚了,所以就没整理日记,今天早上才发。昨晚有些地方不是很懂,今天调试、跑了一遍损失函数后,理解了很多。生成式学习是有很大实际价值的一个方向,让AI进行艺术创作,也是这两年的热点。这章花了一天半时间了,还没有搞定,今天估计还得学一天。
DeepDream
DeepDream是利用了梯度上升,求得使某些层激活值最大的原始图像。步骤是输入一个原始图像,然后用梯度上升,使得某些层的激活值最大。这样的图像具有迷幻般的图案,让我们试一试。下载图片并且定义好模型:
base_image_path=tf_keras.utils.get_file('coast.jpg',origin='https://img-datasets.s3.amazonaws.com/coast.jpg')

from tensorflow.keras.applications import inception_v3
model=inception_v3.InceptionV3(include_top=False)

# model.summary()
# plot_model(model,'inception.png',dpi=200)

layer_settings={
    'mixed4': 1.0,
    'mixed5': 1.5,
    'mixed6': 2.0,
    'mixed7': 2.5,
} # 将这些层的激活值最大化,给出了每个层在总损失函数中所占的比重,调整比重可以获得不同视觉效果

outputs_dict=dict( # 每一层的符号化输出
    [(layer.name,layer.output)
    for layer in [model.get_layer(name) for name in layer_settings.keys()]
])

feature_extractor=keras.Model(model.inputs,outputs_dict) # 模型的返回格式为字典
其余代码:
def compute_loss(input_image):
    features=feature_extractor(input_image) # 得到激活值,一个字典
    loss=tf.zeros(shape=()) # 标量
    for name in features.keys():
        coeff=layer_settings[name] # 权重
        activation=features[name] # 计算出来的激活值
        loss+=coeff*tf.reduce_mean(tf.square(activation[:,2:-2,2:-2,:])) # 避免边界伪影,裁剪一下
    return loss # 要使损失函数最大化,把每个值平方后取平均

@tf.function
def gradient_ascent_step(image,learning_rate):
    with tf.GradientTape() as tape:
        tape.watch(image) # 其加入观测
        loss=compute_loss(image)

    grads=tape.gradient(loss,image)
    grads=tf.math.l2_normalize(grads) # 梯度规范化,变化更平缓
    image+=learning_rate*grads # 梯度上升
    return loss,image

def gradient_ascent_loop(image,iterations,learning_rate,max_loss=None):
    for i in range(iterations) : # 每一次迭代都更新图像
        loss,image=gradient_ascent_step(image,learning_rate)
        if max_loss is not None and loss>max_loss: # 超过阈值就可以终止,过度循环会产生不必要的伪影
            break
        print(f'Loss at step {i}: {loss:.2f}')
    return image


step=20. # 梯度上升的步长(学习率
num_octave=3 # 在3个尺度上运行梯度上升
octave_scale=1.4 # 连续尺度之间尺寸的比例
iterations=30 # 每个尺度上运行梯度上升的步数
max_loss=15 # 损失函数超过这个值就停止梯度上升

def preprocess_image(image_path): # 打开图像,调整尺寸,转换为适当的格式
    img=tf_keras.utils.load_img(image_path) # 从磁盘加载
    img=tf_keras.utils.img_to_array(img) # 变成数组
    img=np.expand_dims(img,axis=0) # 批尺寸为1
    img=tf_keras.applications.inception_v3.preprocess_input(img) # 图像预处理
    return img

def depeocess_img(img): # 将np数组转换为有效的图像
    img=img.reshape((img.shape[1],img.shape[2],3))
    img/=2.0
    img+=0.5
    img*=255. # 对inception V3所做的预处理进行逆向操作
    img=np.clip(img,0,255).astype('uint8')
    return img


original_img=preprocess_image(base_image_path) # 加载原图像
print(original_img.shape)
original_shape=original_img.shape[1:3] # 丢弃批尺寸

successive_shapes=[original_shape] # 最终的图像尺寸
for i in range(1,num_octave): # 对于每一个八度
    shape=tuple([int(dim/(octave_scale**i)) for dim in original_shape]) # 本个八度中图像的尺寸,下一个八度将翻1.4倍
    successive_shapes.append(shape)

successive_shapes=successive_shapes[::-1] # 逆序,按尺寸从小到大排序,共有3个八度
print(successive_shapes)

shrunk_original_img=tf.image.resize(original_img,successive_shapes[0])
# 上一个八度的尺寸,第一个八度的上一个八度初始化为第一个八度。保存上一个八度的原始图像用于还原丢失的细节

img=tf.identity(original_img) # 复制图片,保留原始图像
for i,shape in enumerate(successive_shapes): # 开始处理图片,分三个八度
    print(f'Processing octave {i} with shape {shape}') # 大于当前八度的图片尺寸
    img=tf.image.resize(img,shape) # 调整到需要的尺寸
    img=gradient_ascent_loop(img,iterations,learning_rate=step,max_loss=max_loss) # 进行当前八度的梯度上升

    upscaled_shrunk_original_img=tf.image.resize(shrunk_original_img,shape) # 将当前八度的原始图像放大,得到像素化图片
    same_size_original=tf.image.resize(original_img,shape) # 将原始图片缩小到当前八度的图片,得到高质量图片
    lost_detal=same_size_original-upscaled_shrunk_original_img # 丢失的细节
    img += lost_detal # 还原丢失的细节

    shrunk_original_img=tf.image.resize(original_img,shape) # 更新上一个八度的原始图像
    plt.imshow(depeocess_img(img.numpy()))
    plt.show()

tf_keras.utils.save_img('dream.png',depeocess_img(img.numpy())) # 保存结果
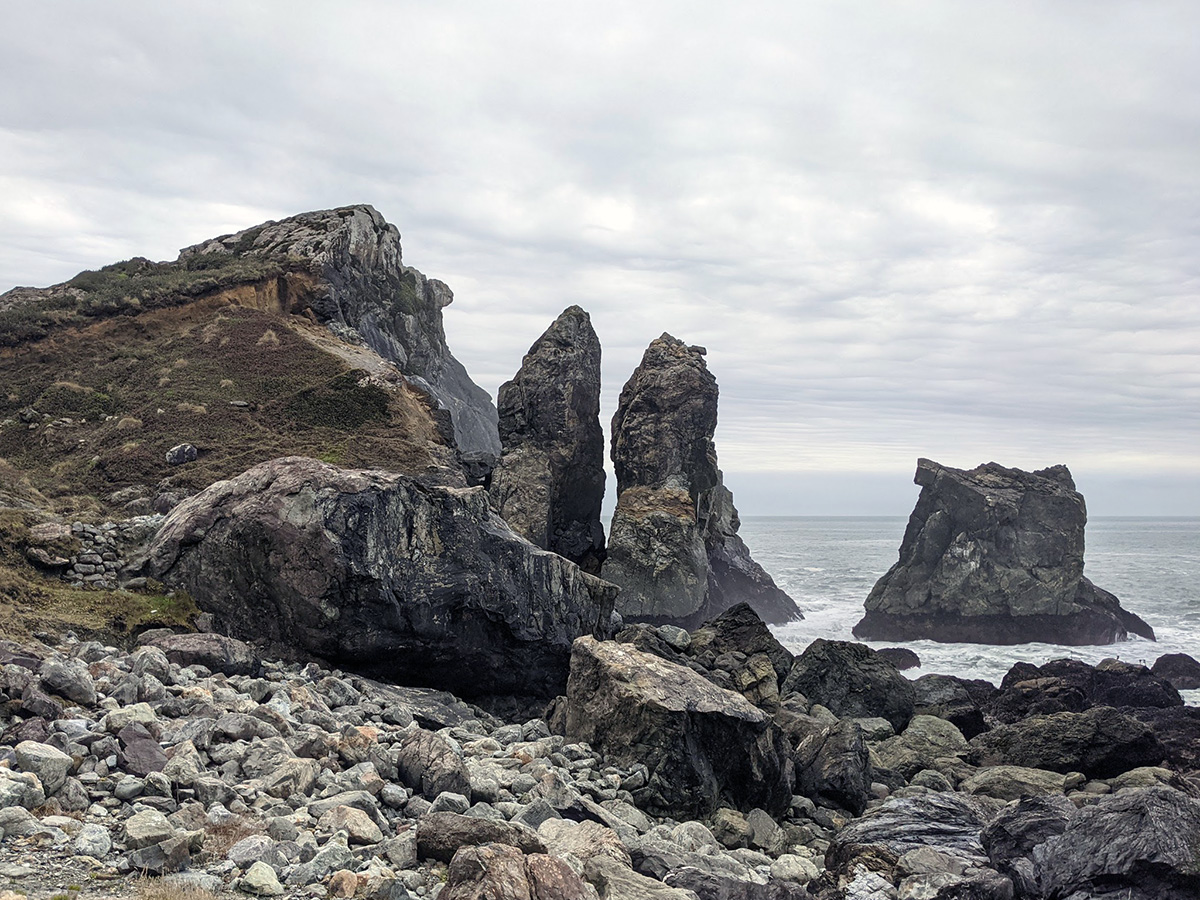
原图片:
加了效果以后:

感觉怪瘆人的,到处都是眼睛、羽毛之类的。
风格迁移
风格迁移可以把A图片的风格迁移到B图片上,而B图片的内容不会发生改变,仅改变风格,是一种挺有趣的玩法。方法是用梯度下降法,损失函数包含3部分:生成图片和风格图片之间的风格损失函数、生成图片和内容图片之间的内容损失函数、生成图片与自身的变差损失函数(使生成的图片平滑、连贯)。风格损失函数用两张图片的gram矩阵刻画。第一个通道与第一个通道对应像素相乘,结果相加得到矩阵(1,1)位置的值。简而言之就是第i个通道和第j个通道对应像素点相乘,然后把结果相加得到矩阵(i,j)位置的值。gram矩阵刻画了不同通道之间的相互关系,这些相互关系抓住了在某个空间尺度上的模式的统计规律,即纹理外观。
把生成图片的gram矩阵和风格图片的gram矩阵相减并取平方,把所有元素求和后得到一个损失值,这个值越小,说明两者的风格越接近。
base_image_path=tf_keras.utils.get_file('sf.jpg',origin='https://img-datasets.s3.amazonaws.com/sf.jpg') # 内容图片
style_reference_image_path=tf_keras.utils.get_file('starry_night.jpg',
                                                   'https://img-datasets.s3.amazonaws.com/starry_night.jpg') # 风格图片

base_image_path='我的自拍.jpg'
style_reference_image_path='抽象画.jpg'

# print(base_image_path)
# print(style_reference_image_path)
original_width,original_height=tf_keras.utils.load_img(base_image_path).size # 内容图片宽和高
img_height=400 # 生成图片的高度
img_width=round(original_width*img_height/original_height) # 按比例获取宽度


def preprocess_image(image_path): # 打开图像,调整尺寸,转换为np数组
    img=tf_keras.utils.load_img(image_path,target_size=(img_height,img_width)) # 读取图片,按生成图片的比例来
    img=tf_keras.utils.img_to_array(img)
    img=np.expand_dims(img,axis=0)
    img=tf_keras.applications.vgg19.preprocess_input(img)
    return img


def deprocess_img(img): # 将numpy数组转换为有效的图像(0~255范围)
    img=img.reshape((img_height,img_width,3))
    img[:,:,0]+=103.939
    img[:,:,1]+=116.779
    img[:,:,2]+=123.68
    # 预处理的逆操作
    img=img[:,:,::-1] # 将BGR转化为RGB,也是对预处理的逆操作
    img=np.clip(img,0,255).astype('uint8')
    return img


model=tf_keras.applications.vgg19.VGG19(include_top=False)
outputs_dict=dict([(layer.name,layer.output)for layer in model.layers])
feature_extractor=keras.Model(model.inputs,outputs_dict)


def content_loss(base_img,combination_img): # 评估内容的损失函数
    return tf.reduce_sum(tf.square(combination_img-base_img)) # 拿原始图片和生成图片的最后几个层的通道进行比较

def gram_matrix(x):
    x=tf.transpose(x,(2,0,1)) # x是一张特征图,转置,把通道数移到最前面
    features=tf.reshape(x,(tf.shape(x)[0],-1)) # 按通道数拉平,现在每个通道都是一个很长的向量
    gram=tf.matmul(features,tf.transpose(features)) # 矩阵乘法,得到格拉姆矩阵
    # 第一个通道与第一个通道对应像素相乘,结果相加得到矩阵(1,1)位置的值
    # 简而言之就是第i个通道和第j个通道对应像素点相乘,然后把结果相加得到矩阵(i,j)位置的值
    # gram矩阵刻画了不同通道之间的相互关系,这些相互关系抓住了在某个空间尺度上的模式的统计规律,即纹理外观。
    return gram

def style_loss(style_img,conination_img):
    S=gram_matrix(style_img) # 风格图像的格拉姆矩阵
    C=gram_matrix(conination_img) # 生成图像的格拉姆矩阵
    channels=3 # 通道数
    size=img_height*img_width # 总的像素数目
    return tf.reduce_sum(tf.square(S-C)) / (4.0*(channels**2)*(size**2)) # 该损失函数描述两图片的风格差异

def total_variation_loss(x): # 总变差损失,使得图像具有空间连续性
    a=tf.square(x[:,:img_height-1,:img_width-1,:] - x[:,1:,:img_width-1]) # 将图片向下移动一格
    b=tf.square(x[:,:img_height-1,:img_width-1,:] - x[:,img_height-1,1:]) # 将图像向右移动一格
    return tf.reduce_sum(tf.pow(a+b,1.25))


style_layer_names=[ # 用于风格损失
    'block1_conv1',
    'block2_conv1',
    'block3_conv1',
    'block4_conv1',
    'block5_conv1',
]

content_layer_name='block5_conv2' # 用于内容损失

total_variation_weight=1e-8
style_weight=1e-6
content_weight=2.5e-9

def compute_loss(combination_image,base_image,style_reference_image):
    input_tensor=tf.concat([base_image,style_reference_image,combination_image],axis=0)
    # 将原图片,风格图片和目标图片组成一个批,输入模型

    features=feature_extractor(input_tensor) # 返回一个字典,存储了所有层的输出

    loss=tf.zeros(shape=()) # tf标量,损失函数初始为0
    layer_features=features[content_layer_name] # 最后一个卷积层的特征
    base_image_features=layer_features[0,:,:,:] # 取出原图片
    combination_features=layer_features[2,:,:,:] # 取出目标图片
    loss += content_weight*content_loss(base_image_features,combination_features) # 计算内容损失函数

    for layer_name in style_layer_names: # 对于每个用来计算风格损失函数的层
        layer_features=features[layer_name] # 获取该层的输出值
        style_reference_features=layer_features[1,:,:,:] # 风格图片
        combination_features=layer_features[2,:,:,:] # 生成图片
        style_loss_value=style_loss(style_reference_features,combination_features) # 计算风格损失函数
        loss += (style_weight/len(style_layer_names)) * style_loss_value # 由于有多个层用于计算,所以这里只是len()分之一

    loss += total_variation_weight*total_variation_loss(combination_image) # 添加生成图像的总变差损失
    return loss


# @tf.function
def compute_loss_and_grads(combination_image,base_image,style_reference_image):
    with tf.GradientTape() as tape:
        loss=compute_loss(combination_image,base_image,style_reference_image)
    grads=tape.gradient(loss,combination_image) # 梯度下降求原图片
    return loss,grads

optimizer=tf_keras.optimizers.SGD(tf_keras.optimizers.schedules.ExponentialDecay(
    initial_learning_rate=100.0,decay_steps=100,decay_rate=0.96 # 初始学习率为100,然后每100步减4%
))

base_image=preprocess_image(base_image_path)
style_reference_image=preprocess_image(style_reference_image_path)
combination_image=tf.Variable(preprocess_image(base_image_path))

iterations=4000
for i in range(1,iterations+1):
    loss,grads=compute_loss_and_grads(combination_image,base_image,style_reference_image)
    optimizer.apply_gradients([(grads,combination_image)])
    if i %100==0:
        print(f'Iteration {i}: loss={loss:.2f}')
        img=deprocess_img(combination_image.numpy())
        fname=f'生成图像6/第{i}轮.png'
        tf_keras.utils.save_img(fname,img)


 1863
1863


 被折叠的 条评论
为什么被折叠?
被折叠的 条评论
为什么被折叠?
 到【灌水乐园】发言


