


本文面向使用 Git 管理 C++ 项目的开发者,系统介绍了如何使用 Submodule 引入第三方库(如 Catch2),并结合 CMake 构建和运行单元测试,涵盖子模块原理、添加方法、常见报错、与其他依赖管理工具的对比,适合需要源码级控制与版本一致性的项目使用。
一、什么是 Git Submodule?
子模块 = 一个嵌入另一个仓库的 Git 仓库
它允许你在一个 Git 仓库中引用另一个项目,常用于嵌入第三方库作为源码依赖。
特点:
- 子模块指向外部仓库的一个特定 commit
- 需要单独 clone/init/update
- 不会自动更新,需要手动执行命令
总结:Git Submodule 是一种嵌套仓库机制,允许在一个主项目中包含其他 Git 仓库,并且固定在某个版本。你可以把它想象成一个 “外部依赖的源码快照” 被嵌入你的项目中,但并不属于主项目的代码。
二、Submodule 工作原理图解
你的项目(主仓库)
│
├── .gitmodules  ← 子模块配置文件
├── third_party/
│   └── some_lib/ ← 实际的 submodule(指向外部 repo 的某个 commit)
子模块本质上是个指针(commit ID),记录了你引用的外部仓库某个版本状态,并不会随主仓库直接更新。
三、项目目标
通过 Git Submodule 将第三方库 Catch2 引入到项目中,并配合 CMake 完成构建和运行。
最终目标文件结构:
MyProject/
├── .git
├── .gitmodules                # Git 子模块配置
├── CMakeLists.txt             # 主项目构建脚本
├── main.cpp
└── third_party/
    └── Catch2/                # 子模块源码(外部仓库)
四、初始化 Git 项目并添加子模块
# 初始化仓库(如果已经存在,那么直接 clone)
git init MyProject
cd MyProject

# 添加 Catch2 作为子模块
git submodule add https://github.com/catchorg/Catch2.git third_party/Catch2

该操作会自动生成 .gitmodules 文件:
[submodule "third_party/Catch2"]
    path = third_party/Catch2
    url = https://github.com/catchorg/Catch2.git
查看 .gitmodules:
type .gitmodules   # Windows
# 或
cat .gitmodules    # Linux/macOS
提交更改:
git add .
git commit -am "Add Catch2 as submodule"

五、配置 CMake 构建 Catch2
子模块只拉到源码,还需通过 CMake 指定怎么使用这个库。
CMakeLists.txt
cmake_minimum_required(VERSION 3.0)
project(MyProject)

set(CMAKE_CXX_STANDARD 20)

# 添加 Catch2 子模块
add_subdirectory(third_party/Catch2)

# 添加主程序
add_executable(MyApp main.cpp)

# 链接 Catch2 提供的 target
target_link_libraries(MyApp PRIVATE Catch2::Catch2WithMain)

# 注册单元测试(可选)
include(CTest)
include(Catch)
catch_discover_tests(MyApp)
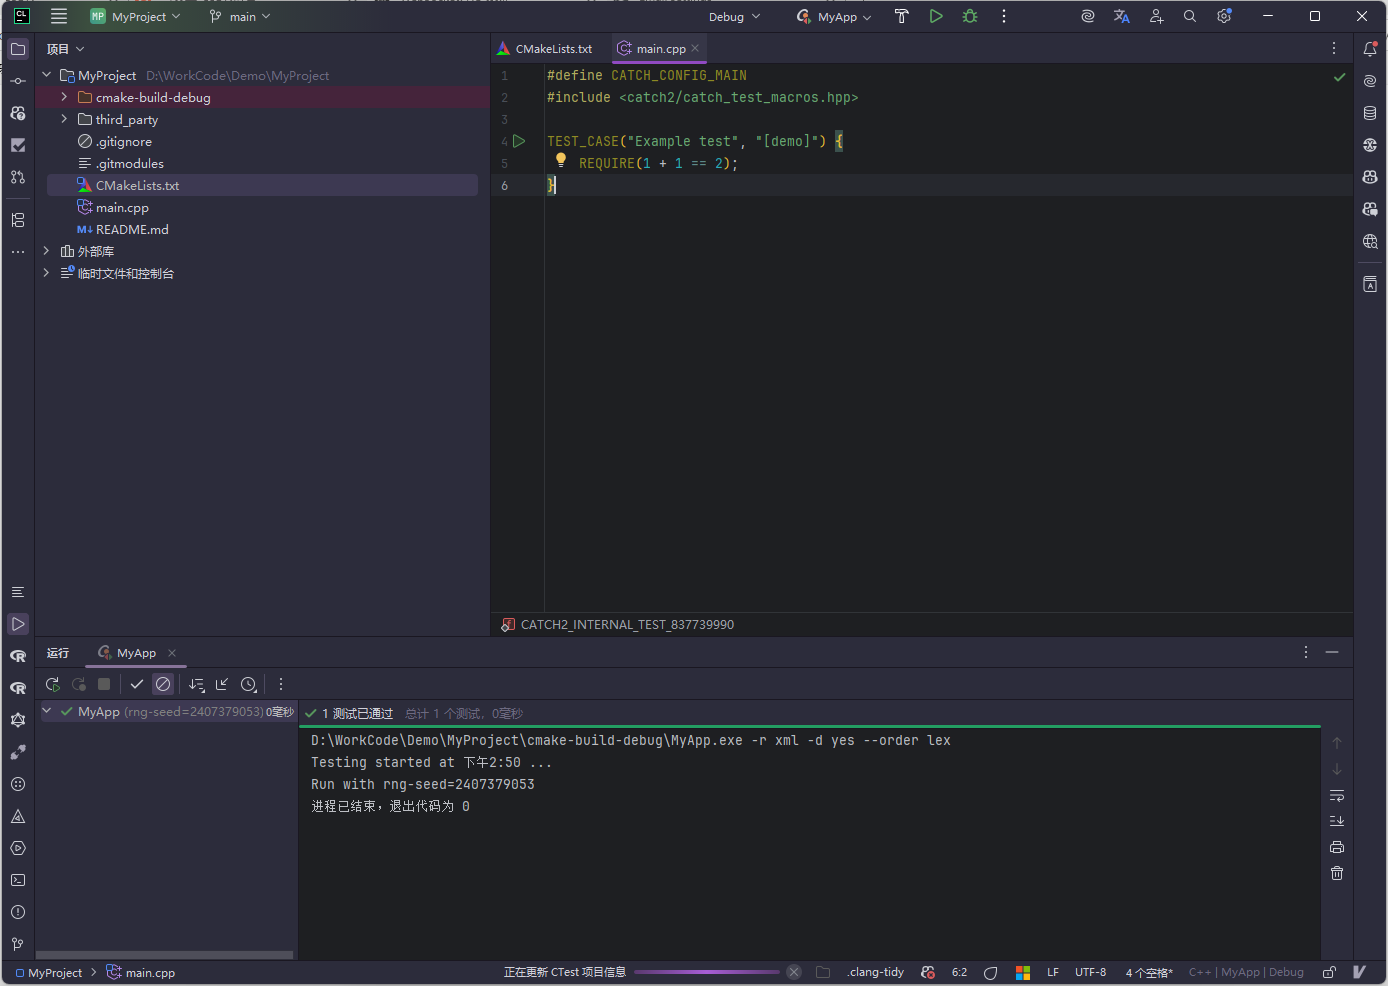
main.cpp
#define CATCH_CONFIG_MAIN
#include <catch2/catch.hpp>

TEST_CASE("Example test", "[demo]") {
    REQUIRE(1 + 1 == 2);
}
六、推送子模块到 GitHub
创建了新的文件(如 main.cpp, CMakeLists.txt),必须在 git push 之前再执行一次 git commit 提交它们,否则它们不会被上传!
执行以下命令:
# 添加文件到 Git 索引(暂存区)
git add main.cpp CMakeLists.txt
# 提交变更
git commit -m "Add main program and CMake config"
# 确保远程地址正确(可选查看)
git remote -v
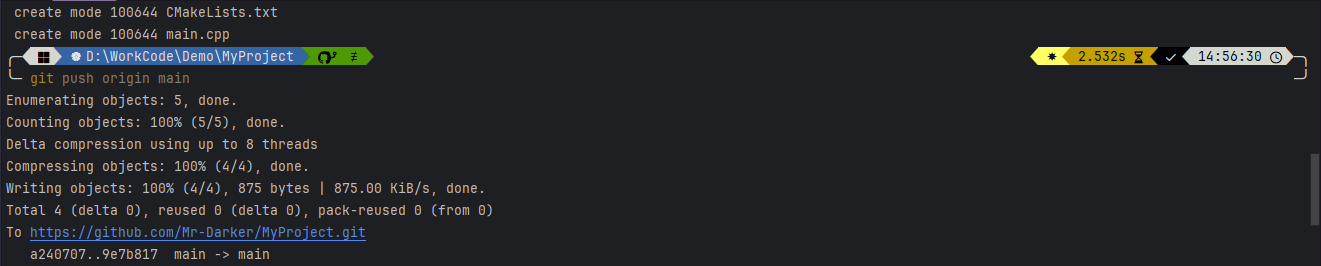
# 推送到 GitHub
git push origin main
快速检查是否还有未提交文件:
git status
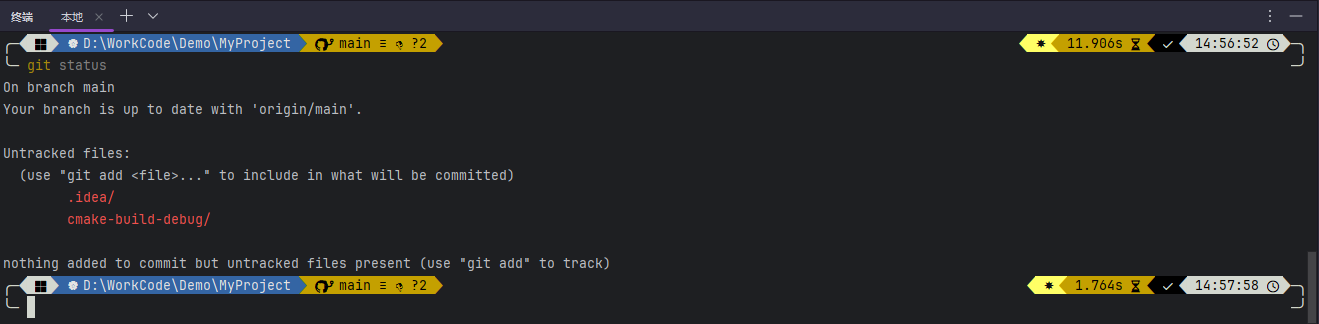
虽然输出看到 .idea 和 cmake-build-debug 没有提交,但这是输出文件可不提交。
GitHub 报错:GH007 - 邮箱隐私保护:
error: GH007: Your push would publish a private email address.
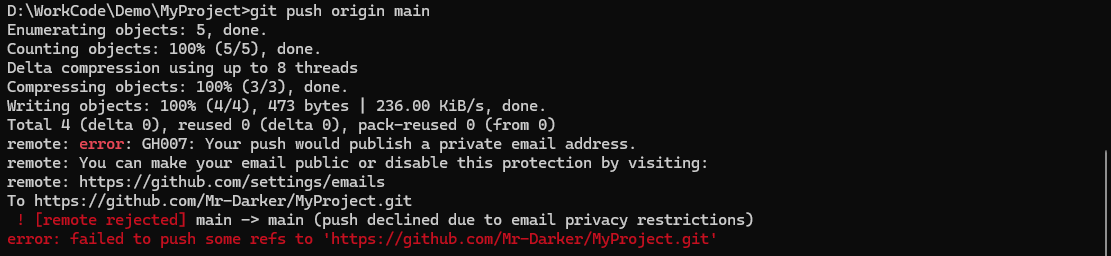
原因:
你在 .gitconfig 中使用了 GitHub 上设置为“保护”状态的私人邮箱地址,GitHub 隐私设置不允许公开传接这些邮箱。
解决方案 1:使用 GitHub 提供的匿名邮箱地址(推荐)
- 访问:https://github.com/settings/emails
- 找到你自己的 noreply 邮箱(格式如
12345678+yourname@users.noreply.github.com) - 重置 Git 配置:
git config --global user.email "12345678+yourname@users.noreply.github.com"
- 重写最后一次 commit 的作者信息:
git commit --amend --reset-author
- 再次 push:
git push origin main
解决方案 2:关闭 GitHub 隐私邮箱保护(不推荐用于公开项目)
前往 GitHub 设置页:https://github.com/settings/emails
取消勾选 Keep my email addresses private 选项即可。

七、子模块 CMake 构建配置策略
Git 子模块仅仅是把源码 clone 到本地,CMake 需要显式指定该如何将此库编译或链接到你的项目。
🔹 4.1 情况一:子模块支持 CMake
如 Catch2 v3、spdlog、log4cplus 等,自带 CMakeLists.txt,可使用:
add_subdirectory(third_party/Catch2)
add_executable(MyApp main.cpp)
target_link_libraries(MyApp PRIVATE Catch2::Catch2WithMain)
🔹 4.2 情况二:头文件库 (header-only)
如 fmt, Catch2 v2, spdlog 等,不需要编译,可直接 include:
include_directories(third_party/spdlog/include)
add_executable(MyApp main.cpp)
如果使用 Catch2 v2:
include_directories(third_party/Catch2/single_include)
add_executable(MyApp main.cpp)
🔹 4.3 情况三:子模块不支持 CMake
这种情况需要手动处理:
- 自己写
add_library()编译该库 - 复制源文件自行编译
- 或者使用 CMake FetchContent 自动拉取 (see below)
八、可选替代:使用 FetchContent 代替 Submodule
如果不想管 Git 子模块,也可以直接在 CMake 里通过 FetchContent 拉取库:
include(FetchContent)

FetchContent_Declare(
  Catch2
  GIT_REPOSITORY https://github.com/catchorg/Catch2.git
  GIT_TAG v3.4.0
)

FetchContent_MakeAvailable(Catch2)

add_executable(MyApp main.cpp)
target_link_libraries(MyApp PRIVATE Catch2::Catch2WithMain)
优点:
- 不需要手动 clone
- 不需要维护 .gitmodules
- 适合环境完全自动化构建
九、拉取项目并构建
当你需要 clone 一个包含 Git 子模块的项目,需要重点记住两步:
1. 先 clone 主项目
git clone https://github.com/yourname/MyProject.git
cd MyProject
2. 初始化子模块
git submodule update --init --recursive
3. 构建项目
mkdir build && cd build
cmake ..
cmake --build .
可选:运行测试结果
ctest
注意:
- 如果不执行
git submodule update,项目会缺失子模块源码,构建失败 - 子模块的版本是给定 commit ,保证构建结果稳定
十、子模块日常操作合集
为了方便开发者维护或使用启动已有的 submodule 项目,下表列出常用 Git submodule 命令:
| 命令 | 作用 |
|---|---|
git submodule update --init | 初始化子模块(首次 clone 后执行) |
git submodule update --recursive | 递归初始化子模块子集 |
git submodule update --remote | 拉取子模块最新版本(默认保持原位置) |
git submodule status | 查看当前所有子模块状态 |
git submodule sync | 更新 URL (如果你改了地址) |
十一、Submodule 和其他 C++ 依赖管理的对比
| 项目方式 | 特点与对比 |
|---|---|
submodule | 源码管理,指定 commit 版本,需手动 update |
CMake FetchContent | 自动拉取、构建,环境完全自动化,现代 C++ 项目常用 |
vcpkg / conan | 包管理器,支持版本控制、移植性好,可重用 |
| 手动复制源码 | 无版本约束,管理麻烦,容易进入离散形状态 |
推荐选择
- 如果项目需要控制完整源码,并且不便用包管理器,选择
submodule - 如果想自动化构建、不需要手动 clone,选择
FetchContent - 如果想统一包管理、跨项目处理,选择
vcpkg或conan
十二、总结与推荐实践
本文完整介绍了如何通过 Git Submodule 管理 C++ 项目的第三方源码依赖,结合 CMake 构建 Catch2 单元测试框架,并提供了与其他依赖管理方式的横向对比。


 1万+
1万+

 被折叠的 条评论
为什么被折叠?
被折叠的 条评论
为什么被折叠?
 到【灌水乐园】发言


