


【声明】来源b站视频小土堆PyTorch深度学习快速入门教程(绝对通俗易懂!)【小土堆】_哔哩哔哩_bilibili
测试/demo
套路:利用及已经训练好的模型,给它提供输入
模型是在谷歌的gpu上训练好的,精度为60多,这边直接加载

test.py
import torch
from PIL import Image
import torchvision
import torch.nn as nn
img_path = "./data/cat.png" #图片路径
image = Image.open(img_path) #读取图片,把图片转换为PIL类型
#png格式是4通道,RGB+透明通道
image = image.convert('RGB') #保留颜色通道,如果图片本来就是三个通道,经过此操作,不变,加上这一步,可以适应png,jpg各种格式的图片
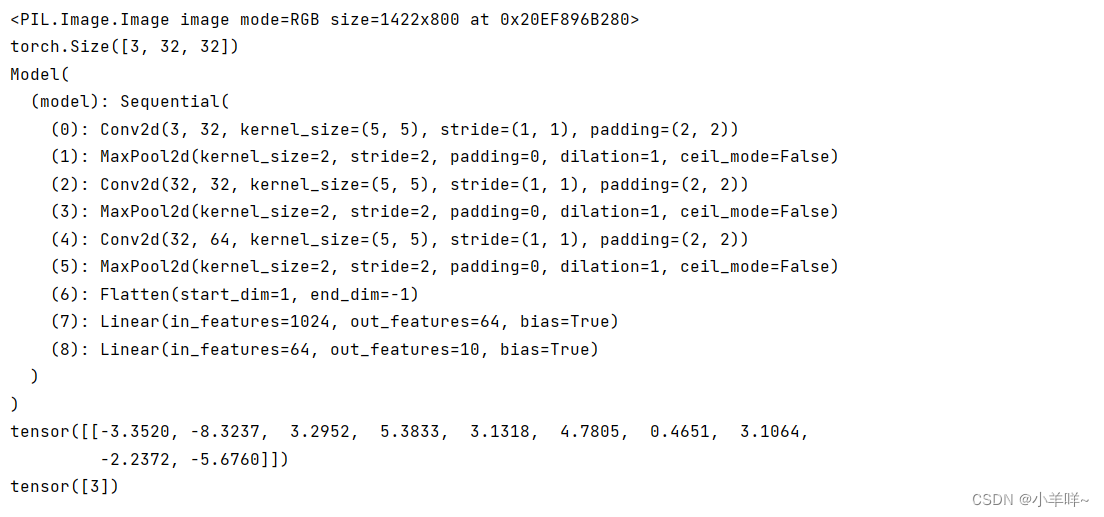
print(image)
transform = torchvision.transforms.Compose([
torchvision.transforms.Resize((32,32)), #把图片进行resize
torchvision.transforms.ToTensor() #转换为Tensor
])
image = transform(image)
print(image.shape)
# 搭建神经网络
class Model(nn.Module):
def __init__(self) -> None:
super().__init__()
self.model = nn.Sequential(
nn.Conv2d(3, 32, 5, 1, 2),
nn.MaxPool2d(2),
nn.Conv2d(32, 32, 5, 1, 2),
nn.MaxPool2d(2),
nn.Conv2d(32, 64, 5, 1, 2),
nn.MaxPool2d(2),
nn.Flatten(),
nn.Linear(64*4*4, 64),
nn.Linear(64, 10)
)
def forward(self, input):
input = self.model(input)
return input
model = torch.load("./data/mymodel_train_goole29.pth",map_location=torch.device('cpu'))
print(model)
image = torch.reshape(image,(1,3,32,32))
model.eval() #把模型转换为测试类型
with torch.no_grad(): #没有梯度
output =model(image)
print(output) # tensor([[-1.4594, 0.5749, 0.6508, 0.7668, 0.8262, 0.8882, 1.1195, 0.5799,
# -1.7798, -0.3695]])
print(output.argmax(1)) #预测类别 tensor([6])结果


 264
264


 被折叠的 条评论
为什么被折叠?
被折叠的 条评论
为什么被折叠?
 到【灌水乐园】发言


