


环境:
操作系统:CentOS Linux 7 (Core)
内核: Linux 3.10.0-1160.el7.x86_64
目录
安装搭建harbor
(1)安装docker编排工具docker compose
[root@node1 ~]# yum -y install epel-release #安装pip需要先安装epel-release包
[root@node1 ~]# yum install -y python-pip #安装pip
[root@node1 ~]# pip install --upgrade pip #升级pip
[root@node1 ~]# pip install docker-compose #安装docker-compose
[root@node1 ~]# docker-compose -v
/usr/local/lib/python3.6/site-packages/paramiko/transport.py:32: CryptographyDeprecationWarning: Python 3.6 is no longer supported by the Python core team. Therefore, support for it is deprecated in cryptography. The next release of cryptography will remove support for Python 3.6.
from cryptography.hazmat.backends import default_backend
docker-compose version 1.29.2, build unknown若升级报错:
原因:
yum install python-pip时,CentOS7默认的python版本是2.7。它不支持更新到最新版本。解决:
[root@node1 bin]# yum install -y python3-pip #安装python3的pip
[root@node1 bin]# pip3 install --upgrade pip -i https://pypi.tuna.tsinghua.edu.cn/simple #升级pip(需要使用pip3指令),-i 添加镜像源地址,提高下载速度
WARNING: Running pip install with root privileges is generally not a good idea. Try `pip3 install --user` instead.
[root@node1 bin]# pip3 install docker-compose -i https://pypi.tuna.tsinghua.edu.cn/simple

(2)下载Harbor 安装包
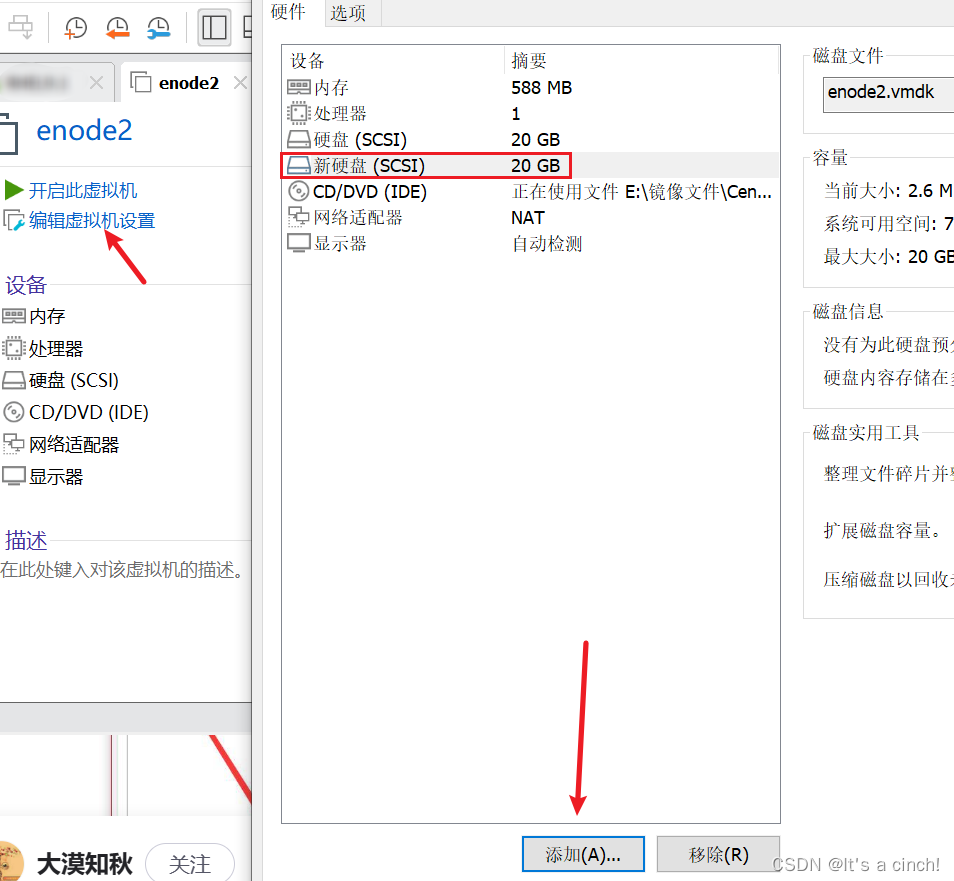
添加一块新硬盘格式化后挂载在/harbordata:
①添加sdb1磁盘
首先把虚拟机系统关机,在弹出的界面中单击
添加按钮,新增一块硬件设备,如下图所示:
在虚拟机中模拟添加了硬盘设备后就应该能看到
抽象成的硬盘设备文件了。按照udev 服务命名规则,第二个被识别的SCSI 设备应该会被保存为/dev/sdb,这个就是硬盘设备文件了。但在开始使用该硬盘之前还需要进行分区操作,例如从中取出一个10GB的分区设备以供后面的操作使用。用
fdisk 命令来尝试管理/dev/sdb硬盘设备:[root@node1 ~]# fdisk /dev/sdb
Welcome to fdisk (util-linux 2.23.2).Changes will remain in memory only, until you decide to write them.
Be careful before using the write command.Device does not contain a recognized partition table
Building a new DOS disklabel with disk identifier 0x67bd3d87.Command (m for help): n
Partition type:
p primary (0 primary, 0 extended, 4 free)
e extended
Select (default p):
Using default response p
Partition number (1-4, default 1):
First sector (2048-41943039, default 2048):
Using default value 2048
Last sector, +sectors or +size{K,M,G} (2048-41943039, default 41943039): +10G
Partition 1 of type Linux and of size 10 GiB is setCommand (m for help): w
The partition table has been altered!Calling ioctl() to re-read partition table.
Syncing disks.在上述步骤执行完毕之后,Linux 系统会自动把这个硬盘主分区抽象成/dev/sdb1 设备文件。可以使用file 命令查看该文件的属性,但有些时候系统并没有自动把分区信息同步给Linux 内核,而且这种情况似乎还比较常见(但不能算作是严重的bug)。可以输入partprobe 命令手动将分区信息同步到内核,而且一般推荐连续两次执行该命令,效果会更好。如果使用这个命令都无法解决问题,那么就重启计算机。
[root@node1 ~]# file /dev/sdb1
/dev/sdb1: block special
[root@node1 ~]# partprobe
Warning: Unable to open /dev/sr0 read-write (Read-only file system). /dev/sr0 has been opened read-only.
[root@node1 ~]# partprobe
Warning: Unable to open /dev/sr0 read-write (Read-only file system). /dev/sr0 has been opened read-only.[root@node1 ~]# file /dev/sdb1
/dev/sdb1: block special
②格式化和挂载[root@node1 ~]# mkfs.ext4 /dev/sdb1
[root@node1 ~]# mkdir /harbordata
[root@node1 ~]# mount /dev/sdb1 /harbordata/
[root@node1 ~]# df -h

(3)修改配置文件
[root@node1 ~]# /harbordata/harbor
[root@node1 harbor]# cp harbor.yml.tmpl harbor.yml
[root@node1 harbor]# vim harbor.yml
修改hostname值和注释https为443的信息,如下

(4)添加主机映射
[root@node1 harbor]# tail -1 /etc/hosts
192.168.19.133 node1
安装启动harbor
[root@node1 harbor]# ./install.sh
安装后验证
①打开了一些端口
[root@node1 harbor]# ss -lntup | grep docker
tcp LISTEN 0 128 127.0.0.1:1514 *:* users:(("docker-proxy",pid=26691,fd=4))
tcp LISTEN 0 128 *:80 *:* users:(("docker-proxy",pid=27275,fd=4))
tcp LISTEN 0 128 [::]:80 [::]:* users:(("docker-proxy",pid=27279,fd=4))
②harbor实际就是启动了一些docker服务[root@node1 harbor]# docker ps
CONTAINER ID IMAGE COMMAND CREATED STATUS PORTS NAMES
be75291d7f54 goharbor/nginx-photon:v2.8.4 "nginx -g 'daemon of…" About a minute ago Up About a minute (healthy) 0.0.0.0:80->8080/tcp, :::80->8080/tcp nginx
8391933a9bd0 goharbor/harbor-jobservice:v2.8.4 "/harbor/entrypoint.…" About a minute ago Up 58 seconds (healthy) harbor-jobservice
d4be8400acb4 goharbor/harbor-core:v2.8.4 "/harbor/entrypoint.…" About a minute ago Up About a minute (healthy) harbor-core
使用Harbor
①访问浏览器

②登录
初始密码在harbor.cfg 文件有记录

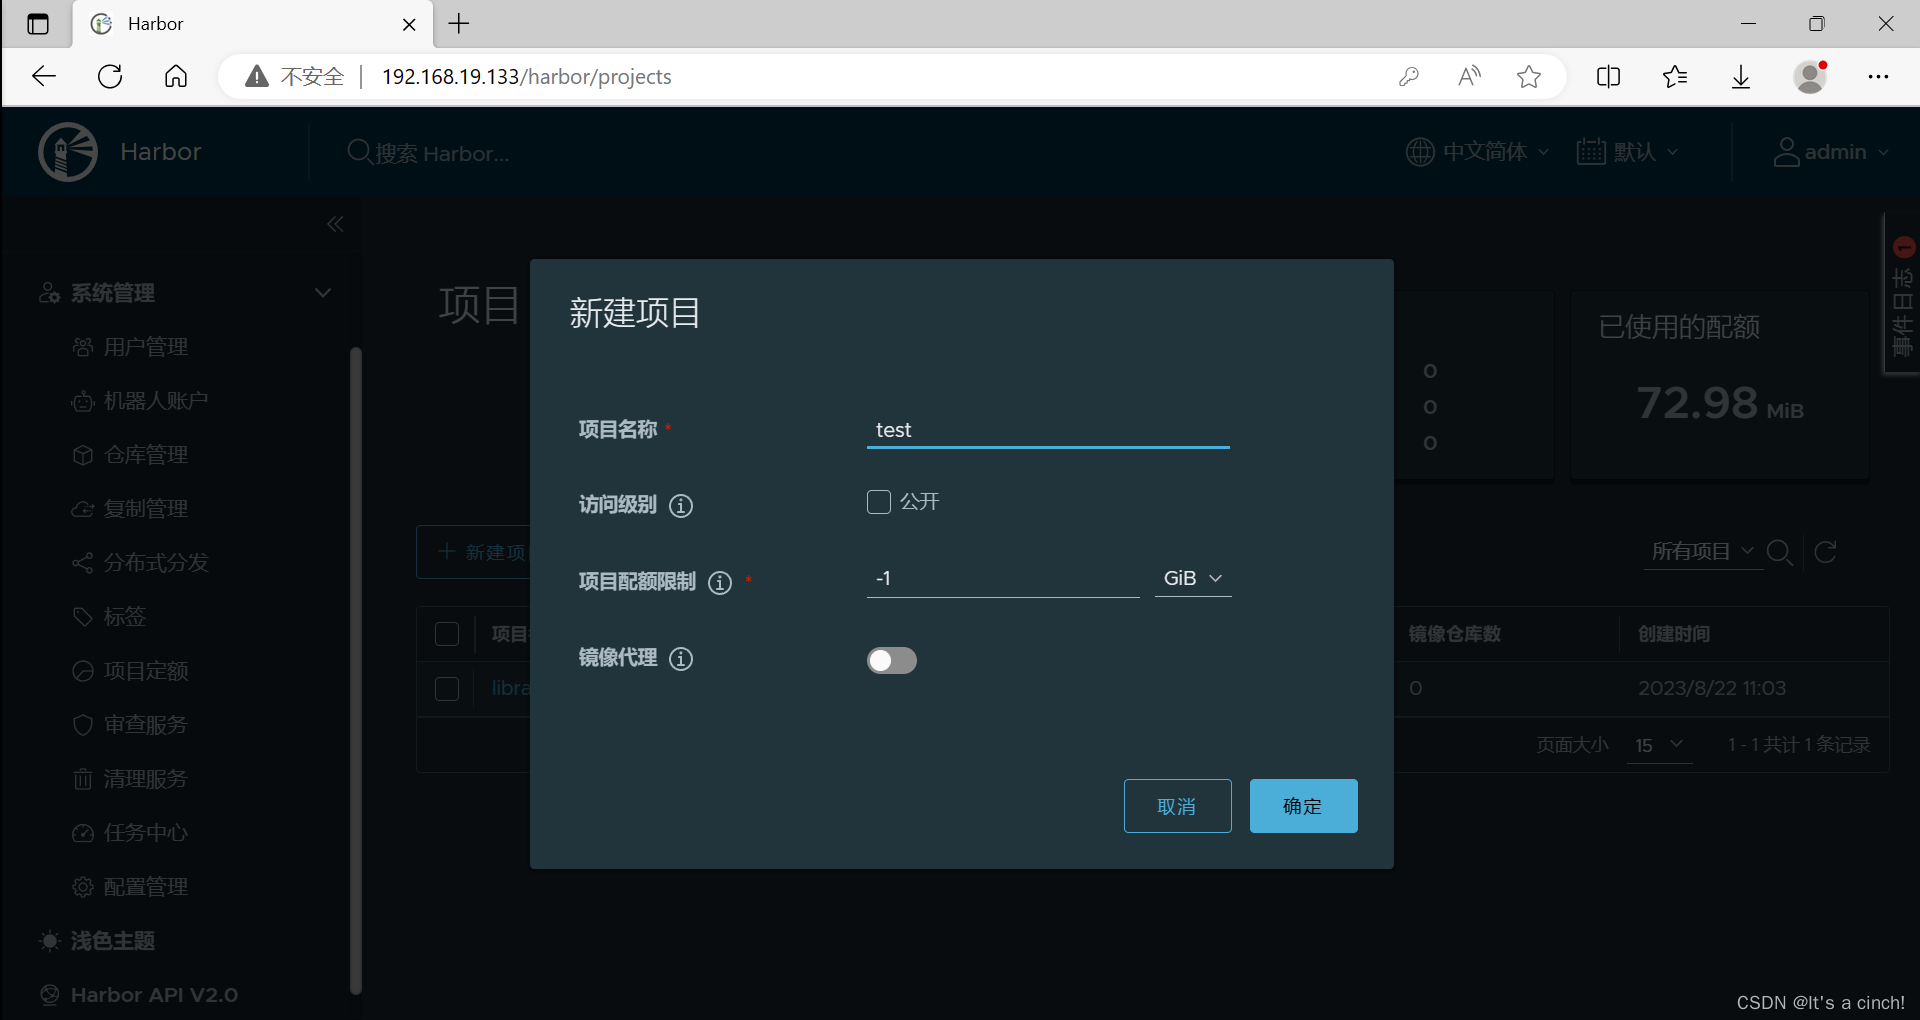
③新建一个项目
上传下载镜像到harbor仓库
(1)修改docker配置,添加harbor仓库为信任地址,重启docker
[root@node1 harbor]# cat /etc/docker/daemon.json
{
"registry-mirrors": ["http://registry.docker-cn.com"],
"insecure-registries": ["192.168.169.133:8081"],
"insecure-registries": ["node1:8081"]
}
(2)把要上传的镜像打上合适的标签
[root@node1 harbor]# docker tag goharbor/harbor-db:v2.8.4 node1:80/test/harbor-db:v2.8.4
[root@node1 harbor]# docker image ls | grep test
node1:80/test/harbor-db v2.8.4 5b8af16d7420 6 days ago 174MB
(3)登录harbor仓库
[root@node1 harbor]# docker login node1:8081
Username: admin
Password:
WARNING! Your password will be stored unencrypted in /root/.docker/config.json.
Configure a credential helper to remove this warning. See
https://docs.docker.com/engine/reference/commandline/login/#credentials-storeLogin Succeeded
(4)上传镜像
[root@node1 harbor]# docker push node1:8081/test/harbor-db:v2.8.4
The push refers to repository [node1:80/test/harbor-db]
b91c1501abe9: Pushed
e30935897ec8: Pushed
7600d3f327f6: Pushed
04498149158d: Pushed
8dd9b9af7425: Pushed
6f34146f1977: Pushed
98c144348806: Pushed
22c2b4c49c70: Pushed
b4faf8a74f36: Pushed
627fc8f29b12: Pushed
a074a02dfff1: Pushed
v2.8.4: digest: sha256:f887f9197510e86e3c8a82235c1d170f7a3bc93b4823028077e2565ca27e17c3 size: 2612
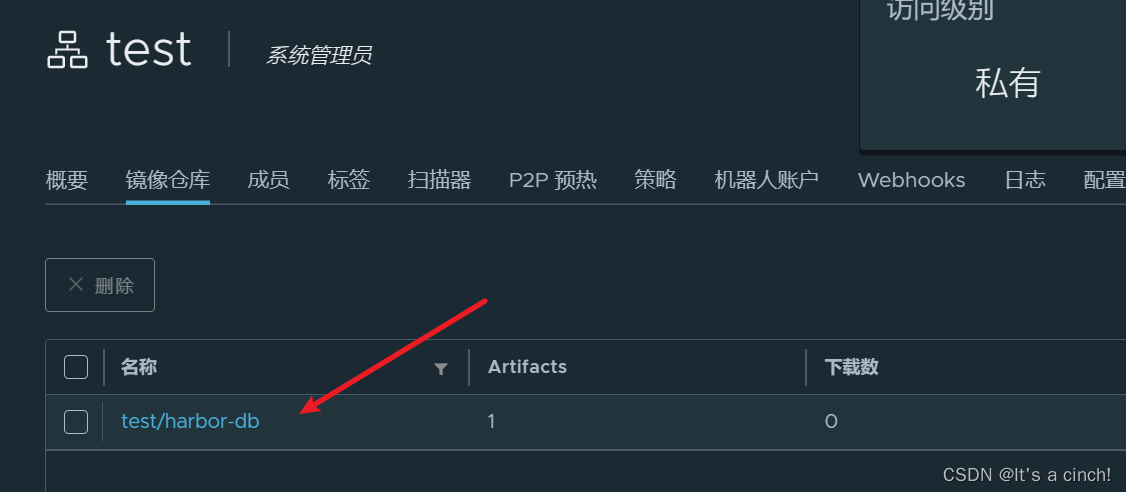
(5)在harbor上验证上传成功
(6)拉取harbor中的镜像
#删除原本镜像
[root@node1 harbor]# docker rmi node1:8081/test/harbor-db:v2.8.4
Untagged: node1:8081/test/harbor-db:v2.8.4
Untagged: node1:8081/test/harbor-db@sha256:f887f9197510e86e3c8a82235c1d170f7a3bc93b4823028077e2565ca27e17c3#验证是否删除
[root@node1 harbor]# docker image ls node1:8081/test/harbor-db:v2.8.4
REPOSITORY TAG IMAGE ID CREATED SIZE#拉取镜像
[root@node1 harbor]# docker pull node1:8081/test/harbor-db:v2.8.4
v2.8.4: Pulling from test/harbor-db
Digest: sha256:f887f9197510e86e3c8a82235c1d170f7a3bc93b4823028077e2565ca27e17c3
Status: Downloaded newer image for node1:8081/test/harbor-db:v2.8.4
node1:80/test/harbor-db:v2.8.4#验证是否拉取成功
[root@node1 harbor]# docker image ls node1:8081/test/harbor-db:v2.8.4
REPOSITORY TAG IMAGE ID CREATED SIZE
node1:8081/test/harbor-db v2.8.4 5b8af16d7420 6 days ago 174MB
控制harbor服务
在harbor安装路径下,使用docker-compose命令对harbor进行控制
(1)暂停/取消暂停harbor服务
docker-compose pause
docker-compose unpause
(2)关闭/开启harbor服务
docker-compose stop
docker-compose start


 2123
2123


 被折叠的 条评论
为什么被折叠?
被折叠的 条评论
为什么被折叠?
 到【灌水乐园】发言


