


现在能在网上找到很多很多的学习资源,有免费的也有收费的,当我拿到1套比较全的学习资源之前,我并没着急去看第1节,我而是去审视这套资源是否值得学习,有时候也会去问一些学长的意见,如果可以之后,我会对这套学习资源做1个学习计划,我的学习计划主要包括规划图和学习进度表。
分享给大家这份我薅到的免费视频资料,质量还不错,大家可以跟着学习
网上学习资料一大堆,但如果学到的知识不成体系,遇到问题时只是浅尝辄止,不再深入研究,那么很难做到真正的技术提升。
一个人可以走的很快,但一群人才能走的更远!不论你是正从事IT行业的老鸟或是对IT行业感兴趣的新人,都欢迎加入我们的的圈子(技术交流、学习资源、职场吐槽、大厂内推、面试辅导),让我们一起学习成长!
在 image_processing.py 中添加 cat_detection() 方法
class ImageProcessing(object):
def init(self):
在构造函数中实例化猫脸检测器
self.file_cascade = os.path.join(os.path.join(os.path.dirname(file), ‘data’), “haarcascade_frontalcatface_extended.xml”)
self.cat_cascade = cv2.CascadeClassifier(self.file_cascade)
在构造函数中实例化 SSD 深度学习模型用于检测猫
self.file_prototxt = os.path.join(os.path.join(os.path.dirname(file), ‘data’), “MobileNetSSD_deploy.prototxt.txt”)
self.file_caffemodel = os.path.join(os.path.join(os.path.dirname(file), ‘data’), “MobileNetSSD_deploy.caffemodel”)
self.classes = [“background”, “aeroplane”, “bicycle”, “bird”, “boat”, “bottle”, “bus”,
“car”, “cat”, “chair”, “cow”, “diningtable”, “dog”, “horse”, “motorbike”,
“person”, “pottedplant”, “sheep”, “sofa”, “train”, “tvmonitor”]
self.net = cv2.dnn.readNetFromCaffe(self.file_prototxt, self.file_caffemodel)
def cat_detection(self, image):
image_array = np.asarray(bytearray(image), dtype=np.uint8)
img_opencv = cv2.imdecode(image_array, -1)
图像预处理
blob = cv2.dnn.blobFromImage(img_opencv, 0.007843, (300, 300), (127.5, 127.5, 127.5))
前向计算
self.net.setInput(blob)
detections = self.net.forward()
预处理后图像尺寸
dim = 300
output = []
for i in range(detections.shape[2]):
confidence = detections[0, 0, i, 2]
if confidence > 0.1:
获取类别标签
class_id = int(detections[0, 0, i, 1])
获取对象位置的坐标
left = int(detections[0, 0, i, 3] * dim)
top = int(detections[0, 0, i, 4] * dim)
right = int(detections[0, 0, i, 5] * dim)
bottom = int(detections[0, 0, i, 6] * dim)
图像尺寸的比例系数
heightFactor = img_opencv.shape[0] / dim
widthFactor = img_opencv.shape[1] / dim
检测框坐标
left = int(widthFactor * left)
top = int(heightFactor * top)
right = int(widthFactor * right)
bottom = int(heightFactor * bottom)
检测目标是否是猫
if self.classes[class_id] == ‘cat’:
cat = {‘box’: [left, top, right, bottom]}
output.append(cat)
return output
以上猫检测模型,使用了 MobileNet-SSD 目标检测模型,这里对训练后 MobileNet-SSD 模型架构和模型权重参数文件进行压缩供大家进行下载,也可以自己构建模型训练获得 MobileNet-SSD 模型参数。
接下来将使用 OpenCV 创建一个深度学习猫检测 Web API,cat_detection 项目对 Web 服务器应用程序实现在 Web 端检测猫,cat_detection.py 脚本负责解析请求并构建对客户端的响应:
cat_detection.py
from flask import Flask, request, jsonify
import urllib.request
from image_processing import ImageProcessing
app = Flask(name)
ip = ImageProcessing()
@app.errorhandler(400)
def bad_request(e):
return jsonify({‘status’: ‘Not ok’, ‘message’: ‘This server could not understand your request’}), 400
@app.errorhandler(404)
def not_found(e):
return jsonify({‘status’: ‘Not found’, ‘message’: ‘Route not found’}), 404
@app.errorhandler(500)
def not_found(e):
return jsonify({‘status’: ‘Internal error’, ‘message’: ‘Internal error occurred in server’}), 500
@app.route(‘/catfacedetection’, methods=[‘GET’, ‘POST’, ‘PUT’])
def detect_cat_faces():
if request.method == ‘GET’:
if request.args.get(‘url’):
with urllib.request.urlopen(request.args.get(‘url’)) as url:
return jsonify({‘status’: ‘Ok’, ‘result’: ip.cat_face_detection(url.read())}), 200
else:
return jsonify({‘status’: ‘Bad request’, ‘message’: ‘Parameter url is not present’}), 400
elif request.method == ‘POST’:
if request.files.get(‘image’):
return jsonify({‘status’: ‘Ok’, ‘result’: ip.cat_face_detection(request.files[‘image’].read())}), 200
else:
return jsonify({‘status’: ‘Bad request’, ‘message’: ‘Parameter image is not present’}), 400
else:
return jsonify({‘status’: ‘Failure’, ‘message’: ‘PUT method not supported for API’}), 405
@app.route(‘/catdetection’, methods=[‘GET’, ‘POST’, ‘PUT’])
def detect_cats():
if request.method == ‘GET’:
if request.args.get(‘url’):
with urllib.request.urlopen(request.args.get(‘url’)) as url:
return jsonify({‘status’: ‘Ok’, ‘result’: ip.cat_detection(url.read())}), 200
else:
return jsonify({‘status’: ‘Bad request’, ‘message’: ‘Parameter url is not present’}), 400
elif request.method == ‘POST’:
if request.files.get(‘image’):
return jsonify({‘status’: ‘Ok’, ‘result’: ip.cat_detection(request.files[‘image’].read())}), 200
else:
return jsonify({‘status’: ‘Bad request’, ‘message’: ‘Parameter image is not present’}), 400
else:
return jsonify({‘status’: ‘Failure’, ‘message’: ‘PUT method not supported for API’}), 405
if name == ‘main’:
app.run(host=‘0.0.0.0’)
如上所示,使用 route() 装饰器将 detect_cat_faces() 函数绑定到 /catfacedetection URL,并将detect_cats() 函数绑定到 /catdetection URL,并且使用 jsonify() 函数创建 application/json MIME 类型的给定参数的 JSON 表示,此 API 支持 GET 和 POST 请求,我们还通过使用 errorhandler() 装饰函数来注册错误处理程序。
为了测试此API,编写 request_and_draw_rectangle.py 程序:
request_and_draw_rectangle.py
import cv2
import numpy as np
import requests
from matplotlib import pyplot as plt
def show_img_with_matplotlib(color_img, title, pos):
img_RGB = color_img[:, :, ::-1]
ax = plt.subplot(1, 2, pos)
plt.imshow(img_RGB)
plt.title(title, fontsize=10)
plt.axis(‘off’)
CAT_FACE_DETECTION_REST_API_URL = “http://localhost:5000/catfacedetection”
CAT_DETECTION_REST_API_URL = “http://localhost:5000/catdetection”
IMAGE_PATH = “test_example.png”
加载图像构建有效负载
image = open(IMAGE_PATH, ‘rb’).read()
payload = {‘image’: image}
image_array = np.asarray(bytearray(image), dtype=np.uint8)
img_opencv = cv2.imdecode(image_array, -1)
fig = plt.figure(figsize=(12, 7))
plt.suptitle(“Using cat detection API”, fontsize=14, fontweight=‘bold’)
show_img_with_matplotlib(img_opencv, “source image”, 1)
发送 GET 请求
r = requests.post(CAT_DETECTION_REST_API_URL, files=payload)
解析返回信息
print(“status code: {}”.format(r.status_code))
print(“headers: {}”.format(r.headers))
print(“content: {}”.format(r.json()))
json_data = r.json()
result = json_data[‘result’]
绘制猫脸检测框
for cat in result:
left, top, right, bottom = cat[‘box’]
cv2.rectangle(img_opencv, (left, top), (right, bottom), (0, 255, 0), 2)
cv2.circle(img_opencv, (left, top), 10, (0, 0, 255), -1)
cv2.circle(img_opencv, (right, bottom), 10, (255, 0, 0), -1)
发送 GET 请求
r = requests.post(CAT_FACE_DETECTION_REST_API_URL, files=payload)
解析返回信息
print(“status code: {}”.format(r.status_code))
print(“headers: {}”.format(r.headers))
print(“content: {}”.format(r.json()))
json_data = r.json()
result = json_data[‘result’]
绘制猫检测框
for face in result:
left, top, right, bottom = face[‘box’]
cv2.rectangle(img_opencv, (left, top), (right, bottom), (0, 255, 255), 2)
cv2.circle(img_opencv, (left, top), 10, (0, 0, 255), -1)
cv2.circle(img_opencv, (right, bottom), 10, (255, 0, 0), -1)
结果可视化
show_img_with_matplotlib(img_opencv, “cat detection”, 2)
plt.show()
一、Python所有方向的学习路线
Python所有方向路线就是把Python常用的技术点做整理,形成各个领域的知识点汇总,它的用处就在于,你可以按照上面的知识点去找对应的学习资源,保证自己学得较为全面。

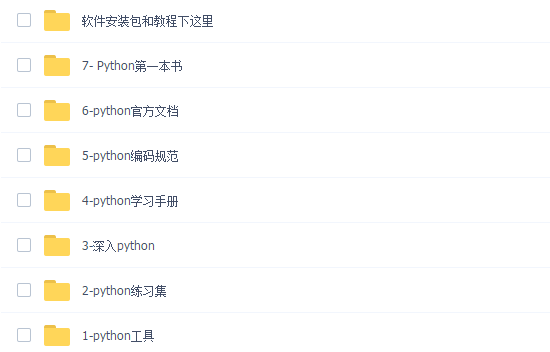
二、学习软件
工欲善其事必先利其器。学习Python常用的开发软件都在这里了,给大家节省了很多时间。
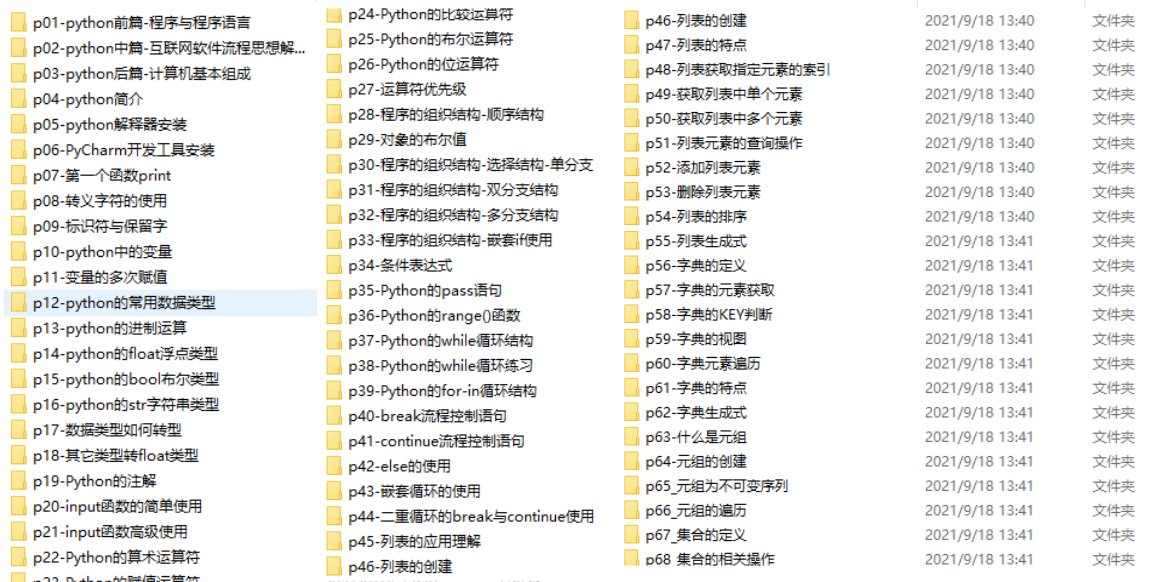
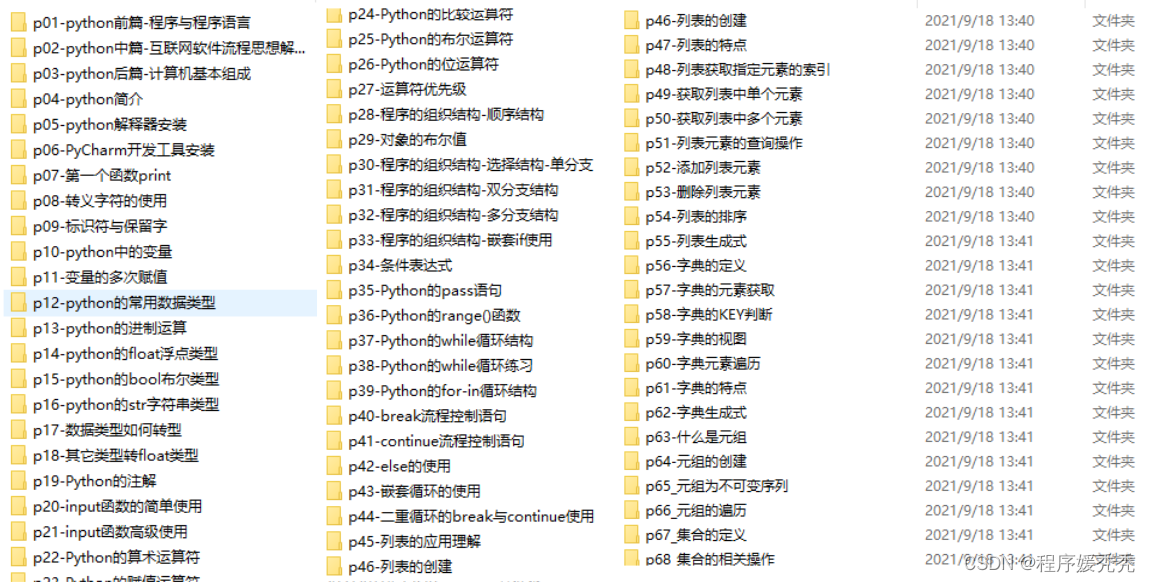
三、入门学习视频
我们在看视频学习的时候,不能光动眼动脑不动手,比较科学的学习方法是在理解之后运用它们,这时候练手项目就很适合了。
网上学习资料一大堆,但如果学到的知识不成体系,遇到问题时只是浅尝辄止,不再深入研究,那么很难做到真正的技术提升。
一个人可以走的很快,但一群人才能走的更远!不论你是正从事IT行业的老鸟或是对IT行业感兴趣的新人,都欢迎加入我们的的圈子(技术交流、学习资源、职场吐槽、大厂内推、面试辅导),让我们一起学习成长!


 771
771


 被折叠的 条评论
为什么被折叠?
被折叠的 条评论
为什么被折叠?
 到【灌水乐园】发言


