


1. 需求分析
使用不同厂商生产的CPU, GPU, 内存条(memory bank)来组装电脑,编写电脑的工作函数,使其可以正常工作。
2. 结构分析
- 创建三个零件的基类;
- 厂商继承基类,生产出零件;
- 电脑使用三个零件,执行工作函数。
3. 代码实现
#include <iostream>

using namespace std;

class CPU
{
public:
    virtual void cpuWork() = 0;
};

class GPU
{
public:
    virtual void gpuWork() = 0;
};
class MemoryBank
{
public:
    virtual void memWork() = 0;
};

class AMD_CPU :public CPU
{
public:
    void cpuWork()
    {
        cout << "\tAMD_CPU在工作" << endl;
    }

};
class AMD_GPU :public GPU
{
public:
    void gpuWork()
    {
        cout << "\tAMD_GPU在工作" << endl;
    }

};
class AMD_MB :public MemoryBank
{
public:
    void memWork()
    {
        cout << "\tAMD_Memory Bank在工作" << endl;
    }

};

class Intel_CPU :public CPU
{
public:
    void cpuWork()
    {
        cout << "\tIntel_CPU在工作" << endl;
    }

};
class Intel_GPU :public GPU
{
public:
    void gpuWork()
    {
        cout << "\tIntel_GPU在工作" << endl;
    }

};
class Intel_MB :public MemoryBank
{
public:
    void memWork()
    {
        cout << "\tIntel_Memory Bank在工作" << endl;
    }
};

class Computer
{
public:
    Computer(CPU*c, GPU*g, MemoryBank*mb)
    {
        m_cpu = c;
        m_gpu = g;
        m_MB = mb;
    }
    void Pack()
    {
        m_cpu->cpuWork();
        m_gpu->gpuWork();
        m_MB->memWork();
    }
    ~Computer()
    {
        if (m_cpu != NULL)
        {
            delete m_cpu;
            m_cpu = NULL;
            cout << "\tCPU被删除" << endl;
        }
        if (m_gpu != NULL)
        {
            delete m_gpu;
            m_gpu = NULL;
            cout << "\tGPU被删除" << endl;
        }
        if (m_MB != NULL)
        {
            delete m_MB;
            m_MB = NULL;
            cout << "\tMemory Bank被删除" << endl;
        }
    }
private:
    CPU* m_cpu;
    GPU* m_gpu;
    MemoryBank* m_MB;
};

void test()
{
    cout << "组装第一台电脑:" << endl;
    Computer* comp1 = new Computer(new AMD_CPU, new AMD_GPU, new AMD_MB);
    comp1->Pack();
    delete comp1;

    cout << "\n==============================\n" << endl;
    cout << "组装第二台电脑:" << endl;
    Computer* comp2 = new Computer(new Intel_CPU, new Intel_GPU, new Intel_MB);
    comp2->Pack();
    delete comp2;

    cout << "\n==============================\n" << endl;
    cout << "组装第三台电脑:" << endl;
    Computer* comp3 = new Computer(new Intel_CPU, new AMD_GPU, new Intel_MB);
    comp3->Pack();
    delete comp3;
}

int main()
{
    test();

    system("pause");
    return 0;
}
运行截图: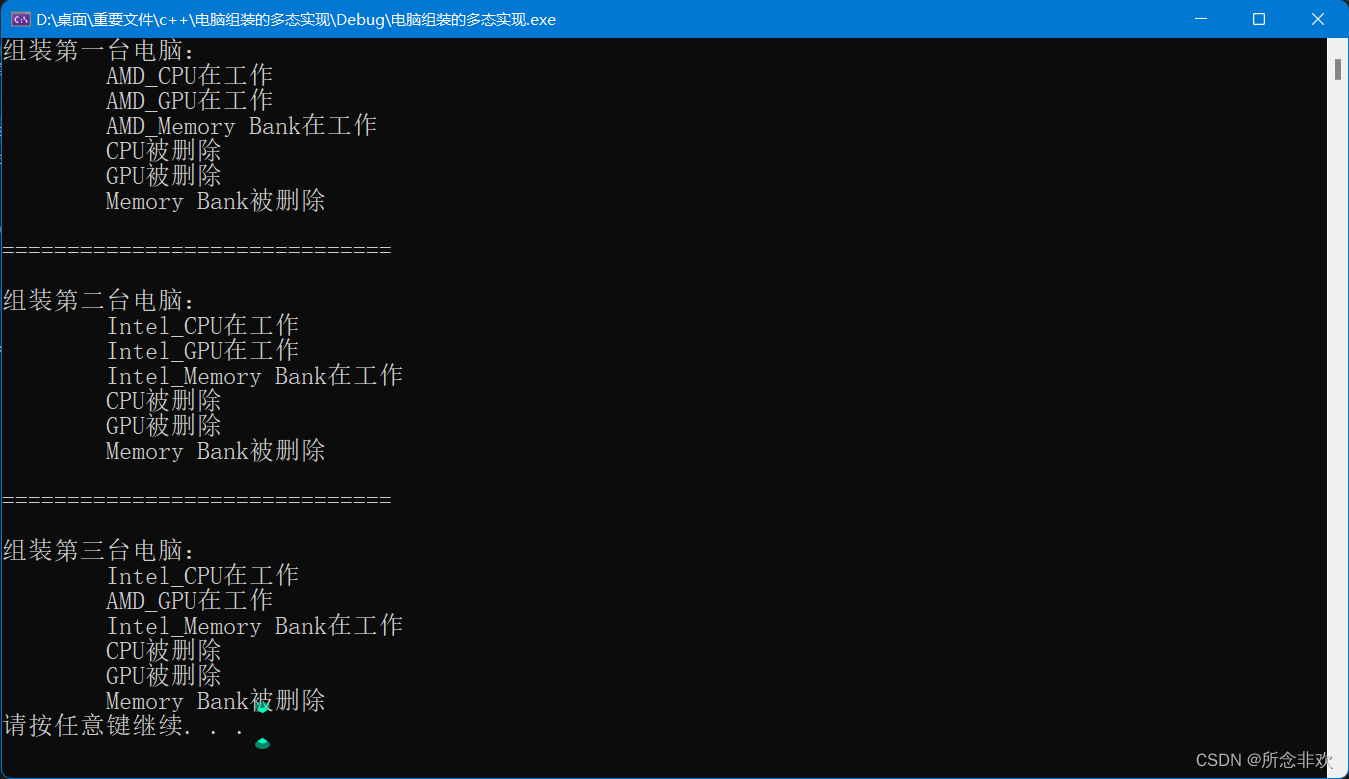
4. 程序分析
原本设想是将三个零件都封装到厂商类里面,即:
class AMD :public CPU, public GPU, public MemoryBank
{
public:
    void cpuWork()
    {
        cout << "\tAMD_CPU在工作" << endl;
    }
    void gpuWork()
    {
        cout << "\tAMD_GPU在工作" << endl;
    }
    void memWork()
    {
        cout << "\tAMD_Memory Bank在工作" << endl;
    }
};
class Intel :public CPU, public GPU, public MemoryBank
{
public:
    void cpuWork()
    {
        cout << "\tIntel_CPU在工作" << endl;
    }
    void gpuWork()
    {
        cout << "\tIntel_GPU在工作" << endl;
    }
    void memWork()
    {
        cout << "\tIntel_Memory Bank在工作" << endl;
    }
};
测试代码如下:
void test()
{
    cout << "组装第一台电脑:" << endl;
    Computer* comp1 = new Computer(new AMD, new AMD, new AMD);
    comp1->Pack();
    delete comp1;

    // ...
}
但是在执行Computer类的析构函数时,发生了错误:
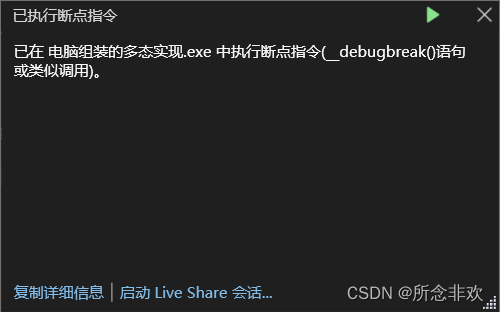
原因??未知。。。T_T
在之后修改的时候,将各个厂商的零件分开写,然后再组装,即上面成功运行的代码,这个时候可以运行成功。。。
原因??未知。。。T_T
这让我想到了。。程序员灵魂之问:
“为什么运行不成功?”
“为什么可以运行成功?”
希望有大佬可以帮帮忙,球球了~。


 113
113


 被折叠的 条评论
为什么被折叠?
被折叠的 条评论
为什么被折叠?
 到【灌水乐园】发言


