


仍然使用笔记一的可爱熊猫图,在上面进行绘画和书写。
第一段:准备工作
首先导入cv2和numpy(后面用于生成数组)
然后用cv2.imread()载入图片
import cv2
import numpy as np
image = cv2.imread("red_panda.jpg")
shape = image.shape
第二段:定义颜色
定义颜色,这个蛮好玩的 。括号里的三个数字分别代表blue(0-255),green(0-255),red(0-255)(也就是BGR),可以根据以前美术学的三原色知识随便调色哈哈哈。
blue = (255, 0, 0)
red = (0, 0, 255)
green = (0, 255, 0)
violet = (180, 0, 180)
yellow = (0, 180, 180)
white = (255, 255, 255)
第三段:画线、圆、矩形、椭圆形、多边形。
cv2.line (img,pt1,pt2,color,thickness,lineType)
cv2.circle(img, center, radius, colorthickness,lineType)
最后-1表示把圆填充起来,所以看到的应该是个实心圆。
cv2.rectangle(img,pt1,pt2,color,thickness ,lineType)
cv2.ellipes(img, center, axes, angle, startAngle, endAngle, color, thickness, lineType)
axes这里指的是轴长度(长轴长度、短轴长度)
angle指的是椭圆顺时针旋转的角度。
startAngle和endAngle即开始角度和结束角度。
cv2.polylines(img, pts, isClosed, color, thickness,lineType)
cv2.line(image, (50, 30), (450, 35), blue, thickness=5)
cv2.circle(image, (240, 205), 23, red, -1)
cv2.rectangle(image, (50, 60), (450, 95), green, -1)
cv2.ellipse(image, (250, 150), (80, 20), 5, 0, 360, violet, -1)
points = np.array([[[140, 230], [380, 230], [320, 250], [250, 280]]], np.int32)
cv2.polylines(image, [points], True, yellow, thickness=3)
第四段:写文本
cv2.putText(img, text, org, fontFace, fontScale, color, thickness, lineType, bottomLeftOrigin)
font是字体,cv2中提供很多字体选择。
font = cv2.FONT_HERSHEY_COMPLEX
cv2.putText(image, "Panda", (20, 180), font, 4, white)
第五段:呈现结果
cv2.imshow("red panda", image)
cv2.waitKey(0)
cv2.destroyAllWindows()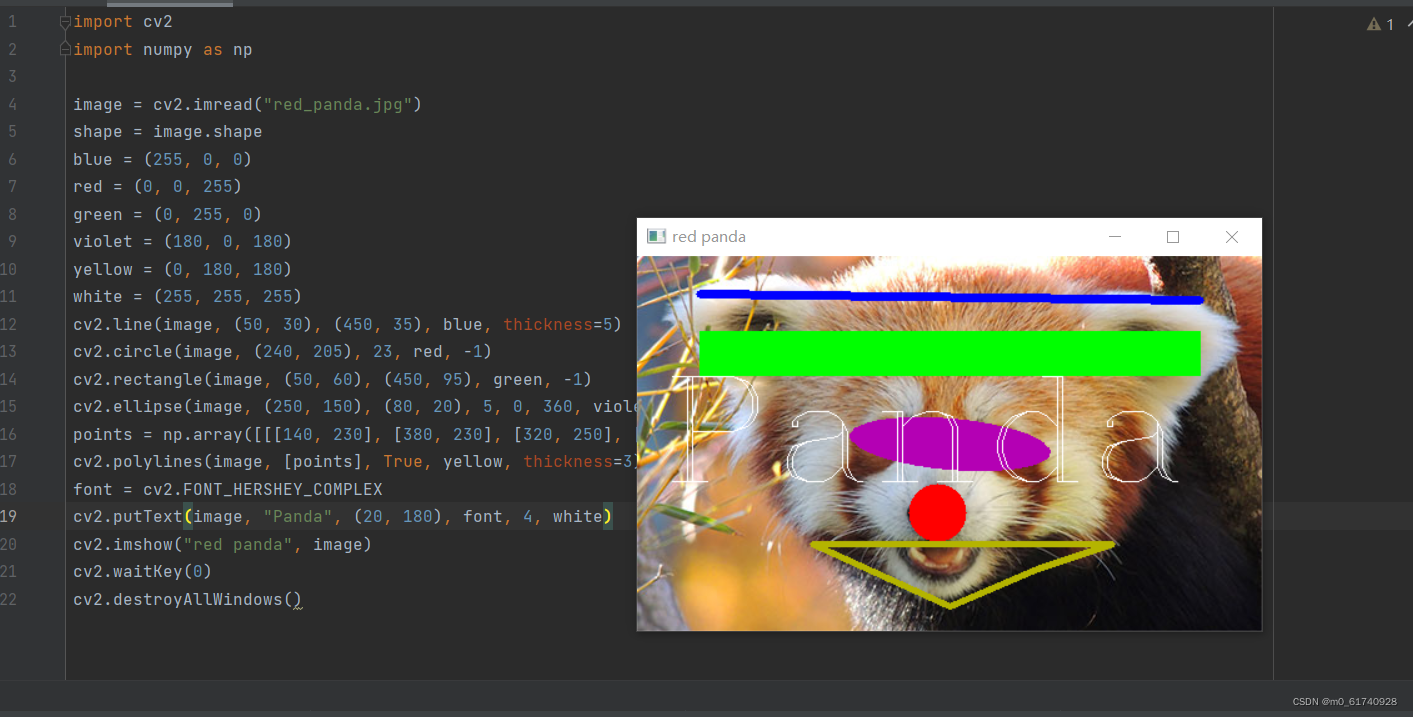


 263
263


 被折叠的 条评论
为什么被折叠?
被折叠的 条评论
为什么被折叠?
 到【灌水乐园】发言


