


 本文详细介绍了LVS-NAT的工作原理,包括如何通过DNAT修改请求报文,其特点如RS和DIP使用私网地址以及Director的角色。还展示了在特定环境中安装和配置LVS、Nginx和SSL的过程,以及如何添加HTTPS规则。
lvs-NAT
lvs:Linux Virtual Server
        lvs-nat本质上就是多目标的DNAT(iptables)
        lvs-nat模式通过修改请求报文的目标IP地址(同时可能会修改目标端口)至挑选出来的某RS的RIP地址实现转发
原理
        用户请求LVS到达调度器,调度器将请求的报文的目标MAC地址改为后端的Realserver的MAC地址,目标IP为VIP(不变),源IP为client IP地址(不变),然后调度器将报文发送到Realserver,Realserver检测到目标地址为自己本地的VIP,如果在同一网段,将请求直接返回给用户,如果用户跟Realserver不在同一个网段,则需要通过网关返回给用户。
lvs-nat的特点:
        RS和DIP应该使用私网地址,且RS的网关要指向DIP
        请求和响应报文都要经由director转发,所以配置时需要将director的转发功能开启,极高负载的场景中,director可能会成为系统性能瓶颈
        支持端口映射
        RS可以使用任意OS
        RS的RIP和Director的DIP必须在同一IP网络
环境说明:
| 角色 | IP | 应用和系统版本 | 备注 |
|---|---|---|---|
| dr | 192.168.100.200 | rockylinux9.3、nginx1.24.0 | 调度器 |
| rs1 | 192.168.100.220 | rockylinux9.3、 | 后端服务器 |
| rs2 | 192.168.100.230 | rockylinux9.3、nginx1.24.0 、 | 后端服务器 |
前期准备
rs1
[root@rs1 ~]# yum -y install nginx

[root@rs1 ~]# cd /usr/share/nginx/html/
[root@rs1 html]# rm -rf index.html
[root@rs1 html]# echo rs1 > index.html
[root@rs1 html]# systemctl enable --now nginx.service
Created symlink /etc/systemd/system/multi-user.target.wants/nginx.service → /usr/lib/systemd/system/nginx.service.
[root@rs1 html]# systemctl disable --now firewalld

网关现需要指向dr

[root@rs1 ~]# nmcli connection modify ens33 ipv4.addresses 192.168.100.220/24 ipv4.dns 114.114.114.144 ipv4.gateway 192.168.81.130 ipv4.method manual connection.autoconnect yes
[root@rs1 ~]# nmcli connection up ens33
[root@rs1 ~]# ip route
default via 192.168.81.130 dev ens33 proto static metric 100
192.168.81.130 dev ens33 proto static scope link metric 100
192.168.100.0/24 dev ens33 proto kernel scope link src 192.168.100.220 metric 100
[root@rs1 ~]#
rs2
[root@rs2 ~]# yum -y install nginx

[root@rs2 ~]# cd /usr/share/nginx/html/
[root@rs2 html]# rm -rf index.html
[root@rs2 html]# echo rs2 > index.html
[root@rs2 html]# systemctl enable --now nginx.service
Created symlink /etc/systemd/system/multi-user.target.wants/nginx.service → /usr/lib/systemd/system/nginx.service.
[root@rs2 html]# systemctl disable  --now  firewalld.service

网关需要指向dr

[root@rs2 ~]# nmcli connection modify ens33 ipv4.addresses 192.168.100.230/24 ipv4.dns 114.114.114.144 ipv4.gateway 192.168.81.130 ipv4.method manual connection.autoconnect yes
[root@rs2 ~]# nmcli connection up ens33

[root@rs2 ~]# ip route
default via 192.168.81.130 dev ens33 proto static metric 100
192.168.81.130 dev ens33 proto static scope link metric 100
192.168.100.0/24 dev ens33 proto kernel scope link src 192.168.100.230 metric 100
[root@rs2 ~]#
dr
开启director的IP转发功能

[root@dr ~]# vim /etc/sysctl.conf

net.ipv4.ip_forward = 1

[root@dr ~]# sysctl -p
net.ipv4.ip_forward = 1
[root@dr ~]#
http
配置调度器
[root@dr ~]# yum -y install ipvsadm

[root@dr ~]# nmcli device up ens36


[root@dr ~]# ipvsadm -Ln
IP Virtual Server version 1.2.1 (size=4096)
Prot LocalAddress:Port Scheduler Flags
  -> RemoteAddress:Port           Forward Weight ActiveConn InActConn

[root@dr ~]# ipvsadm -A -t 192.168.81.130:80 -s rr
[root@dr ~]# ipvsadm -a -t 192.168.81.130:80 -r 192.168.100.230 -m
[root@dr ~]# ipvsadm -a -t 192.168.81.130:80 -r 192.168.100.220 -m
[root@dr ~]# ipvsadm -Ln

IP Virtual Server version 1.2.1 (size=4096)
Prot LocalAddress:Port Scheduler Flags
  -> RemoteAddress:Port           Forward Weight ActiveConn InActConn
TCP  192.168.81.130:80 rr
  -> 192.168.100.220:80           Masq    1      1          0
  -> 192.168.100.230:80           Masq    1      0          1
[root@dr ~]#
http结果
[root@dr ~]# curl http://192.168.81.130
rs2
[root@dr ~]# curl http://192.168.81.130
rs1
[root@dr ~]#

https
证书是自定义证书
rs2证书和私钥
[root@rs2 ~]# cd /etc/nginx

[root@rs2 nginx]# openssl genrsa -out private.key 2048

[root@rs2 nginx]# openssl req -new -key private.key -x509 -days 365 -out certificate.crt


[root@rs2 nginx]# ls
certificate.crt  fastcgi.conf.default    koi-win             nginx.conf.default   uwsgi_params
conf.d           fastcgi_params          mime.types          private.key          uwsgi_params.default
default.d        fastcgi_params.default  mime.types.default  scgi_params          win-utf
fastcgi.conf     koi-utf                 nginx.conf          scgi_params.default
[root@rs2 nginx]#


[root@rs2 nginx]# vim nginx.conf


# Settings for a TLS enabled server.
#
    server {
        listen       443 ssl http2;
        listen       [::]:443 ssl http2;
        server_name  rs2.example.com;
        root         /usr/share/nginx/html;

        ssl_certificate "/etc/nginx/certificate.crt";
        ssl_certificate_key "/etc/nginx/private.key";
#        ssl_session_cache shared:SSL:1m;
[root@rs2 nginx]# systemctl restart nginx.service
rs1 证书和私钥
[root@rs1 ~]# cd /etc/nginx/
[root@rs1 nginx]# openssl genrsa -out private.key 2048
[root@rs1 nginx]# openssl req -new -key private.key -x509 -days 365 -out certificate.crt

[root@rs1 nginx]# ls
certificate.crt  fastcgi.conf          fastcgi_params.default  mime.types          nginx.conf.default  scgi_params.default   win-utf
conf.d           fastcgi.conf.default  koi-utf                 mime.types.default  private.key         uwsgi_params
default.d        fastcgi_params        koi-win                 nginx.conf          scgi_params         uwsgi_params.default
[root@rs1 nginx]#
[root@rs1 nginx]# vim nginx.conf

# Settings for a TLS enabled server.
#
    server {
        listen       443 ssl http2;
        listen       [::]:443 ssl http2;
        server_name  rs1.example.com;
        root         /usr/share/nginx/html;

        ssl_certificate "/etc/nginx/certificate.crt";
        ssl_certificate_key "/etc/nginx/private.key";
#        ssl_session_cache shared:SSL:1m;
[root@rs1 nginx]# systemctl restart nginx.service
dr添加规则
[root@dr ~]# ipvsadm -A -t 192.168.81.130:443 -s rr
[root@dr ~]# ipvsadm -a -t 192.168.81.130:443 -r 192.168.100.220:443 -m
[root@dr ~]# ipvsadm -a -t 192.168.81.130:443 -r 192.168.100.230:443 -m
[root@dr ~]# ipvsadm -Ln
IP Virtual Server version 1.2.1 (size=4096)
Prot LocalAddress:Port Scheduler Flags
  -> RemoteAddress:Port           Forward Weight ActiveConn InActConn
TCP  192.168.81.130:80 rr
  -> 192.168.100.220:80           Masq    1      0          1
  -> 192.168.100.230:80           Masq    1      0          1
TCP  192.168.81.130:443 rr
  -> 192.168.100.220:443          Masq    1      0          0
  -> 192.168.100.230:443          Masq    1      0          0
[root@dr ~]#

[root@dr ~]# ipvsadm -Sn  > /tmp/ipvsadm
[root@dr ~]# cat /tmp/ipvsadm
-A -t 192.168.81.130:80 -s rr
-a -t 192.168.81.130:80 -r 192.168.100.220:80 -m -w 1
-a -t 192.168.81.130:80 -r 192.168.100.230:80 -m -w 1
-A -t 192.168.81.130:443 -s rr
-a -t 192.168.81.130:443 -r 192.168.100.220:443 -m -w 1
-a -t 192.168.81.130:443 -r 192.168.100.230:443 -m -w 1
[root@dr ~]#
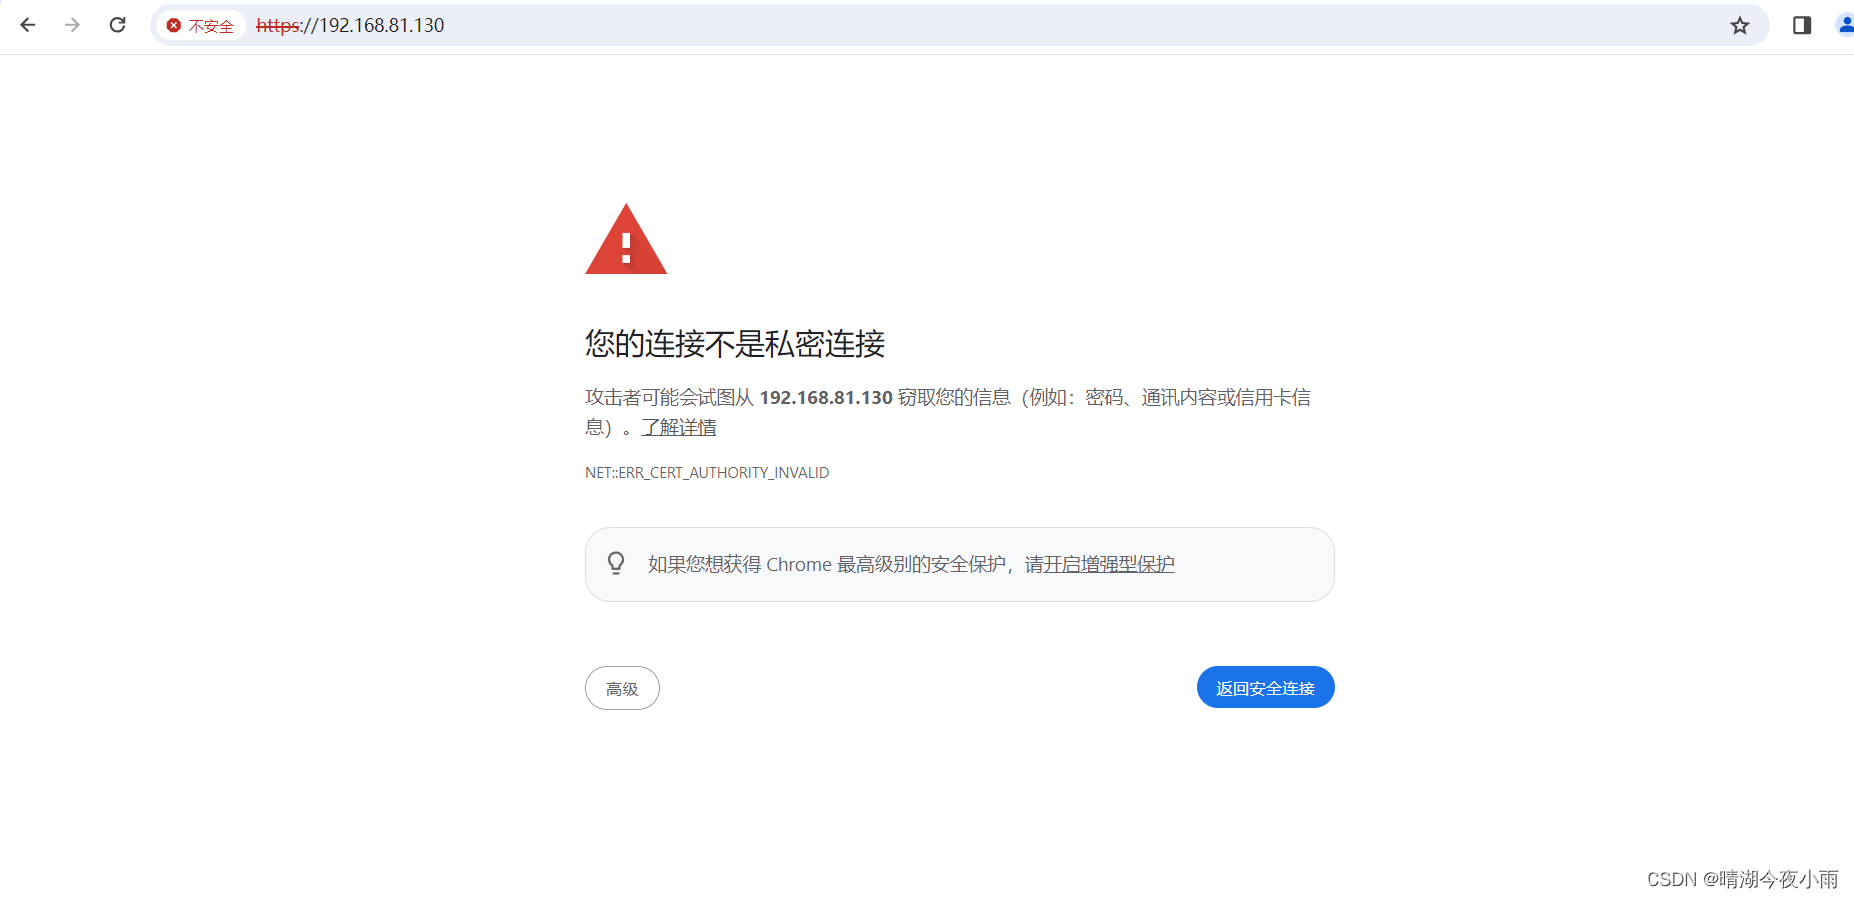
结果


 537
537


 被折叠的 条评论
为什么被折叠?
被折叠的 条评论
为什么被折叠?
 到【灌水乐园】发言


