


PyQt5最全94 窗口之项目实战:QPixmap实现绘图应用
from PyQt5.QtCore import *
from PyQt5.QtGui import *
from PyQt5.QtWidgets import *
import sys


class Drawing(QWidget):
    """
    项目实战:实现绘图应用

    需要解决三个核心内容:
    1.如何绘图
        在paintEVent方法中绘图,通过调用update方法触发paintEVent的调用
    2.在哪里绘图
        在白色的QPixmap对象中绘图
    3.如何通过移动鼠标进行绘图
        鼠标拥有三个事件:
        鼠标按下: mousePressEvent
        鼠标移动: mouseMoveEvent
        鼠标抬起: mouseReleaseEvent

    """
    def __init__(self):
        super(Drawing, self).__init__()
        self.resize(300, 400)
        self.setWindowTitle('绘图应用')
        self.pix = QPixmap()
        self.lastPoint = QPoint()
        self.endPoint = QPoint()
        self.initUI()

    def initUI(self):
        self.resize(600, 600)

        # 画布大小为600*600,背景为白色
        self.pix = QPixmap(600, 600)
        self.pix.fill(Qt.white)

    def paintEvent(self, event):
        pp = QPainter(self.pix)
        # 在最近的两点直接绘制直线,当足够近的时候近似直线(微分)
        pp.drawLine(self.lastPoint, self.endPoint)
        # 让前一个坐标值等于之前的后一个坐标轴,这样就能实现画出连续的线
        self.lastPoint = self.endPoint
        painter = QPainter(self)
        painter.drawPixmap(0, 0, self.pix)

    def mousePressEvent(self, event):
        if event.button() == Qt.LeftButton:
            self.lastPoint = event.pos()

    def mouseMoveEvent(self, event):
        if event.buttons() and Qt.LeftButton:
            self.endPoint = event.pos()
            self.update()

    def mouseReleaseEvent(self, event):
        # 如果左键释放
        if event.button == Qt.LeftButton:
            self.endPoint = event.pos()
            # 进行重新绘制
            self.update()


if __name__ == '__main__':
    app = QApplication(sys.argv)
    example = Drawing()
    print(example.__doc__)
    example.show()
    sys.exit(app.exec_())
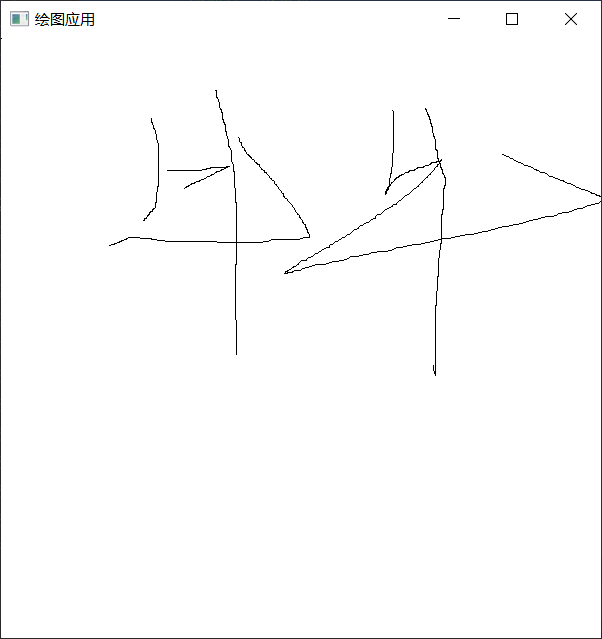
结果
1. 学习设计逻辑
2. 掌握绘图方法
3. 掌握鼠标事件


 2万+
2万+


 被折叠的 条评论
为什么被折叠?
被折叠的 条评论
为什么被折叠?
 到【灌水乐园】发言


