


一、实现目标
1.功能说明
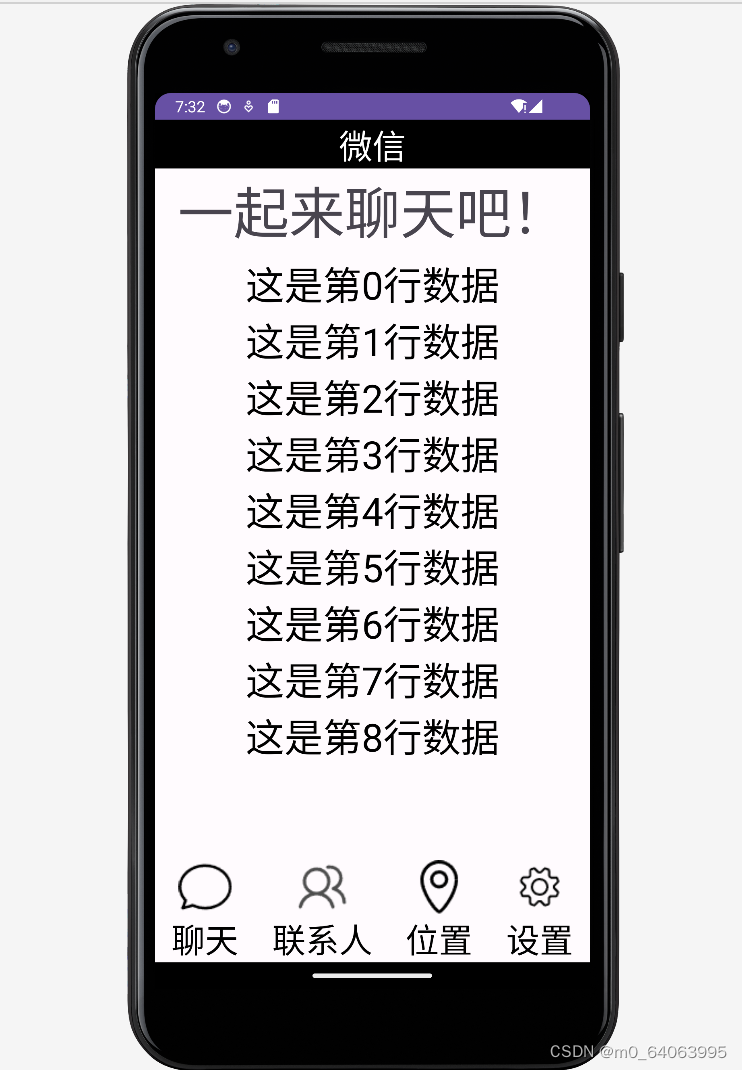
设计一个类似微信的主界面UI,有聊天、联系人、位置、设置四个界面,每个界面大致分为上、中、下三个区域,通过点击界面下方图标可以实现不同界面的切换,同时在一个界面实现显示列表效果。
2.实现效果图
二、实现说明
在Android开发中,一个界面的功能实现大致包括两部分,一个是界面布局,一个是功能实现,像是拼积木一样,将对应板块构件完成后,进行组合。
也对应了Android中的两种常见文件类型,xml文件与java文件,也就是前端显示和后端控制。
1.布局实现
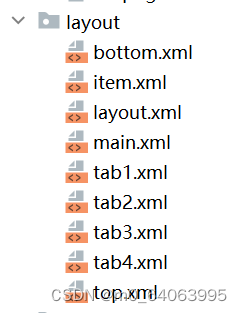
在layout文件夹中添加xml文件,可进行布局设计。
根据目标界面描述,我们可以将界面大致分为上、中、下三个部分,与此同时再创建一个主文件,将各个板块显示出来。
那么就有了top.xml、bottom.xml、main.xml,由于有四个不同的界面,那么中间内容呈现也不一样,所以中间内容的界面有四个:tab1.xml、tab2.xml、tab3.xml、tab4.xml
又说在其中一个界面要呈现列表样式,那么还需要一个列表每行的样式,建一个item.xml
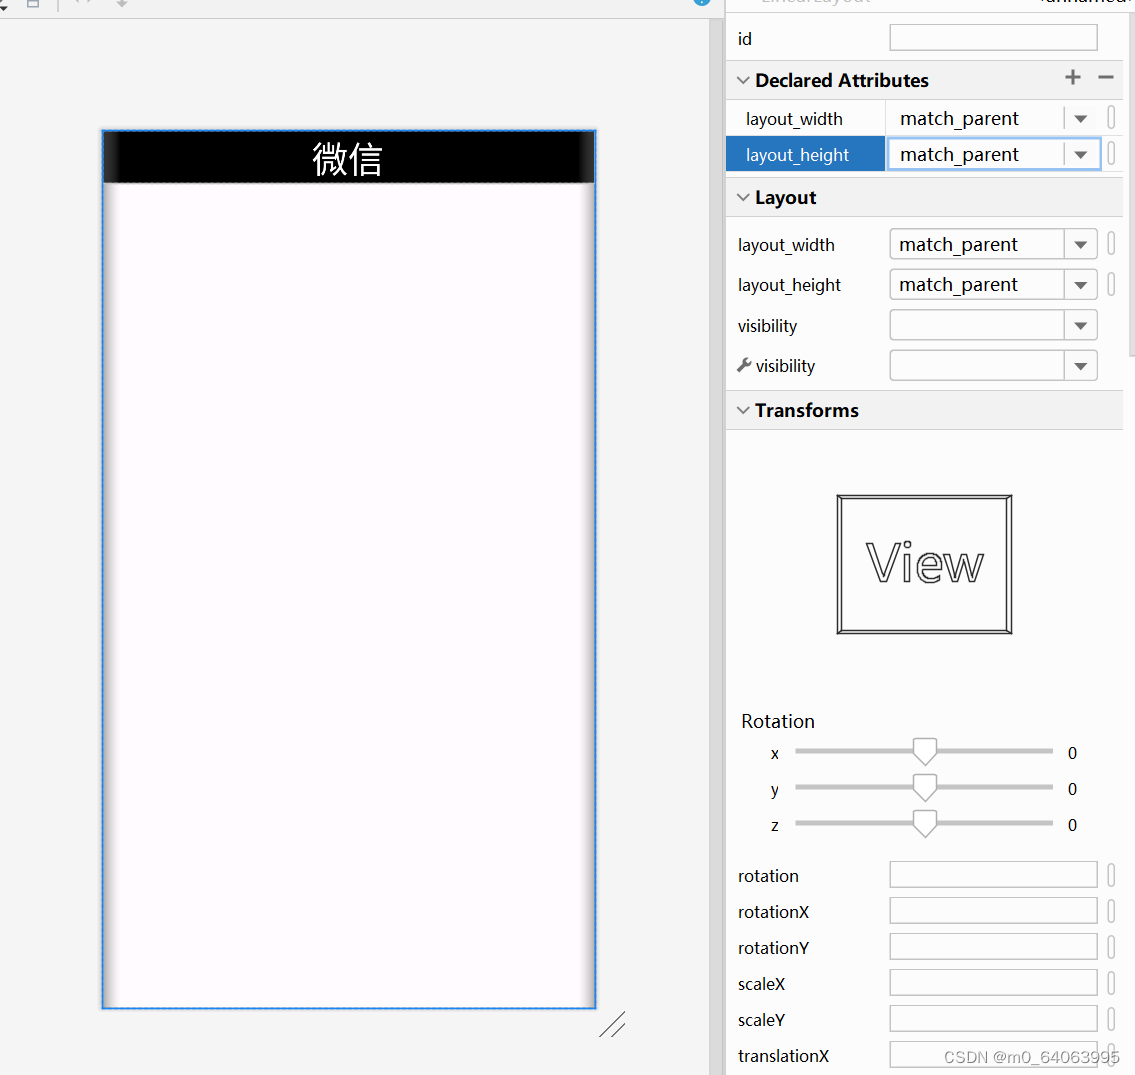
(1)top.xml
打开top.xml文件,在右上角design模式下,从那些组件中选择合适的直接拖到下面即可,这里是需要一个TextView组件。

<?xml version="1.0" encoding="utf-8"?>
<LinearLayout xmlns:android="http://schemas.android.com/apk/res/android"
    xmlns:tools="http://schemas.android.com/tools"
    android:layout_width="match_parent"
    android:layout_height="match_parent">

    <TextView
        android:id="@+id/textView"
        android:layout_width="815dp"
        android:layout_height="wrap_content"
        android:layout_weight="1"
        android:background="@color/black"
        android:gravity="center"
        android:shadowColor="@color/black"
        android:text="微信"
        android:textColor="@color/white"
        android:textSize="30sp" />

</LinearLayout>
然后区域大小、背景、文字颜色、文字大小、位置啥的都可以调整。可在code代码模式调整,也可以在design模式界面的右边调整。
(2)中间部分(tab1~tab4)
先设计一个tab,然后其余的复制粘贴后略加修改即可
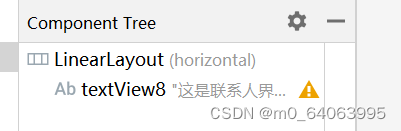
每个tab就包含一个文本
由于在tab1中显示列表,所以tab1中除了文本外,还要加一个列表recyclerview

<?xml version="1.0" encoding="utf-8"?>

<LinearLayout xmlns:android="http://schemas.android.com/apk/res/android"
        android:layout_width="match_parent"
        android:layout_height="match_parent">


    <TextView
        android:id="@+id/textView8"
        android:layout_width="match_parent"
        android:layout_height="match_parent"
        android:layout_weight="1"
        android:gravity="center"
        android:text="这是联系人界面"
        android:textSize="50sp" />

</LinearLayout>
(3)bottom.xml
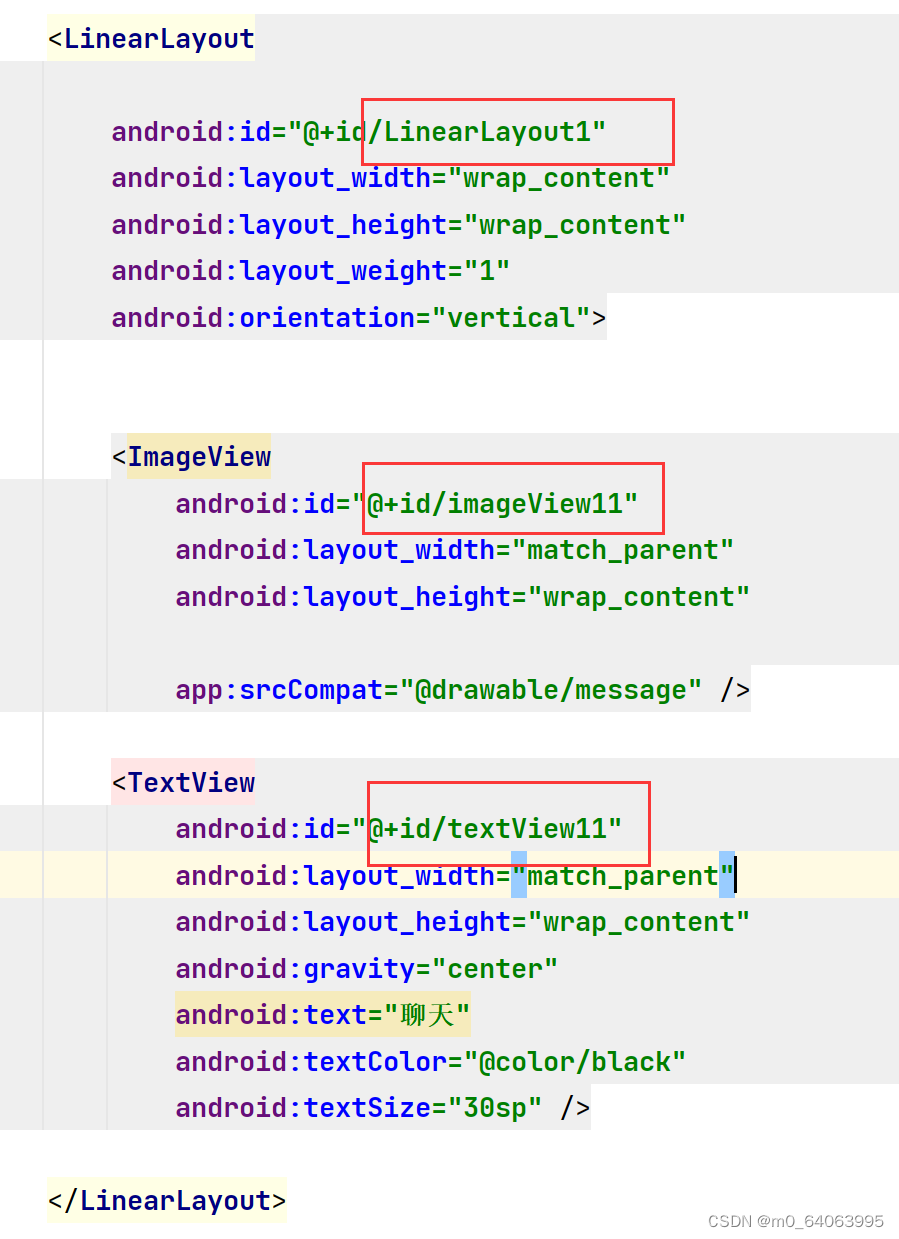
这里结构稍微复杂一点,这个布局下,四个LinearLayout,水平划分为了四块(橙色所示),然后每个小块里又上下分为两块,上半部分是图片,下半部分是文本。
注意,两个LinearLayout不一样,一个是水平的,一个是竖直的。

这个在实现的时候,也是先弄一个小橙色方块,之后直接代码复制粘贴。
复制粘贴后每部分的id需要修改,不能重复
<?xml version="1.0" encoding="utf-8"?>
<LinearLayout xmlns:android="http://schemas.android.com/apk/res/android"
xmlns:app="http://schemas.android.com/apk/res-auto"
android:layout_width="match_parent"
android:layout_height="wrap_content">
<LinearLayout
android:id="@+id/LinearLayout1"
android:layout_width="wrap_content"
android:layout_height="wrap_content"
android:layout_weight="1"
android:orientation="vertical">
<ImageView
android:id="@+id/imageView11"
android:layout_width="match_parent"
android:layout_height="wrap_content"
app:srcCompat="@drawable/message" />
<TextView
android:id="@+id/textView11"
android:layout_width="match_parent"
android:layout_height="wrap_content"
android:gravity="center"
android:text="聊天"
android:textColor="@color/black"
android:textSize="30sp" />
</LinearLayout>
<LinearLayout
android:id="@+id/LinearLayout2"
android:layout_width="wrap_content"
android:layout_height="wrap_content"
android:layout_weight="1"
android:orientation="vertical">
<ImageView
android:id="@+id/imageView22"
android:layout_width="match_parent"
android:layout_height="wrap_content"
app:srcCompat="@drawable/people" />
<TextView
android:id="@+id/textView22"
android:layout_width="match_parent"
android:layout_height="wrap_content"
android:gravity="center"
android:text="联系人"
android:textColor="@color/black"
android:textSize="30sp" />
</LinearLayout>
<LinearLayout
android:id="@+id/LinearLayout3"
android:layout_width="wrap_content"
android:layout_height="wrap_content"
android:layout_weight="1"
android:orientation="vertical">
<ImageView
android:id="@+id/imageView33"
android:layout_width="match_parent"
android:layout_height="wrap_content"
app:srcCompat="@drawable/location" />
<TextView
android:id="@+id/textView33"
android:layout_width="match_parent"
android:layout_height="wrap_content"
android:gravity="center"
android:text="位置"
android:textColor="@color/black"
android:textSize="30sp" />
</LinearLayout>
<LinearLayout
android:id="@+id/LinearLayout4"
android:layout_width="wrap_content"
android:layout_height="wrap_content"
android:layout_weight="1"
android:orientation="vertical">
<ImageView
android:id="@+id/imageView44"
android:layout_width="match_parent"
android:layout_height="wrap_content"
app:srcCompat="@drawable/set" />
<TextView
android:id="@+id/textView44"
android:layout_width="match_parent"
android:layout_height="wrap_content"
android:gravity="center"
android:text="设置"
android:textColor="@color/black"
android:textSize="30sp" />
</LinearLayout>
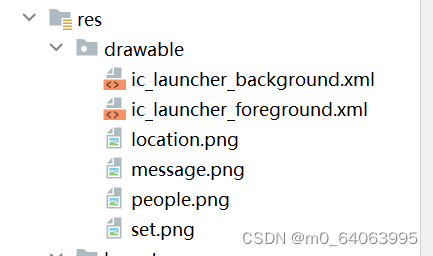
</LinearLayout>图片的话可以自己导入,直接拖进去就好,命名得是英文
(4)item.xml
这个没啥,和top那个差不多,就一个textview
<?xml version="1.0" encoding="utf-8"?>
<LinearLayout xmlns:android="http://schemas.android.com/apk/res/android"
android:layout_width="match_parent"
android:layout_height="wrap_content">
<TextView
android:id="@+id/textView1"
android:layout_width="wrap_content"
android:layout_height="wrap_content"
android:layout_weight="1"
android:gravity="center"
android:text="TextView"
android:textColor="@color/black"
android:textSize="35sp"
/>
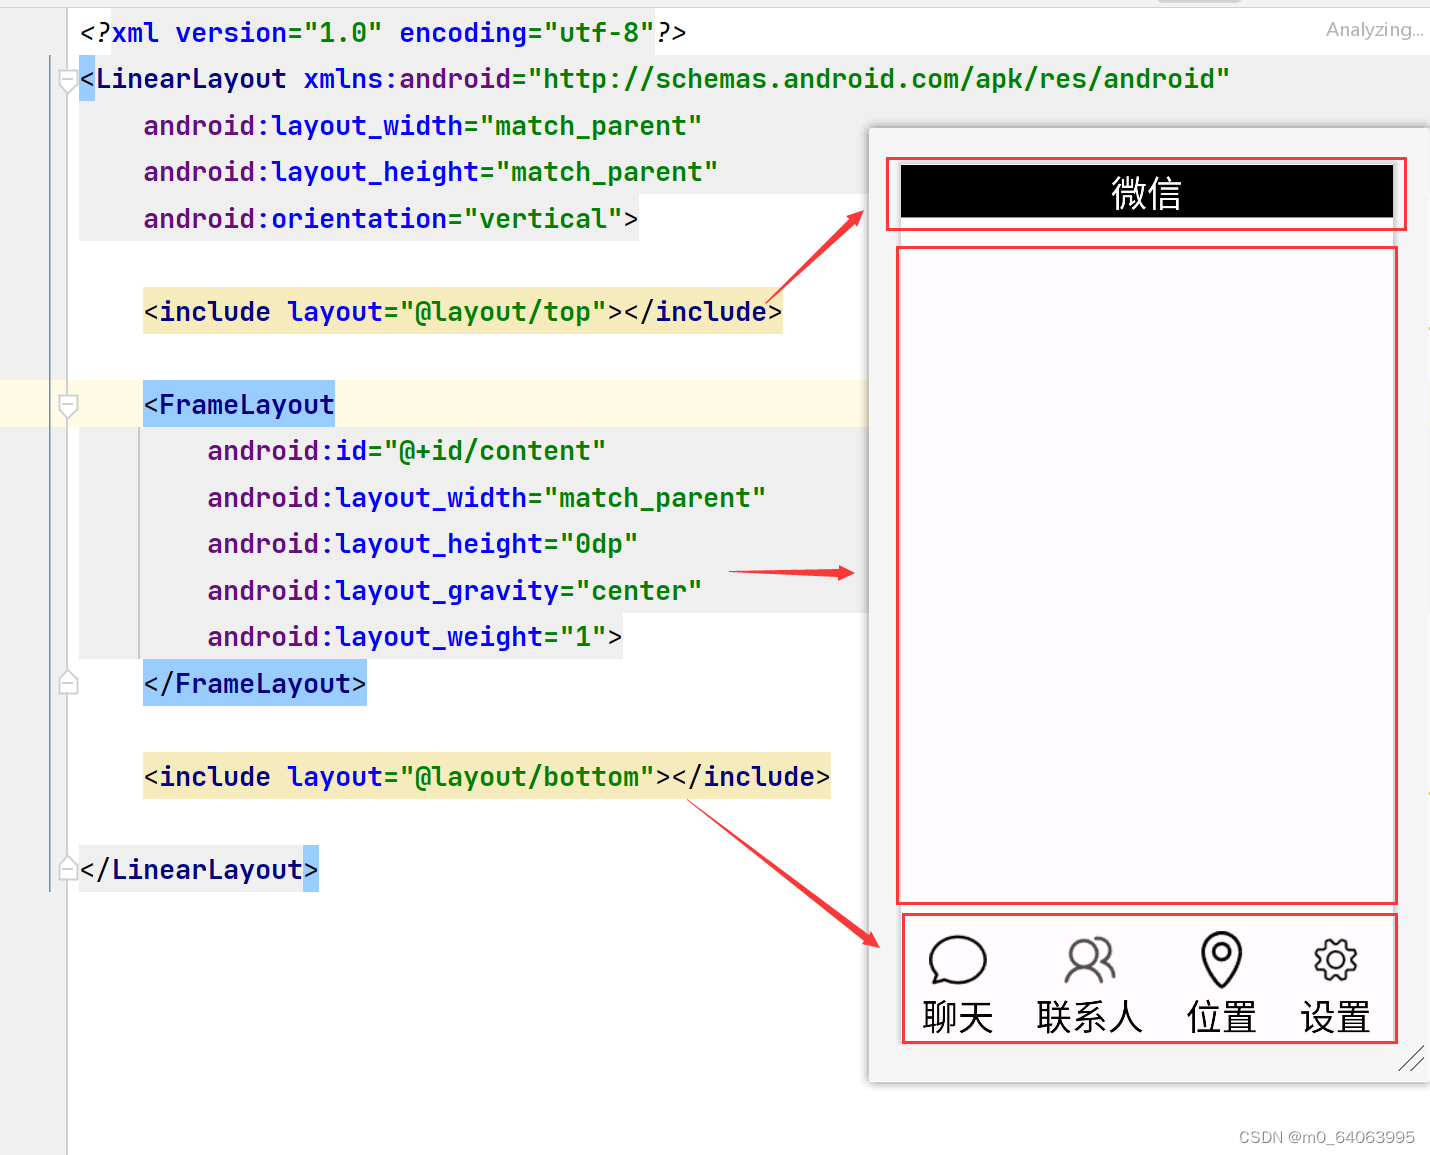
</LinearLayout>(5)main.xml
这相当于起一个包装的作用,将top、bottom包含进来
<?xml version="1.0" encoding="utf-8"?>
<LinearLayout xmlns:android="http://schemas.android.com/apk/res/android"
    xmlns:tools="http://schemas.android.com/tools"
    xmlns:app="http://schemas.android.com/apk/res-auto"
    android:layout_width="match_parent"
    android:layout_height="match_parent"
    android:orientation="vertical"
    tools:context=".MainActivity">

    <include layout="@layout/top" ></include>

    <FrameLayout
        android:id="@+id/content"
        android:layout_width="match_parent"
        android:layout_height="0dp"
        android:layout_gravity="center"
        android:layout_weight="1">

    </FrameLayout>

    <include layout="@layout/bottom"></include>


</LinearLayout>
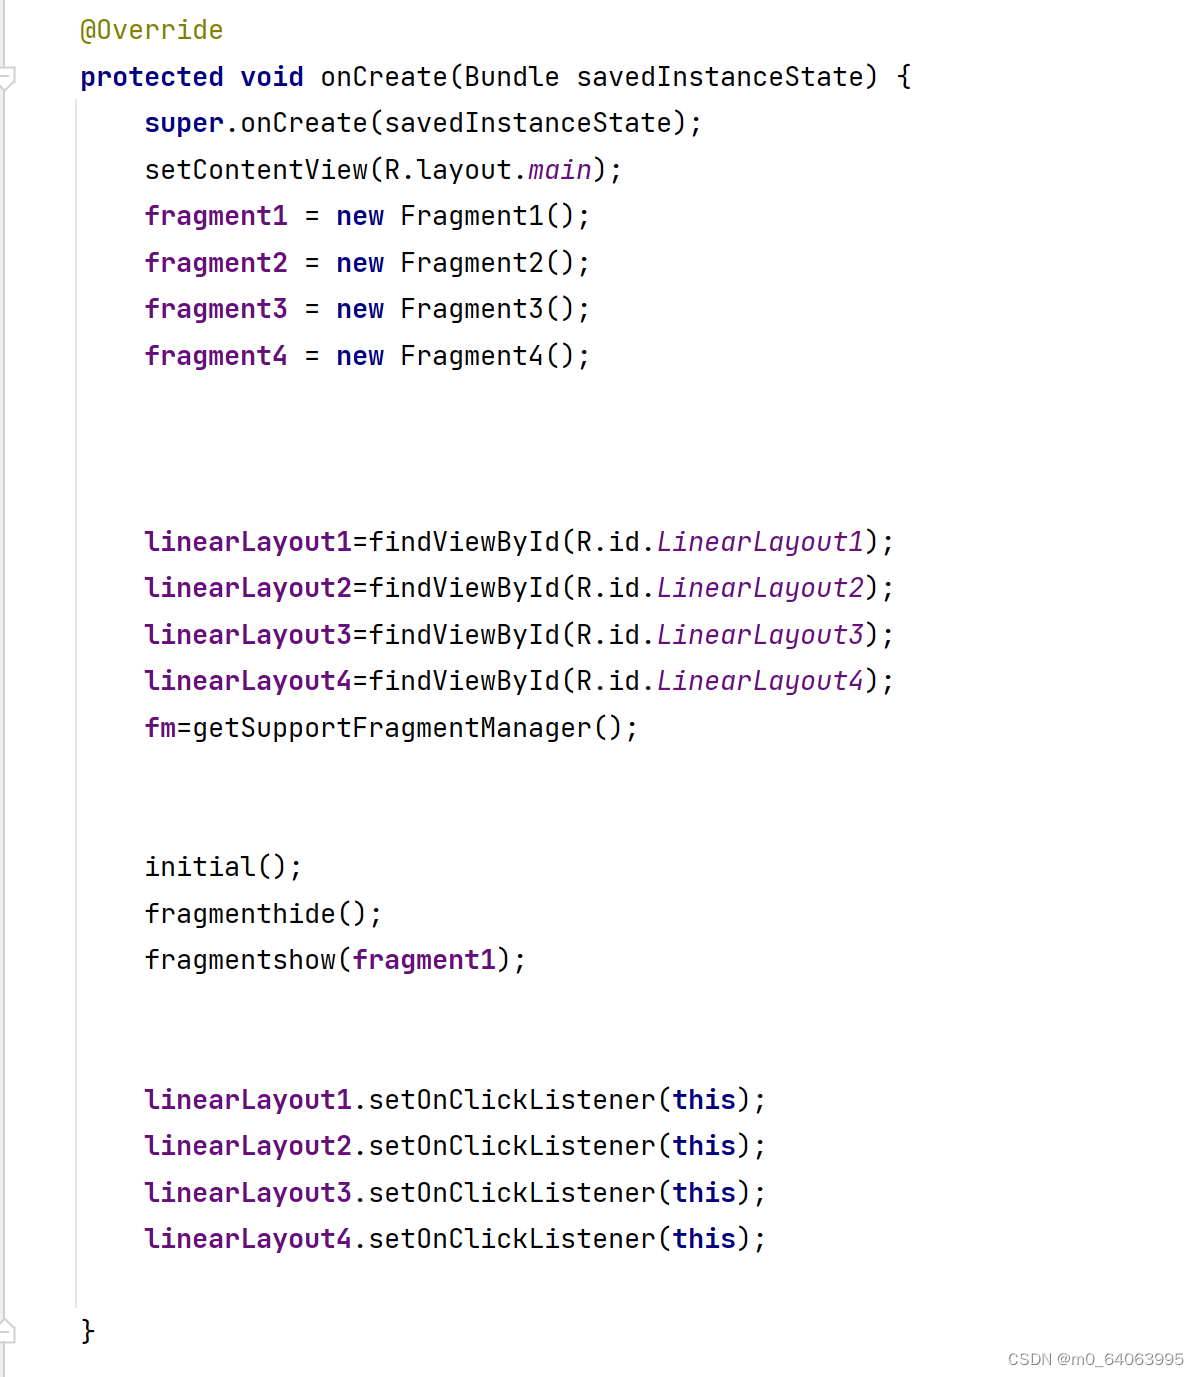
2.功能实现
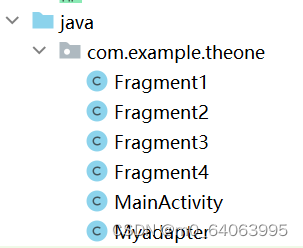
大致逻辑是,每个界面tab都需要一个fragment.java去调出来,在主函数中进行初始化连接,监听,隐藏,点击显示。
(1)页面连接
tab页面连接
package com.example.theone;

import android.os.Bundle;
import android.view.LayoutInflater;
import android.view.View;
import android.view.ViewGroup;

import androidx.fragment.app.Fragment;

/**
 * A simple {@link Fragment} subclass.
 * Use the  factory method to
 * create an instance of this fragment.
 */
public class Fragment2 extends Fragment {

    @Override
    public View onCreateView(LayoutInflater inflater, ViewGroup container,
                             Bundle savedInstanceState) {

        // Inflate the layout for this fragment
        return inflater.inflate(R.layout.tab2, container, false);
    }
}
这样可以使得main通过fragment来调用xml页面
list页面连接
public class Fragment1 extends Fragment {

    RecyclerView recyclerView;
    List list;
    Myadapter adapter;
    Context context;
    View view;

    @Override
    public View onCreateView(LayoutInflater inflater, ViewGroup container, Bundle savedInstanceState) {
        view=inflater.inflate(R.layout.tab1,container,false);
        recyclerView=view.findViewById(R.id.recyclerview);
        list=new ArrayList();
        for(int i=0;i<9;i++){
            list.add("这是第"+i+"行数据");
        }

        adapter=new Myadapter(view.getContext(),list);
        LinearLayoutManager manager=new LinearLayoutManager(view.getContext());
        manager.setOrientation(LinearLayoutManager.VERTICAL);
        recyclerView.setAdapter(adapter);
        recyclerView.setLayoutManager(manager);
        // Inflate the layout for this fragment
        return view;
    }
}
这个使得在fragment界面中显示出列表视图,把数据源提供给适配器,进行数据的绑定和显示
(3)初始化
    private void initial(){
        FragmentTransaction ft = fm.beginTransaction()
                .add(R.id.content,fragment1)
                .add(R.id.content,fragment2)
                .add(R.id.content,fragment3)
                .add(R.id.content,fragment4);
        ft.commit();
    }
使得tab进入content里面
(4)页面显示
    private void fragmentshow(Fragment fragment) {
        FragmentTransaction ft=fm.beginTransaction()
            .show(fragment);
        ft.commit();
    }
显示当前页面
(5)点击监听
public void onClick(View view){
        fragmenthide();
        int viewId = view.getId();
        if (viewId == R.id.LinearLayout1) {
            fragmentshow(fragment1);
        } else if (viewId == R.id.LinearLayout2) {
            fragmentshow(fragment2);
        } else if (viewId == R.id.LinearLayout3) {
            fragmentshow(fragment3);
        } else if (viewId == R.id.LinearLayout4) {
            fragmentshow(fragment4);
        }
    }

//    public void onClick(View view){
//
//        fragmenthide();
//        switch (view.getId()){
//            case R.id.linearLayout1:fragmentshow(fragment1);break;
//            case R.id.linearLayout1:fragmentshow(fragment2);break;
//            case R.id.linearLayout1:fragmentshow(fragment3);break;
//            case R.id.linearLayout1:fragmentshow(fragment4);break;
//            default:break;
//        }
//
//    }
这里switch和if都可,但因版本原因,有的用switch没法实现,得用if
(6)页面隐藏
    private void fragmenthide(){
        FragmentTransaction ft =fm.beginTransaction()
                .hide(fragment1)
                .hide(fragment2)
                .hide(fragment3)
                .hide(fragment4);
        ft.commit();
    }
(7)Myadapter.java
RecyclerView中的Myadapter是一个管理数据和视图之间关系的类,为RecyclerView提供数据并创建对应的视图项,Adapter通常继承自RecyclerView.Adapter类,并通过重写其中的方法来实现自定义逻辑。
onCreateViewHolder():用于创建ViewHolder对象,即每个Item对应的视图项。
public Myholder onCreateViewHolder(@NonNull ViewGroup parent, int viewType) {

        View view=LayoutInflater.from(context1).inflate(R.layout.item,parent,false);
        Myholder myholder=new Myholder(view);

        return myholder;
}onBindViewHolder():用于将数据绑定到ViewHolder中的视图项上。
public void onBindViewHolder(@NonNull Myholder holder, int position) {

        holder.textView.setText(list1.get(position));

        holder.textView.setTextColor(Color.BLACK);

}getItemCount():返回数据集合的大小,即Item的数量。
public int getItemCount() {
        return list1.size();
}定义一个名为Myholder的自定义ViewHolder类,它继承自RecyclerView的内部类ViewHolder,用来表示每个数据项的视图项的,并且可以在需要时对其进行重用。ViewHolder通过保存视图项中的子视图 (例如TextView、ImageView等)的引用,以便在需要时快速地访问和更新视图内容
public class Myholder extends RecyclerView.ViewHolder{
        TextView textView;

        public Myholder(@NonNull View itemView) {
            super(itemView);
            textView=itemView.findViewById(R.id.textView1);
        }
    }
三、遇到的问题
1.上中下分区的时候,底部样式不显示,发现是top界面的layout_height不对,需要改为wrap_content
2.代码最终在运行时,点击其他几个页面,没有切换,排除后发现是fragment.java复制粘贴后忘记修改引用的tab了
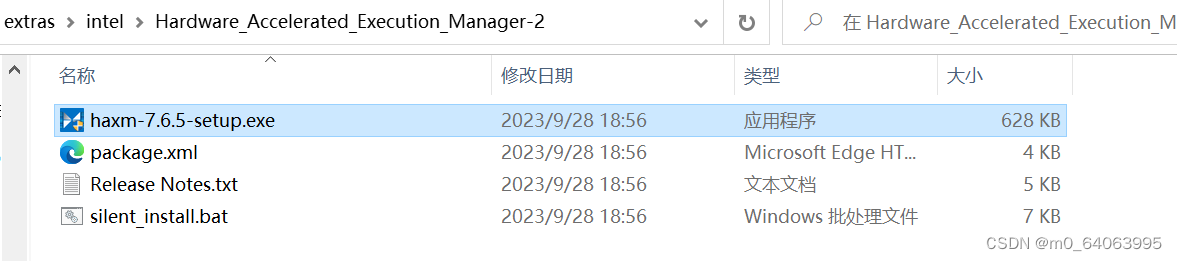
3.运行时提醒报错,Intel HAXM is required to run this AVD. HAXM is not installed. Install Intel HAXM for better emulation performance.在SDK manager下载了相关插件

之后发现还是报错,通过参考网络资料,在此目录下,将haxm安装后就OK了。
 4.error: ‘@tools:sample/avatars’ is incompatible with attribute src (attr) referencelcolor.
最开始引用系统自带的图片时报错,后来把带tools的那一行删掉即可
四、作业小结
总的来说,第一次移动开发的设计实现在跟着老师的节奏一步一步来和朋友的指导下,大致给搞出来了,但其中的不少实现还是需要再好好理解,先这样喽,也是第一次写博客吧,体验蛮好。
附上源码地址:Android: 移动开发~


 3165
3165


 被折叠的 条评论
为什么被折叠?
被折叠的 条评论
为什么被折叠?
 到【灌水乐园】发言


