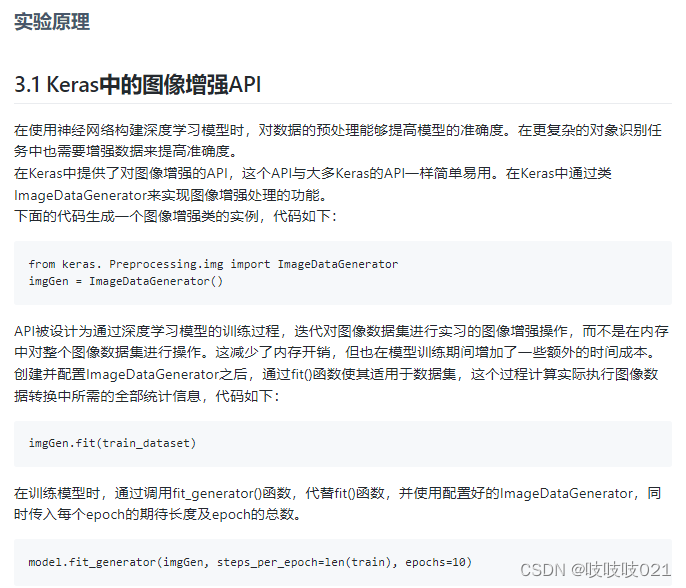


from keras. Preprocessing.img import ImageDataGenerator
imgGen = ImageDataGenerator()

imgGen.fit(train_dataset)

model.fit_generator(imgGen, steps_per_epoch=len(train), epochs=10)
from keras.datasets import mnist
import matplotlib
matplotlib.use(‘Agg’)
from matplotlib import pyplot as plt

# 从Keras导入Mnist数据集
(X_train, y_train), (X_validation, y_validation) = mnist.load_data()
# 显示9张手写数字的图片
for i in range(0, 9):
    plt.subplot(331 + i)
    plt.imshow(X_train[i], cmap=plt.get_cmap('gray'))
plt.show()
plt,savefig(‘view_image.png’)
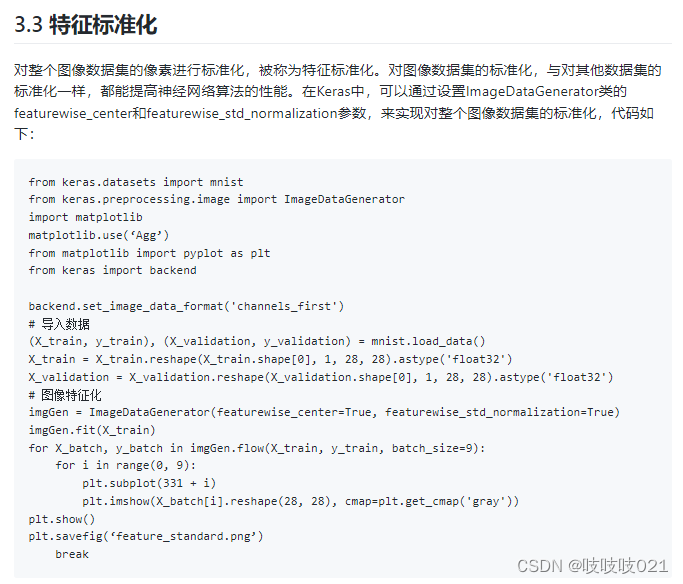
from keras.datasets import mnist
from keras.preprocessing.image import ImageDataGenerator
import matplotlib
matplotlib.use(‘Agg’)
from matplotlib import pyplot as plt
from keras import backend

backend.set_image_data_format('channels_first')
# 导入数据
(X_train, y_train), (X_validation, y_validation) = mnist.load_data()
X_train = X_train.reshape(X_train.shape[0], 1, 28, 28).astype('float32')
X_validation = X_validation.reshape(X_validation.shape[0], 1, 28, 28).astype('float32')
# 图像特征化
imgGen = ImageDataGenerator(featurewise_center=True, featurewise_std_normalization=True)
imgGen.fit(X_train)
for X_batch, y_batch in imgGen.flow(X_train, y_train, batch_size=9):
    for i in range(0, 9):
        plt.subplot(331 + i)
        plt.imshow(X_batch[i].reshape(28, 28), cmap=plt.get_cmap('gray'))
plt.show()
plt.savefig(‘feature_standard.png’)
    break
from keras.datasets import mnist
from keras.preprocessing.image import ImageDataGenerator
import matplotlib
matplotlib.use('Agg')
from matplotlib import pyplot as plt
from keras import backend
backend.set_image_data_format('channels_first')
# 导入数据
(X_train, y_train), (X_validation, y_validation) = mnist.load_data()
X_train = X_train.reshape(X_train.shape[0], 1, 28, 28).astype('float32')
X_validation = X_validation.reshape(X_validation.shape[0], 1, 28, 28).astype('float32')
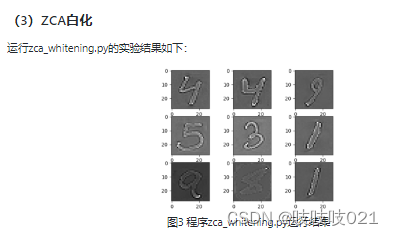
# ZCA白化
imgGen = ImageDataGenerator(zca_whitening=True)
imgGen.fit(X_train)
for X_batch, y_batch in imgGen.flow(X_train, y_train, batch_size=9):
for i in range(0, 9):
plt.subplot(331 + i)
plt.imshow(X_batch[i].reshape(28, 28), cmap=plt.get_cmap('gray'))
plt.show()
plt.savefig('zca.png')
break
from keras.datasets import mnist
from keras.preprocessing.image import ImageDataGenerator
import matplotlib
matplotlib.use('Agg')
from matplotlib import pyplot as plt
from keras import backend
backend.set_image_data_format('channels_first')
# 导入数据
(X_train, y_train), (X_validation, y_validation) = mnist.load_data()
X_train = X_train.reshape(X_train.shape[0], 1, 28, 28).astype('float32')
X_validation = X_validation.reshape(X_validation.shape[0], 1, 28, 28).astype('float32')
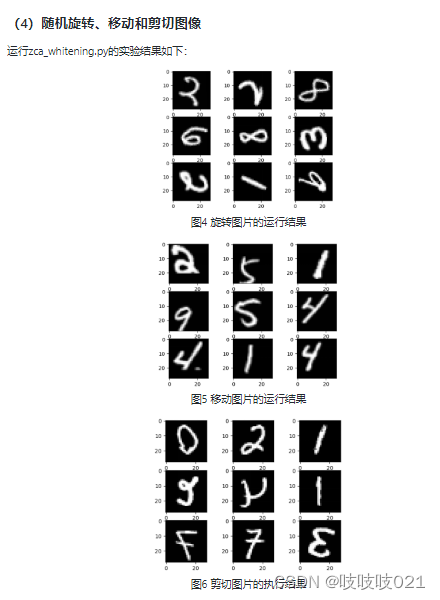
# 图像旋转
imgGen = ImageDataGenerator(rotation_range=90)
imgGen.fit(X_train)
for X_batch, y_batch in imgGen.flow(X_train, y_train, batch_size=9):
for i in range(0, 9):
plt.subplot(331 + i)
plt.imshow(X_batch[i].reshape(28, 28), cmap=plt.get_cmap('gray'))
plt.show()
plt.savefig('rotate.png')
break
# 图像移动
imgGen = ImageDataGenerator(width_shift_range=0.2, height_shift_range=0.2)
imgGen.fit(X_train)
for X_batch, y_batch in imgGen.flow(X_train, y_train, batch_size=9):
for i in range(0, 9):
plt.subplot(331 + i)
plt.imshow(X_batch[i].reshape(28, 28), cmap=plt.get_cmap('gray'))
plt.show()
plt.savefig('shift.png')
break
# 图像剪切
imgGen = ImageDataGenerator(horizontal_flip=True, vertical_flip=True)
imgGen.fit(X_train)
for X_batch, y_batch in imgGen.flow(X_train, y_train, batch_size=9):
for i in range(0, 9):
plt.subplot(331 + i)
plt.imshow(X_batch[i].reshape(28, 28), cmap=plt.get_cmap('gray'))
plt.show()
plt.savefig('flip.png')
break


 671
671


 被折叠的 条评论
为什么被折叠?
被折叠的 条评论
为什么被折叠?
 到【灌水乐园】发言


