深度学习(四) 深度学习的基础 感知机 pytorch新手入门及常见问题解决

本文介绍了如何使用PyTorch实现一个包含单隐藏层的多层感知机,重点讲解了ReLU激活函数的应用、权重初始化以及使用Sequential模块构建简洁网络结构。
摘要由CSDN通过智能技术生成


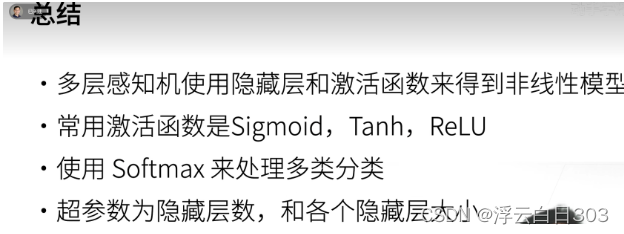
多层感知机

ReLu的存在,是为了调节X平方或者高次方前边的系数,组合起来更贴近你想要的那条曲线用的
多层感知机的简洁实现

##多层感知机的从零实现

import torch
from torch import nn
from d2l import torch as d2l

batch =256
train,test = d2l.load_data_fashion_mnist(batch)

#单隐藏层感知机
hide = 256
input = 784
output = 10

w1= nn.Parameter(torch.randn(input,hide,requires_grad=True))
b1 = nn.Parameter(torch.zeros(hide,requires_grad=True))

w2 = nn.Parameter(torch.randn(hide,output,requires_grad=True))
b2 = nn.Parameter(torch.zeros(output,requires_grad=True))

param = [w1,b1,w2,b2]

#激活函数
def relu(x):
    a= torch.zeros_like(x)
    return torch.max(x,a)

def net(x):
    x=x.reshape((-1,input))
    h = relu(x@w1+b1)#@矩阵乘法
    return (h@w2+b2)
#可以显示出loss图像
loss = nn.CrossEntropyLoss(reduction='none')

xunlaincishu,xuexilv = 10,0.1
updata = torch.optim.SGD(param,xuexilv)
d2l.train_ch3(net,train,test,loss,xunlaincishu,updata)
d2l.plt.show()
#简洁实现

import torch
from d2l import torch as d2l
from torch import nn

batch = 256
train,test = d2l.load_data_fashion_mnist(batch)
net = nn.Sequential(nn.Flatten(),nn.Linear(784,256),nn.ReLU(),nn.Linear(256,10))
def shenchen_w(m):
    if type(m) ==nn.Linear:
        nn.init.normal_(m.weight,std=0.01)
net.apply(shenchen_w);
xunliancishi,xuexilv = 10,0.1
loss = nn.CrossEntropyLoss(reduction='none')
up=torch.optim.SGD(net.parameters(),xuexilv)
d2l.train_ch3(net,train,test,loss,xunliancishi,up)
d2l.plt.show()

评论
添加红包

请填写红包祝福语或标题

红包个数最小为10个

红包金额最低5元

当前余额3.43前往充值 >
需支付:10.00
成就一亿技术人!
领取后你会自动成为博主和红包主的粉丝 规则
hope_wisdom
发出的红包
实付
使用余额支付
点击重新获取
扫码支付
钱包余额 0

抵扣说明:

1.余额是钱包充值的虚拟货币,按照1:1的比例进行支付金额的抵扣。
2.余额无法直接购买下载,可以购买VIP、付费专栏及课程。

余额充值