


Canvas
Canvas概念
canvas 是h5提供的一个标签,帮我们创建一块画布。可以绘制任意图形,包括图片、动画等内容。当前主流浏览器均支持。
基本用法
<canvas id="canvas" width="500" height="500"></canvas>
注意:设置canvas画布大小时不能通过style样式调整,会造成画布内容模糊
绘制上下文
Canvas创建了一个画布,并提供了一个上下文对象getContext()获得渲染上下文和绘画功能
const canvas = document.getElementById('canvas')
const ctx = canvas.getContext('2d')
画布坐标系
Canvas坐标系采用笛卡尔坐标系,默认0,0坐标为右上角。遵循我们屏幕、报纸的阅读习惯,从上往下,从左往右

了解了坐标系后让我们开始绘制基本图形吧
绘制图形
通过上下文对象,我们可以绘制多种图形,例如直线、矩形、圆形等
直线
绘制直线的基本api
moveTo(x, y) 画笔移动到指定位置
lineTo(x, y) 从画笔指定位置绘制到x和y坐标
stroke() 绘制
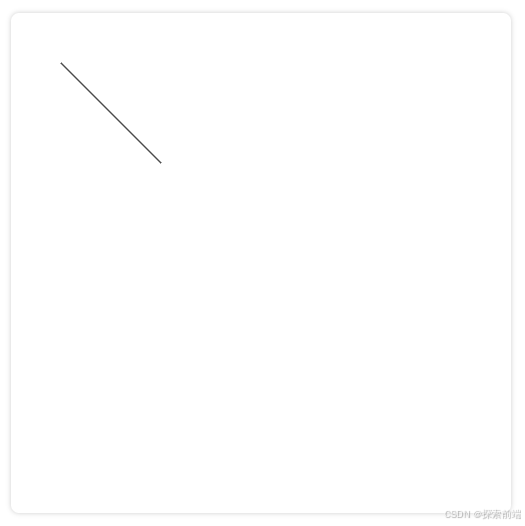
ctx.moveTo(50, 50) // 将画笔移动到50,50
ctx.lineTo(150, 150) // 画直线
ctx.stroke() // 绘制
矩形
strokeRect(x,y,width,height) 绘制矩形边框
fillRect(x,y,width,height) 绘制填充矩形
clearRect(x, y, width, height) 清除指定矩形区域
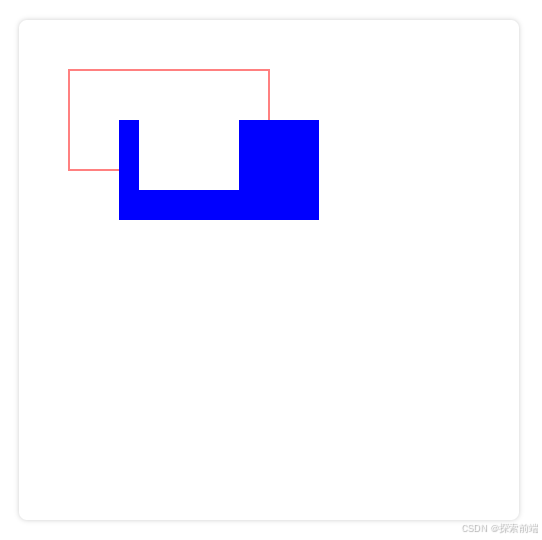
// 矩形的边框 strokeRect(x,y,width,height)
ctx.strokeStyle = 'red'   // 设置边框颜色
ctx.strokeRect(50, 50, 200, 100)

// 填充矩形 fillRect(x,y,width,height)
ctx.fillStyle = 'blue'  // 设置填充颜色
ctx.fillRect(100, 100, 200, 100)

// clearRect(x, y, width, height) 清除指定矩形区域
ctx.clearRect(120, 100, 100, 70)
红色区域为矩形边框,蓝色部分为填充矩形,中间白色缺少部分则是清除的矩形区域
圆弧和圆
arc(x, y, radius, startAngle, endAngle, anticlockwise) x和y为圆心的坐标,radius为半径,startAngle为圆弧或圆的开始位置,endAngle为圆弧或圆的结束位置,anticlockwise是绘制的方向(不写默认为false,从顺时针方向)。
ctx.arc(60, 60, 50, 0, Math.PI, false)
ctx.stroke()
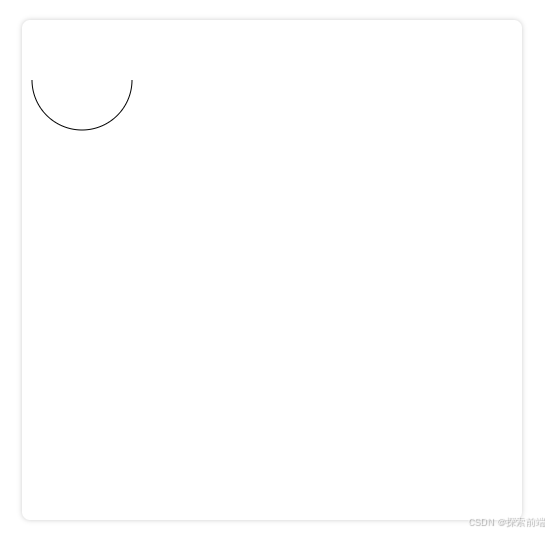
注意:startAngle和endAngle均为弧度,而不是角度。弧度转角度公式:弧度=(Math.PI/180)*角度 Math.PI*2 则是一个圆
ctx.arc(60, 60, 50, 0, Math.PI, false)
ctx.stroke()
ctx.arc(200, 60, 50, 0, Math.PI * 2, false)
ctx.stroke()
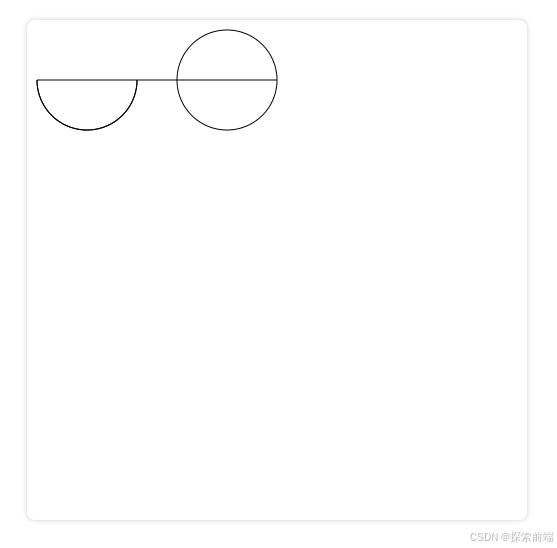
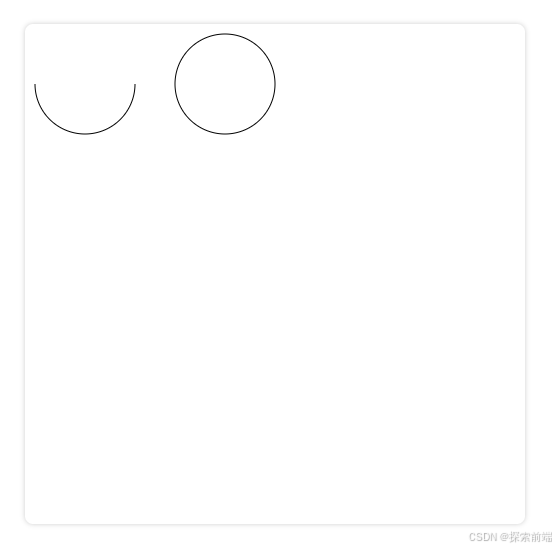
可以看到两个圆弧之间连接到了一起,这是因为每次绘制的时候没有开启关闭绘制路径
beginPath 开启新的路径绘制
closePath 关闭路径
ctx.beginPath() // 开启路径
ctx.arc(60, 60, 50, 0, Math.PI, false)
ctx.stroke()
ctx.closePath()
ctx.beginPath() // 开启路径
ctx.arc(200, 60, 50, 0, Math.PI * 2, false)
ctx.stroke()
ctx.closePath()
ctx.closePath()并非必须,只需要每次重新绘制时开启新的路径即可
fill
 最低0.47元/天 解锁文章


 620
620

 被折叠的 条评论
为什么被折叠?
被折叠的 条评论
为什么被折叠?
 到【灌水乐园】发言


