


使用pythono语言实现以下要求:
任选两种结构对图像进行腐蚀和膨胀。
免费Gpt,低调使用:Sider -- ChatGPT Sidebar, GPT-4, Draw & Web access
实现样例图:

实现代码如下:
import cv2
import matplotlib
import numpy as np
import matplotlib.pyplot as plt
matplotlib.rc("font",family='SimHei')
# 读取图像
image = cv2.imread('lifePhoto02.png', 0)
# 定义矩形和椭圆结构元素
rect_kernel = cv2.getStructuringElement(cv2.MORPH_RECT, (5, 5))
ellipse_kernel = cv2.getStructuringElement(cv2.MORPH_ELLIPSE, (5, 5))
# 腐蚀
eroded_image_rect = cv2.erode(image, rect_kernel)
eroded_image_ellipse = cv2.erode(image, ellipse_kernel)
# 膨胀
dilated_image_rect = cv2.dilate(image, rect_kernel)
dilated_image_ellipse = cv2.dilate(image, ellipse_kernel)
# 使用matplotlib库显示图像
plt.imshow(image, cmap='gray')
plt.title('原始图像')
plt.show()
plt.imshow(eroded_image_rect, cmap='gray')
plt.title('矩形结构元素腐蚀后的图像')
plt.show()
plt.imshow(eroded_image_ellipse, cmap='gray')
plt.title('椭圆结构元素腐蚀后的图像')
plt.show()
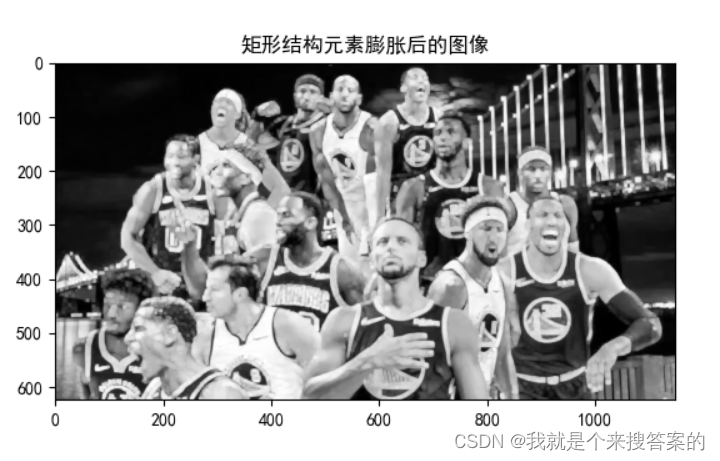
plt.imshow(dilated_image_rect, cmap='gray')
plt.title('矩形结构元素膨胀后的图像')
plt.show()
plt.imshow(dilated_image_ellipse, cmap='gray')
plt.title('椭圆结构元素膨胀后的图像')
plt.show()
# # 使用OpenCV的GUI显示图像
# cv2.imshow('Original Image', image)
# cv2.imshow('Eroded Image (Rect)', eroded_image_rect)
# cv2.imshow('Eroded Image (Ellipse)', eroded_image_ellipse)
# cv2.imshow('Dilated Image (Rect)', dilated_image_rect)
# cv2.imshow('Dilated Image (Ellipse)', dilated_image_ellipse)
# cv2.waitKey(0)
# cv2.destroyAllWindows()


 9655
9655


 被折叠的 条评论
为什么被折叠?
被折叠的 条评论
为什么被折叠?
 到【灌水乐园】发言


