


1.初识路由


1.后端路由


2.前端路由


1.Hash模式


2.HTML5模式


2.初识Vue Router
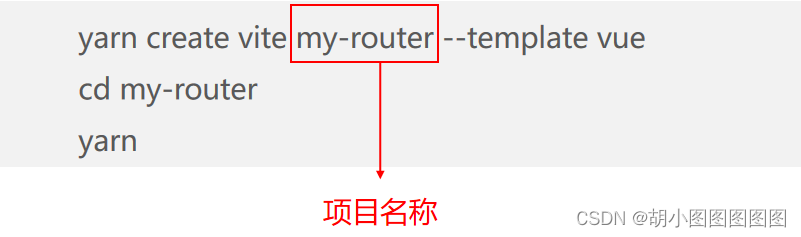
1. Vue Router的安装

在Vue 3项目中演示Vue Router的安装
步骤一:

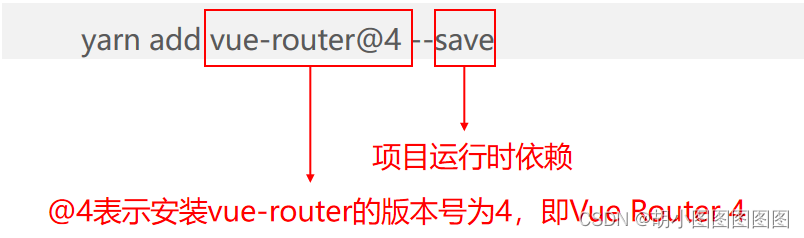
步骤二:

步骤三:


2. Vue Router的基本使用
1. 定义路由组件

<!-- Home.vue文件 -->
<template>
  <div class="home-container">
    <h3>Home组件</h3>
  </div>
</template>
<style scoped>
.home-container {
  min-height: 150px;
  background-color: #f2f2f2;
  padding: 15px;
}
</style>
<!-- About.vue文件 -->
<template>
  <div class="about-container">
    <h3>About组件</h3>
  </div>
</template>
<style scoped>
.about-container {
  min-height: 150px;
  background-color: #f2f2f2;
  padding: 15px;
}
</style>
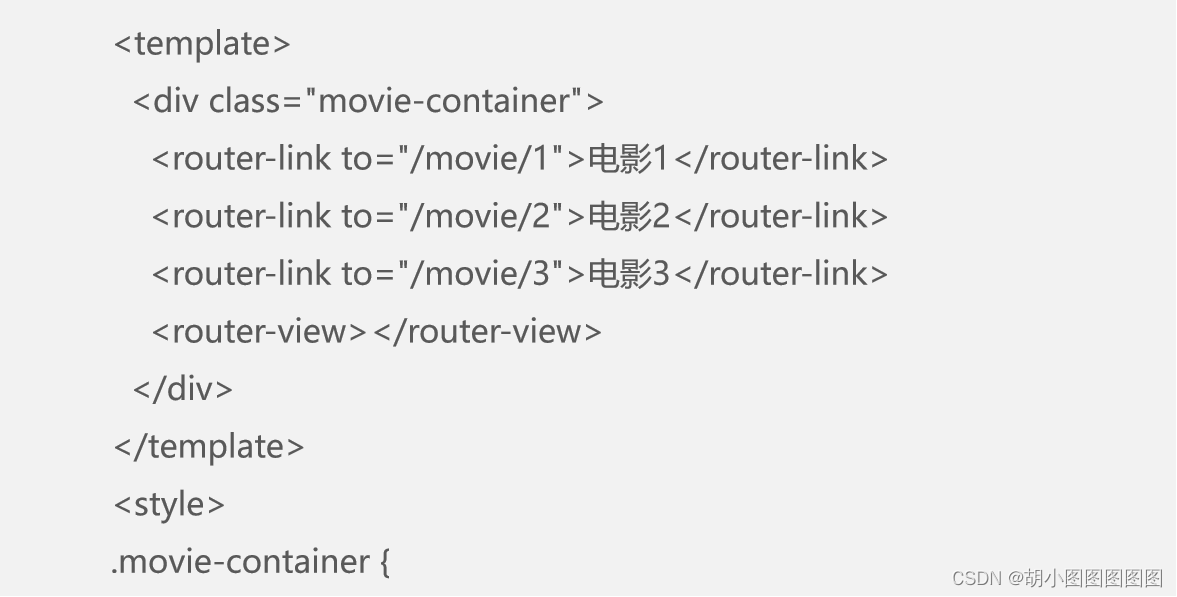
2. 定义路由链接和路由视图

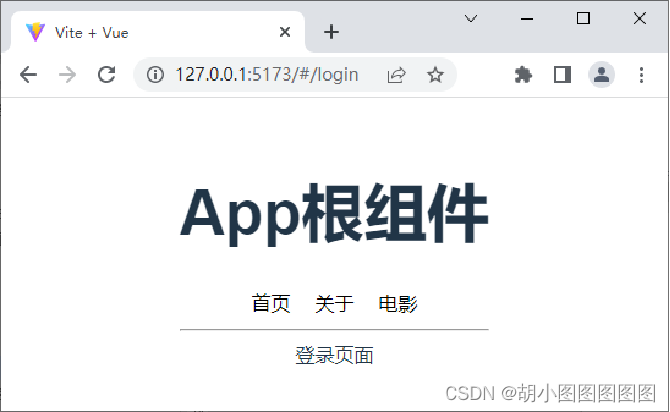
<template>
  <div class="app-container">
    <h1>App根组件</h1>
    <router-link to="/home">首页</router-link>
    <router-link to="/about">关于</router-link>
    <hr>
    <router-view></router-view>
  </div>
</template>

<style scoped>
.app-container {
  text-align: center;
  font-size: 16px;
}
.app-container a {
  padding: 10px;
  color: #000;
}
.app-container a.router-link-active {
  color: #fff;
  background-color: #000;
}
</style>
3. 创建路由模块


const router = createRouter({
  history: createWebHashHistory(),
  routes: [
    { path: '/home', component: Home },
    { path: '/about', component: About },
  ]
})


const router = createRouter({
  history: createWebHashHistory(),
  routes: [
    { path: '/home', component: () => import('./components/Home.vue') },
    { path: '/about', component: () => import('./components/About.vue') },
  ]
})
4. 导入并挂载路由模块

import { createApp } from 'vue'
import './style.css'
import App from './App.vue'
import router from './router.js'	// 导入路由模块
const app = createApp(App)
app.use(router)		// 挂载路由模块
app.mount('#app')


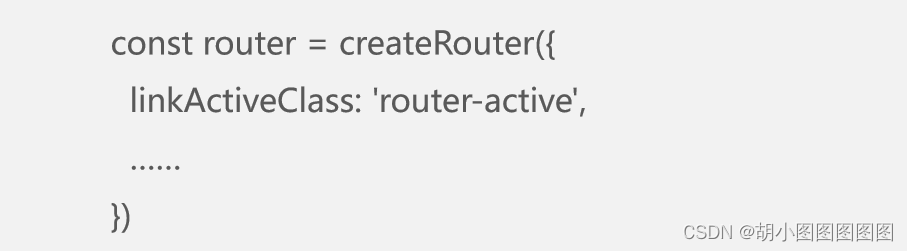
多学一招:更改路由链接激活项的类名

3.路由重定向


4.嵌套路由


演示嵌套路由的实现
步骤一:


步骤二:

<template>
  <div>Tab1组件</div>
</template>
<style scoped>
div {
  text-align: left;
  background-color: #9dc4e5;
}
</style>
步骤三:

<template>
  <div>Tab2组件</div>
</template>
<style scoped>
div {
  text-align: left;
  background-color: #ffba00;
}
</style>
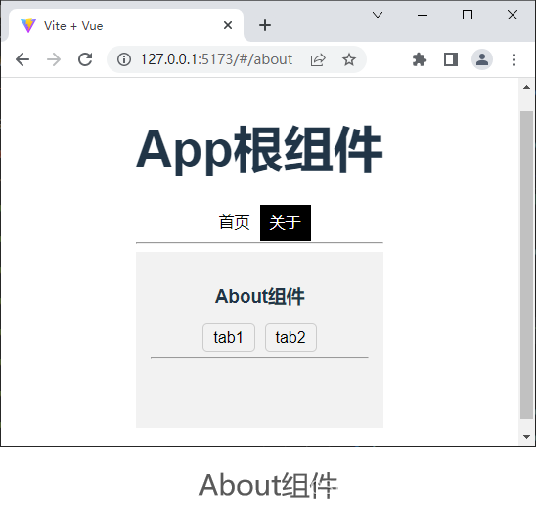
步骤四:

<template>
  <div class="about-container">
    <h3>About组件</h3>
    <router-link to="/about/tab1">tab1</router-link>
    <router-link to="/about/tab2">tab2</router-link>
    <hr>
    <router-view></router-view>
  </div>
</template>
<style scoped>
.about-container {
min-height: 150px;
  background-color: #f2f2f2;
  padding: 15px;
}
.about-container a {
  padding: 10px;
  border: 1px solid #ccc;
  border-radius: 5px;
  padding: 5px 10px;
  color: #000;
  margin: 0 5px;
}
.about-container a.router-link-active {
  color: #000;
  background-color: #deebf6;
}
</style>


5.动态路由
1 .动态路由概述


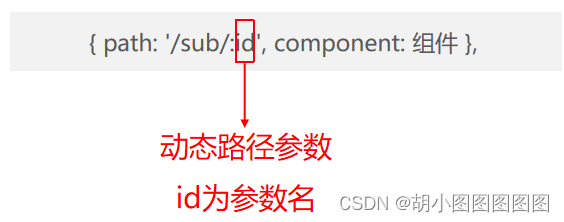


2 .获取动态路径参数值


使用$route.params获取参数值
步骤一:


步骤二:


步骤三:


步骤四:


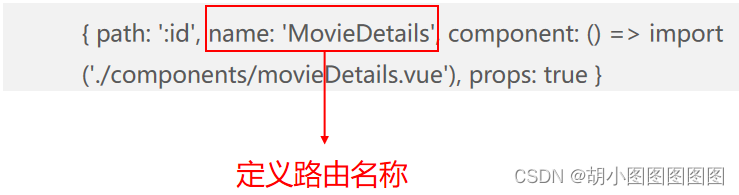
6.命名路由


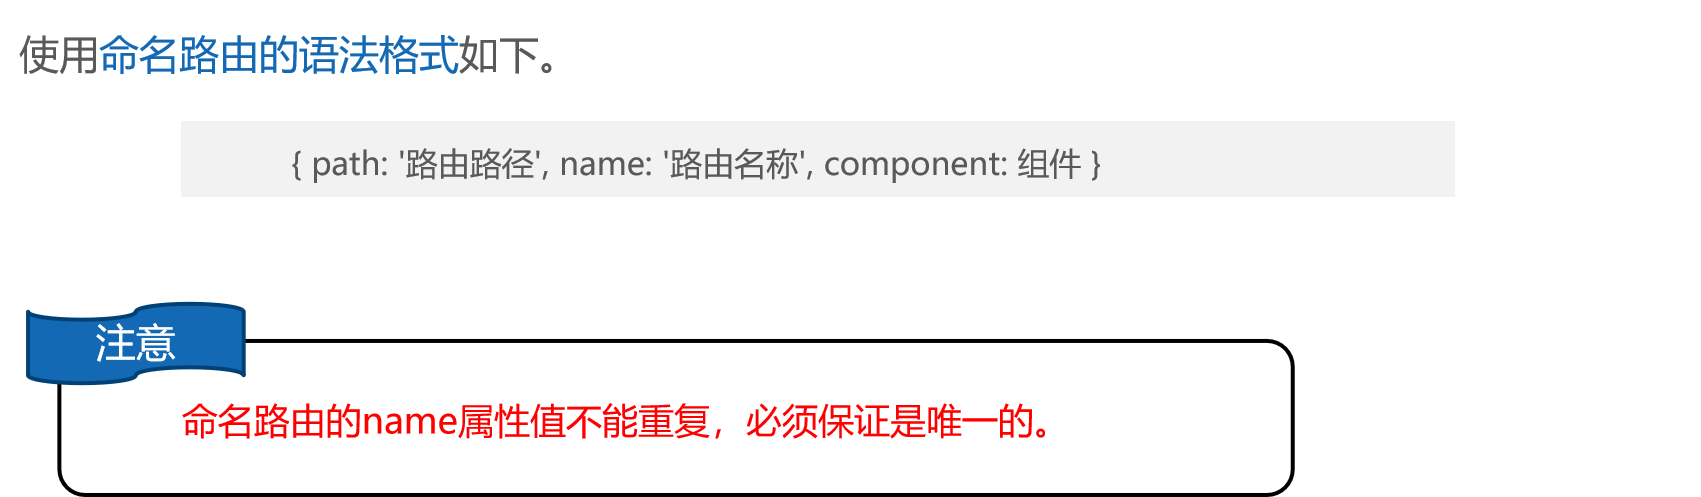


演示如何使用命名路由
步骤一:


步骤二:


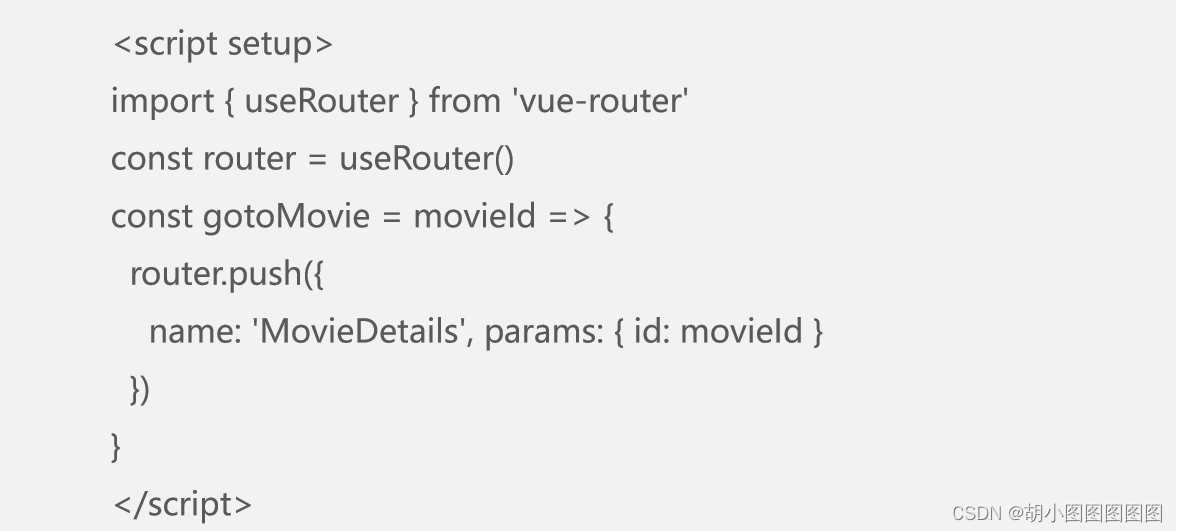
7.编程式导航


1. push()方法


演示push()方法的使用
步骤一:


步骤二:

2. replace()方法

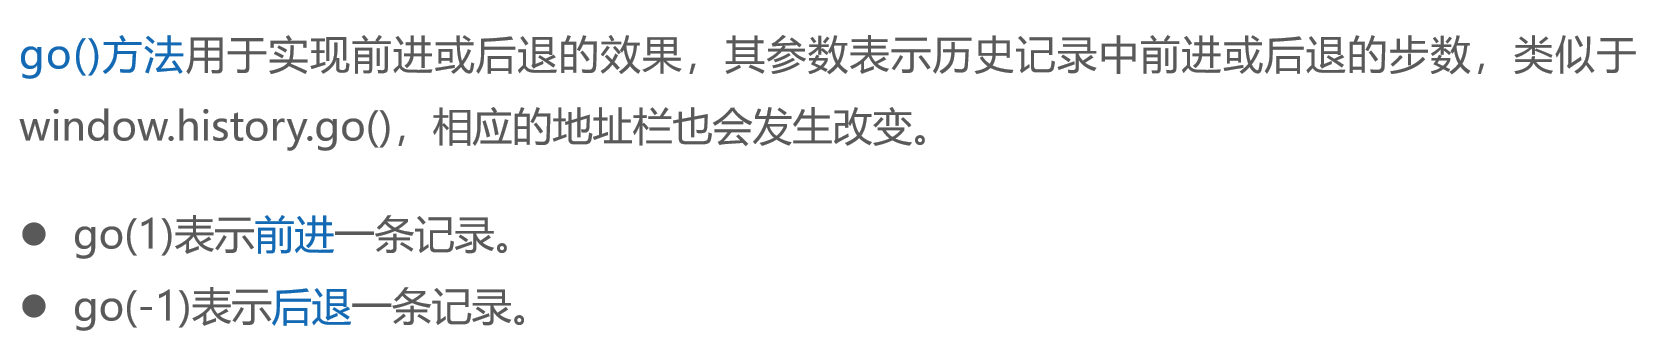
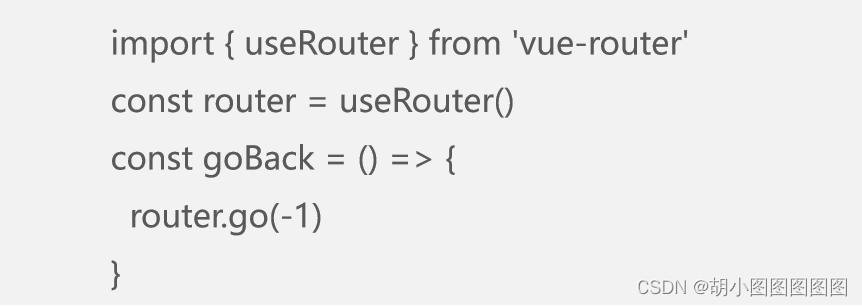
3. go()方法

演示go()方法的使用
步骤一:

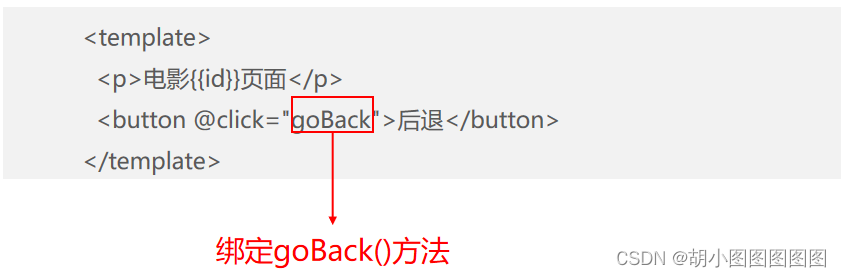
步骤二:


8.导航守卫


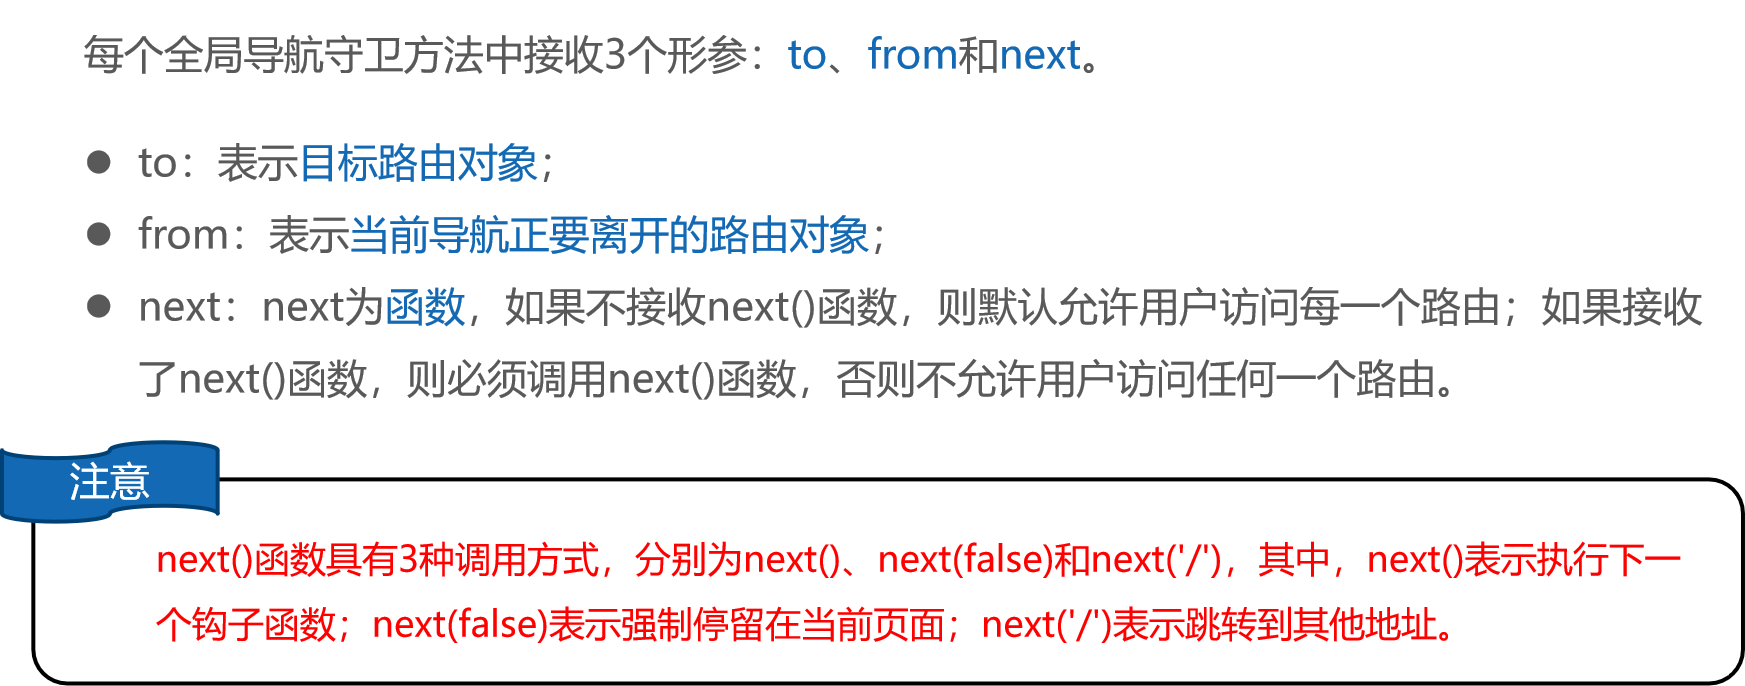

演示全局导航守卫的使用
步骤一:


步骤二:


步骤三:

router.beforeEach((to, from, next) => {
  let isLogin = false
  if (to.name == 'MovieDetails') {
    if (isLogin) { next()
    } else {
      next({ name: 'Login' })
    }
  } else { next() }
})


 907
907

 被折叠的 条评论
为什么被折叠?
被折叠的 条评论
为什么被折叠?
 到【灌水乐园】发言


