


1.选项式API和组合式API
Vue 3支持选项式API和组合式API。其中,选项式API是从Vue 2开始使用的一种写法,而Vue 3新增了组合式API的写法。
1.选项式API
选项式API是一种通过包含多个选项的对象来描述组件逻辑的API,其常用的选项包括data、methods、computed、watch等。
选项式API的语法格式如下:
<script>
export default {
  data() {
    return { // 定义数据 }
  },
  methods: { // 定义方法 },
  computed: { // 定义计算属性 },
  watch: { // 定义侦听器 }
}
</script>
2.组合式API
相比于选项式API,组合式API是将组件中的数据、方法、计算属性、侦听器等代码全部组合在一起,写在setup()函数中。
组合式API的语法格式如下:
<script>
import { computed, watch } from 'vue'
export default {
  setup() {
    const 数据名 = 数据值
    const 方法名 = () => {}
    const 计算属性名 = computed(() => {})
    watch(侦听器的来源, 回调函数, 可选参数)
    return { 数据名, 方法名, 计算属性名 }
  }
}
</script>
Vue还提供了setup语法糖,用于简化组合式API的代码。使用setup语法糖时,组合式API的语法格式如下:
<script setup>
import { computed, watch } from 'vue'
// 定义数据
const 数据名 = 数据值
// 定义方法
const 方法名 = () => {}
// 定义计算属性
const 计算属性名 = computed(() => {})
// 定义侦听器
watch(侦听器的来源, 回调函数, 可选参数)
</script>
选项式API和组合式API的关系:
Vue提供的选项式API和组合式API这两种写法可以覆盖大部分的应用场景,它们是同一底层系统所提供的两套不同的接口。选项式API是在组合式API的基础上实现的。
企业在开发大型项目时,随着业务复杂度的增加,代码量会不断增加。
如果使用选项式API,整个项目逻辑不易阅读和理解,而且查找对应功能的代码会存在一定难度。
如果使用组合式API,可以将项目的每个功能的数据、方法放到一起,这样不管项目的大小,都可以快速定位到功能区域的相关代码,便于阅读和维护。同时,组合式API可以通过函数来实现高效的逻辑复用,这种形式更加自由,需要开发者有较强的代码组织能力和拆分逻辑能力。
演示选项式API和组合式API的使用方法:
步骤一:
打开命令提示符,切换到D:\vue\chapter03目录,在该目录下执行如下命令,创建项目。
yarn create vite component_basis --template vue
项目创建完成后,执行如下命令进入项目目录,启动项目。
cd component_basis
yarn
yarn dev
项目启动后,可以使用URL地址http://127.0.0.1:5173/进行访问。
步骤二:
使用VS Code编辑器打开D:\vue\chapter03\component_basis目录。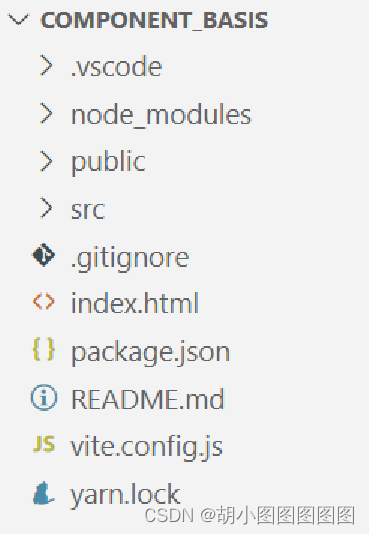
步骤三:
将src\style.css文件中的样式代码全部删除,从而避免项目创建时自带的样式代码影响本案例的实现效果。
步骤四:
创建src\components\OptionsAPI.vue文件,用于演示选项式API的写法,在该文件中实现单击“+1”按钮使数字加1的效果。
<template>
  <div>数字:{{ number }}</div>
  <button @click="addNumber">+1</button>
</template>
<script>
export default {
  data() { return { number: 1 } },
  methods: { addNumber() { this.number++ } }
}
</script>
步骤五:
修改src\main.js文件,切换页面中显示的组件。
import App from './components/OptionsAPI.vue'
保存上述代码后,在浏览器中访问http://127.0.0.1:5173/,通过选项式API实现的初始页面效果如下图所示。 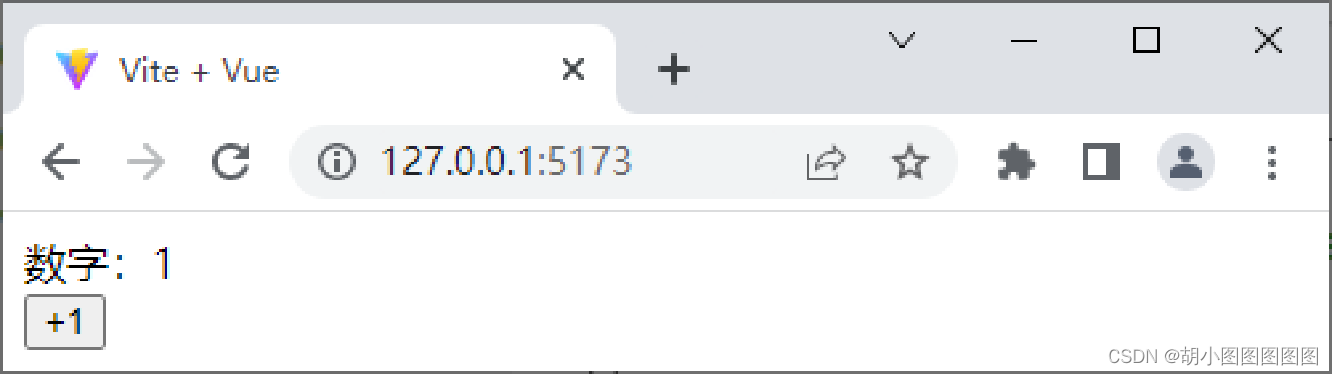
单击“+1”按钮后的页面效果如下图所示。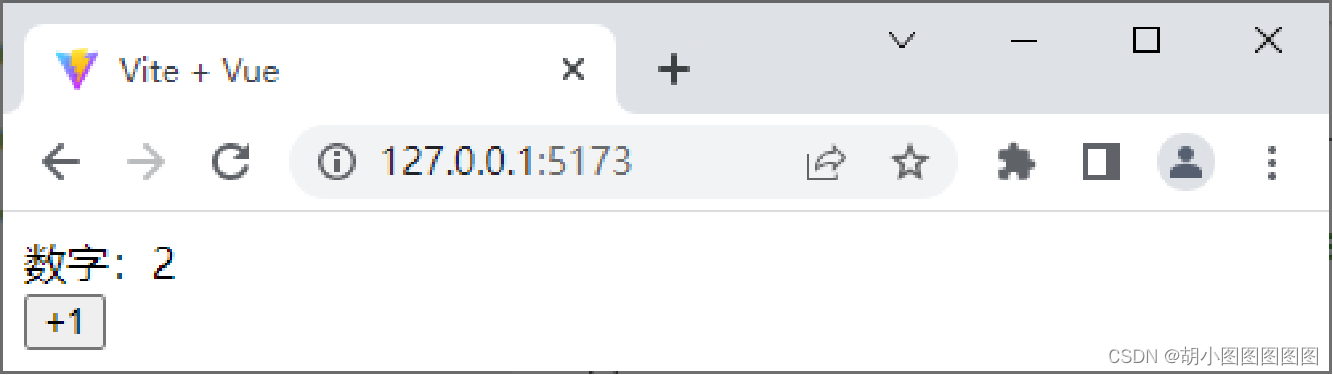
从上图可以看出,单击“+1”按钮后,数字变为2,说明通过选项式API的写法实现数字加1的效果成功。
步骤六:
创建src\components\CompositionAPI.vue文件,用于演示组合式API的写法,在该文件中实现单击“+1”按钮使数字加1的效果。
<template>
  <div>数字:{{ number }}</div>
  <button @click="addNumber">+1</button>
</template>
<script setup>
import { ref } from 'vue'
let number = ref(1)
const addNumber = () => { number.value ++ }
</script>
步骤七:
修改src\main.js文件,切换页面中显示的组件。
import App from './components/CompositionAPI.vue'保存上述代码后,在浏览器中访问http://127.0.0.1:5173/,初始页面效果与通过选项式API实现的初始页面效果相同。
2.生命周期函数
在Vue中,组件的生命周期是指每个组件从被创建到被销毁的整个过程,每个组件都有生命周期。如果想要在某个特定的时机进行特定的处理,可以通过生命周期函数来完成。
随着组件生命周期的变化,生命周期函数会自动执行。
组合式API下的生命周期函数如下表所示。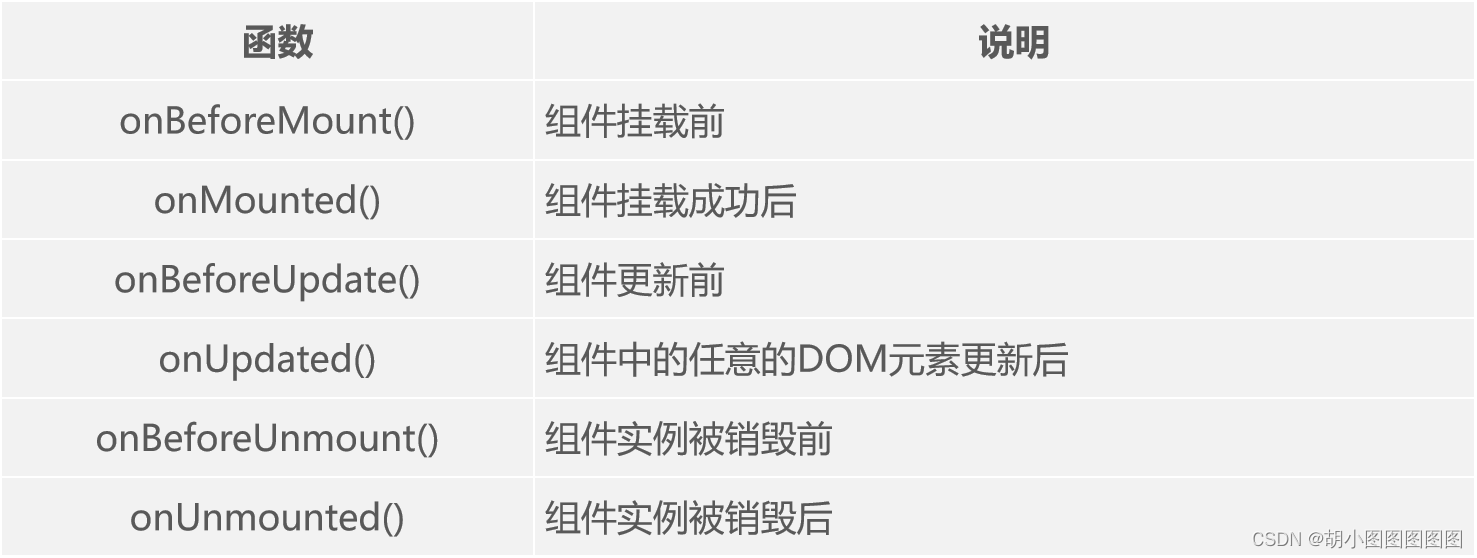
以onMounted()函数为例演示生命周期函数的使用。
<script setup>
import { onMounted } from 'vue'
onMounted(() => {
  // 执行操作
})
</script>
演示生命周期函数的使用方法:
步骤一:
创建src\components\LifecycleHooks.vue文件,用于通过生命周期函数查看在特定时间点下的DOM元素。
<template>  <div class="container">container</div> </template>
<script setup>
import { onBeforeMount, onMounted } from 'vue'
onBeforeMount(() => {
  console.log('DOM元素渲染前', document.querySelector('.container'))
})
onMounted(() => {
  console.log('DOM元素渲染后', document.querySelector('.container'))
})
</script>
步骤二:
修改src\main.js文件,切换页面中显示的组件。
import App from './components/LifecycleHooks.vue'
保存上述代码后,在浏览器中访问http://127.0.0.1:5173/并打开控制台,使用生命周期函数的页面效果和控制台如下图所示。 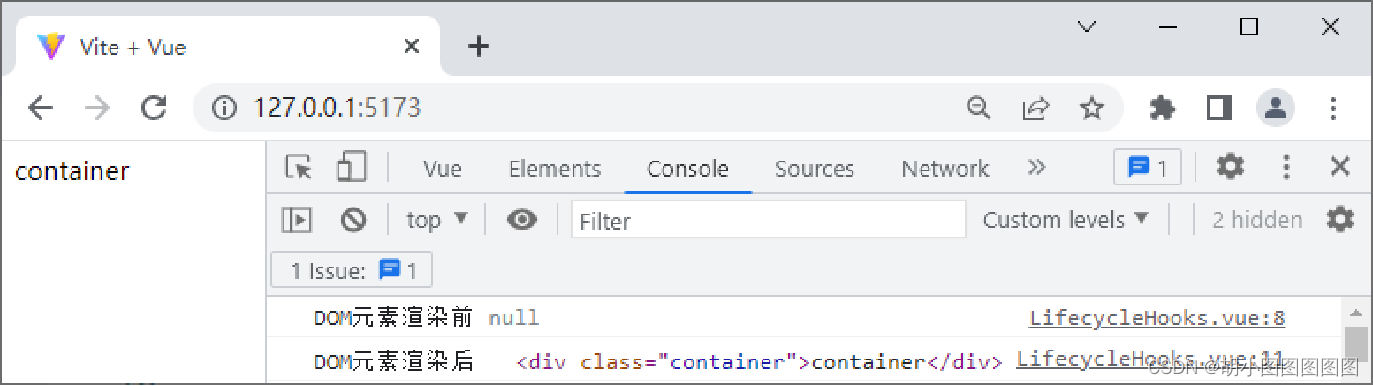
多学一招:选项式API下的生命周期函数:
选项式API下的生命周期函数如下表所示:
演示选项式API下beforeCreate()函数和created()函数的使用。
<script>
export default {
  data() { return { value: 'Hello Vue.js' } },
  beforeCreate() {
    console.log('实例对象创建前: ' + this.value)
  },
  created() {
    console.log('实例对象创建后: ' + this.value)
  }
}
</script>
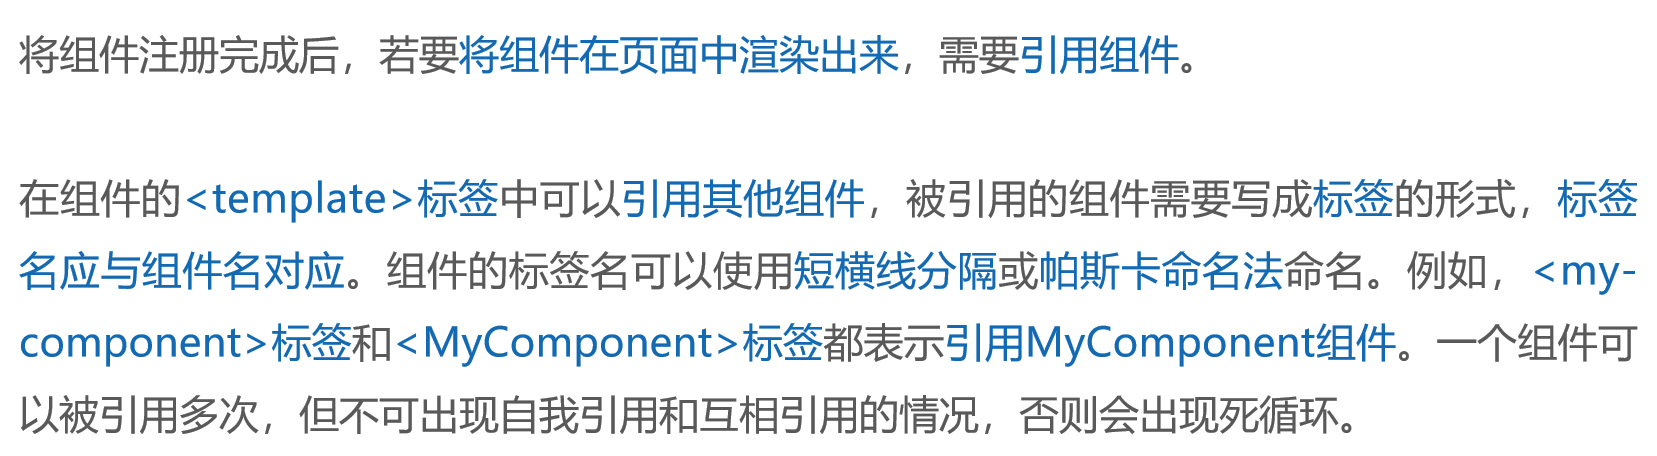
3.组建的注册和引用
当在Vue项目中定义了一个新的组件后,要想在其他组件中引用这个新的组件,需要对新的组件进行注册。在注册组件的时候,需要给组件取一个名字,从而区分每个组件,可以采用帕斯卡命名法(PascalCase)为组件命名。
Vue提供了两种注册组件的方式,分别是全局注册和局部注册。
帕斯卡命名法(PascalCase):
帕斯卡命名法 (Pascal Case)是一种在编程中使用的命名约定,它要求将变量名和函数名称等标识符的每个单词首字母大写,并且单词之间直接相连,没有空格。这种命名法通常用于类名、函数名、属性名等标识符的命名。 例如,类名可以使用帕斯卡命名法表示为`MyClass`、`PersonInfo`、`GameManager`;方法名可以是`CalculateTotalScore()`、`PrintUserInfo()`、`InitializeGameWorld()`;属性名可以是`PlayerName`、`HighScore`、`IsGameOver`。
1.全局注册
在实际开发中,如果某个组件的使用频率很高,许多组件中都会引用该组件,则推荐将该组件全局注册。被全局注册的组件可以在当前Vue项目的任何一个组件内引用。
在Vue项目的src\main.js文件中,通过Vue应用实例的component()方法可以全局注册组件,该方法的语法格式如下。
component('组件名称', 需要被注册的组件)
上述语法格式中,component()方法接收两个参数,第1个参数为组件名称,注册完成后即可全局使用该组件名称,第2个参数为需要被注册的组件。
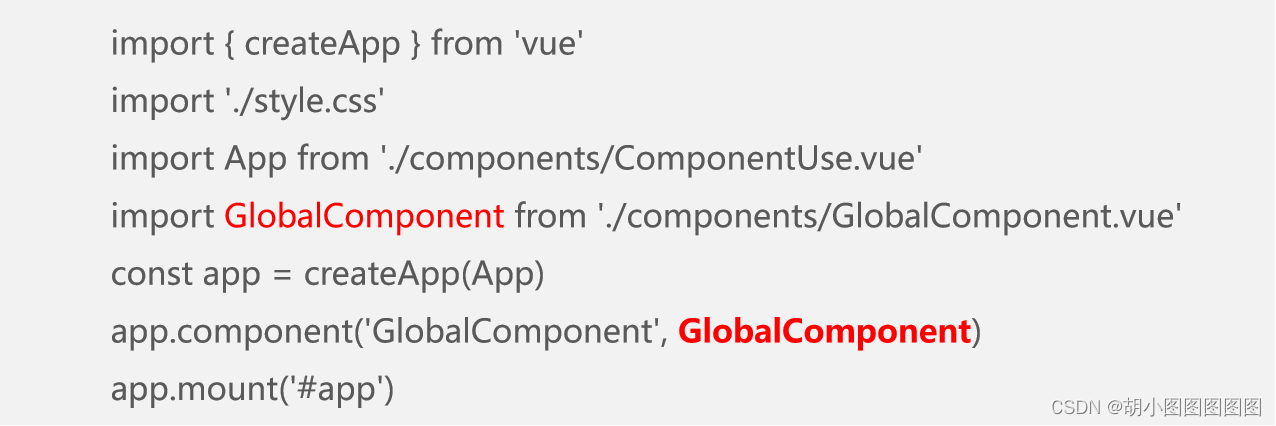
在src\main.js文件中注册一个全局组件MyComponent,示例代码如下。
import { createApp } from 'vue';
import './style.css'
import App from './App.vue'
import MyComponent from './components/MyComponent.vue'
const app = createApp(App)
app.component('MyComponent', MyComponent)
app.mount('#app')
component()方法支持链式调用,可以连续注册多个组件,示例代码如下。
app.component('ComponentA', ComponentA)
    .component('ComponentB', ComponentB)
    .component('ComponentC', ComponentC)
2.局部注册
在实际开发中,如果某些组件只在特定的情况下被用到,推荐进行局部注册。局部注册即在某个组件中注册,被局部注册的组件只能在当前注册范围内使用。 局部注册组件的示例代码如下。
<script>
import ComponentA from './ComponentA.vue'
export default {
  components: { ComponentA: ComponentA }
}
</script>
在使用setup语法糖时,导入的组件会被自动注册,无须手动注册,导入后可以直接在模板中使用,示例代码如下。
<script setup>
import ComponentA from './ComponentA.vue'
</script>
 演示组件的使用方法 :
步骤一:
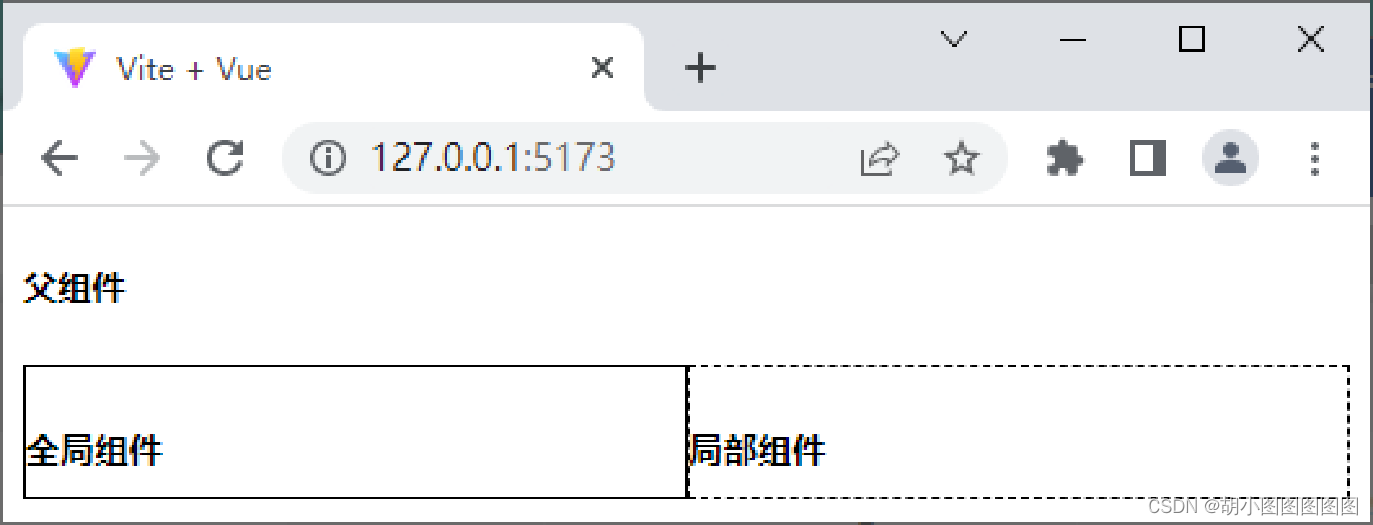
创建src\components\ComponentUse.vue文件。
<template>
  <h5>父组件</h5>
  <div class="box">
  </div>
</template>
<style>
.box {
  display: flex;
}
</style>
二:
修改src\main.js文件,切换页面中显示的组件。
import App from './components/ComponentUse.vue'
三:
创建src\components\GlobalComponent.vue文件,表示全局组件。
<template>
  <div class="global-container"><h5>全局组件</h5></div>
</template>
<style>
.global-container {
  border: 1px solid black;
  height: 50px;
  flex: 1;
}
</style>
四:
创建src\components\LocalComponent.vue文件,表示局部组件。
<template>
  <div class="local-container">
    <h5>局部组件</h5>
  </div>
</template>
<style>
.local-container {
  border: 1px dashed black;
  height: 50px;
  flex: 1;
}
</style>
五:

六:
修改src\components\ComponentUse.vue文件,添加代码导入LocalComponent组件。
<script setup>
import LocalComponent from './LocalComponent.vue'
</script>
七:

<div class="box">
  <GlobalComponent />
  <LocalComponent />
</div>
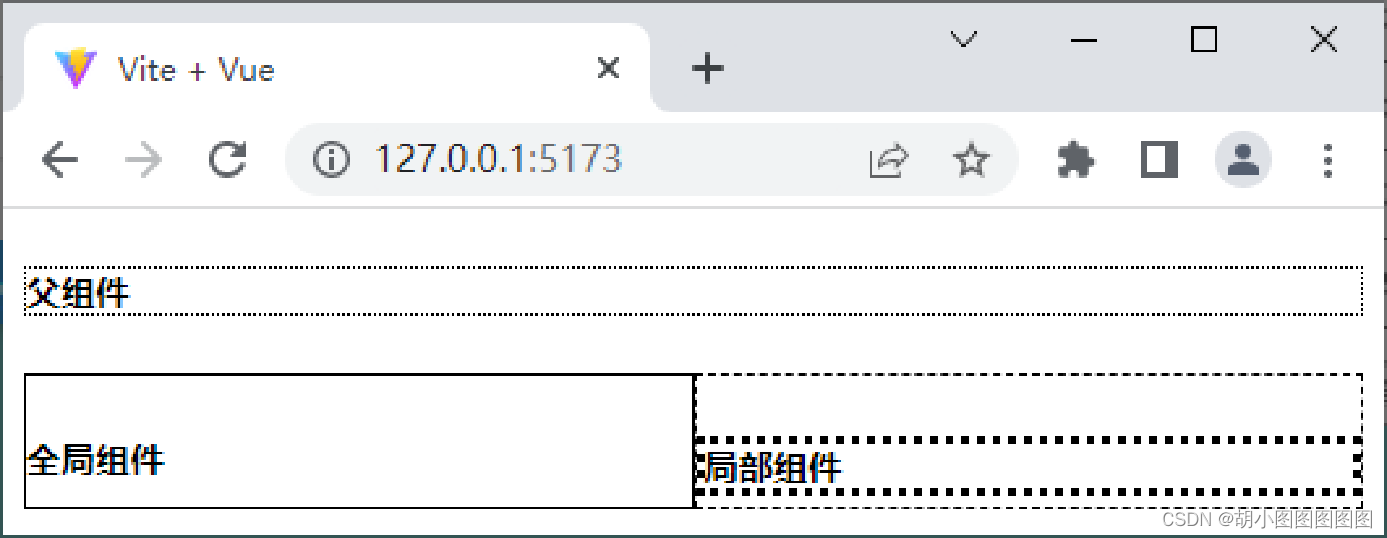
保存上述代码后,在浏览器中访问http://127.0.0.1:5173/,引用组件后的页面效果如下图所示。
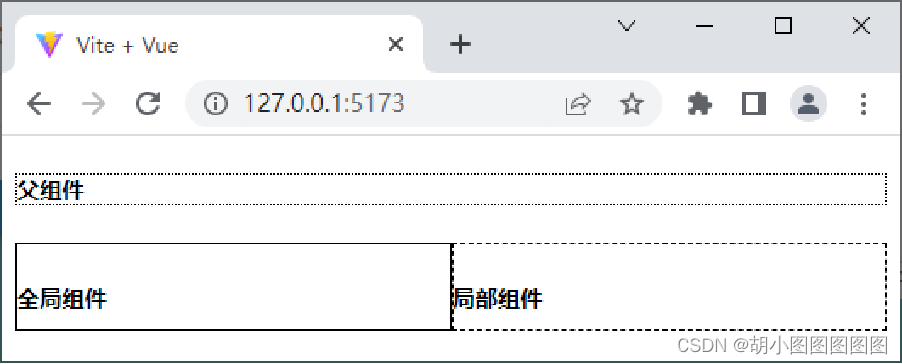
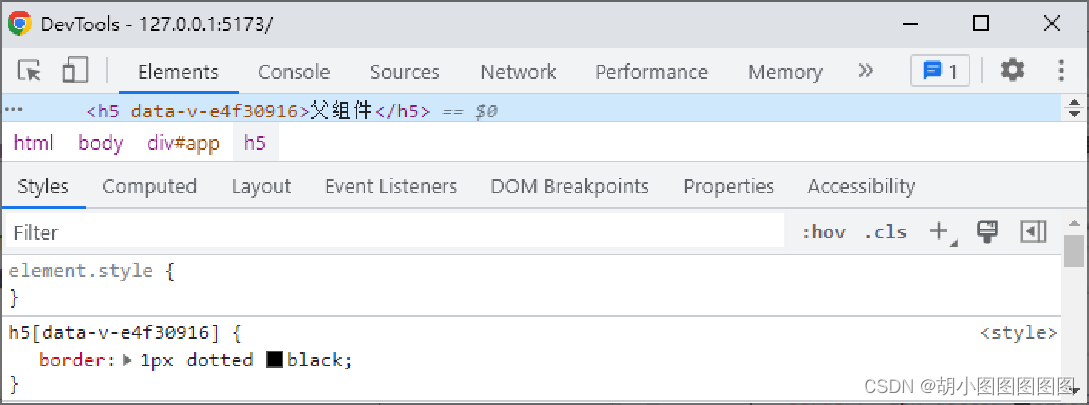
4.解决组件之间的样式冲突

h5 {
  border: 1px dotted black;
}
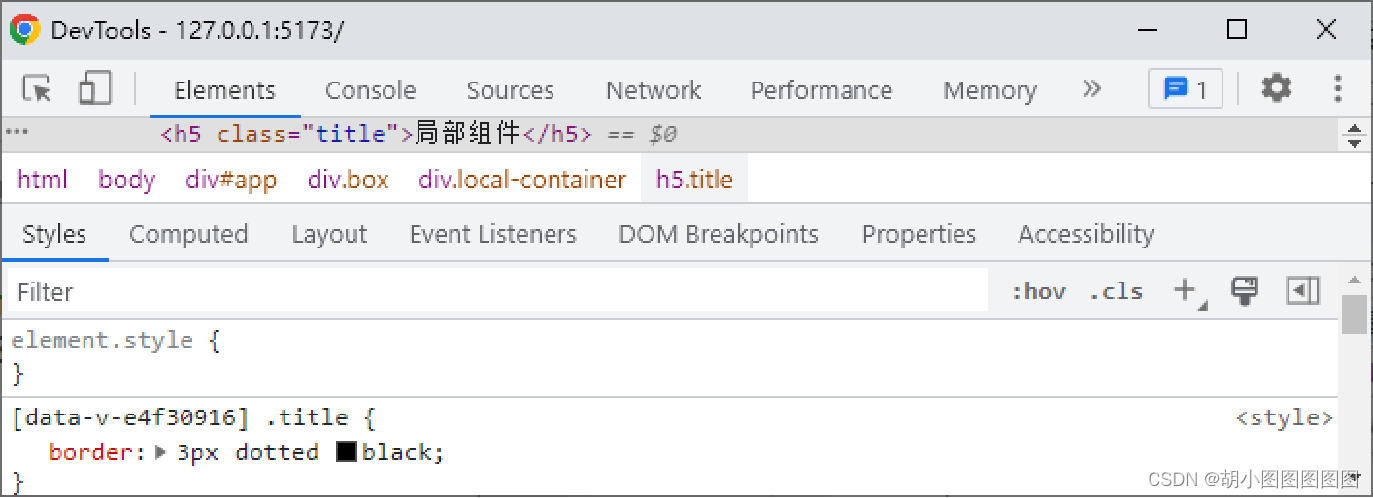
保存上述代码后,在浏览器中访问http://127.0.0.1:5173/,添加边框样式后的页面效果如下图所示。 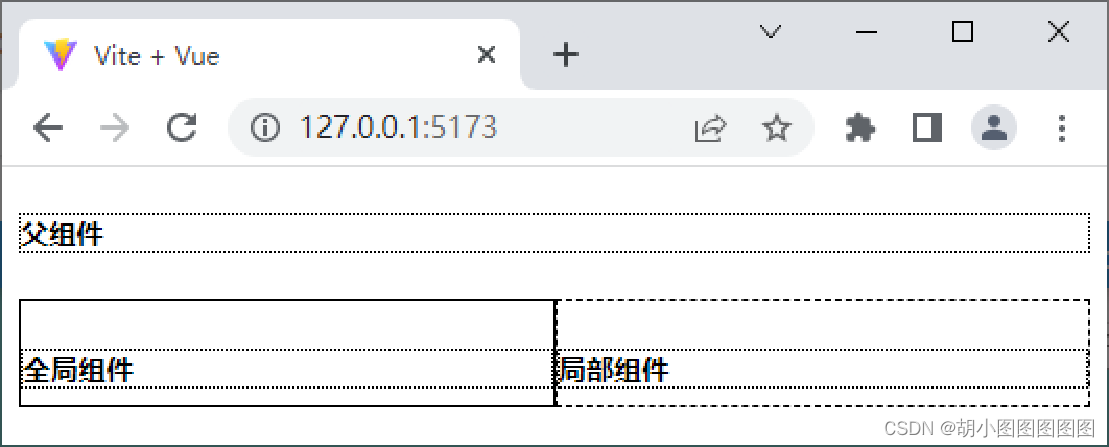


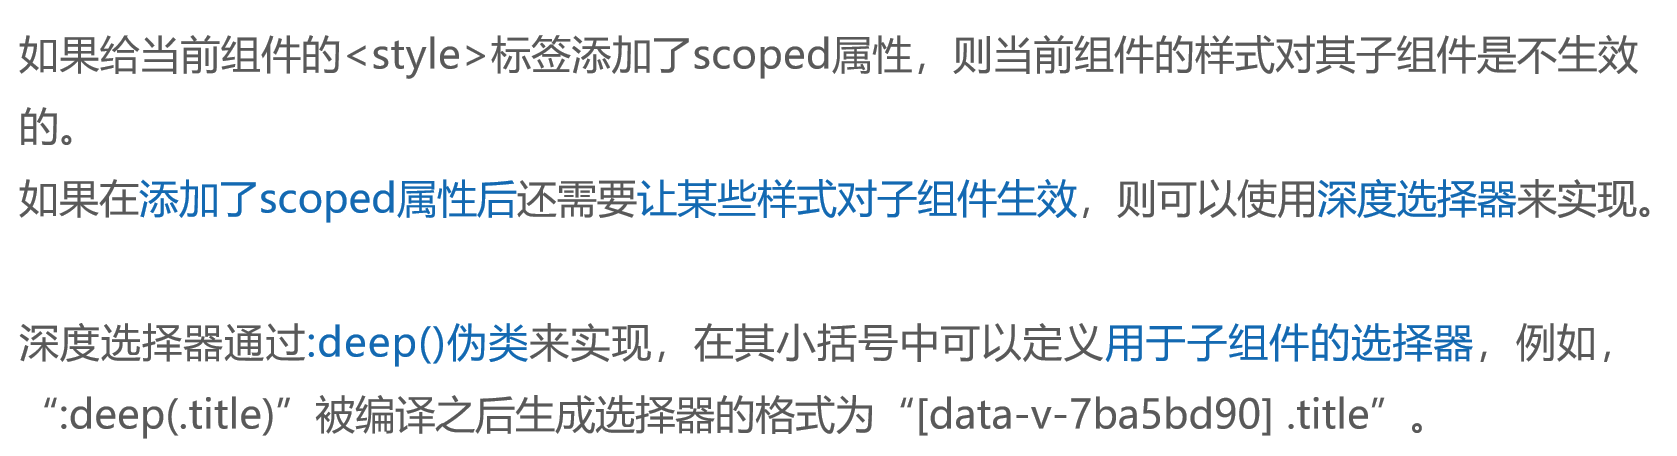
1. scoped属性


 2. 深度选择器
演示如何通过ComponentUse组件更改LocalComponent组件的样式:
步骤一:
为LocalComponent组件的h5元素添加class属性。

步骤二:


5.父组件向子组件传递数据

<script>
export default {
  props: {
    自定义属性A: 类型,
    自定义属性B: 类型,
    ……
  }
}
</script>

props: ['自定义属性A', '自定义属性B'],

<script setup>
const props = defineProps({'自定义属性A': 类型}, {'自定义属性B': 类型})
</script>

const props = defineProps(['自定义属性A', '自定义属性B'])

<template>
  {{ 自定义属性A }}
  {{ 自定义属性B }}
</template>


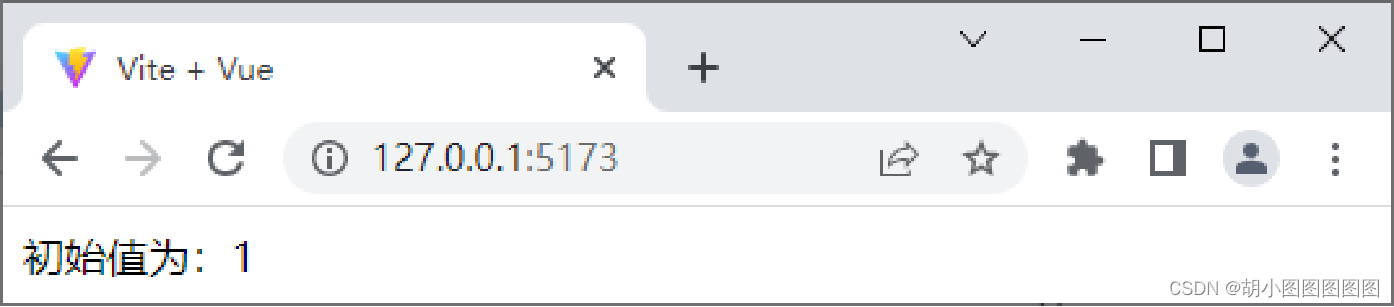
演示父组件向子组件传递数据的方法:
步骤一:

<template>
  初始值为:{{ num }}
</template>
<script setup>
const props = defineProps({
  num: String
})
</script>
步骤二:

<template>
  <Count num="1" />
</template>
<script setup>
import Count from './Count.vue'
</script>
步骤三;


1. 字符串

<template>
  <Child :init="username" />
</template>
<script setup>
import Child from './Child.vue'
import { ref } from 'vue'
const username = ref('小圆')
</script>

<template></template>
<script setup>
const props = defineProps(['init'])
console.log(props)
</script>
2. 数字

<template>
  <Child :init="12" />
  <Child :init="age" />
</template>
<script setup>
import Child from './Child.vue'
import { ref } from 'vue'
const age = ref(12)
</script>
3. 布尔值

<template>
  <Child init />
  <Child :init="false" />
  <Child :init="isFlag" />
</template>
<script setup>
import Child from './Child.vue'
import { ref } from 'vue'
const isFlag = ref(true)
</script>
4. 数组

<template>
  <Child :init="['唱歌', '跳舞', '滑冰']" />
  <Child :init="hobby" />
</template>
<script setup>
import Child from './Child.vue'
import { ref } from 'vue'
const hobby = ref(['唱歌', '跳舞', '滑冰'])
</script>
5. 对象

<template>
  <Child :init=“{ height: '180厘米’, weight: '70千克' }" />
  <Child :height="bodyInfo.height" :weight="bodyInfo.weight" />
  <Child v-bind="bodyInfo" />
</template>
<script setup>
import Child from './Child.vue'
import { reactive } from 'vue'
const bodyInfo = reactive({
  height: '180厘米',
  weight: '70千克'
})
</script>
props单向数据流:
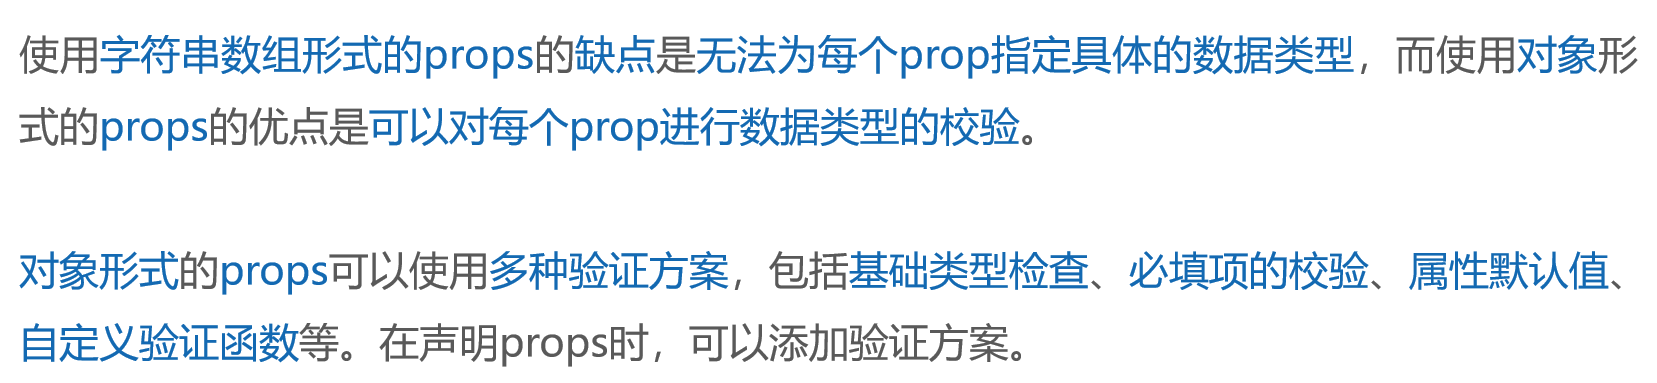
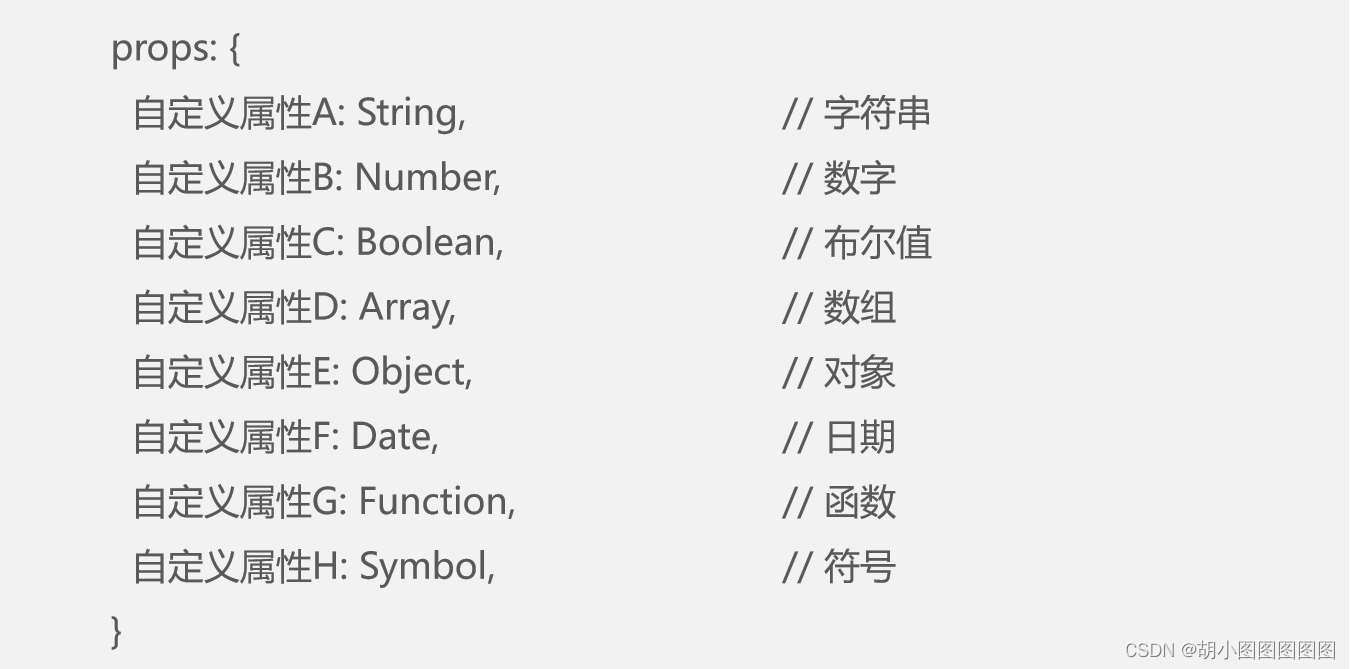
1. 基础类型检查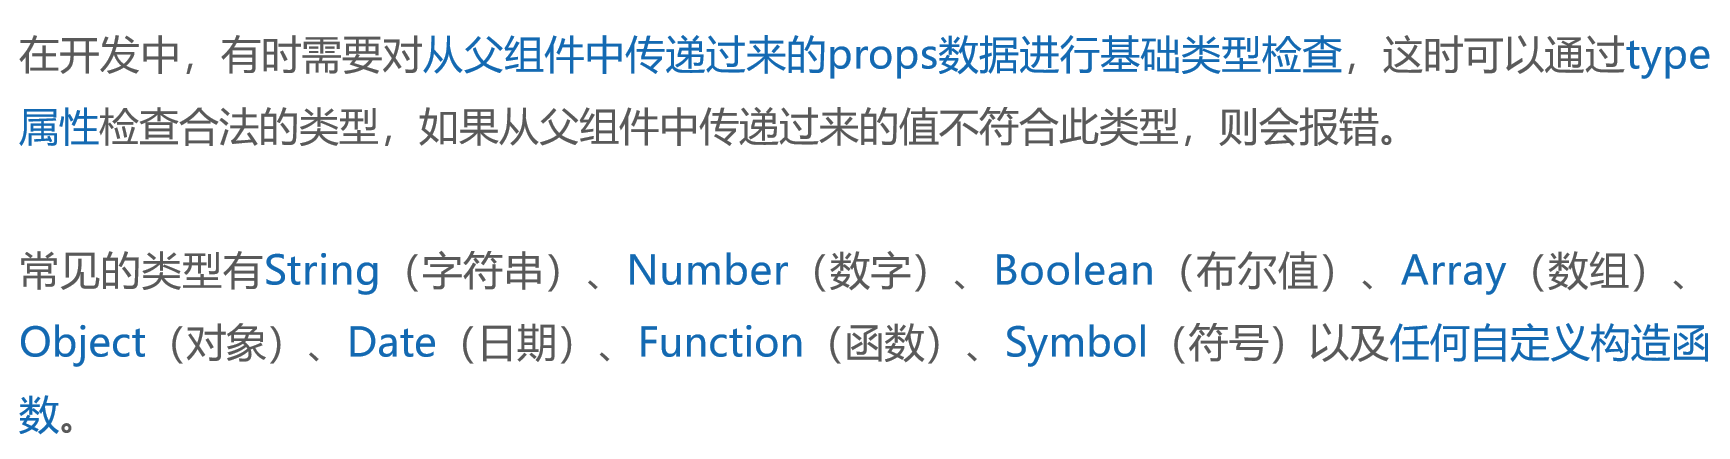


2. 必填项的校验

3. 属性默认值

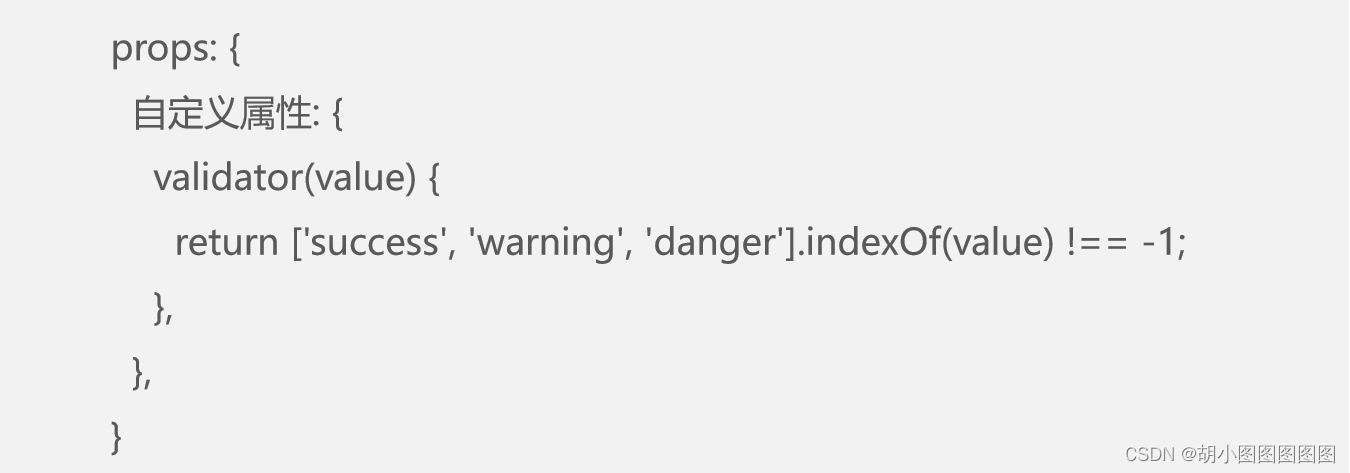
4. 自定义验证函数

6.子组件向父组件传递数据
1. 在子组件中声明自定义事件
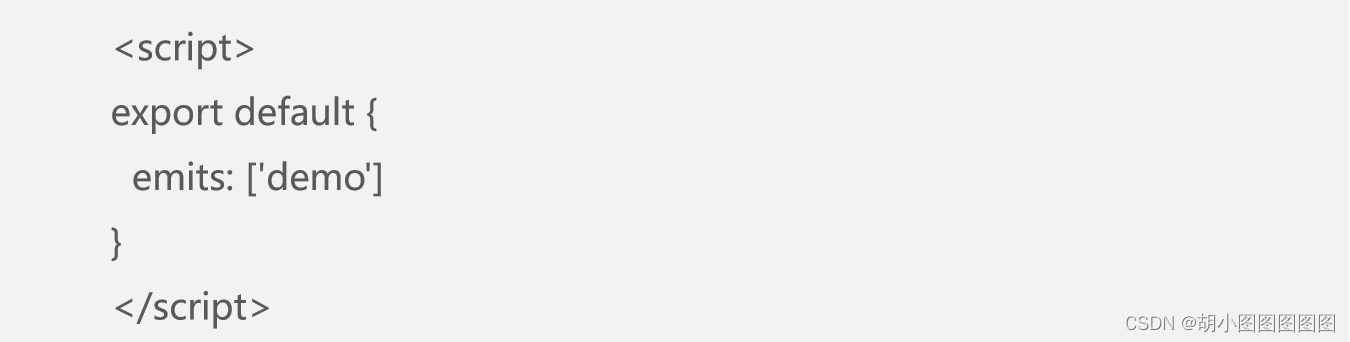


2 . 在子组件中触发自定义事件


export default {
  setup(props, ctx) {
    const update = () => {
      ctx.emit('demo', 2)
    }
    return { update }
  }
}

<script setup>
const update = () => {
  emit('demo', 2)
}
</script>
3 . 在父组件中监听自定义事件


const fun = value => {
  console.log(value)
}
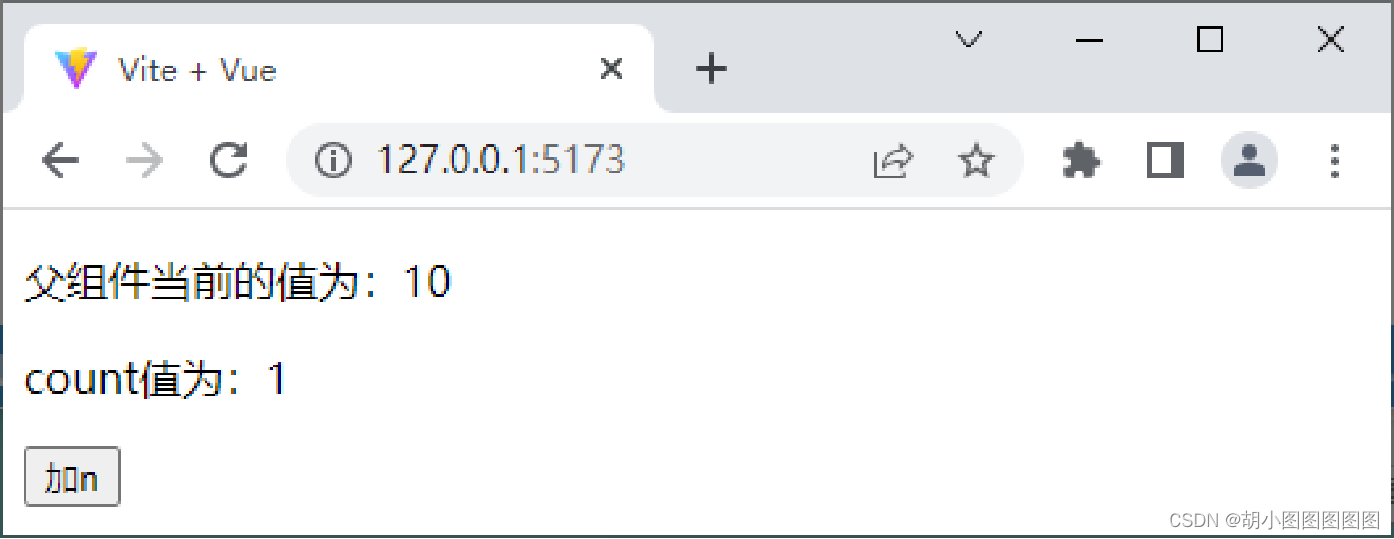
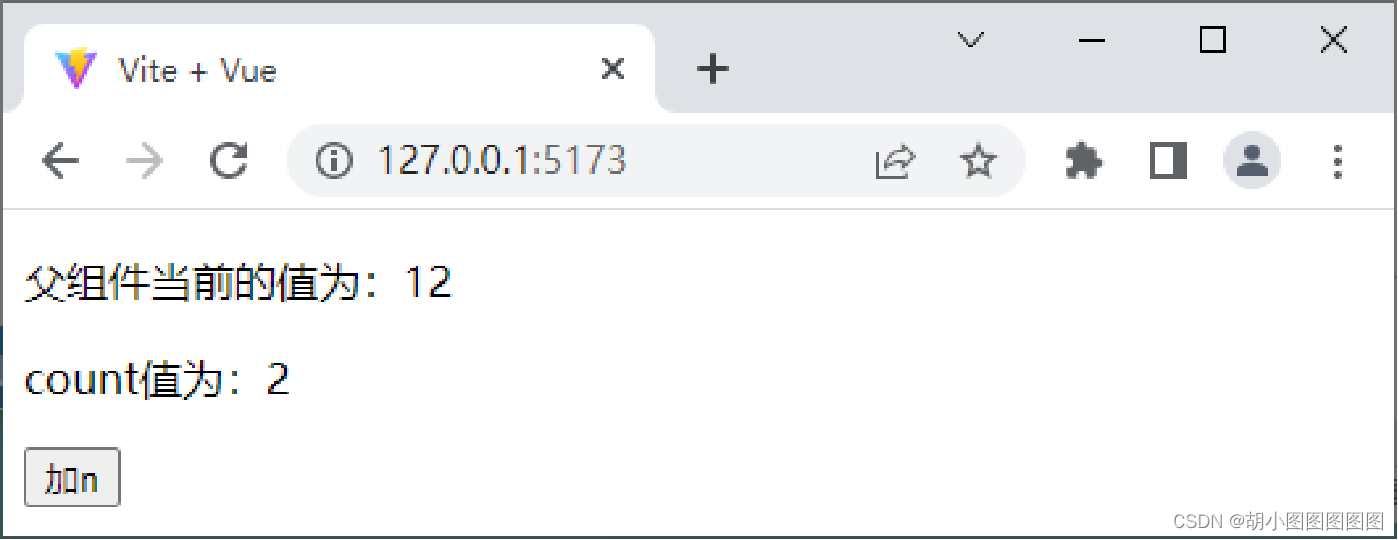
演示子组件向父组件传递数据的方法:
步骤一:

<template>
  <p>count值为:{{ count }}</p>
  <button @click="add">加n</button>
</template>
<script setup>
import { ref } from 'vue'
const emit = defineEmits(['updateCount'])
const count = ref(1)
const add = () => {  count.value++
  emit('updateCount', 2) }
</script>
步骤二:
<template>
  <p>父组件当前的值为:{{ number }}</p>
  <CustomSubComponent @updateCount="updateEmitCount" />
</template>
<script setup>
import CustomSubComponent from './CustomSubComponent.vue'
import { ref } from 'vue'
const number = ref(10)
const updateEmitCount = (value) => {  number.value += value }
</script>
步骤三:


7.跨级组件之间的数据传递
1. provide()函数


<script>
import { ref, provide } from 'vue'
export default {
  setup() {
    const count = ref(1)
    provide( 'message', count )
  }
}
</script>

<script setup>
import { provide } from 'vue'
provide('message', 'Hello Vue.js')
</script>

const app = createApp(App)
app.provide('message', 'Hello Vue.js')
2. inject()函数


<script>
import { inject } from 'vue';
export default {
setup() {
const count = inject('count')
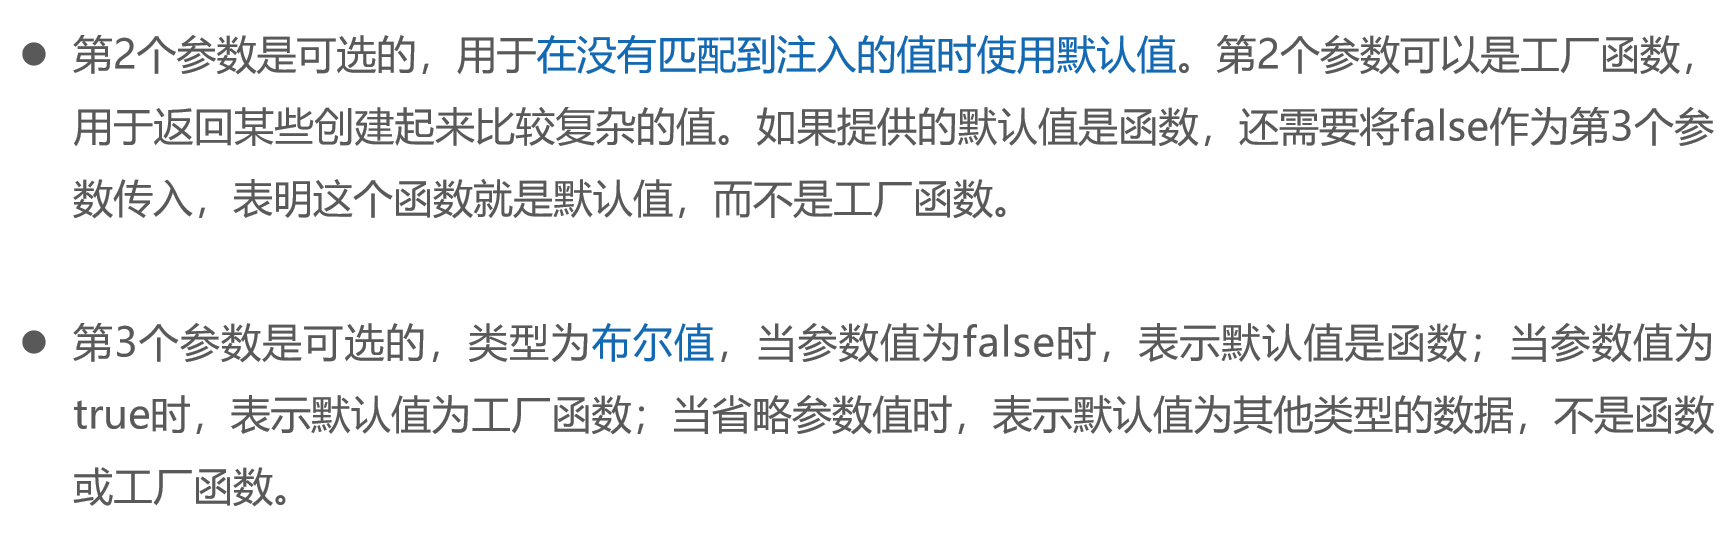
const foo = inject('foo', 'default value')
const baz = inject('foo', () => new Map())
const fn = inject('function', () => { }, false)
}
}
</script>

<script setup>
import { inject } from 'vue';
const count = inject('count')
</script>
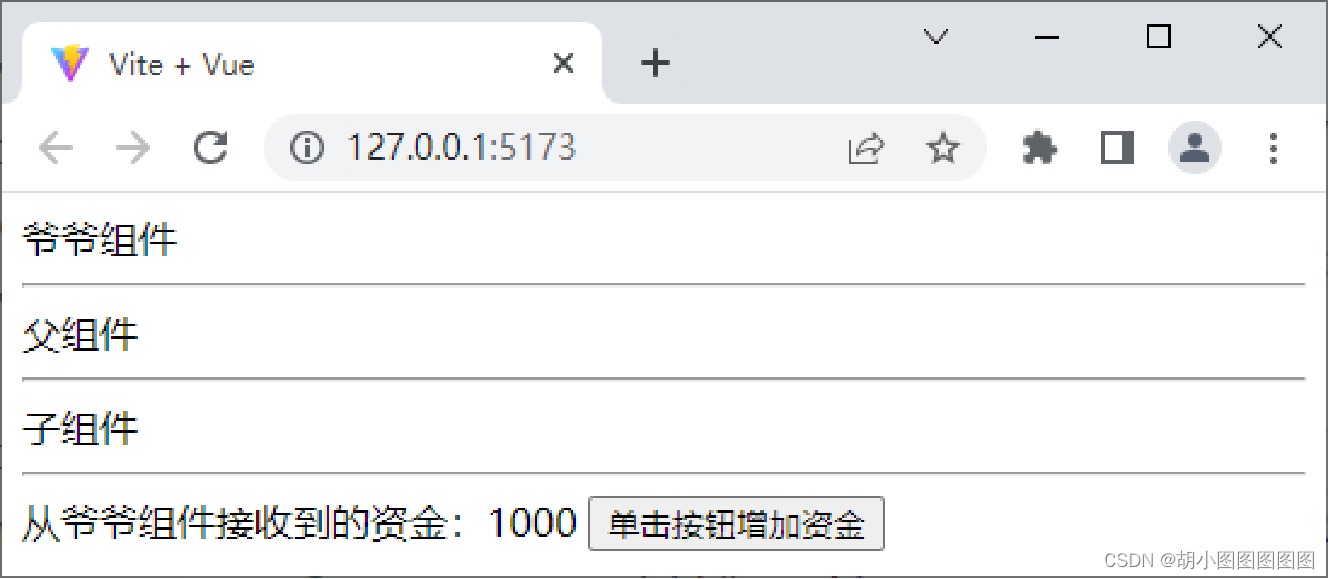
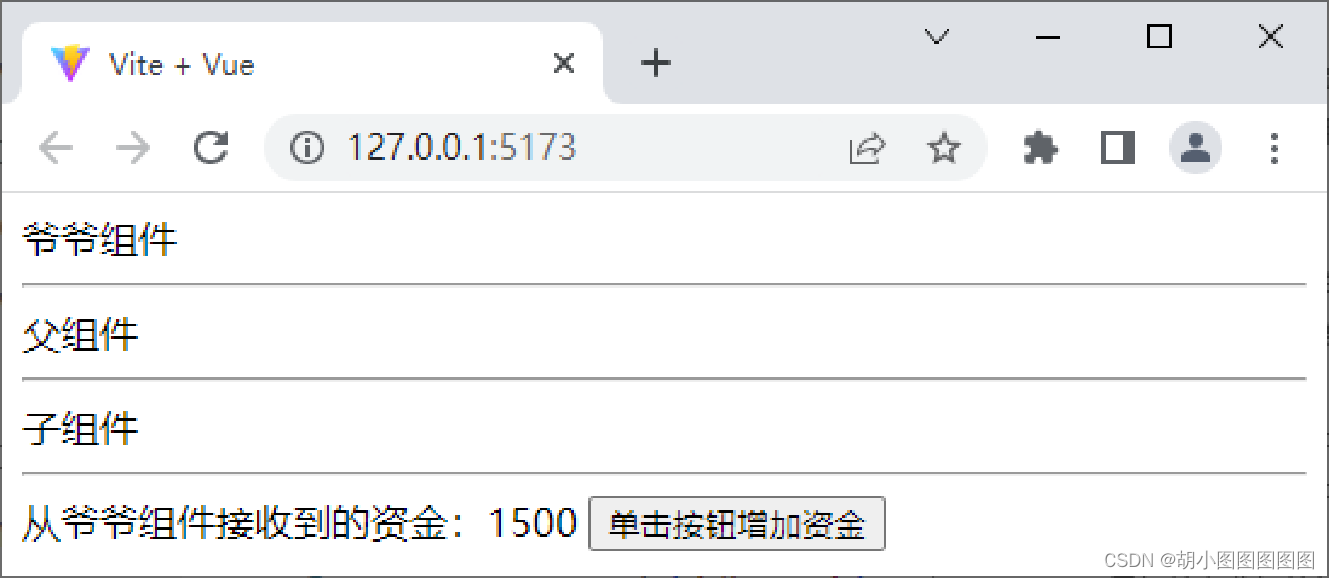
演示跨级组件之间的数据传递:


<template>
  <div>父组件</div>
  <hr>
  <ProvideChildren />
</template>
<script setup>
import ProvideChildren from './ProvideChildren.vue'
</script>

<template>  <div>爷爷组件</div>  <hr>  <ProvideParent />
</template>
<script setup>
import ProvideParent from './ProvideParent.vue'
import { ref, provide } from 'vue'
let money = ref(1000)
let updateMoney = (value) => {  money.value += value}
provide('money', money)
provide('updateMoney', updateMoney)
</script>

<template>
  <div>子组件</div>  <hr>  从爷爷组件接收到的资金:{{ money }}
  <button @click="updateMoney(500)">单击按钮增加资金</button>
</template>
<script setup>
import { inject } from 'vue'
let money = inject('money')
let updateMoney = inject('updateMoney')
</script>
修改src\main.js文件,切换页面中显示的组件


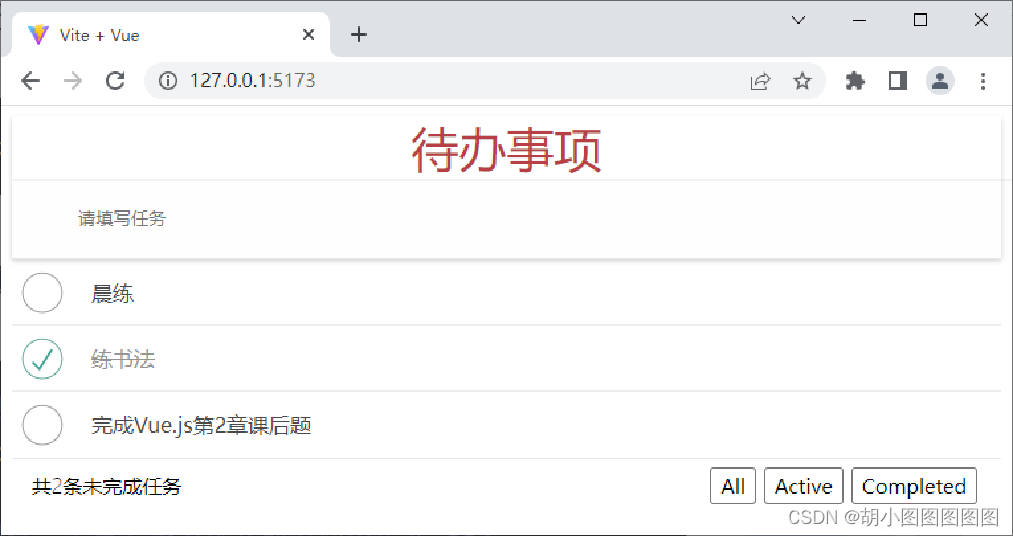
8.阶段案例——待办事项
1. 初始页面效果


2. 新增任务

3. 删除任务

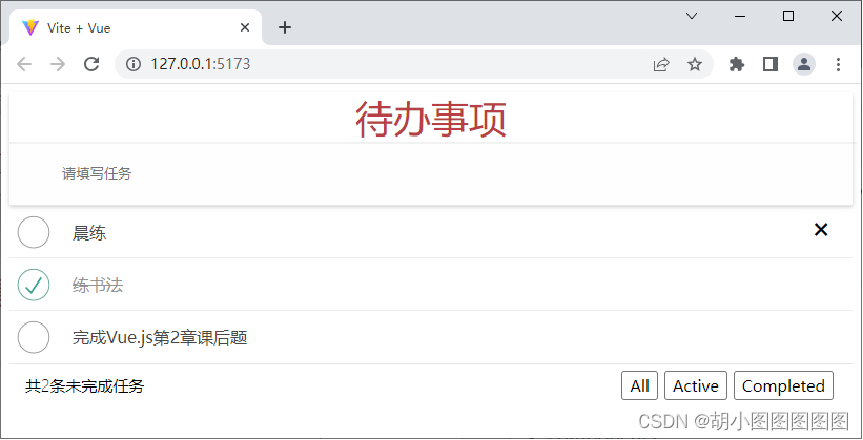

4. 切换任务状态

5. 展示任务数的条数
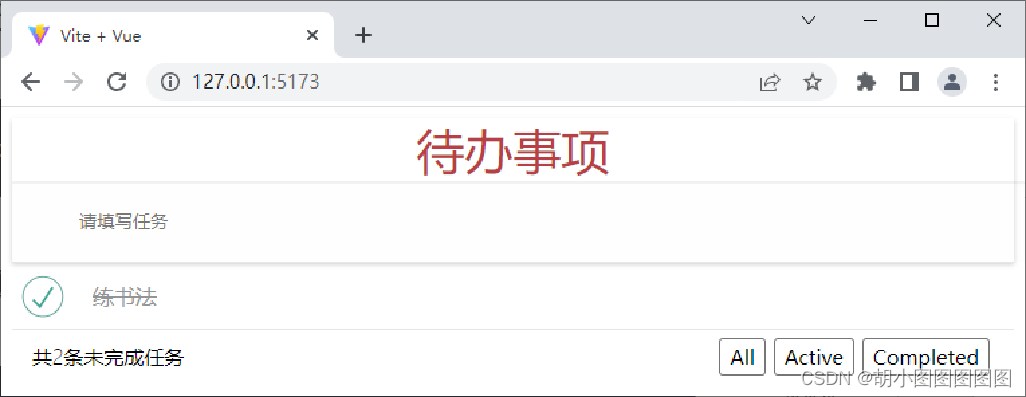
6. 切换任务列表
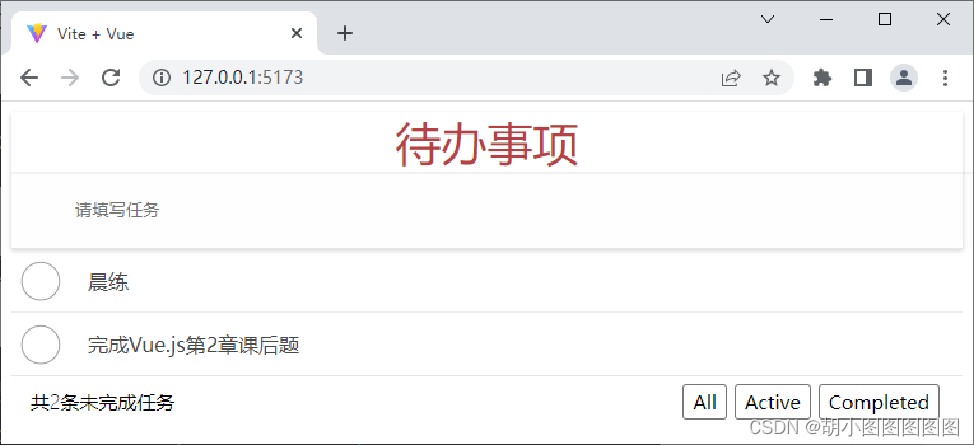
7. 切换任务列表
示例代码:
App.vue代码:
<template>
	<!-- <img alt="Vue logo" src="./assets/logo.png" />
  <HelloWorld msg="Hello Vue 3 + Vite" /> -->
	<div>
	    <ToDoHeader @addTodo="addTodo"></ToDoHeader>
	    <ToDoMain :list="showList" @delToDo="delToDo"></ToDoMain>
	    <ToDoFooter :lastLength="lastLength" :status="status" @updateStatus="updateStatus"></ToDoFooter>
	  </div>

</template>
<script setup>
	// This starter template is using Vue 3 <script setup> SFCs
	// Check out https://v3.vuejs.org/api/sfc-script-setup.html#sfc-script-setup
	// import HelloWorld from './components/HelloWorld.vue'
	  import ToDoHeader from './components/ToDoHeader.vue';
	  import ToDoMain from './components/ToDoMain.vue';
	  import ToDoFooter from './components/ToDoFooter.vue';
	  import { ref, computed } from 'vue';

	  const list = ref([
	    { id: 1, name: '晨练', done: false },
	    { id: 2, name: '练书法', done: true }
	  ]);

	  const status = ref('all');

	  const lastLength = computed(() => {
	    return list.value.filter(item => !item.done).length
	  });

	  const showList = computed(() => {
	    if (status.value === 'all') {
	      return list.value;
	    } else if (status.value === 'active') {
	      return list.value.filter(item => !item.done)
	    } else if (status.value === 'completed') {
	      return list.value.filter(item => item.done)
	    }else{//不做处理
		}
	  })

	  const addTodo = (name) => {
	    list.value.push({ name, done: false, id: Math.floor(Math.random() * 1000) })
	  }

	  const delToDo = (id) => {
	    list.value = list.value.filter(item => item.id !== id)
	  }

	  const updateStatus = (Status) => {
//将子组件的状态赋值给父组件
	      status.value = Status
	    }


</script>


<style>
	/* #app {
  font-family: Avenir, Helvetica, Arial, sans-serif;
  -webkit-font-smoothing: antialiased;
  -moz-osx-font-smoothing: grayscale;
  text-align: center;
  color: #2c3e50;
  margin-top: 60px;
} */


</style>
ToDoFooter.vue代码:
<template>
	 <div class="footer">
	     <span class="todo-count">共<strong>{{ lastLength }}</strong>条未完成任务</span>
	     <ul class="filters">
	       <li>
	         <a @click.prevent="emit('updateStatus', 'all')" :class="{ selected: status === 'all' }" href="#/">All</a>
	       </li>
	       <li>
	         <a @click.prevent="emit('updateStatus', 'active')" :class="{ selected: status === 'active' }" href="#/active">Active</a>
	       </li>
	       <li>
	         <a @click.prevent="emit('updateStatus', 'completed')" :class="{ selected: status === 'completed' }" href="#/completed">Completed</a>
	       </li>
	     </ul>
	   </div>


	<!-- <todo-footer :lastLength="lastLength"></todo-footer> -->
</template>

<script setup>
	//声明自定义事件
	 const props = defineProps(['lastLength', 'status'])
	 //声明props
	  const emit = defineEmits(['updateStatus'])

</script>

<style>

</style>
ToDoHeader.vue代码:
<template>
	<div>
			<div class="header">
				<p class="title">待办事项</p>
				<input class="new-todo" type="text" placeholder="请填写任务" v-model.trim="name" @keyup.enter="enterName"/>
			</div>
		</div>


</template>

<script setup>
	import { ref } from 'vue';
		const name = ref('')
		//声明自定义事件
		const emit = defineEmits(['addTodo'])
		//enterName事件
		const enterName = ()=>{
			//出发自定义事件
			emit('addTodo',name.value)
			name.value=''
		}


</script>

<style>


</style>
ToDoMain.vue代码:
<template>
	<div class="main">
		    <ul class="todo-list">
		        <li v-for="item in list" :key="item.id" :class="{ completed: item.done }">
		            <div class="view">
		                <input class="toggle" type="checkbox" :id="'checkbox' + item.id" v-model="item.done"/>
		                <label :for="'checkbox' + item.id">{{ item.name }}</label>
		                <button class="destroy" @click="delTodo(item.id)">X</button>
		            </div>
		        </li>
		    </ul>
		</div>


</template>

<script setup>
	//声明props
	const props = defineProps(['list'])
	//声明自定义事件
		const emit = defineEmits(['delTodo'])
		const delTodo = id =>{
			//当id
			id && emit('delToDo',id)
		}

</script>

<style>
	.main{
			width: 100%;
			height: 60px;
			margin: 70px auto;

		}
		.main ul li{

			list-style: none;

			position: relative;
			right: 25px;
			border-bottom: 1px solid #dddddd;
		}
		.toggle{
			margin: 20px 40px 15px 0px;
		}
		.destroy{
			/* margin-left: 1250px; */
			float: right;
			margin-top: 20px;
		}

</style>
建立style.css样式:
:root{
	font-size: 16px;
}
*{
	margin: 0;
	padding: 0;
}
.header{
	margin: 8px;
	color: red;

}
.title{
	text-align: center;
	width: 100%;
	height: 50px;
	font-size: 36px;

}
.new-todo{
	border: 0;
	outline:none;
	width: 90%;
	height: 50px;
	padding-left: 9%;
}
.view{
	width: 100%;
	line-height: 50px;
	border-bottom: 2px solid #DCDCDC;
	margin: 0 6px 0 30px;
}
.toggle{
	width: 20px;
	height: 20px;
	appearance: none;
	position: relative;
	margin: 0 60px 0 10px;
}
.toggle:before{
	content: '';
	width: 20px;
	height: 20px;
	border: 1px solid #000000;
	display: inline-block;
	border-radius: 50%;
	vertical-align: middle;
}
.toggle:checked:before{
	content: '';
	width: 20px;
	height: 20px;
	border: 1px solid #005500;
	display: inline-block;
	border-radius: 50%;
	vertical-align: middle;
}
.toggle:checked:after{
    content: '';
    width: 10px;
    height:5px;
    border: 2px solid #005500;
    border-top: transparent;
    border-right: transparent;
    text-align: center;
    display: block;
    position: absolute;
    top: 6px;
    left:5px;
    vertical-align: middle;
    transform: rotate(-45deg);
}
.toggle:checked+label{
    color: #c59c5a;
	text-decoration: line-through lightgray;
	color: lightgray;
}
.footer{
	width: 100%;
	position: fixed;
	bottom: 0;
}
.todo-count{
	display: inline-block;
	float: left;
	padding: 10px 0 18px 10px;
}
.destroy{
	float: right;
	margin: 16px;
	width: 22px;
}
.filters{
	display: inline-block;
	float: right;
	padding: 10px 12px 18px 0;
}
.filters li{
	display: inline-block;
}
li{
	list-style: none;
}
.filters a{
	text-decoration: none;
	color: black;
	padding: 2px 4px;
	margin-right: 6px;
	border: 1px solid gray;
}
在index.html中<head></head>写入:
<link rel="stylesheet" href="style.css"/>


 1万+
1万+


 被折叠的 条评论
为什么被折叠?
被折叠的 条评论
为什么被折叠?
 到【灌水乐园】发言


