


本次目标
上一篇做完启动页面有2个问题,
- 从启动页面跳转到游戏场景以后,本来应该隐藏的鼠标没有隐藏(同时也担心将来回到启动页面鼠标不出现)
- 点击新游戏以后,会有很长时间的卡顿。这个是加载场景导致的(如果只是例子不会,例子里的playground场景其实没有多少东西)。
本次主要是解决这两个问题。
鼠标的问题
这个比较简单,我们在跳转新场景的时候把鼠标锁定,然后回来以后在启动的时候接触锁定。这个需求是针对我们的场景来说的,我们的场景要求游戏的时候不显示鼠标。
上次我们创建了一个 ButtonClick 代码,这个现在看起来名字不是很合适,我们先调整名称为 IndexController,然后修改其代码如下:
using System.Collections;
using System.Collections.Generic;
using UnityEngine;
using UnityEngine.SceneManagement;

public class IndexController : MonoBehaviour
{
    // Start is called before the first frame update
    void Start()
    {
        Cursor.visible = true;
        Cursor.lockState = CursorLockMode.None;
    }

    // Update is called once per frame
    void Update()
    {

    }

    public void StartGame()
    {
        Cursor.visible = false;
        Cursor.lockState = CursorLockMode.Locked;
        SceneManager.LoadScene("Playground");
    }
}
在点击启动按钮的时候把鼠标锁定隐藏,在加载的时候显示出来。当然,隐藏的动作放到下一个场景的Start来做更合适一些。但是我就是懒得修改了,先挖一个坑给后人。
添加Loading场景
大部分游戏都有一个Loading场景,比如这样的:
我们也计划做一个这样的动画,在页面加载的时候给用户更好的体验效果。不过为了简单,我们不做进度条了,做一个转圈的效果就好了。
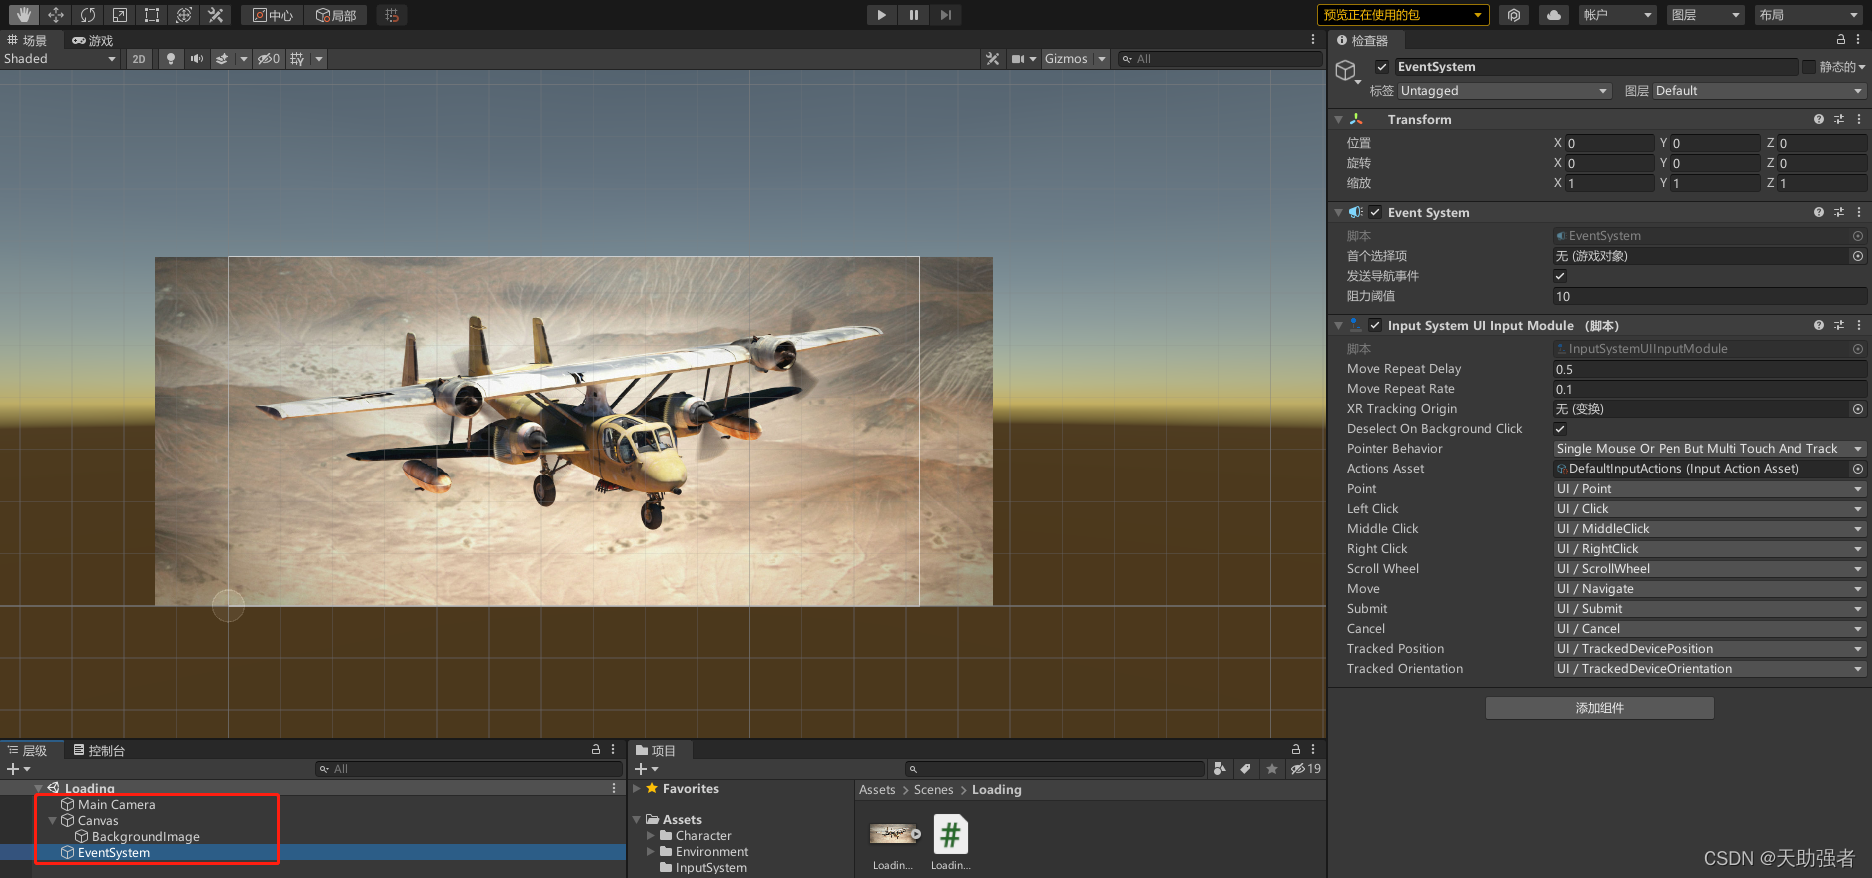
和上一篇一样,我们新建并保存一个场景,起名Loading。添加画布和图像,然后从网上找到授权为 Free 的图片作为背景。 别忘记了加摄像头和修改 EventSystem 的 Input Module; 这些调整完的效果如下:
我这里随意找了一张图片,重点是授权是免费的,这一定要非常确认。不要忽略任何素材的版权问题,不要忽略任何素材的版权问题、不要忽略任何素材的版权问题。宁可不用,也不要用未授权图片。推荐使用 bing 查询,筛选条件 选择 free 。
PS:不要吐槽我们的图片的不搭配,我们目前体验功能是首位。这些可以后期找有缘人去修改(如果有那么一天的话)
这里有2个问题:
- 我们希望这个Loading页面尽可能被复用,也就是说它异步加载的场景是不固定的
- 需要做消息的传递,有可能上一个场景需要传递消息给下一个场景
检查了一下SceneManager.LoadScene ,然而它并没有能传递消息的功能,所以我们需要想别的方式处理。最简单的方式:static。我们创建一个 LoadingHelper 的类,它每次先加载 Loading 场景,然后由 Loading 场景去加载我们真实要加载的场景。
using System;
using System.Collections;
using System.Collections.Generic;
using UnityEngine;
using UnityEngine.SceneManagement;

public class LoadingHelper
{
    public static LoadingHelper Instance = new LoadingHelper();

    private const string LoadingSceneName = "Loading";
    private const string DefaultSceneName = "Index";

    private bool isLoading = false;
    private string nextSceneName = null;

    public void LoadScene(string sceneName, Dictionary<string, object> sceneOneshotData = null)
    {
        if (isLoading)
        {
            Debug.LogError("The last one was still being doing.");
            return;
        }

        this.isLoading = true;
        this.nextSceneName = string.IsNullOrWhiteSpace(sceneName) ? DefaultSceneName : sceneName;

        SceneOneshotDataManager.Instance.WriteSceneData(sceneOneshotData);
        SceneManager.LoadScene(LoadingSceneName, LoadSceneMode.Single);
    }

    public string GetNextSceneName()
    {
        return this.nextSceneName;
    }

    public void FinishLoading()
    {
        this.nextSceneName = null;
        this.isLoading = false;
    }
}
我们还定义了一个 SceneOneshotDataManager 类,它负责传递数据。
using System.Collections;
using System.Collections.Generic;
using UnityEngine;

public class SceneOneshotDataManager
{
    public static SceneOneshotDataManager Instance = new SceneOneshotDataManager();

    Dictionary<string, object> sceneOneshotData = null;

    public bool Exist()
    {
        return sceneOneshotData != null;
    }

    public bool WriteSceneData(Dictionary<string, object> data)
    {
        if (this.sceneOneshotData != null)
        {
            Debug.LogError("The last data was not used.");
            return false;
        }
        this.sceneOneshotData = data;

        return true;
    }

    public Dictionary<string, object> ReadSceneData()
    {
        Dictionary<string, object> result = sceneOneshotData;
        sceneOneshotData = null;
        return result;
    }
}
然后我们打开之前的 IndexController 类,修改 StartGame 的代码:
    public void StartGame()
    {
        Cursor.visible = false;
        Cursor.lockState = CursorLockMode.Locked;

        LoadingHelper.Instance.LoadScene("Playground");
    }
和之前一样,在【生成设置】里添加我们新的 Loading 场景。然后测试一下,现在跳转到 Loading 的页面了。
接下来我们创建一个 LoadingContrller 脚本,并添加到画布
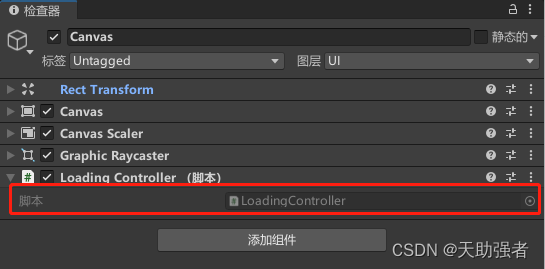
然后修改脚本,在 Start 的时候获取真正要跳转的场景名称,并且动态加载。首先先禁用了鼠标,用户安心的看 Loading 就好了。
using System.Collections;
using System.Collections.Generic;
using UnityEngine;
using UnityEngine.SceneManagement;

public class LoadingController : MonoBehaviour
{
    // Start is called before the first frame update
    void Start()
    {
        Cursor.visible = false;
        Cursor.lockState = CursorLockMode.Locked;

        var nextSceneName = LoadingHelper.Instance.GetNextSceneName();
        StartCoroutine(loadScene(nextSceneName));
    }

    private IEnumerator loadScene(string sceneName)
    {
        AsyncOperation asyncLoad = SceneManager.LoadSceneAsync(sceneName);

        while (!asyncLoad.isDone)
        {
            yield return null;
        }
    }
}
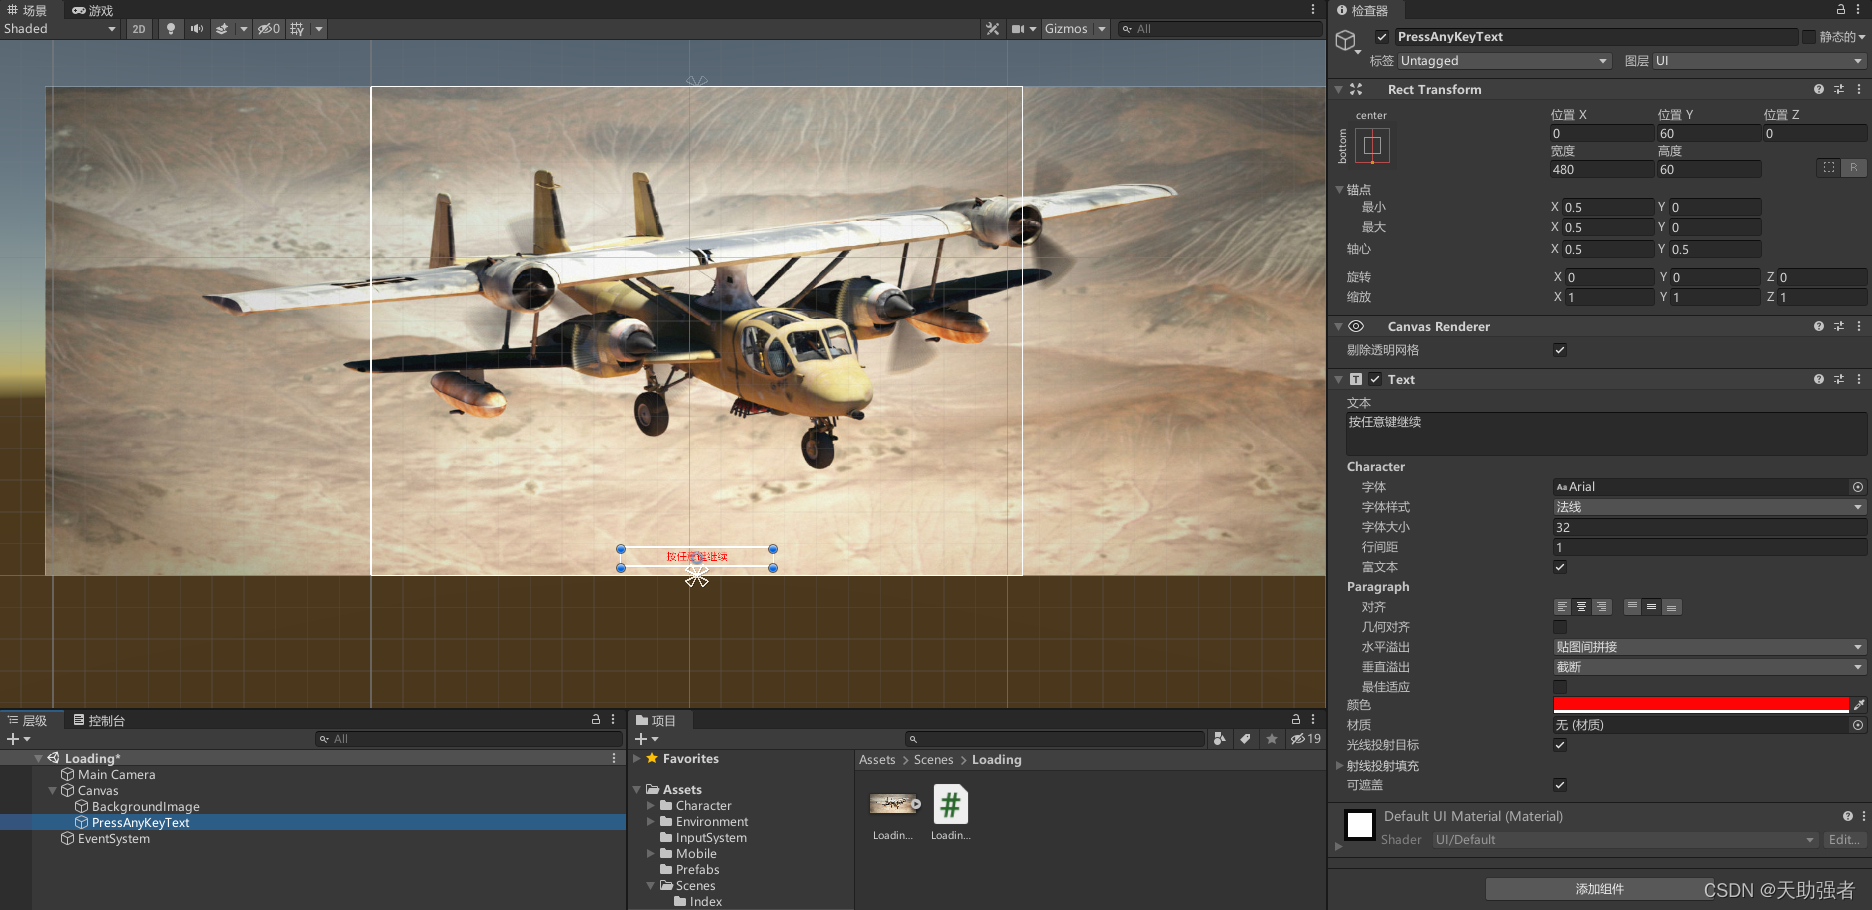
执行以下,完美。接下来我们对 Loading 做一些美化。这里不用进度条,我们就做一个问题提升吧。在屏幕下面添加一航文字 【按任意键继续】。
然后修改一下 LoadingController 脚本,找了一堆古典词句。这里因为示例里playground场景内容太少,本来就是一下加载完成了,所以只能通过 yield return new WaitForSeconds(15); 这里模拟时间,后期可以去掉
using System.Collections;
using System.Collections.Generic;
using UnityEngine;
using UnityEngine.InputSystem;
using UnityEngine.SceneManagement;
using UnityEngine.UI;

public class LoadingController : MonoBehaviour
{
    private bool finish = false;
    private AsyncOperation asyncLoad;

    private string PressAnyKeyString = "按任意键继续!";

    private string[] messages = new string[11] {
        "时间,转瞬即逝,不复再来。",
        "夫天地者,万物之逆旅也。",
        "时间,转瞬即逝,不复再来。",
        "少年易老学难成,一寸光阴不可轻。",
        "草木也知愁,韶华竟白头。",
        "少年辛苦终身事,莫向光阴惰寸功。",
        "读书不觉已春深,一寸光阴一寸金。",
        "仰天大笑出门去,我辈岂是蓬蒿人。",
        "长风破浪会有时,直挂云帆济沧海。",
        "书山有路勤为径,学海无涯苦作舟。",
        "千磨万击还坚劲,任尔东西南北风。"
    };

    public Text PressAnyKey;

    // Start is called before the first frame update
    void Start()
    {
        if (this.PressAnyKey == null)
        {
            Debug.LogError("Please select the text box.");
            return;
        }

        Cursor.visible = false;
        Cursor.lockState = CursorLockMode.Locked;

        this.finish = false;

        this.PressAnyKey.text = string.Empty;
        StartCoroutine(slideshow());

        var nextSceneName = LoadingHelper.Instance.GetNextSceneName();
        StartCoroutine(loadScene(nextSceneName));
    }

    void Update()
    {
        pressAnyKey();
    }

    private IEnumerator loadScene(string sceneName)
    {
        if (string.IsNullOrWhiteSpace(sceneName))
        {
            Debug.LogError("Please input the next scene name.");
            yield return null;
        }
        else
        {
            this.asyncLoad = SceneManager.LoadSceneAsync(sceneName, LoadSceneMode.Single);
            this.asyncLoad.allowSceneActivation = false;

            while (this.asyncLoad.progress < 0.9f)
            {
                yield return new WaitForSeconds(15); //fake
                //yield return WaitForEndOfFrame;
            }

            this.finish = true;
            this.PressAnyKey.text = PressAnyKeyString;
            yield return new WaitForEndOfFrame();
        }
    }

    private IEnumerator slideshow()
    {
        while (!this.finish)
        {
            int n = (int)(Random.value * 10);
            var message = messages[n];
            this.PressAnyKey.text = message;

            yield return new WaitForSeconds(5);
        }
    }

    private void pressAnyKey()
    {
        if (this.finish
            && (
            (Gamepad.current != null && Gamepad.current.aButton.isPressed)
            || (Keyboard.current != null && Keyboard.current.anyKey.isPressed)
            )
        )
        {
            this.asyncLoad.allowSceneActivation = true;
        }
    }
}
运行一下,看起来还不错。今天太晚了,参数跨场景传递的内容明天再测试吧。
最后提示一下,脚本里定义了一个 Text PressAnyKey 属性,这个没有在代码里初始化。初始化的方式我采用的是在检查器里进行配置。

再见。


 4831
4831


 被折叠的 条评论
为什么被折叠?
被折叠的 条评论
为什么被折叠?
 到【灌水乐园】发言


