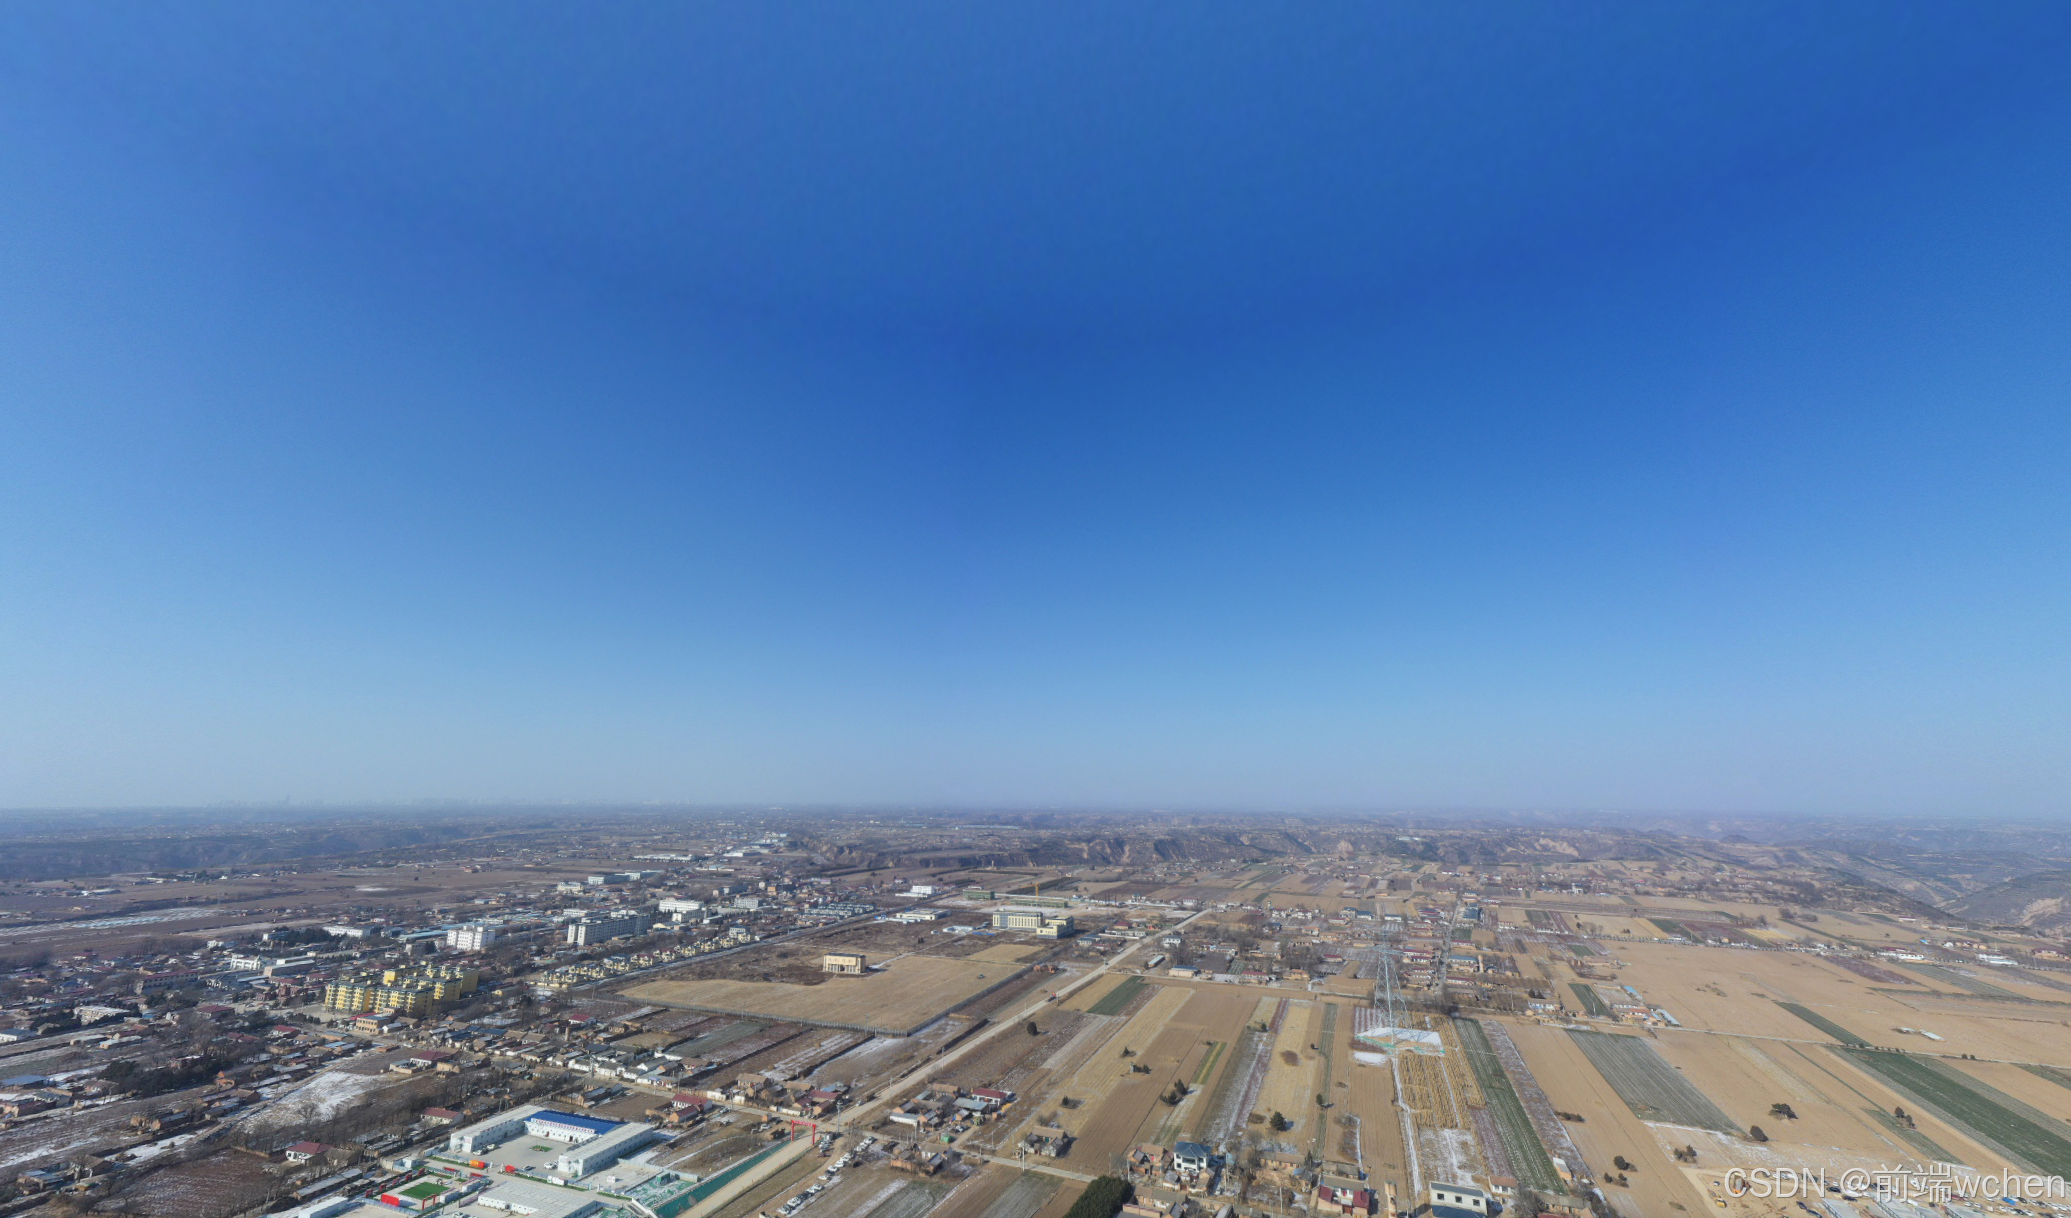
Vue2 + Three.js 创建可交互的360度全景视图,可控制旋转、缩放
引言
在现代网页开发中,三维图形技术已经成为提升用户体验的重要工具。本文将展示如何使用 Three.js 创建一个简单的可交互360度全景视图。通过这一项目,你将能够学习到基本的场景设置、相机控制以及用户交互的实现方式。
效果展示

环境准备
首先,你需要在项目中引入 Three.js。可以通过 npm 安装:
npm install three
确保你的项目结构中有一个名为 images 的文件夹,并放入一张全景图像(如 001.jpg),以便后续使用。
代码示例
下面是实现可交互360度全景视图的 Vue.js 组件代码:
<template>
  <div class="c-width c-height" id="containerVr"></div>
</template>

<script>
import * as THREE from 'three';
import PANO0001 from './images/001.jpg';

export default {
  name: 'containerVr',
  data() {
      return {
          scene: null,
          camera: null,
          renderer: null,
      };
  },
  mounted() {
      this.init();
  },
  methods: {
      init(img) {
          img = img ? img : PANO0001;
          const containerVr = document.getElementById('containerVr');
          containerVr.innerHTML = '';

          // 初始化用户交互变量
          let isUserInteracting = false,
              onPointerDownMouseX = 0, onPointerDownMouseY = 0,
              lon = 0, onPointerDownLon = 0,
              lat = 0, onPointerDownLat = 0,
              phi = 0, theta = 0;

          // 创建相机对象
          const camera = new THREE.PerspectiveCamera(75, window.innerWidth / window.innerHeight, 1, 1100);

          // 创建场景对象
          const scene = new THREE.Scene();

          // 创建球体几何体,表示全景图的表面
          const geometry = new THREE.SphereGeometry(500, 60, 40);
          geometry.scale(-1, 1, 1);

          // 加载并设置全景图纹理
          const texture = new THREE.TextureLoader().load(img);
          texture.colorSpace = THREE.SRGBColorSpace;
          const material = new THREE.MeshBasicMaterial({ map: texture });

          // 创建网格对象,将几何体和材质结合
          const mesh = new THREE.Mesh(geometry, material);
          scene.add(mesh);

          // 创建渲染器并设置参数
          const renderer = new THREE.WebGLRenderer();
          renderer.setSize(window.innerWidth, window.innerHeight);
          renderer.setPixelRatio(window.devicePixelRatio);

          // 将渲染器的DOM元素添加到容器中
          containerVr.appendChild(renderer.domElement);
          containerVr.style.touchAction = 'none';

          // 添加事件监听器以处理用户交互
          containerVr.addEventListener('pointerdown', onPointerDown);
          document.addEventListener('wheel', onDocumentMouseWheel);

          // 窗口大小调整事件
          window.addEventListener('resize', onWindowResize);
          function onWindowResize() {
              camera.aspect = window.innerWidth / window.innerHeight;
              camera.updateProjectionMatrix();
              renderer.setSize(window.innerWidth, window.innerHeight);
          }

          // Pointer Down事件处理
          function onPointerDown(event) {
              if (event.isPrimary === false) return;
              isUserInteracting = true;
              onPointerDownMouseX = event.clientX;
              onPointerDownMouseY = event.clientY;
              onPointerDownLon = lon;
              onPointerDownLat = lat;
              document.addEventListener('pointermove', onPointerMove);
              document.addEventListener('pointerup', onPointerUp);
          }

          // Pointer Move事件处理
          function onPointerMove(event) {
              if (event.isPrimary === false) return;
              lon = (onPointerDownMouseX - event.clientX) * 0.1 + onPointerDownLon;
              lat = (event.clientY - onPointerDownMouseY) * 0.1 + onPointerDownLat;
          }

          // Pointer Up事件处理
          function onPointerUp() {
              if (event.isPrimary === false) return;
              isUserInteracting = false;
              document.removeEventListener('pointermove', onPointerMove);
              document.removeEventListener('pointerup', onPointerUp);
          }

          // 滚轮事件处理
          function onDocumentMouseWheel(event) {
              if (event.toElement.getAttribute('data-engine') && event.toElement.getAttribute('data-engine').indexOf('three.js') > -1) {
                  const fov = camera.fov + event.deltaY * 0.05;
                  camera.fov = THREE.MathUtils.clamp(fov, 10, 75);
                  camera.updateProjectionMatrix();
              }
          }

          // 动画循环
          function animate() {
              requestAnimationFrame(animate);
              update();
          }

          // 更新函数,处理相机位置和渲染
          function update() {
              if (isUserInteracting === false) {
                  lon += 0.02;
              }
              lat = Math.max(-85, Math.min(85, lat));
              phi = THREE.MathUtils.degToRad(90 - lat);
              theta = THREE.MathUtils.degToRad(lon);
              const x = 500 * Math.sin(phi) * Math.cos(theta);
              const y = 500 * Math.cos(phi);
              const z = 500 * Math.sin(phi) * Math.sin(theta);
              camera.lookAt(x, y, z);
              renderer.render(scene, camera);
          }
          animate();
      },
      // 设置图像的方法
      setImg(url) {
          let loader = new THREE.TextureLoader();
          let texture = loader.load(url);
          let material = new THREE.MeshBasicMaterial({
              map: texture,
              side: THREE.DoubleSide
          });
          return material;
      },
  }
}
</script>

<style scoped>
#containerVr {
  width: 100% !important;
  flex: 1 !important;
}
#containerVr >>> canvas {
  max-width: 100%;
  max-height: 100%;
}
</style>
代码解析
- 组件结构:该组件使用 Vue.js 的
<template>、<script>和<style>标签组织代码。 - 初始化方法:在
mounted钩子中调用init方法,初始化 Three.js 的场景、相机和渲染器。 - 用户交互:实现了鼠标按下、移动和滚动事件,用户可以通过拖动鼠标来旋转视图。
- 自适应窗口:通过监听窗口大小变化事件,动态更新相机和渲染器的尺寸。
总结
通过本文,你可以学习如何使用 Three.js 创建一个基础的360度全景视图。这种技术可以广泛应用于虚拟现实、在线展示以及游戏开发等多个领域。希望这篇文章对你理解 Three.js 和创建互动场景有所帮助。
进一步学习
通过这种方式,读者不仅可以理解代码的具体实现,还能了解到如何在实际项目中应用这些技术。希望这个结构能帮助你更好地撰写博客!如果你有其他想法或需要进一步的帮助,请告诉我。


 1835
1835

 被折叠的 条评论
为什么被折叠?


