


 文章介绍了如何利用Potree库在Web端进行点云数据的高效可视化,包括下载与运行Potree官方示例,使用PotreeConverter工具转换点云数据,创建自定义点云图,以及在Vue项目中集成Potree-core进行3D渲染。最后,讨论了通过iframe引入完整Potree项目以获取更多交互功能的方式。
前言
在几篇文章中,基本实现了对PCL相关操作,最近在github上找到了Web端对点云数据可视化兼容很好的项目 Potree 对此本文将介绍如何使用Potree来进行web端的可视化。
1. Potree 官方运行
Potree 是基于ThreeJS之上的,对ThreeJS进行进步封装方便与点云数据的操作。
其官方的例子如下:
在github上面下载官方源码:
git clone https://github.com/potree/potree.git
然后运行安装以及运行命令如下:
cd potree
npm build
npm start
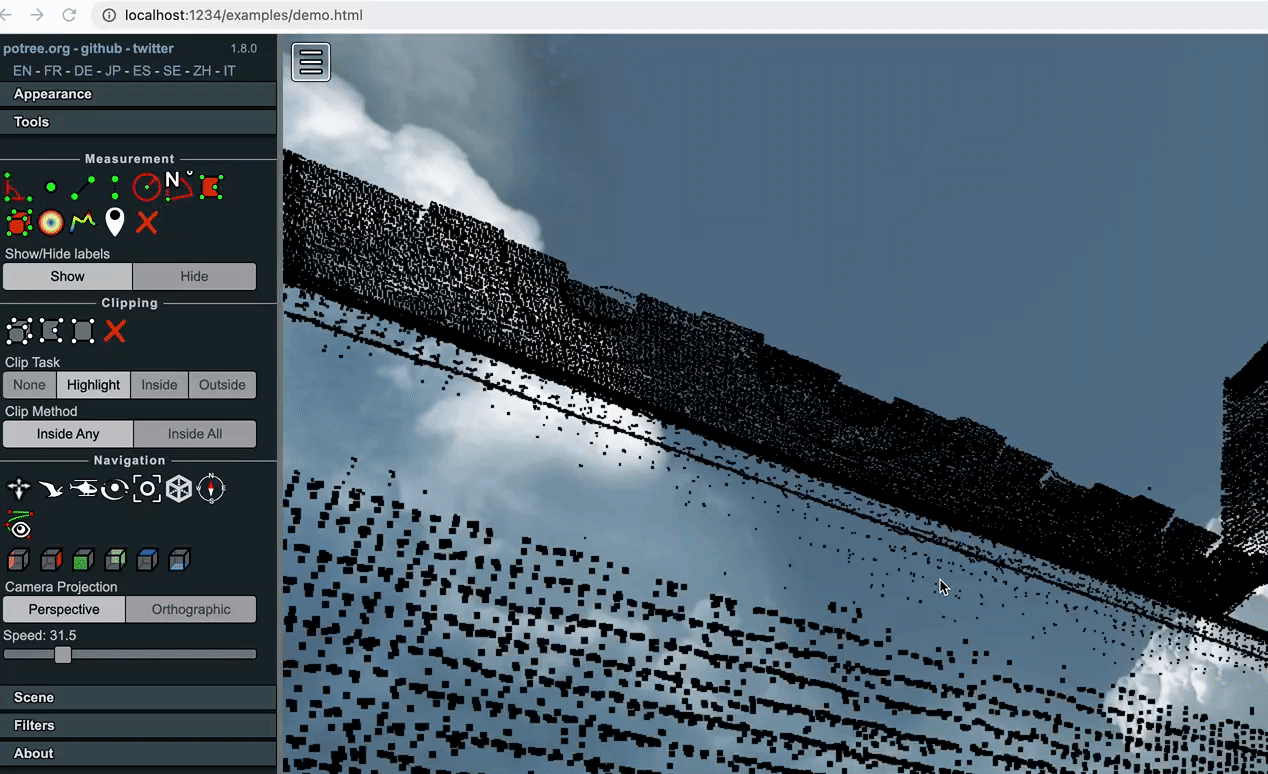
打开网页 127.0.01:1234,展示出如下界面即运行示例成功:

2. 自定义点云图
2.1 点云转化
查看官网说明,要使得Potree可以正确解析以及展示数据,必须经过PotreeConvert工具将点云数据进行转化成二进制数据。
同理在github下载相关代码,进行编译运行,执行如下命令 如下:
git clone https://github.com/potree/PotreeConverter.git
cd PotreeConverter
mkdir build
cd build
cmake ..
make
这时会编译成功PotreeConverter可执行文件,在同级目录下面,将点云数据las文件复制到此处,在同级目录下执行:
./PotreeConverter xxx.las -o output
相关的转化过程会输出到output目录下,如下图,

至此完成了potree所需展示的翻译文件。
2.2 可视化
打开potree项目的example目录,随便复制其中的一个html文件,并且将上述生成的output目录复制到potree点云目录里面,其中html内容如下:
<!DOCTYPE html>
<html lang="en">
<head>
	<meta charset="utf-8">
	<meta name="description" content="">
	<meta name="author" content="">
	<meta name="viewport" content="width=device-width, initial-scale=1.0, user-scalable=no">
	<title>Potree Viewer</title>

	<link rel="stylesheet" type="text/css" href="../build/potree/potree.css">
	<link rel="stylesheet" type="text/css" href="../libs/jquery-ui/jquery-ui.min.css">
	<link rel="stylesheet" type="text/css" href="../libs/openlayers3/ol.css">
	<link rel="stylesheet" type="text/css" href="../libs/spectrum/spectrum.css">
	<link rel="stylesheet" type="text/css" href="../libs/jstree/themes/mixed/style.css">
</head>

<body>
	<script src="../libs/jquery/jquery-3.1.1.min.js"></script>
	<script src="../libs/spectrum/spectrum.js"></script>
	<script src="../libs/jquery-ui/jquery-ui.min.js"></script>


	<script src="../libs/other/BinaryHeap.js"></script>
	<script src="../libs/tween/tween.min.js"></script>
	<script src="../libs/d3/d3.js"></script>
	<script src="../libs/proj4/proj4.js"></script>
	<script src="../libs/openlayers3/ol.js"></script>
	<script src="../libs/i18next/i18next.js"></script>
	<script src="../libs/jstree/jstree.js"></script>
	<script src="../build/potree/potree.js"></script>
	<script src="../libs/plasio/js/laslaz.js"></script>

	<!-- INCLUDE ADDITIONAL DEPENDENCIES HERE -->
	<!-- INCLUDE SETTINGS HERE -->

	<div class="potree_container" style="position: absolute; width: 100%; height: 100%; left: 0px; top: 0px; ">
		<div id="potree_render_area" style="background-image: url('../build/potree/resources/images/background.jpg');"></div>
		<div id="potree_sidebar_container"> </div>
	</div>

	<script type="module">

		window.viewer = new Potree.Viewer(document.getElementById("potree_render_area"));

		viewer.setEDLEnabled(true);
		viewer.setFOV(60);
		viewer.setPointBudget(1_000_000);
		viewer.loadSettingsFromURL();
		viewer.setBackground("skybox");

		// viewer.setDescription(`Point cloud courtesy of PG&E and <a href="https://opentopography.org/">Open Topography</a>.`);

		viewer.loadGUI(() => {
			viewer.setLanguage('en');
			$("#menu_tools").next().show();
			$("#menu_clipping").next().show();
			viewer.toggleSidebar();
		});

		// Load and add point cloud to scene
		Potree.loadPointCloud("../pointclouds/output/metadata.json", "Demo", e => {
			console.log(e);
			let scene = viewer.scene;
			let pointcloud = e.pointcloud;

			let material = pointcloud.material;
			material.size = 0.6;
			material.pointSizeType = Potree.PointSizeType.ADAPTIVE;
			material.shape = Potree.PointShape.SQUARE;
			material.activeAttributeName = "rgba";

			scene.addPointCloud(pointcloud);

			viewer.fitToScreen(0.6);
		});

	</script>


  </body>
</html>
在127.0.0.1:1234中打开网页,既可发生点云的替换,如下图:
3.集成Vue
通过上述的集成已经基本实现了网页端集成了Potree,当下通过Vue来进行项目开发,因此需将Potree集成到Vue之中
3.1 集成Potree-core
在npm中找到了Potree-core对Potree集成的支持,因此在Vue项目中引入该依赖,
yarn add potree-core
在vue中新建页面,引入相关的Potree-core如下:
import * as THREE from 'three'
// import {onMounted} from "vue";
// import {PCDLoader} from "three/examples/jsm/loaders/PCDLoader";
import { OrbitControls } from 'three/addons/controls/OrbitControls.js'
import { PointCloudOctree, Potree } from 'potree-core'
import { BoxGeometry, Mesh, MeshBasicMaterial, Vector3, AmbientLight, Raycaster, Vector2, SphereGeometry } from 'three'

const baseUrl = 'http://127.0.0.1:10200/upload/output/'

// const ws = new WebSocket("ws://127.0.0.1:10200/api/three-scan/websocket/pcd");

const potree = new Potree()
// const loader = new THREE.Loader();
const scene = new THREE.Scene()
const camera = new THREE.PerspectiveCamera(75, window.innerWidth / window.innerHeight, 0.1, 1000)

const canvas = document.createElement('canvas')
canvas.style.position = 'absolute'
canvas.style.top = '0px'
canvas.style.left = '0px'
canvas.style.width = '100%'
canvas.style.height = '100%'

const pointClouds: PointCloudOctree[] = []

document.body.appendChild(canvas)

const renderer = new THREE.WebGLRenderer({
  canvas: canvas,
  alpha: true,
  logarithmicDepthBuffer: false,
  precision: 'highp',
  premultipliedAlpha: true,
  antialias: true,
  preserveDrawingBuffer: false,
  powerPreference: 'high-performance'
})
// const geometry = new THREE.BoxGeometry(25, 1, 25)
// const material = new THREE.MeshBasicMaterial({ color: 0x00ff00 })
// const cube = new THREE.Mesh(geometry, material)
// cube.position.y = -2

// scene.add(cube)
scene.add(new AmbientLight(0xffffff))

const controls = new OrbitControls(camera, canvas)
camera.position.z = 10

const raycaster = new Raycaster()
raycaster.params.Points.threshold = 1e-2
const normalized = new Vector2()

canvas.onmousemove = function (event) {
  normalized.set(event.clientX / canvas.width * 2 - 1, -(event.clientY / canvas.height) * 2 + 1)
  raycaster.setFromCamera(normalized, camera)
}

canvas.ondblclick = function () {
  const intesects = raycaster.intersectObject(scene, true)
  if (intesects.length > 0) {
    const geometry = new SphereGeometry(0.2, 32, 32)
    const material = new MeshBasicMaterial({ color: Math.random() * 0xAA4444 })
    const sphere = new Mesh(geometry, material)
    sphere.position.copy(intesects[0].point)
    scene.add(sphere)
  }
}

const points = new Potree()
points.pointBudget = 10000000

points.loadPointCloud('metadata.json', (url: string) => {
  return `${baseUrl}${url}`
}).then((pco:PointCloudOctree) => {
  pco.material.size = 1.0
  pco.material.shape = 2
  pco.material.inputColorEncoding = 1
  pco.material.outputColorEncoding = 1

  console.log('PointCloud file loaded', pco)

  const box = pco.pcoGeometry.boundingBox
  const size = box.getSize(new Vector3())

  const geometry = new BoxGeometry(size.x, size.y, size.z)
  const material = new MeshBasicMaterial({ color: 0xFF0000, wireframe: true })
  const mesh = new Mesh(geometry, material)
  // mesh.position.copy(pco.position);
  // mesh.scale.copy(pco.scale);
  // mesh.rotation.copy(pco.rotation);
  mesh.raycast = () => false

  size.multiplyScalar(0.5)
  // mesh.position.add(new Vector3(size.x, size.y, -size.z))
  //
  // scene.add(mesh)

  add(pco)
})

function loop () {
  // cube.rotation.y += 0.01

  potree.updatePointClouds(pointClouds, camera, renderer)
  controls.update()
  renderer.render(scene, camera)
  requestAnimationFrame(loop)
}

loop()

function add (pco: PointCloudOctree): void {
  scene.add(pco)
  pointClouds.push(pco)
}

document.body.onresize = () => {
  const width = window.innerWidth
  const height = window.innerHeight
  renderer.setSize(width, height)
  camera.aspect = width / height
  camera.updateProjectionMatrix()
}
document.body.onresize()
在添加相关路由,启动vue项目如下所示:

3.2 iframe引入
如果采用上述方式引入potree,仅仅只能引入核心包,相关的控制工具没有被引入,对比官网相关的示例,缺少相关测量工具,以及其他的交互性功能。因此考虑采用iframe的方式集成到Vue项目中去,在potree项目中,执行如下 命令进行打包
npm build
将生成好的build,lib目录进行拷贝到Vue目录下面的public目录下,并且将所展示的html文件也复制到public目录下,如下目录结构:

新建Vue文件,引入iframe组件如下:
<template>
  <iframe src="http://127.0.0.1:8080/demo.html" width="100%" height="100%" ref="iframeHtml"></iframe>
</template>
启动Vue项目,打开本页面如下

故此Potree项目已经集成到Vue项目中,
总结
本文通过Potree的方式进行PCL点云数据渲染,相比于原始的Three.js来说大大的提高其渲染的速度。并且在对图形进行选择放大的时候,感觉不出卡顿的现象,方便于web端的操作与查看。


 1547
1547

 被折叠的 条评论
为什么被折叠?
被折叠的 条评论
为什么被折叠?
 到【灌水乐园】发言


