


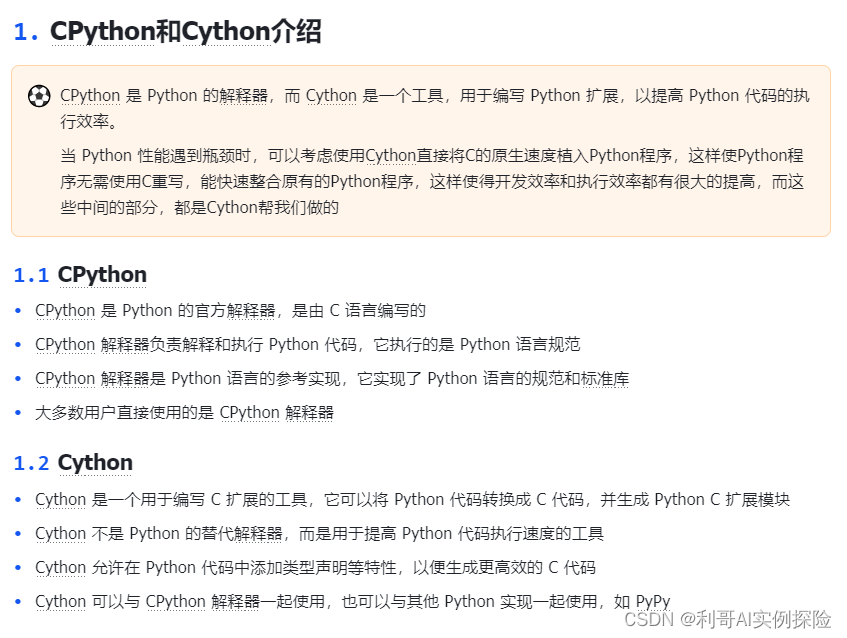
2. 使用CPython编译Python代码及使用
Python解释器无法直接运行Cython的代码,我们需要通过Cython编译Pipeline,Pipeline的职责就是将Cython代码转换成Python解释器可以直接导入并使用的Python扩展模块。

2.1 编译过程
- 由Cython编译器负责将Cython转换成经过优化并且依赖当前平台的C、C++代码
- 使用标准的C、C++编译器将第1步得到的C、C++代码进行编译并生成标准的扩展模块,并且这个扩展模块是依赖特定的平台的。
Cython生成的C代码是经过高度精炼,所以大部分情况下比手写所使用的算法更优,而且Cython生成的C代码支持所有的通过C编译器,生成的扩展模块同时支持许多不同的Python版本
2.2 环境安装
- 需要C、C++编译器以及Cython编译器:
- Linux和mac os自带gcc,安装yum install python3-devel
- Windows 可以选择安装一个MinGW并设置环境变量
- 安装cython编译器:
pip install cython -i https://pypi.tuna.tsinghua.edu.cn/simple - distutils:python的标准库,可以用来构建、打包、分发python工程,它可以借助C编译器将C源码编译成扩展模块,并且这个模块是自带的、考虑了平台、架构、Python版本等因素。
3. 简单使用示例
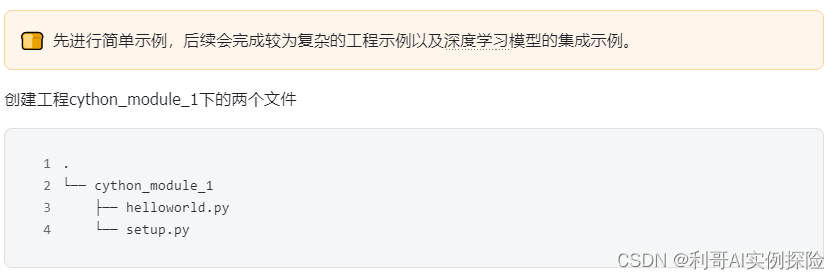
helloworld.py内容如下:
print('---------------module cython1 helloworld import----')

def hello():
    print('---------module helloworld print(hello world!)')

def APB(a, b):
    print('---------module helloworld print(a+b)=', a+b)
    return a+b
setup.py内容如下:
from distutils.core import setup, Extension
from Cython.Build import cythonize

'''
pip install cython -i https://pypi.tuna.tsinghua.edu.cn/simple
1. 将Cython代码编译成C代码, 此步骤由cython编译器完成, 通过cythonize
2. 根据C代码生成扩展模块, 由distutils完成, 通过distutils.core下的setup
编译命令: python setup.py build   留下build文件夹下生成的.pyd或.so文件进行使用即可
'''

ext = Extension(
    name='helloworld123', # 生成的扩展模块的名字
    sources=['helloworld.py'], # 源文件
)

setup(ext_modules = cythonize(ext, language_level=3)) # 指定python3
通过编译命令进行编译:
3.1 windows使用示例

会生成build文件夹以及helloworld.c,我们到build文件夹下找到helloworld123.cp39-win_amd64.pyd(.pyd结尾)此即为编译完毕的c代码,我们可以直接复制此文件进行引用和调用,我们编写如下文件:use_cython_1.py
import helloworld123

helloworld123.hello()
helloworld123.APB(1, 1)
执行:use_cython_1.py

3.2 linux使用示例
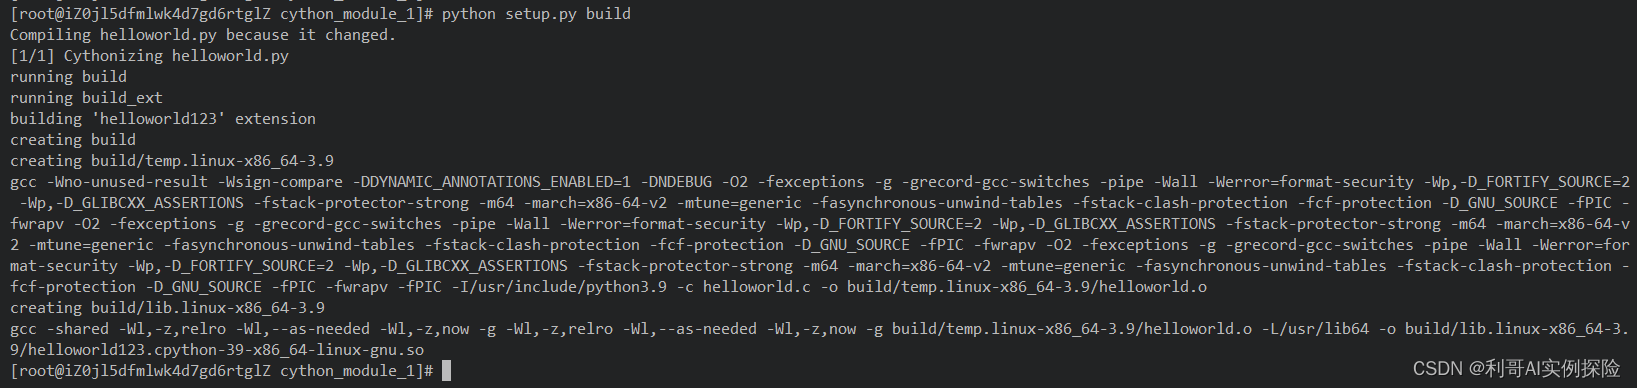
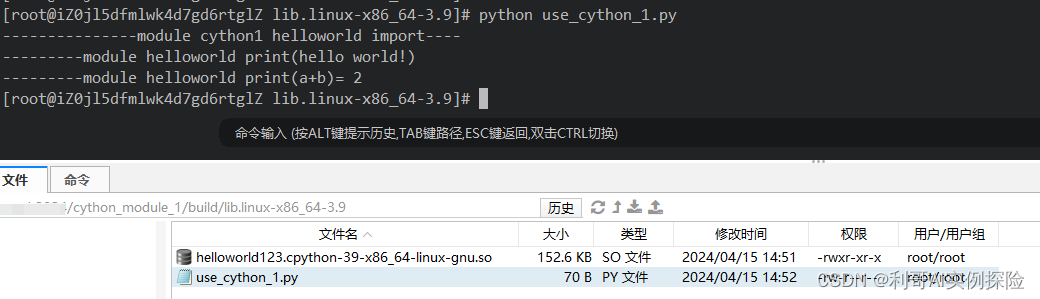
此时build文件夹下会生成helloworld123.cpython-39-x86_64-linux-gnu.so(.so结尾的文件)
我们进行调用,如下所示:
结束语
由于本人能力有限,难免有疏漏之处,关注我获取更多内容:利哥AI实例探险


 9147
9147


 被折叠的 条评论
为什么被折叠?
被折叠的 条评论
为什么被折叠?
 到【灌水乐园】发言


