


2023-08-10 ChatGLM2-6B在windows下的部署
一、部署环境
1、Windows 10 专业版, 64位,版本号:22H2,内存:32GB

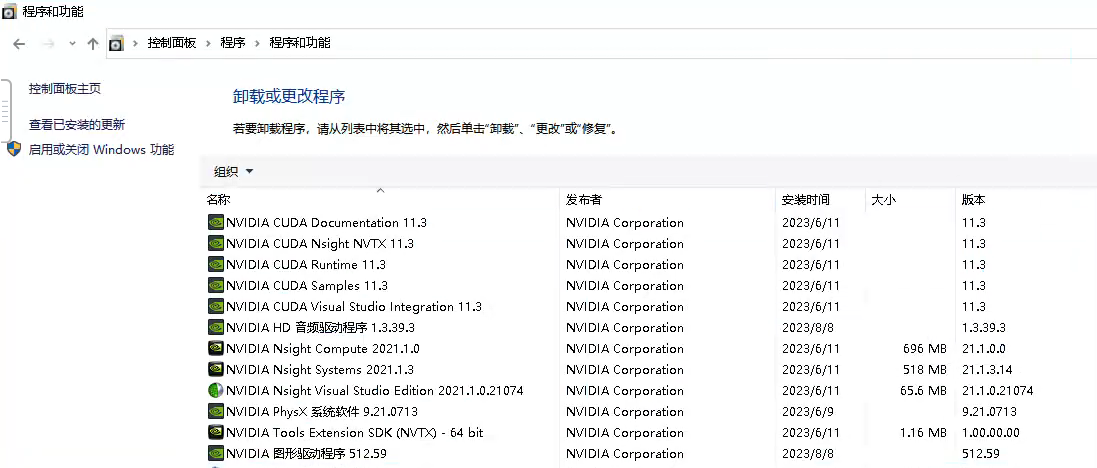
2、已安装CUDA11.3
3、已安装Anaconda3 64bit版本

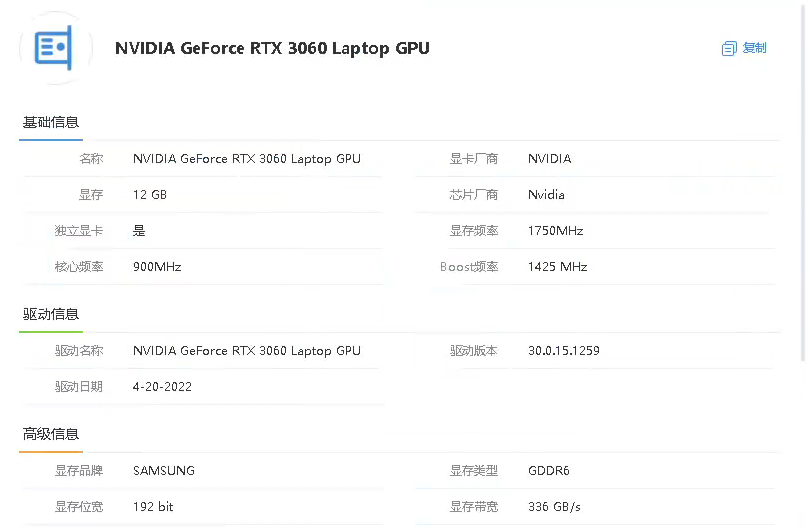
4、有显卡NVIDIA GeForce RTX 3060 Laptop GPU
二、从huggingface下载chatglm2-6b模型文件
1、进入Anaconda Powershell Prompt
2、创建保存chatglm2-6b的huggingface模型的公共目录。之所以创建一个公共目录,是因为这个模型文件是可以被各种应用共用的。注意创建目录所在磁盘至少要有30GB的空间,因为chatglm2-6b的模型文件至少有23GB大小。
mkdir -p D:_ChatGPT_common_test

3、进入刚刚创建的目录,在这里下载chatglm2-6b的huggingface模型文件。注意下载前要提前打开fanqiang软件,否则下载无法成功。模型文件大概23GB,因此下载时间很长,需要耐心等待。下载过程中可能多次报“Recv failure: Connection was reset”错误,遇到错误就重新下载,直到成功为止。
cd D:_ChatGPT_common_test
git clone https://huggingface.co/THUDM/chatglm2-6b

4、下载时如果报如下错误:
Errors logged to ‘D:_ChatGPT_common_test\chatglm2-6b.git\lfs\logs\20230810T095928.1917897.log’.
Use git lfs logs last to view the log.
error: external filter ‘git-lfs filter-process’ failed
fatal: pytorch_model-00001-of-00007.bin: smudge filter lfs failed
warning: Clone succeeded, but checkout failed.
You can inspect what was checked out with ‘git status’
and retry with ‘git restore --source=HEAD 😕’
则用如下方式解决后重新下载:
git lfs clean --force
三、从github下载chatglm2-6b应用文件
1、进入Anaconda Powershell Prompt
2、创建一个目录,并进入该目录
mkdir -p D:_ChatGPT\langchain-chatglm_test
cd D:_ChatGPT\langchain-chatglm_test

3、在该目录下载chatglm2-6b应用文件,这个下载很快。
git clone https://github.com/THUDM/ChatGLM2-6B

四、创建虚拟环境并安装依赖包
1、进入Anaconda Powershell Prompt
2、创建虚拟环境
conda create -n langchain-chatglm_test python=3.10
3、进入虚拟环境
conda activate langchain-chatglm_test
4、进入chatglm2-6b应用文件所在目录
cd D:_ChatGPT\langchain-chatglm_test\ChatGLM2-6B
5、安装相关依赖
pip install -r requirements.txt
pip install transformers4.26.1
pip install torch1.12.1+cu113 -f https://download.pytorch.org/whl/cu113/torch_stable.html
五、修改文件
1、进入D:_ChatGPT\langchain-chatglm_test\ChatGLM2-6B目录,用编辑器打开web_demo.py文件。
2、修改如下两处的模型地址,用实际的huggingface模型下载地址取代"/mnt/workspace/chatglm2-6b",例如:
tokenizer = AutoTokenizer.from_pretrained("THUDM/chatglm2-6b", trust_remote_code=True)
model = AutoModel.from_pretrained("THUDM/chatglm2-6b", trust_remote_code=True).cuda()
改为
tokenizer = AutoTokenizer.from_pretrained("D:\_ChatGPT\_common\chatglm2-6b", trust_remote_code=True)
model = AutoModel.from_pretrained("D:\_ChatGPT\_common\chatglm2-6b", trust_remote_code=True).cuda()
3、由于显存可能不够,可采用模型量化方式缩小模型,修改如下:
model = AutoModel.from_pretrained("D:\_ChatGPT\_common\chatglm2-6b", trust_remote_code=True).quantize(8).cuda()
如果用INT8量化还不行,可以改为INT4量化。
4、将文件对应处修改为如下,使得本地可以访问
demo.queue().launch(share=True, inbrowser=True, server_name='0.0.0.0', server_port=7860)
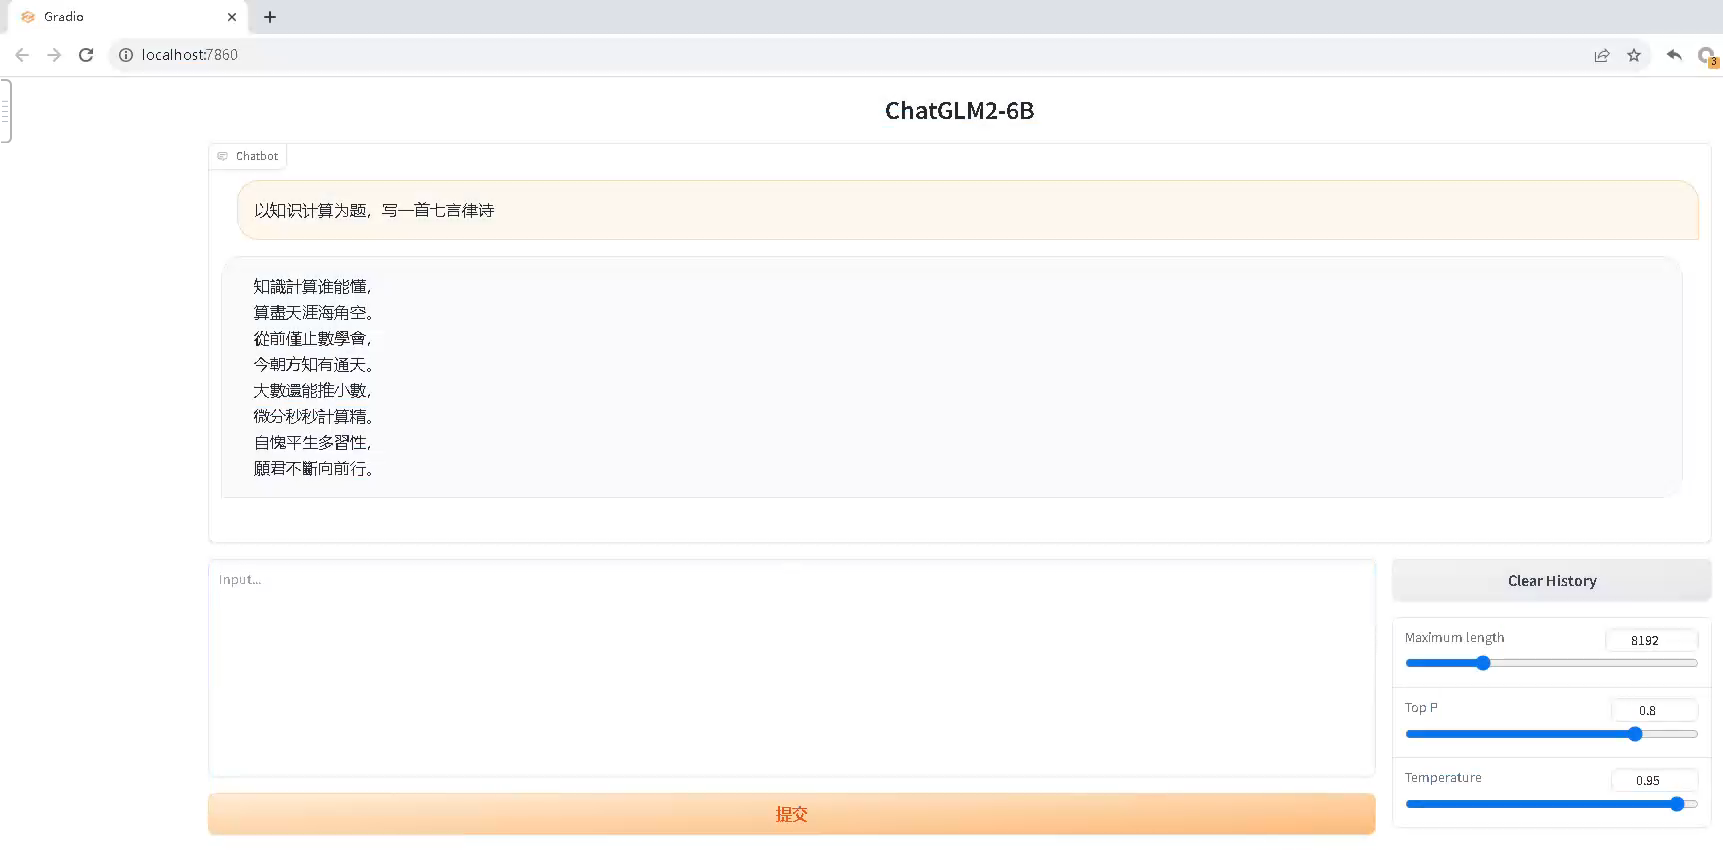
六、启动应用
1、进入Anaconda Powershell Prompt
2、进入虚拟环境
conda activate langchain-chatglm_test
3、进入chatglm2-6b应用文件所在目录
cd D:_ChatGPT\langchain-chatglm_test\ChatGLM2-6B
4、启动应用。注意启动应用前要关闭fanqiang,否则可以启动,但运行时报错。
python web_demo.py
七、报错及处理
1、报错:AssertionError: Torch not compiled with CUDA enabled
处理:pip install torch==1.12.1+cu113 -f https://download.pytorch.org/whl/cu113/torch_stable.html
2、报错:ModuleNotFoundError: No module named ‘transformers_modules.chatglm2-6b’
处理:pip install transformers==4.26.1


 9981
9981


 被折叠的 条评论
为什么被折叠?
被折叠的 条评论
为什么被折叠?
 到【灌水乐园】发言


