


We have noticed that a lot of people hit the same issue over and over again. When trying to connect via remote desktop protocol (rdp) to the Ubuntu machine, and after providing the credentials in the xRDP Login page, the user will only see a black screen displayed and the desktop interface is never loaded and displayed. This post will basically explain why this happens and how to reproduce the issue.
Black Screen when Remote Desktop to Ubuntu
Let’s assume that you have installed xRDP to enable Remote Desktop service on an Ubuntu machine. And you are still logged on into your Ubuntu machine system locally with your user account.
Now, you move to a Windows machine then connect to the Ubuntu using RDP.

If the credentials are correct, you will see your remote desktop session showing a black screen.
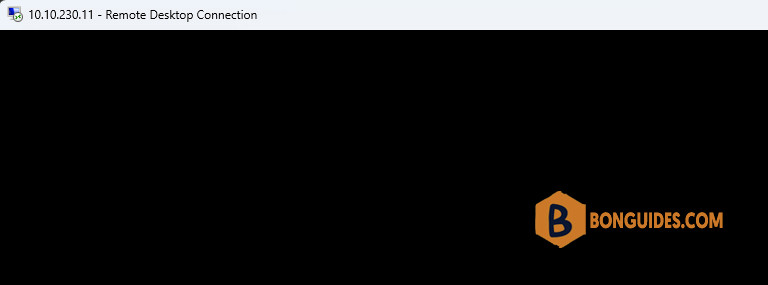
Remove Black Screen when Remote Desktop to Ubuntu
This situation will happen (or can happen) when the same user account is used concurrently locally and remotely. In other words, the problem is related to the fact that the same user account is already logged in locally and a remote connection is attempted at the same time.
To solve this issue, there is a simple fix. You need to ensure the account you are using to login via the remote desktop client is not currently logged on locally on the Ubuntu target machine. If this is the case, perform a logout operation.
Try again the remote desktop session and you will be able to perform your remote desktop connection and that your desktop interface will be loaded and made available for you.
Allow multiple sessions (local and remote) for the same user
If you don’t want to logout the current user, you can allow a user to login via xRDP even if the same user account is already logged on locally on the Ubuntu machine.
Method 1: Using dbus-launch approach
You will simply need to modify your /etc/xrdp/startwm.sh file and appending a one liner that will allow you to basically acquire the desktop while performing your remote connection even if you are already logged on locally. To implement this trick, simply open the /etc/xrdp/startwm.sh with your favorite text editor.
sudo nano /etc/xrdp/startwm.shAt the below line before this line test -x /etc/X11/Xsession && exec /etc/X11/Xsession. Then save the file.
Tip: To save the file in nano editor, press
> >
export $(dbus-launch)#!/bin/sh
# xrdp X session start script (c) 2015, 2017 mirabilos
# published under The MirOS Licence
if test -r /etc/profile; then
. /etc/profile
fi
...
export $(dbus-launch)
test -x /etc/X11/Xsession && exec /etc/X11/Xsession
exec /bin/sh /etc/X11/XsessionRestart the xrdp service to take the change goes into effect.
sudo systemctl restart xrdpMethod 2: unsetting DBUS_SESSION_BUS_ADRESS
This method is similar to the first one. You will also need to edit and modify the /etc/xrdp/startwm.sh file and add some additional commands to be executed when the remote session will be initiated.
At the below line before this line test -x /etc/X11/Xsession && exec /etc/X11/Xsession. Then save the file.
unset DBUS_SESSION_BUS_ADDRESS
unset XDG_RUNTIME_DIR
#!/bin/sh
# xrdp X session start script (c) 2015, 2017 mirabilos
# published under The MirOS Licence
if test -r /etc/profile; then
. /etc/profile
fi
...
unset DBUS_SESSION_BUS_ADDRESS
unset XDG_RUNTIME_DIR
test -x /etc/X11/Xsession && exec /etc/X11/Xsession
exec /bin/sh /etc/X11/XsessionNow, you can give it a try. Stay logged on locally on the machine and initiate your remote session.
Method 3:
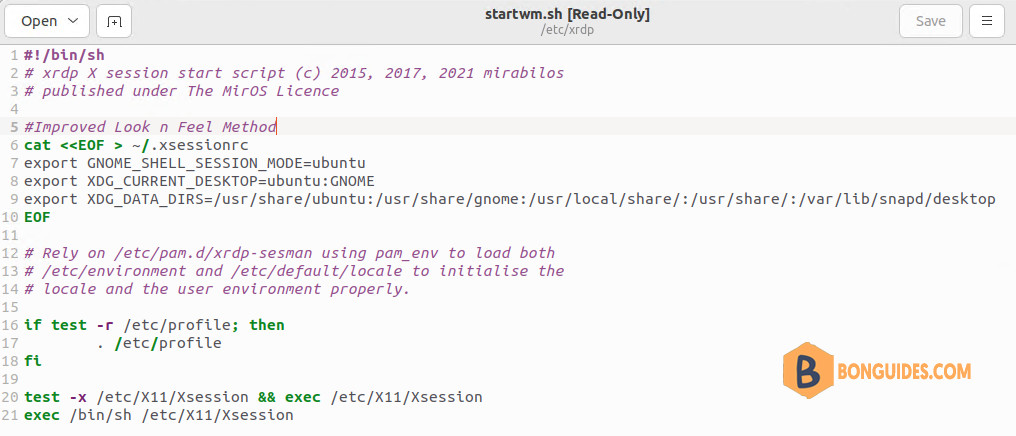
Add the following line at the begin of the file /etc/xrdp/startwm.sh.
#Improved Look n Feel Method
cat <<EOF > ~/.xsessionrc
export GNOME_SHELL_SESSION_MODE=ubuntu
export XDG_CURRENT_DESKTOP=ubuntu:GNOME
export XDG_DATA_DIRS=/usr/share/ubuntu:/usr/share/gnome:/usr/local/share/:/usr/share/:/var/lib/snapd/desktop
EOF
Tip: To save the file in nano editor, press
> >


 4442
4442

 被折叠的 条评论
为什么被折叠?
被折叠的 条评论
为什么被折叠?
 到【灌水乐园】发言


