


环境:mac os & android studio
一、启动私有链
搭建方法见 here
启动并设定RPC端口:
geth --identity "linoy" --rpc --rpccorsdomain "*" --datadir "./" --port "30303" --nodiscover --rpcapi "personal,db,eth,net,web3,miner" --networkid 1999 console 2>>geth.log
- 1
- 2
需要注意的是rpcapi 参数:
这个命令指示了允许通过RPC访问的命令。默认情况下,Geth允许web3。

当你准备使用不同的api接口时,在启动节点时要添加上不同的参数,比如你要使用rpc调用创建账户(personal操作),那么在启动的命令中就需要核实是否有–rpcapi参数,参数值中是否有personal选项,否则无法正常调用
- 1
- 2
- 3
- 4
二、Android studio新建项目并添加.jar包
下载地址:here
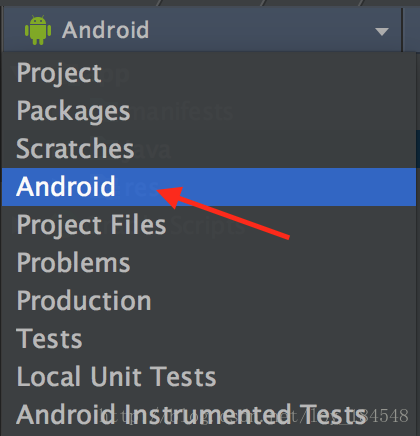
新建项目

选择project
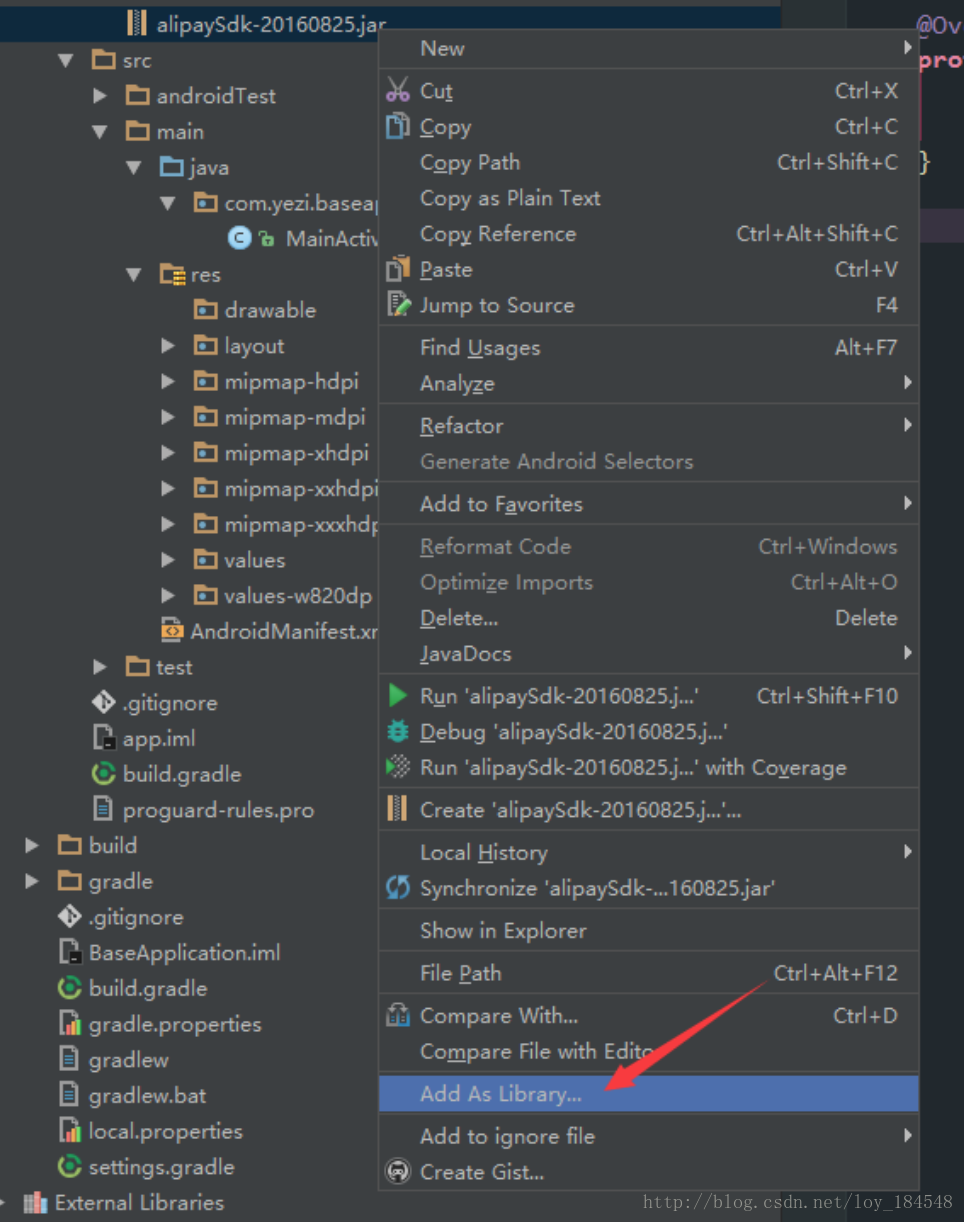
导入jar包
将你要导入的jar包拖入libs文件夹内,然后
三、设置布局文件
<Button
        android:id="@+id/showView"
        android:layout_width="match_parent"
        android:layout_height="wrap_content"
        android:text="getBlock"/>

<TextView
        android:layout_width="match_parent"
        android:layout_height="match_parent"
android:id="@+id/textview"/>- 1
- 2
- 3
- 4
- 5
- 6
- 7
- 8
- 9
- 10
四、设置权限
<uses-permission android:name="android.permission.INTERNET"/>- 1
五、主代码
package com.example.pro.blockchain1;

import android.os.Bundle;
import android.os.Handler;
import android.os.Message;
import android.support.v7.app.AppCompatActivity;
import android.view.View;
import android.widget.Button;
import android.widget.TextView;

import org.alexd.jsonrpc.JSONRPCException;
import org.alexd.jsonrpc.JSONRPCHttpClient;

import java.util.ArrayList;
import java.util.HashMap;
import java.util.List;
import java.util.Map;


public class MainActivity extends AppCompatActivity implements View.OnClickListener{

    private Button showButton;
    private TextView textview;

    public static final int SHOW = 0;

    private Handler handler = new Handler() {

        public void handleMessage(Message msg) {
            switch (msg.what) {
                case SHOW:
                    String a = (String) msg.obj;
                    textview.setText(a);
            }
        }
    };

    @Override
    protected void onCreate(Bundle savedInstanceState) {
        super.onCreate(savedInstanceState);
        setContentView(R.layout.activity_main);
        textview=(TextView)findViewById(R.id.textview);
        showButton = (Button) findViewById(R.id.showView);
        showButton.setOnClickListener(this);
    }

    @Override
    public void onClick(View v) {
        if(v.getId() == R.id.showView) {
            show();
        }
    }

    private void show() {
        new Thread(new Runnable() {
            @Override
            public void run() {
                try {
                    String url = "http://10.0.2.2:8545";   //注意,不是127.0.0.1
                    JSONRPCHttpClient client = new JSONRPCHttpClient(url);
                    Map<String, Object> map = new HashMap();
                    List paramsList = new ArrayList();
                    map.put("json-rpc", "2.0");
                    map.put("method", "web3_clientVersion");
                    map.put("params", paramsList);
                    map.put("id", "67");
                    String st = client.callString("web3_clientVersion", map);
                    Message msg = new Message();
                    msg.what =SHOW;
                    msg.obj = st;
                    handler.sendMessage(msg);
                } catch (JSONRPCException e) {
                //    textview.setText("step wrong??");
                    e.printStackTrace();
                }
            }
        }).start();
    }
}- 1
- 2
- 3
- 4
- 5
- 6
- 7
- 8
- 9
- 10
- 11
- 12
- 13
- 14
- 15
- 16
- 17
- 18
- 19
- 20
- 21
- 22
- 23
- 24
- 25
- 26
- 27
- 28
- 29
- 30
- 31
- 32
- 33
- 34
- 35
- 36
- 37
- 38
- 39
- 40
- 41
- 42
- 43
- 44
- 45
- 46
- 47
- 48
- 49
- 50
- 51
- 52
- 53
- 54
- 55
- 56
- 57
- 58
- 59
- 60
- 61
- 62
- 63
- 64
- 65
- 66
- 67
- 68
- 69
- 70
- 71
- 72
- 73
- 74
- 75
- 76
- 77
- 78
- 79
- 80
可以看到结果:

其他事例
String url = "http://10.0.2.2:8545";
JSONRPCHttpClient client = new JSONRPCHttpClient(url);
Map<String, Object> map = new HashMap();
List paramsList = new ArrayList();
map.put("id", "1");
map.put("json-rpc", "2.0");
map.put("params", paramsList);

//personal_listAccounts
String st = client.callString("personal_listAccounts", map);

//personal_newAccount
paramsList.add("123456");
String st = client.callString("personal_newAccount", map);
- 1
- 2
- 3
- 4
- 5
- 6
- 7
- 8
- 9
- 10
- 11
- 12
- 13
- 14
- 15
- 16
版权声明:本文为博主原创文章,未经博主允许不得转载。 http://blog.csdn.net/loy_184548/article/details/78515600


 695
695

 被折叠的 条评论
为什么被折叠?
被折叠的 条评论
为什么被折叠?
 到【灌水乐园】发言


