


REST全称Representation State Transfer,表现形式状态转换
文章目录
1. 为什么提出了REST?
传统风格资源描述形式:
- http://localhost/user/getById?id=1
- http://localhost/user/saveUser
REST风格描述形式:
- http://localhost/user/1
- http://localhost/user
REST风格优点:
- 隐藏资源的访问行为,无法通过地址得知对资源是何种操作(REST风格描述的第二项既可以描述一个
saveUser操作,也可以描述一个updateUser操作) - 书写简化
按照REST风格访问资源时使用行为动作区分对资源进行了何种操作,根据REST风格对资源进行访问称为RESTful
| 地址 | 作用 | 行为动作 |
|---|---|---|
| http://localhost/users | 查询全部用户信息 | GET (查询) |
| http://localhost/user/1 | 查询指定用户信息 | GET (查询) |
| http://localhost/users | 添加用户信息 | POST (新增/保存) |
| http://localhost/users | 修改用户信息 | PUT (修改/更新) |
| http://localhost/users/1 | 删除用户信息 | DELETE (删除) |
注: 上述行为是约定方式,约定不是规范,可以打破,所以称REST风格,而不是REST规范
描述模块的名称通常使用复数,也就是加s的格式描述,表示此类资源,而非单个资源,例如:users、books、accounts…
2. RESTful入门案例
案例代码
config/ServletContainerInitConfig.java
package com.demo.config;

import org.apache.ibatis.jdbc.Null;
import org.springframework.web.context.WebApplicationContext;
import org.springframework.web.context.support.AnnotationConfigWebApplicationContext;
import org.springframework.web.filter.CharacterEncodingFilter;
import org.springframework.web.servlet.support.AbstractAnnotationConfigDispatcherServletInitializer;
import org.springframework.web.servlet.support.AbstractDispatcherServletInitializer;

import javax.servlet.Filter;

public class ServletContainerInitConfig extends AbstractAnnotationConfigDispatcherServletInitializer {
    @Override
    protected Class<?>[] getRootConfigClasses() {
        return new Class[0];
    }

    @Override
    protected Class<?>[] getServletConfigClasses() {
        return new Class[]{SpringMvcConfig.class};
    }

    @Override
    protected String[] getServletMappings() {
        return new String[]{"/"};
    }

    @Override
    protected Filter[] getServletFilters() {
        CharacterEncodingFilter filter = new CharacterEncodingFilter();
        filter.setEncoding("UTF-8");
        return new Filter[]{filter};
    }
}
config/SpringMvcConfig.java
package com.demo.config;

import org.springframework.context.annotation.ComponentScan;
import org.springframework.context.annotation.Configuration;
import org.springframework.web.servlet.config.annotation.EnableWebMvc;

@Configuration
@ComponentScan("com.demo.controller")
@EnableWebMvc
public class SpringMvcConfig {
}
controller/BookController.java
package com.demo.controller;

import com.demo.domain.Book;
import org.springframework.stereotype.Controller;
import org.springframework.web.bind.annotation.*;

@Controller
public class BookController {

    @RequestMapping(value = "/books", method = RequestMethod.POST)
    @ResponseBody
    public String save(@RequestBody Book book){
        System.out.println("book save ...");
        return "{'module': 'book save'}";
    }

    @RequestMapping(value = "/books", method = RequestMethod.DELETE)
    @ResponseBody
    public String delete(@PathVariable Integer id){
        System.out.println("book delete ..." + id);
        return "{'module': 'book delete'}";
    }

    @RequestMapping(value = "/books", method = RequestMethod.PUT)
    @ResponseBody
    public String update(@RequestBody Book book){
        System.out.println("book update ..." + book);
        return "{'module': 'book update'}";
    }

    @RequestMapping(value = "/books/{id}", method = RequestMethod.GET)
    @ResponseBody
    public String getById(@PathVariable Integer id){
        System.out.println("book getById ..." + id);
        return "{'module': 'book getById'}";
    }

    @RequestMapping(value = "/books", method = RequestMethod.GET)
    @ResponseBody
    public String getAll(){
        System.out.println("book getAll ...");
        return "{'module': 'book update'}";
    }
}
controller/UserController.java
package com.demo.controller;

import org.springframework.stereotype.Controller;
import org.springframework.web.bind.annotation.RequestMapping;
import org.springframework.web.bind.annotation.ResponseBody;

@Controller
public class UserController {

    @RequestMapping("/save")
    @ResponseBody
    public String save(){
        System.out.println("User save...");
        return "{'module': 'springmvc'}";
    }

    @RequestMapping("/delete")
    @ResponseBody
    public String delete(Integer id){
        System.out.println("User delete..." + id);
        return "{'module': 'springmvc'}";
    }

	@RequestMapping("/update")
    @ResponseBody
    public String update(@RequestBody User user){
        System.out.println("User update... => " + user);
        return "{'module': 'springmvc'}";
    }
}
domain/User.java
package com.demo.domain;

public class User {
    private String name;
    private int age;

    Address address;

    @Override
    public String toString() {
        return "User{" +
                "name='" + name + '\'' +
                ", age=" + age +
                ", address=" + address +
                '}';
    }

    public Address getAddress() {
        return address;
    }

    public void setAddress(Address address) {
        this.address = address;
    }

    public String getName() {
        return name;
    }

    public void setName(String name) {
        this.name = name;
    }

    public int getAge() {
        return age;
    }

    public void setAge(int age) {
        this.age = age;
    }
}
domain/Book.java
package com.demo.domain;

public class Book {
    String bookName;
    String issn;

    @Override
    public String toString() {
        return "Book{" +
                "bookName='" + bookName + '\'' +
                ", issn='" + issn + '\'' +
                '}';
    }

    public String getBookName() {
        return bookName;
    }

    public void setBookName(String bookName) {
        this.bookName = bookName;
    }

    public String getIssn() {
        return issn;
    }

    public void setIssn(String issn) {
        this.issn = issn;
    }
}
修改请求方式
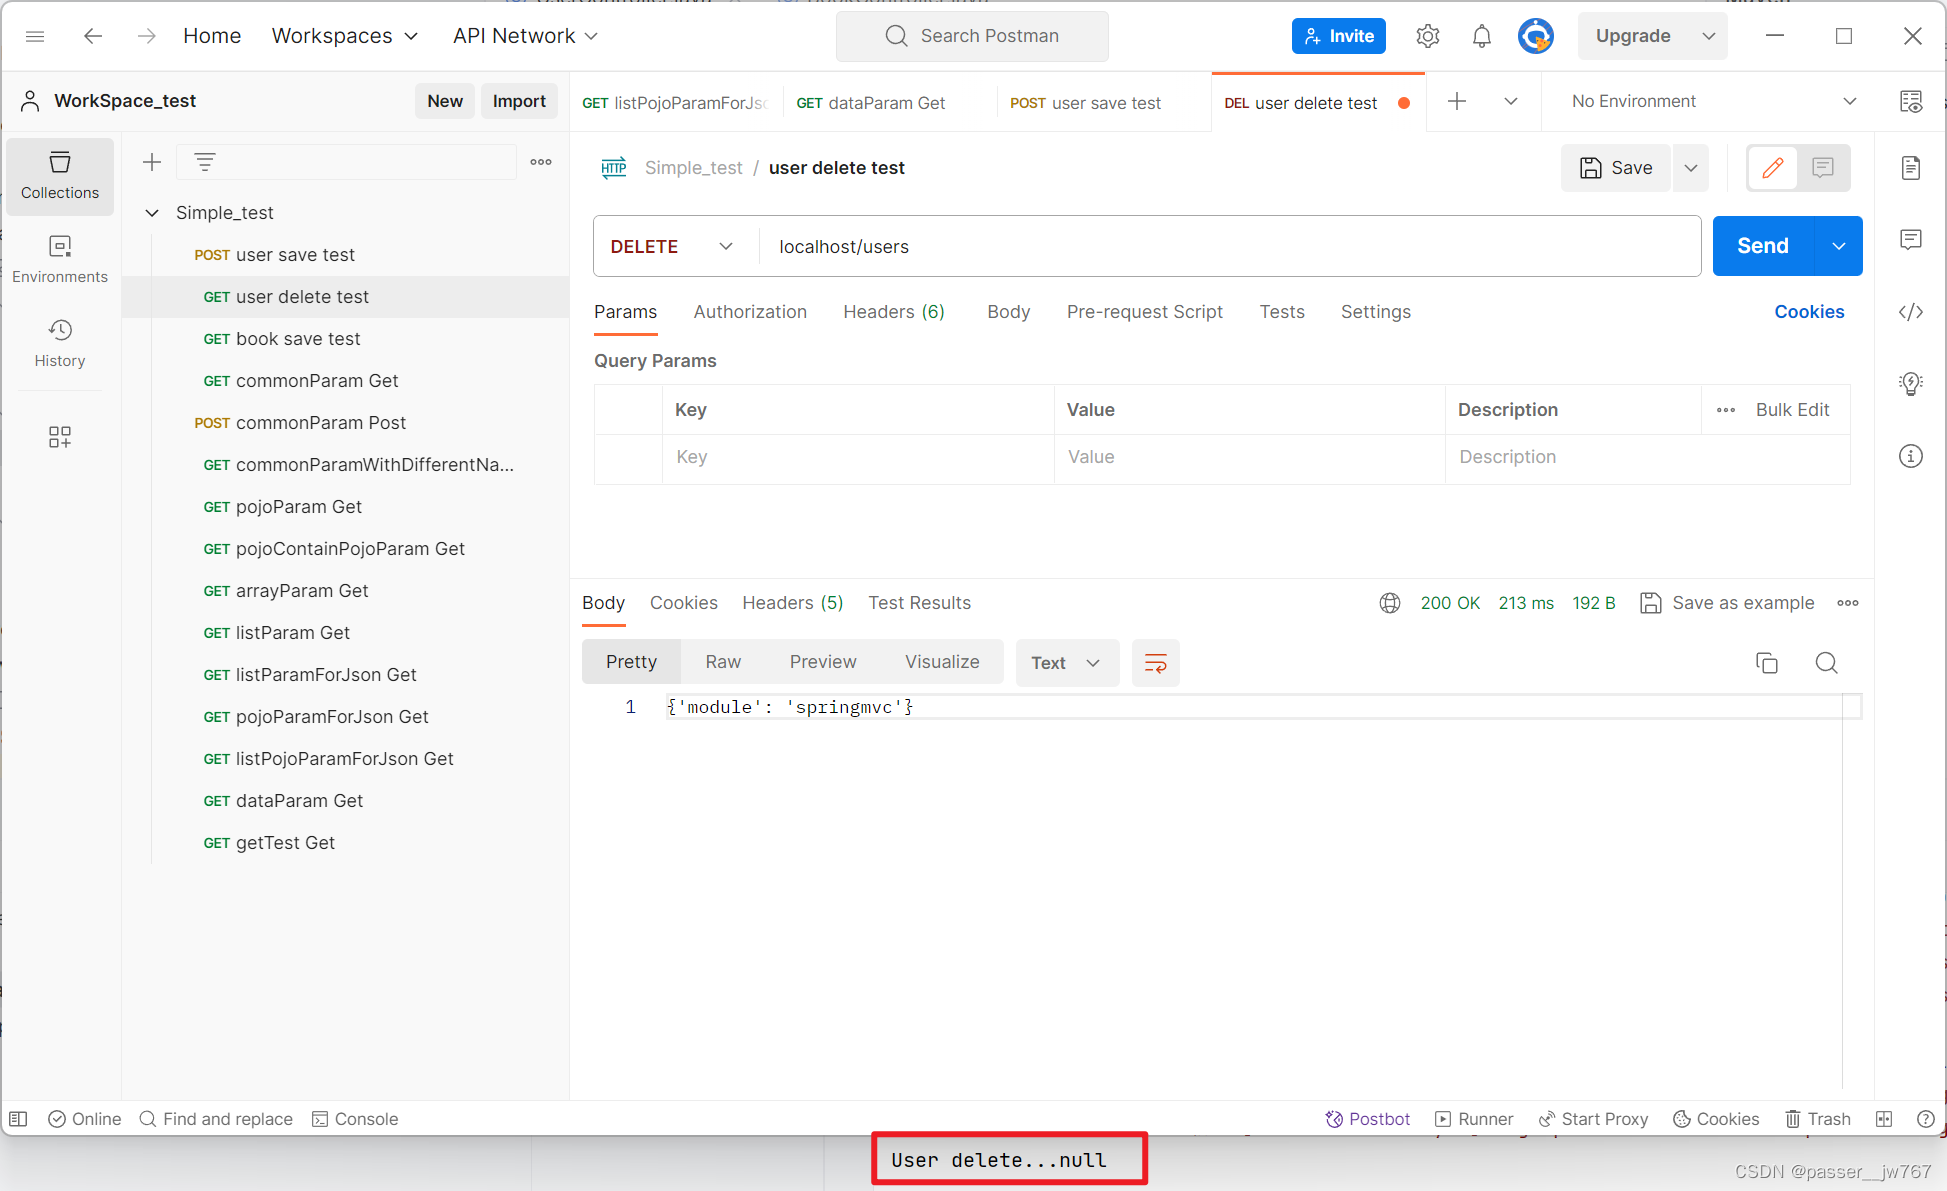
测试一下UserController中的三个方法:
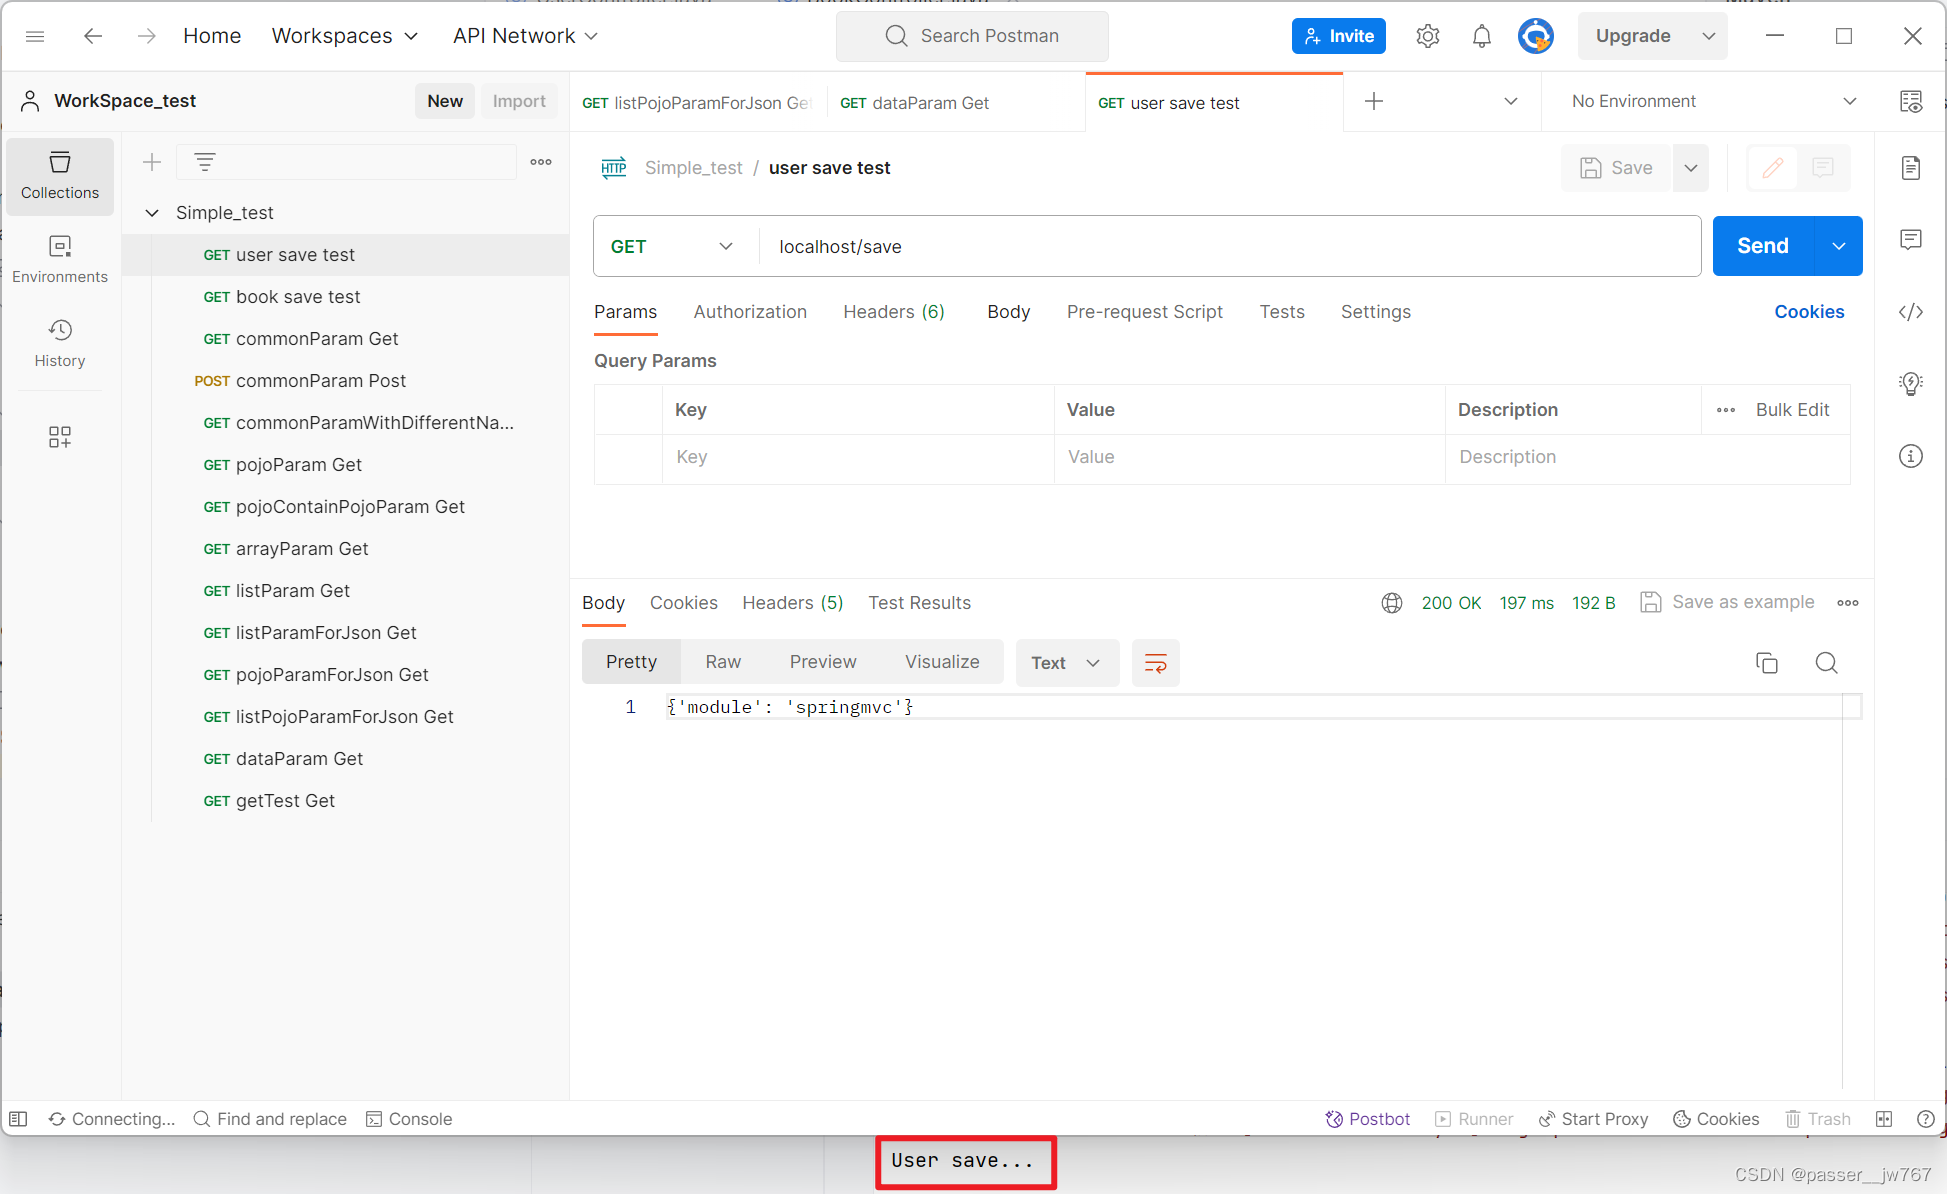
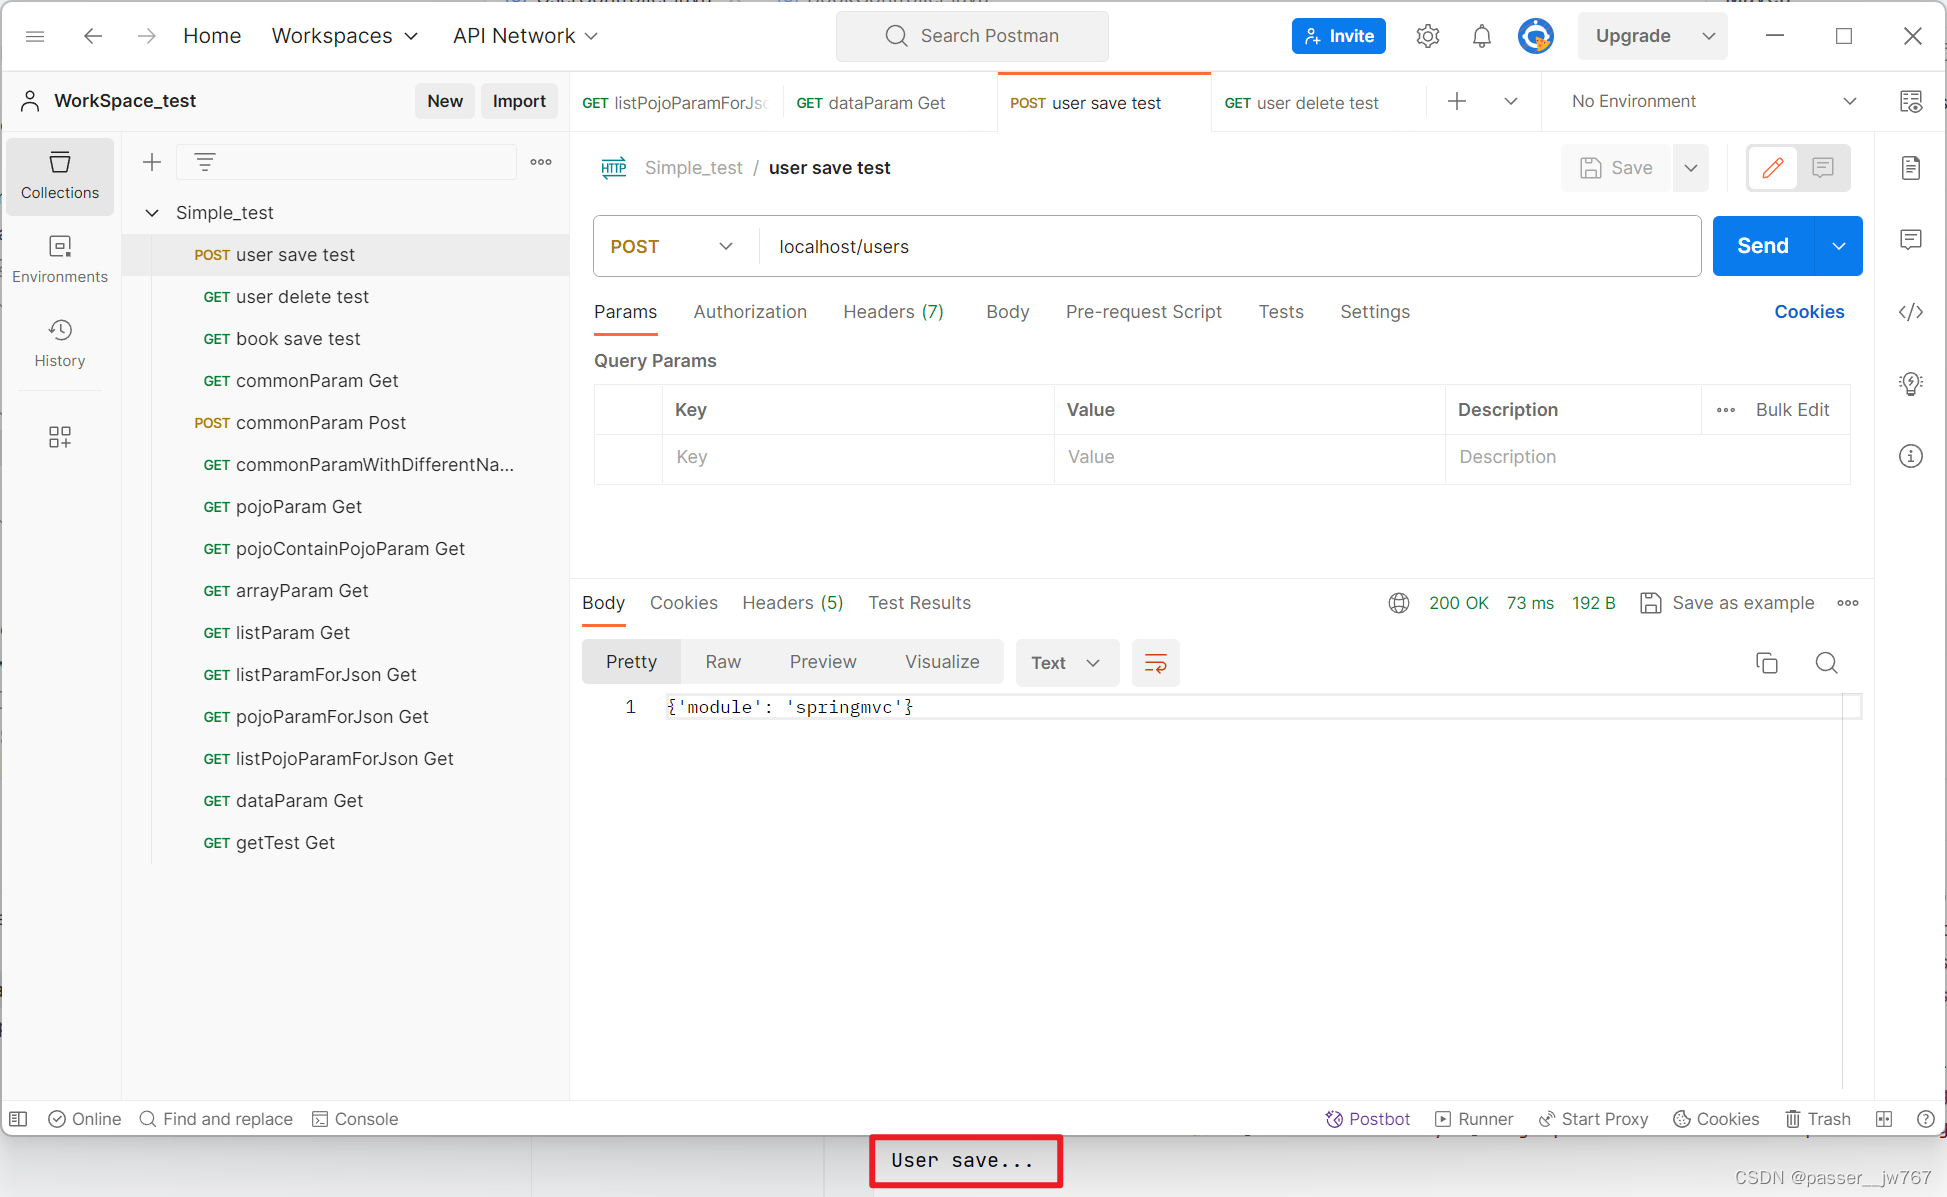
修改成RESTful风格,并以POST方式提交
将两个方法上的@RequestMapping注解,均新增一个method属性,并修改value属性,如下:
@RequestMapping(value = "/users", method = RequestMethod.POST)
@RequestMapping(value = "/users", method = RequestMethod.DELETE)
@RequestMapping(value = "/users", method = RequestMethod.PUT)
再运行,发现可以运行(注意,Postman中请求的模式要记得修改):
RESTful格式下传参
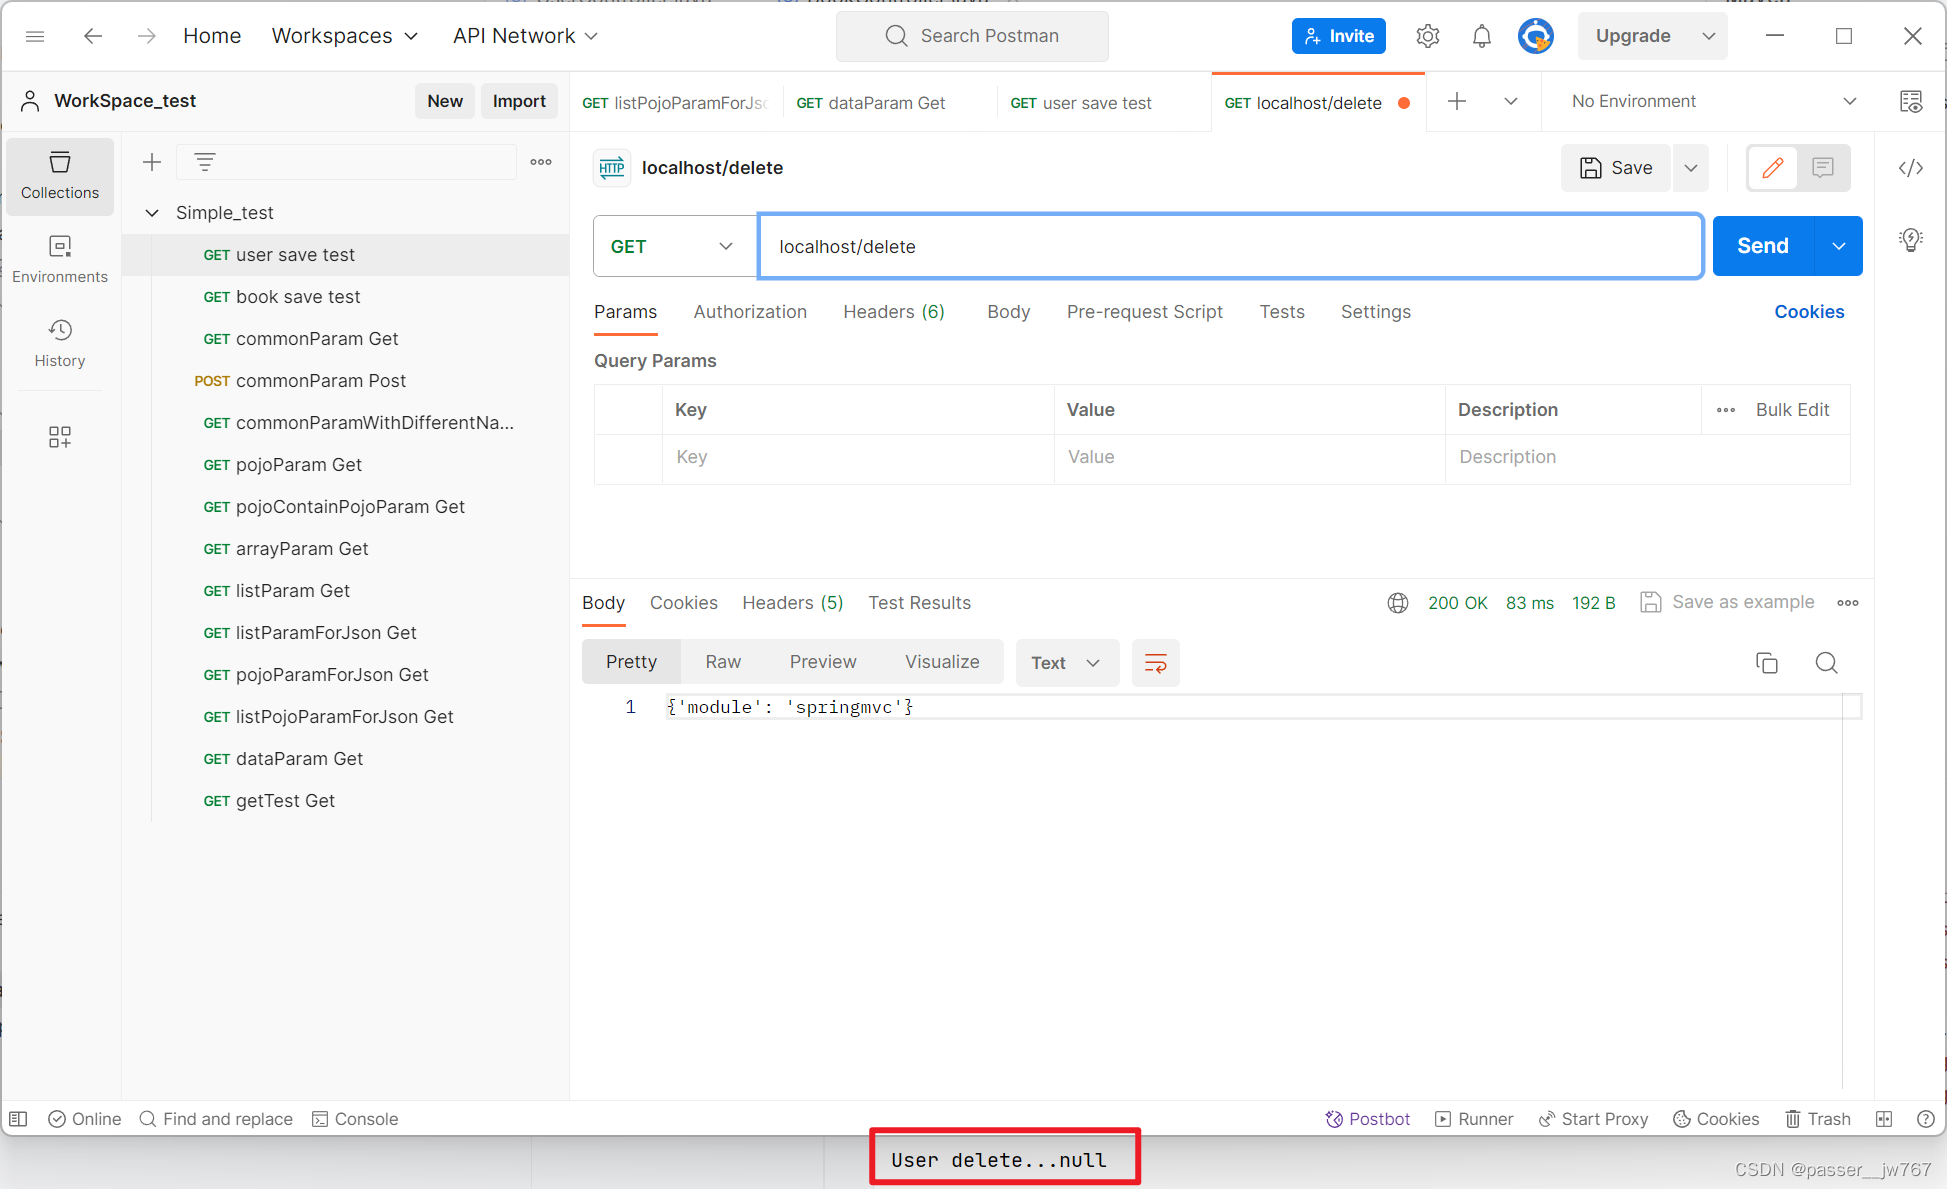
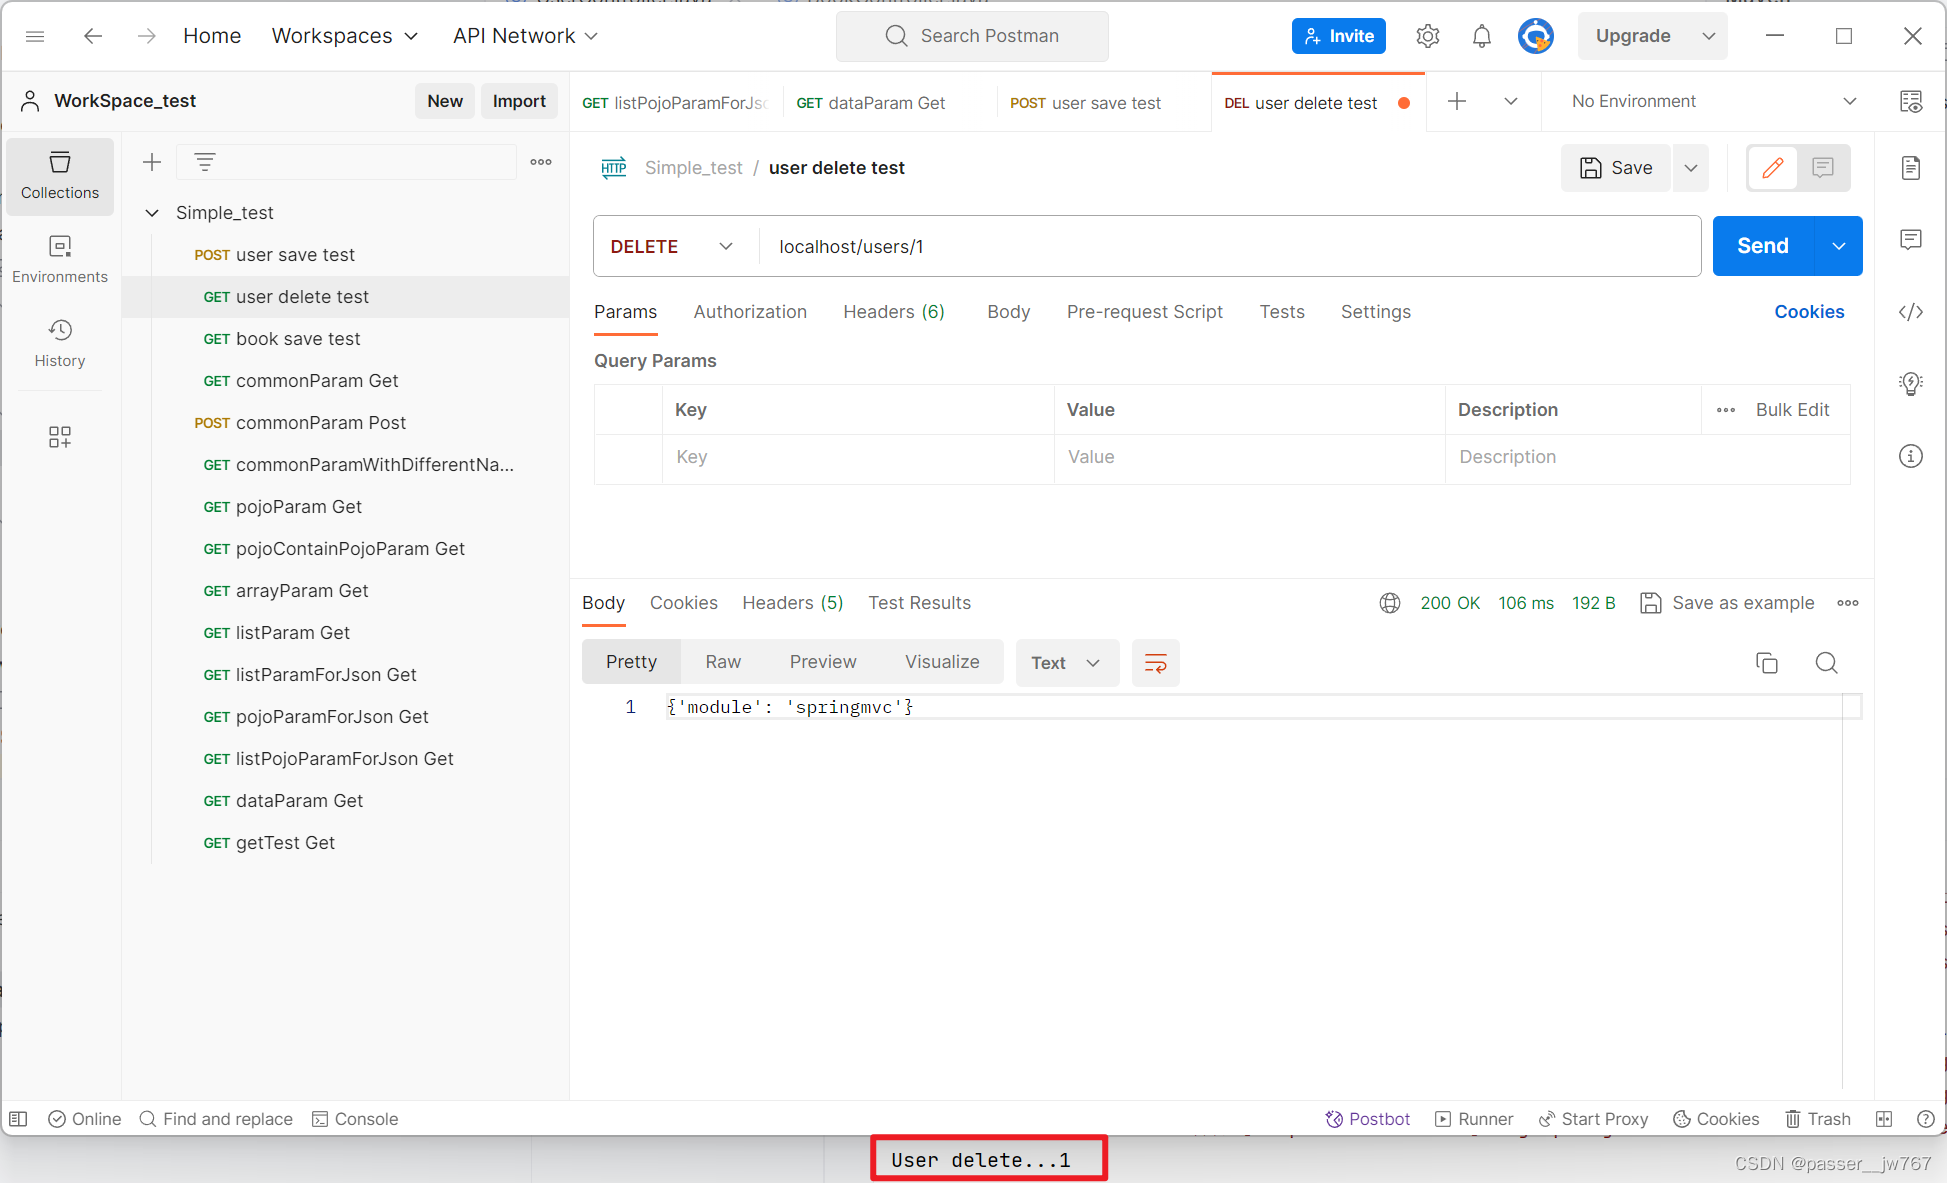
我们的delete方法中是有参数的,那在RESTful风格下,我们的路径是localhost/delete/1,那这个1怎么传到方法中的id里呢?
应该在路径后面接上{variable name}来表示我们想要传递的参数,这里variable name填写的应该是方法中的参数名;并在方法的参数前面使用@PathVariable注解声明该变量来自路径。例如:
@RequestMapping(value = "/users/{id}", method = RequestMethod.DELETE)
@ResponseBody
public String delete(@PathVariable Integer id){
    System.out.println("User delete..." + id);
    return "{'module': 'springmvc'}";
}
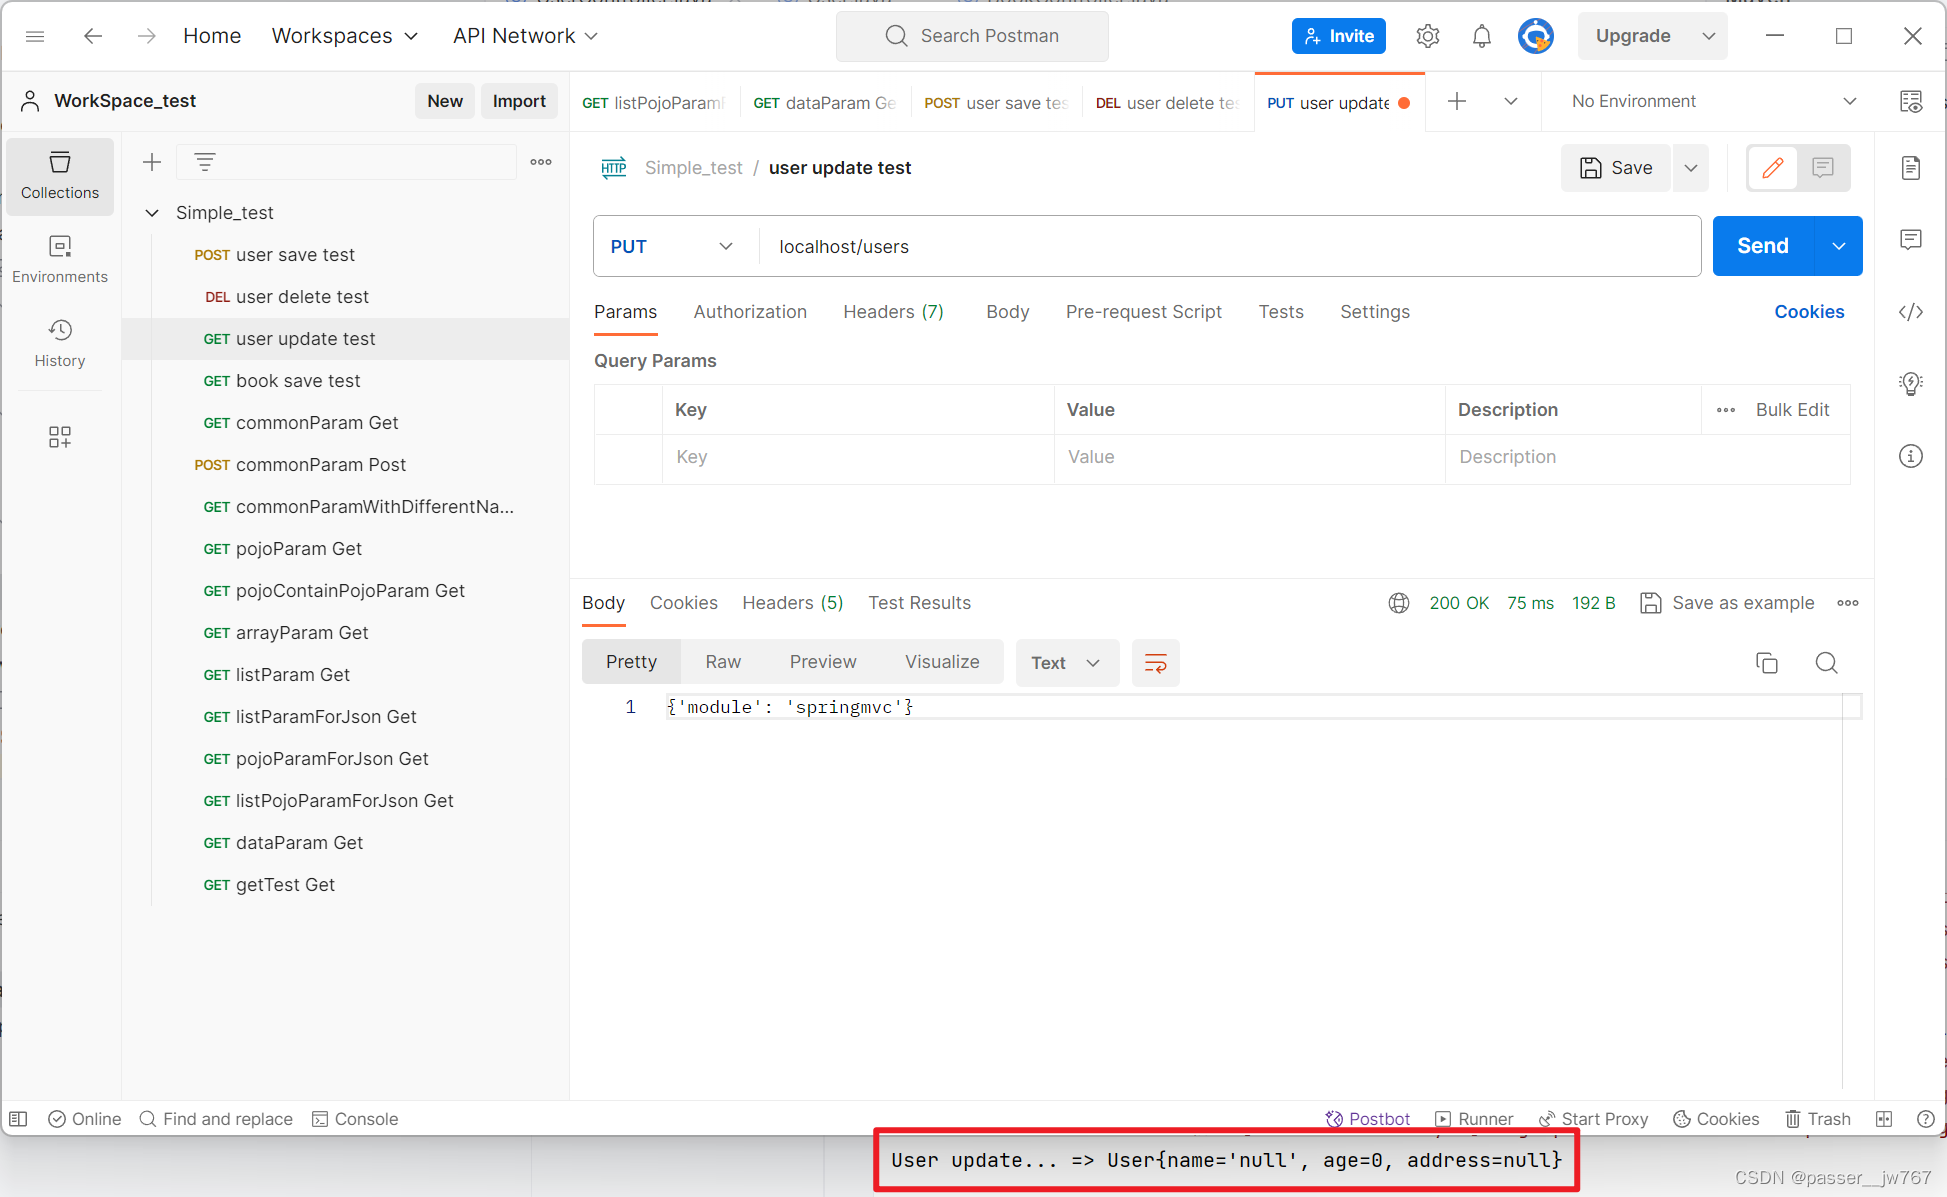
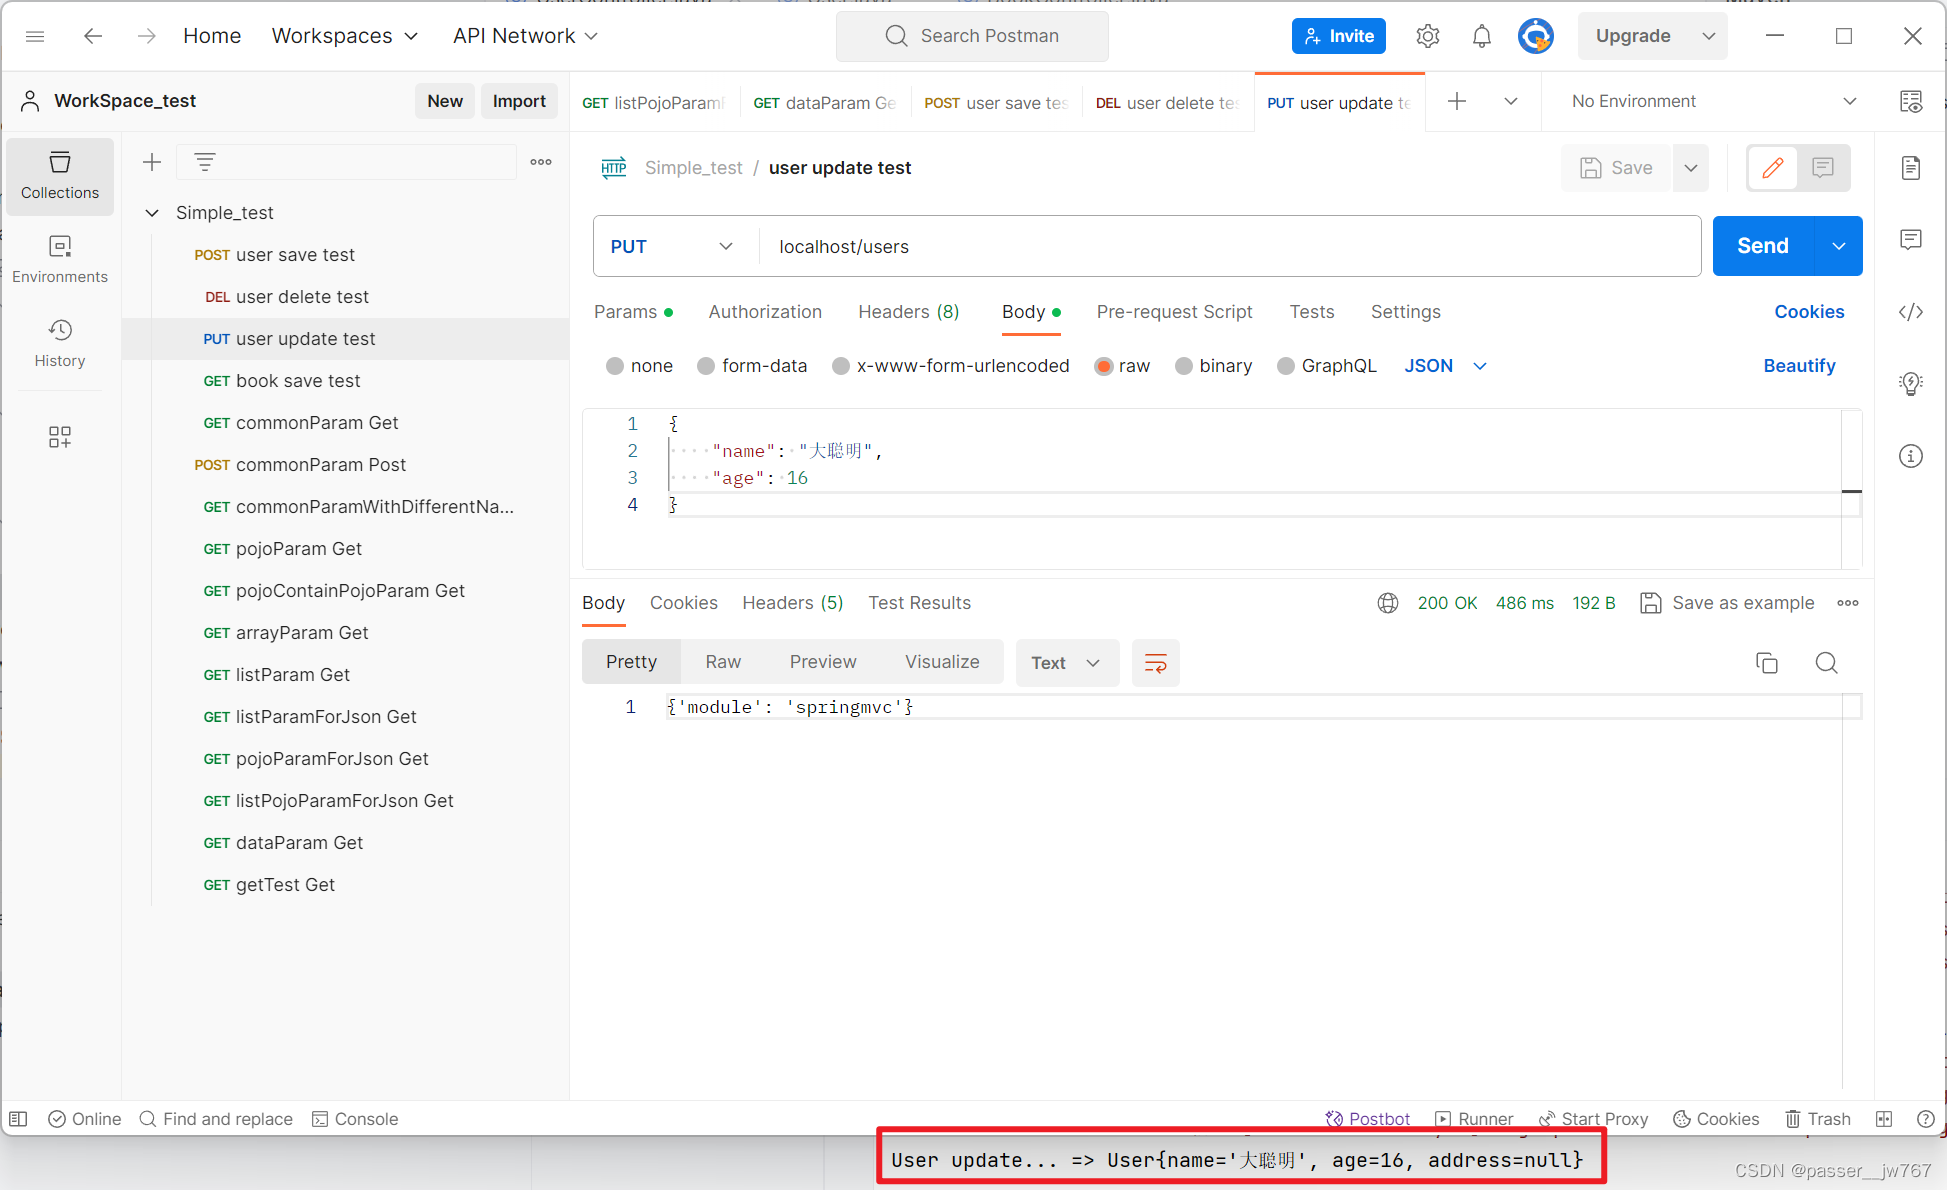
但对于像Update方法中这种传User这种POJO数据(注意 Integer不算POJO数据)的,则不需要做改动
修改后请求delete方法如下
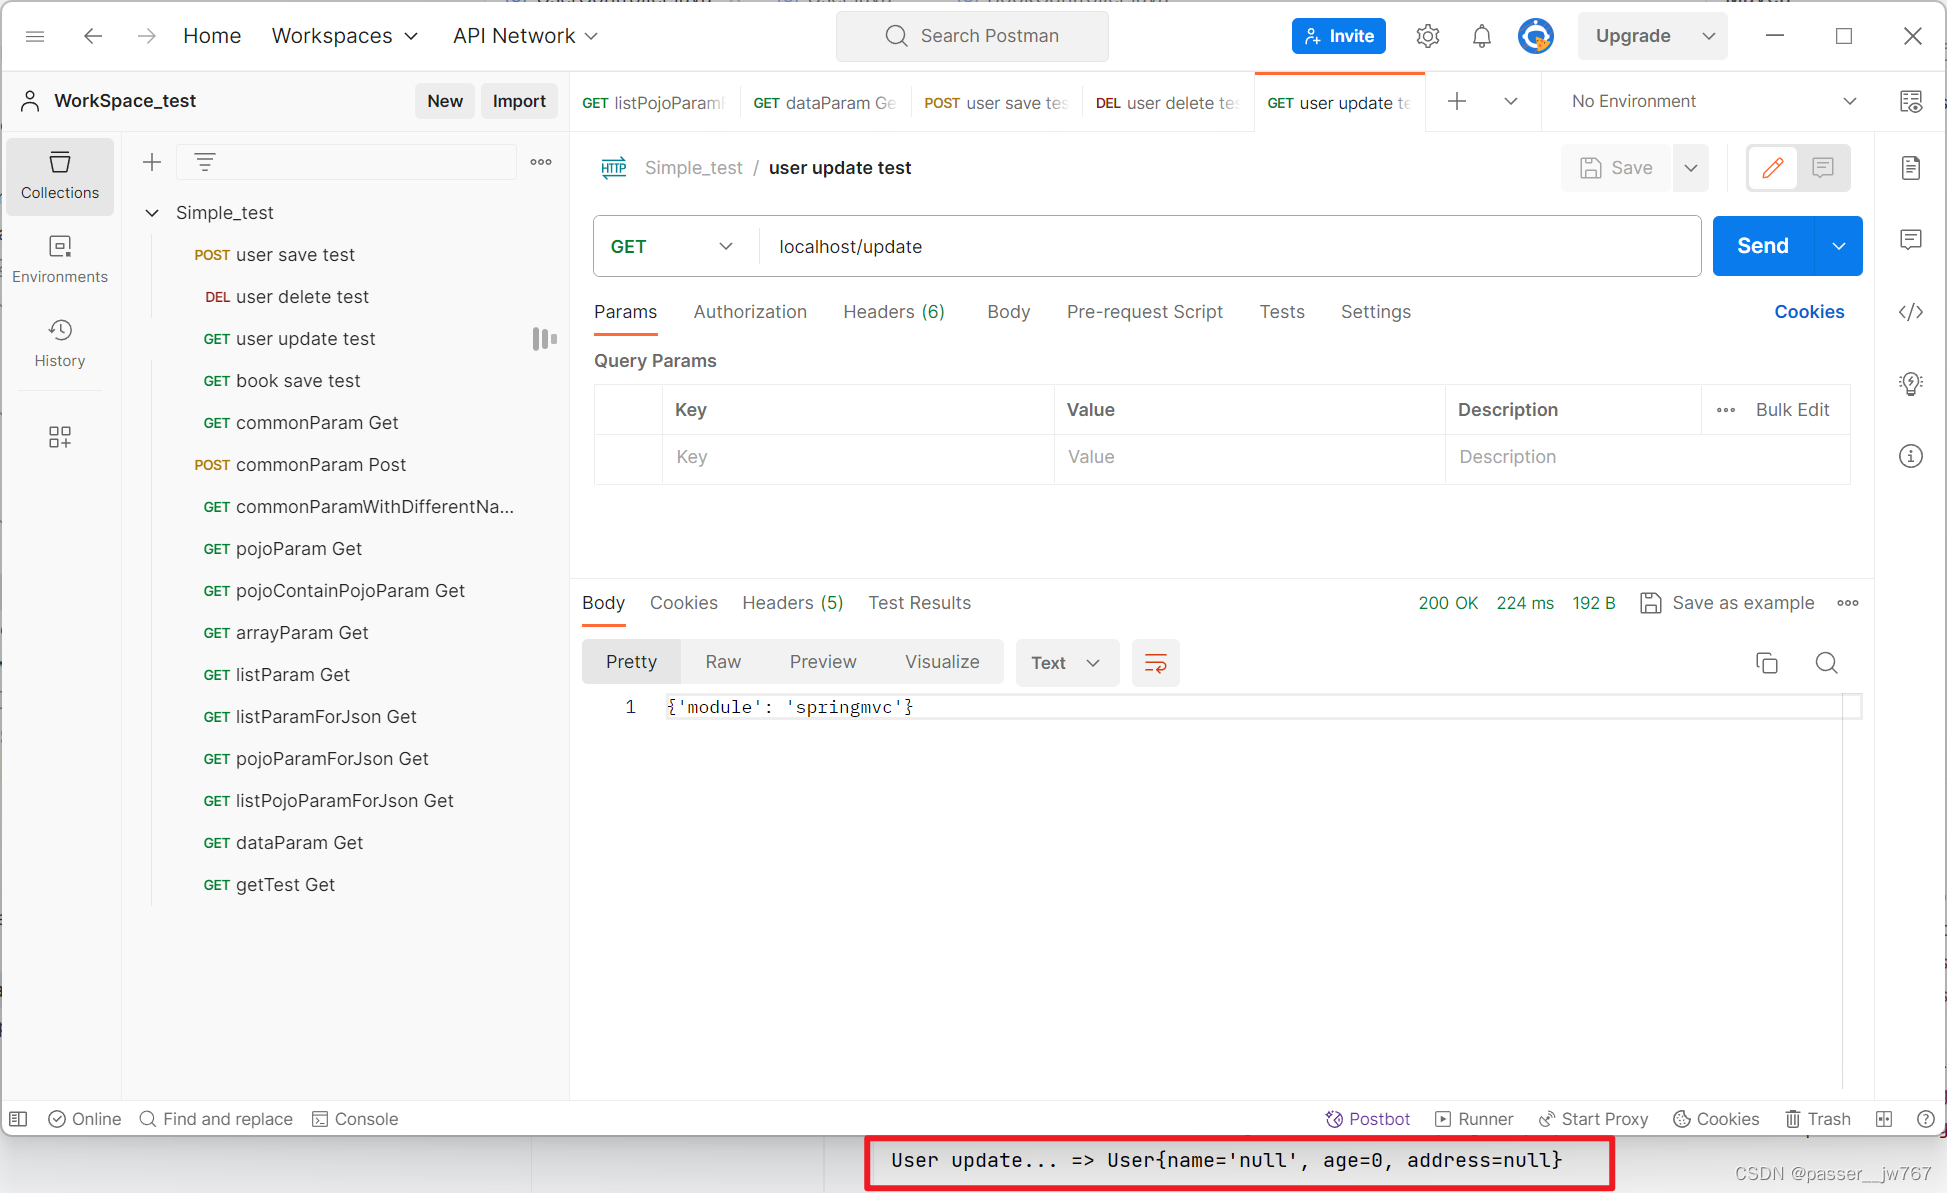
请求update方法仍然是将JSON数据转换为POJO,
RESTful入门案例总结
想要使用RESTful风格,步骤如下:
- 设定http请求动作(动词),如Request.POST, Request.PUT, Request.GET, Request.Delete等
- 设定请求参数(路径变量),在请求路径中使用
{variable name}添加请求参数,方法中的参数前使用@PathVariable进行注解
@RequestBody,@RequestParam,@PathVariable总结
区别:
@RequestBody用于接收JSON数据@RequestParam用于接收url地址或表单传参@PathVariable用于接收路径参数,使用{参数名称}描述路径参数
应用:
- 后期开发中,发送请求参数超过1个时,以JSON格式为主,
@RequestBody应用较广 - 发送非JSON格式数据,选用
@RequestParam接收请求参数 - 采用RESTful开发,当参数量较少时,例如1个,可以采用
@PathVariable接收请求路径变量,通常用于传递id值。当然也可以通过@PathVariable注解接收多个请求路径变量,但多个变量主要还是用JSON
3. RESTful快速开发
入门案例中存在一个问题,如下(下边以BookController为例讲解),红框中内容重复,应该简化掉:
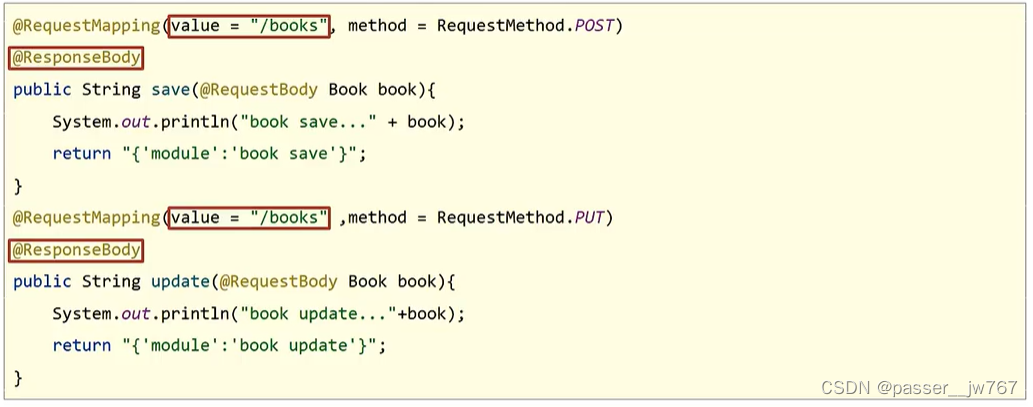
第一次修改
针对于这个问题,我们首先可以将@RequestMapping作为类注解写在类上,@ResponseBody也可以作为类注解写在类上。但有一个更简便的办法:@RestController注解包含了@Controller和@ResponseBody,最终修改如下:
package com.demo.controller;

import com.demo.domain.Book;
import org.springframework.stereotype.Controller;
import org.springframework.web.bind.annotation.*;

@RequestMapping("books")
@RestController
public class BookController {

    @RequestMapping(method = RequestMethod.POST)
    public String save(@RequestBody Book book){
        System.out.println("book save ...");
        return "{'module': 'book save'}";
    }

    @RequestMapping(method = RequestMethod.DELETE)
    public String delete(@PathVariable Integer id){
        System.out.println("book delete ..." + id);
        return "{'module': 'book delete'}";
    }

    @RequestMapping(method = RequestMethod.PUT)
    public String update(@RequestBody Book book){
        System.out.println("book update ..." + book);
        return "{'module': 'book update'}";
    }

    @RequestMapping(method = RequestMethod.GET)
    public String getById(@PathVariable Integer id){
        System.out.println("book getById ..." + id);
        return "{'module': 'book getById'}";
    }

    @RequestMapping(method = RequestMethod.GET)
    public String getAll(){
        System.out.println("book getAll ...");
        return "{'module': 'book update'}";
    }
}
第二次修改
修改完以后,代码里又存在大量的@RequestMapping(method=...),也挺冗余的,可以做如下修改:
将@RequestMapping(method = RequestMethod.xxx)替换成@xxxMapping
如果在@RequestMapping中还有表示参数的value,就在@xxxMapping后加上(参数路径),比如@xxxMapping("/{id}")。
所有代码再次修改如下:
package com.demo.controller;

import com.demo.domain.Book;
import org.springframework.stereotype.Controller;
import org.springframework.web.bind.annotation.*;

@RequestMapping("books")
@RestController
public class BookController {

    @PostMapping
    public String save(@RequestBody Book book){
        System.out.println("book save ...");
        return "{'module': 'book save'}";
    }

    @DeleteMapping("/{id}")
    public String delete(@PathVariable Integer id){
        System.out.println("book delete ..." + id);
        return "{'module': 'book delete'}";
    }

    @PutMapping
    public String update(@RequestBody Book book){
        System.out.println("book update ..." + book);
        return "{'module': 'book update'}";
    }

    @GetMapping("/{id}")
    public String getById(@PathVariable Integer id){
        System.out.println("book getById ..." + id);
        return "{'module': 'book getById'}";
    }

    @GetMapping
    public String getAll(){
        System.out.println("book getAll ...");
        return "{'module': 'book update'}";
    }
}
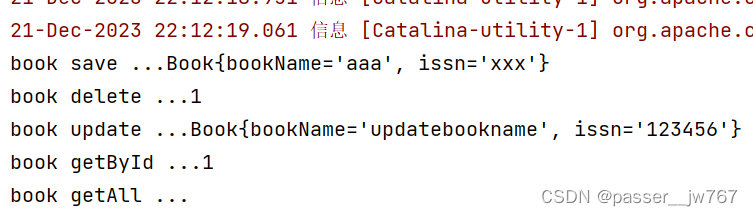
逐项进行测试:
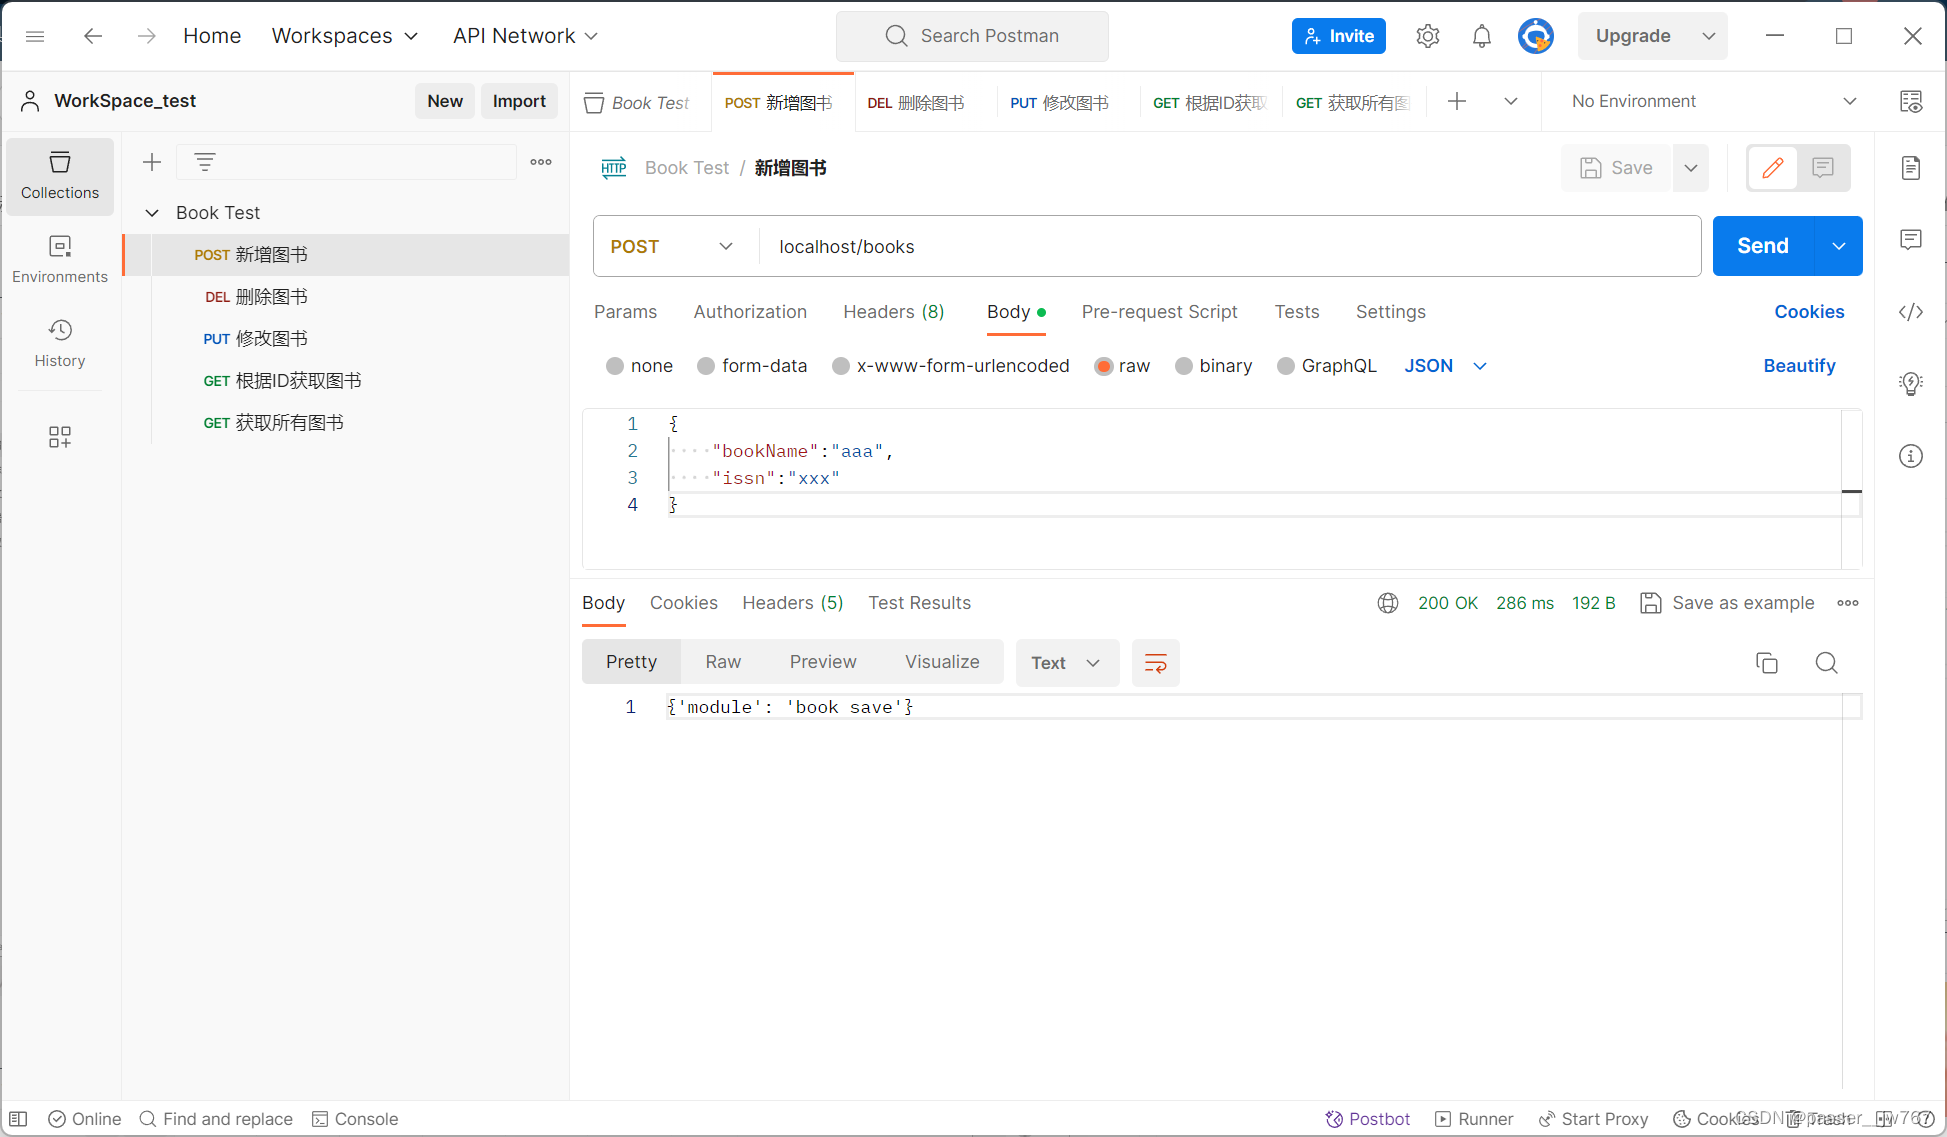
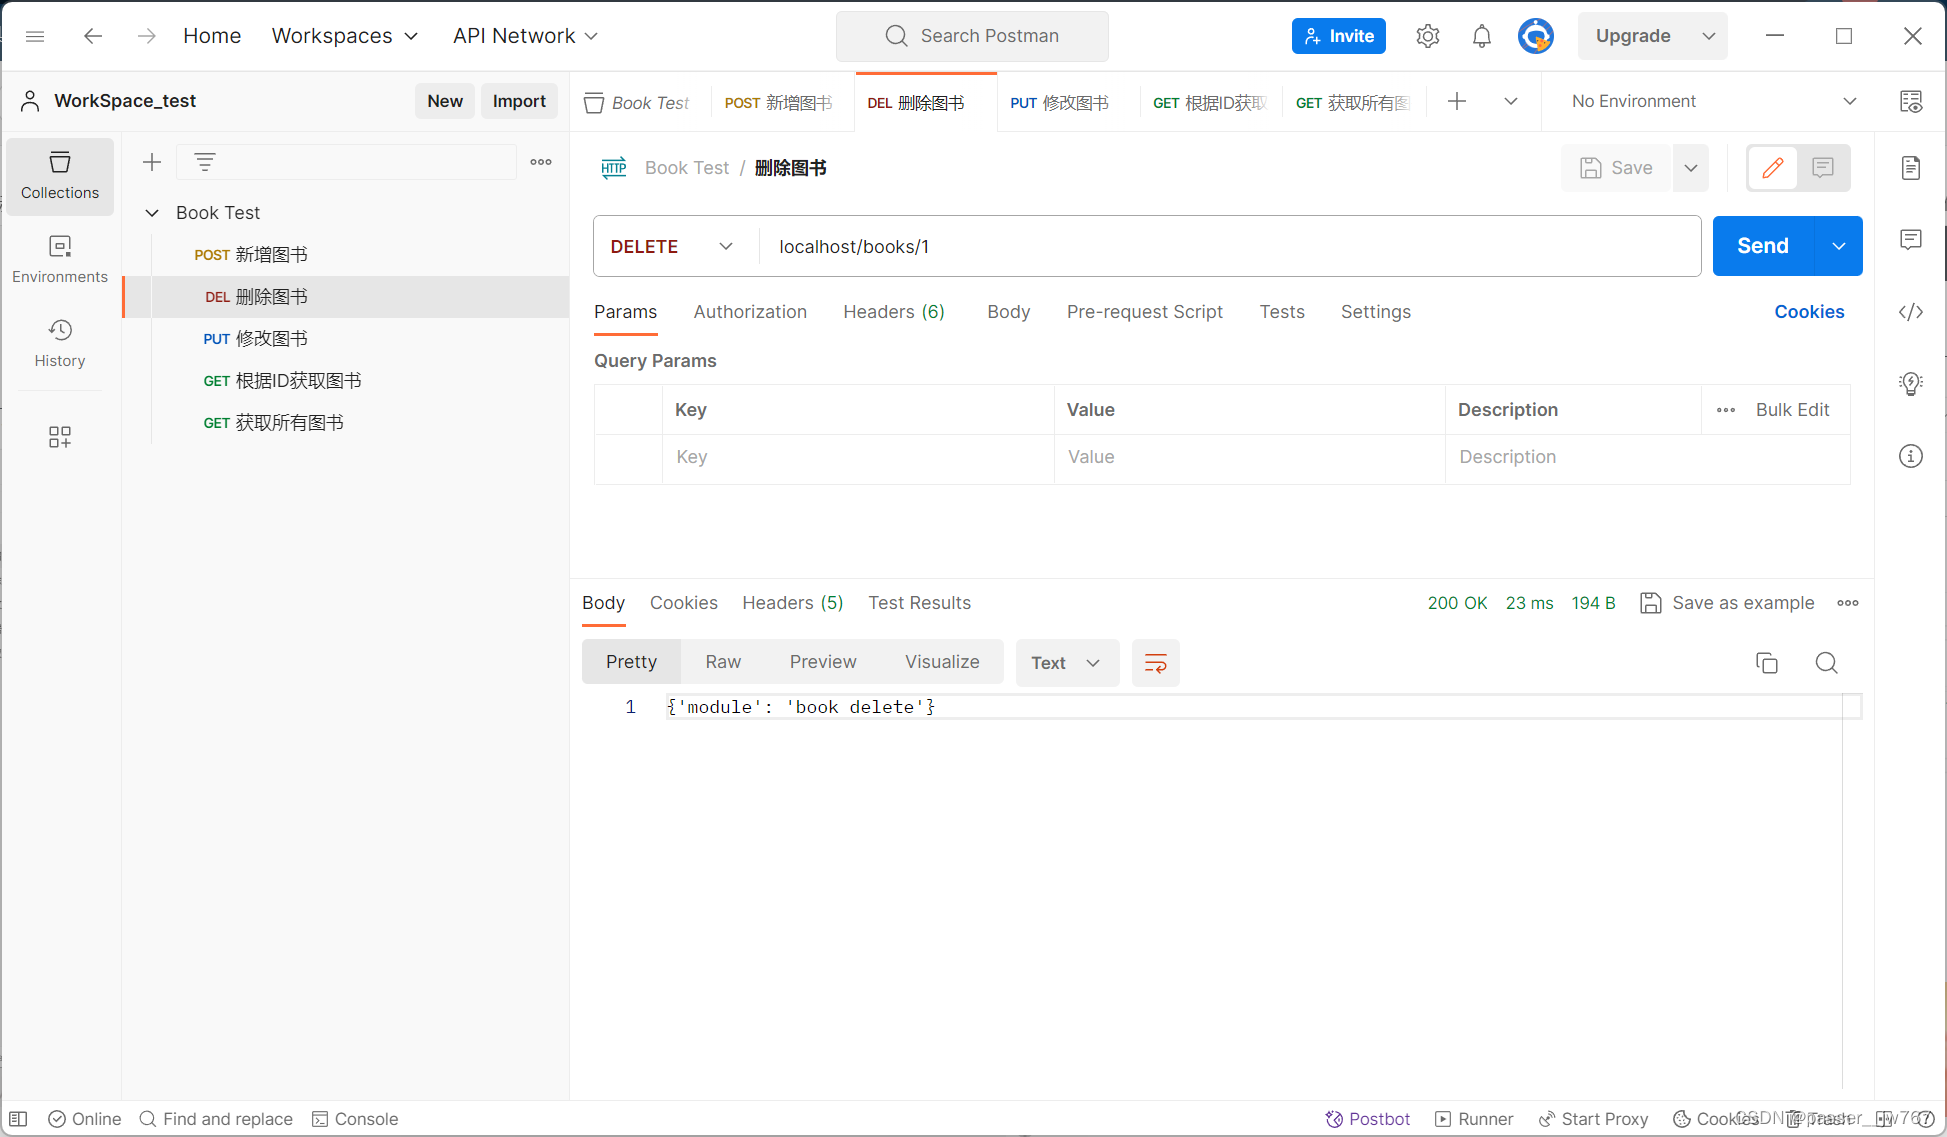
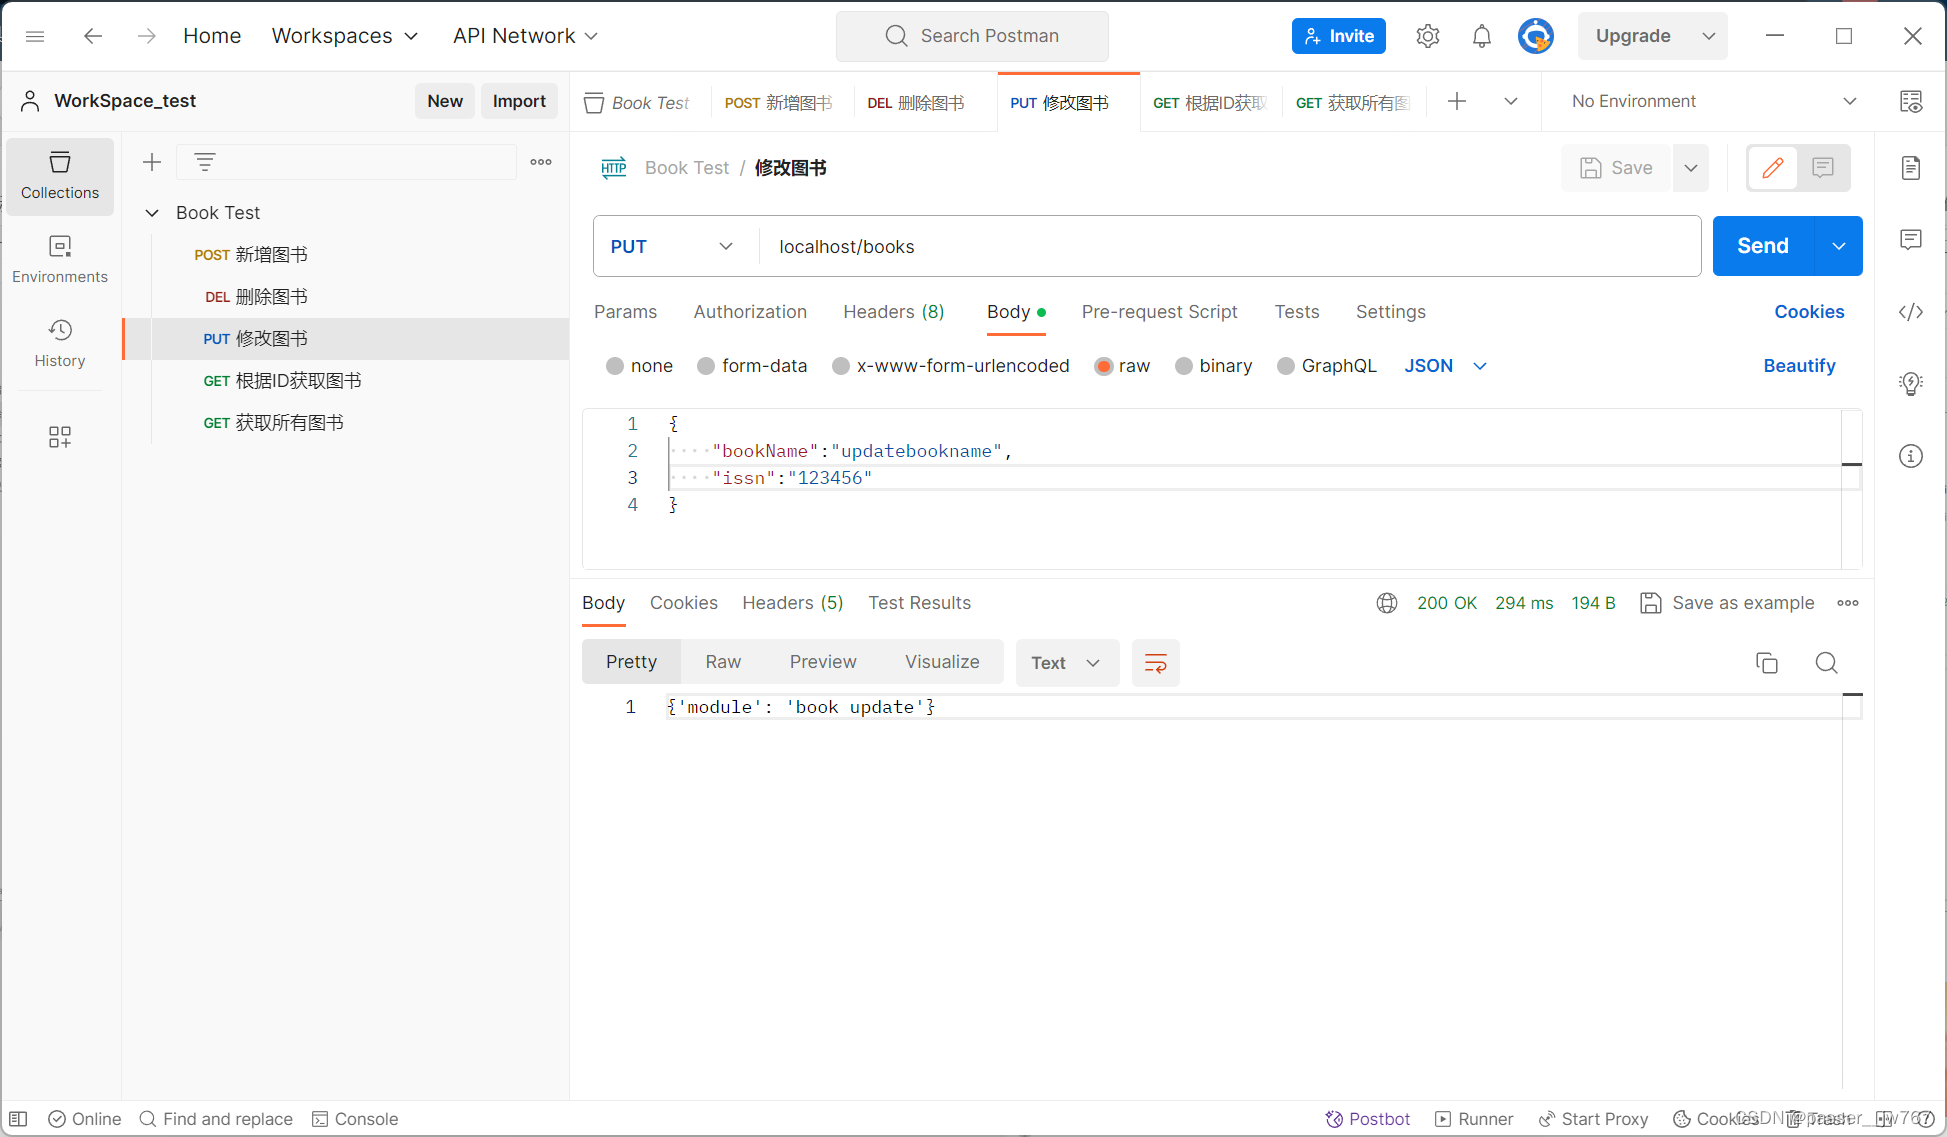


控制台输出:
快速开发注解总结
@RestController:类注解,在控制器类上方进行定义,设置当前控制器为RESTful风格,等同于@Controller和@ResponseBody两个注解组合功能@GetMapping,@PostMapping,@PutMapping,@DeleteMapping:方法注解,注解在SpringMVC的RESTful开发控制器方法上方,其作用是设置当前控制器方法访问路径与请求动作,每种对应一个请求动作
4. RESTful案例开发
我们在这个案例下的目标是通过RESTful实现案例交互:发送RESTful请求,获取数据后在页面中展示结果
案例代码(一些config的设定和domain等)
config/SevletContainerInitConfig.java
package com.demo.config;

import org.apache.ibatis.jdbc.Null;
import org.springframework.web.context.WebApplicationContext;
import org.springframework.web.context.support.AnnotationConfigWebApplicationContext;
import org.springframework.web.filter.CharacterEncodingFilter;
import org.springframework.web.servlet.support.AbstractAnnotationConfigDispatcherServletInitializer;
import org.springframework.web.servlet.support.AbstractDispatcherServletInitializer;

import javax.servlet.Filter;

public class ServletContainerInitConfig extends AbstractAnnotationConfigDispatcherServletInitializer {
    @Override
    protected Class<?>[] getRootConfigClasses() {
        return new Class[0];
    }

    @Override
    protected Class<?>[] getServletConfigClasses() {
        return new Class[]{SpringMvcConfig.class};
    }

    @Override
    protected String[] getServletMappings() {
        return new String[]{"/"};
    }

    @Override
    protected Filter[] getServletFilters() {
        CharacterEncodingFilter filter = new CharacterEncodingFilter();
        filter.setEncoding("UTF-8");
        return new Filter[]{filter};
    }
}
config/SpringMvcConfig.java
package com.demo.config;

import org.springframework.context.annotation.ComponentScan;
import org.springframework.context.annotation.Configuration;
import org.springframework.web.servlet.config.annotation.EnableWebMvc;

@Configuration
@ComponentScan("com.demo.controller")
@EnableWebMvc
public class SpringMvcConfig {
}
domain/Book.java
package com.demo.domain;

public class Book {
    private Integer id;
    private String type;
    private String name;
    private String description;

    @Override
    public String toString() {
        return "Book{" +
                "id=" + id +
                ", type='" + type + '\'' +
                ", name='" + name + '\'' +
                ", description='" + description + '\'' +
                '}';
    }

    public Integer getId() {
        return id;
    }

    public void setId(Integer id) {
        this.id = id;
    }

    public String getType() {
        return type;
    }

    public void setType(String type) {
        this.type = type;
    }

    public String getName() {
        return name;
    }

    public void setName(String name) {
        this.name = name;
    }

    public String getDescription() {
        return description;
    }

    public void setDescription(String description) {
        this.description = description;
    }
}
后台Controller的开发
写一个save方法和一个getAll方法
package com.demo.controller;
import com.demo.domain.Book;
import org.springframework.web.bind.annotation.*;
import java.util.ArrayList;
import java.util.List;
@RestController
@RequestMapping("/books")
public class BookController {
@PostMapping
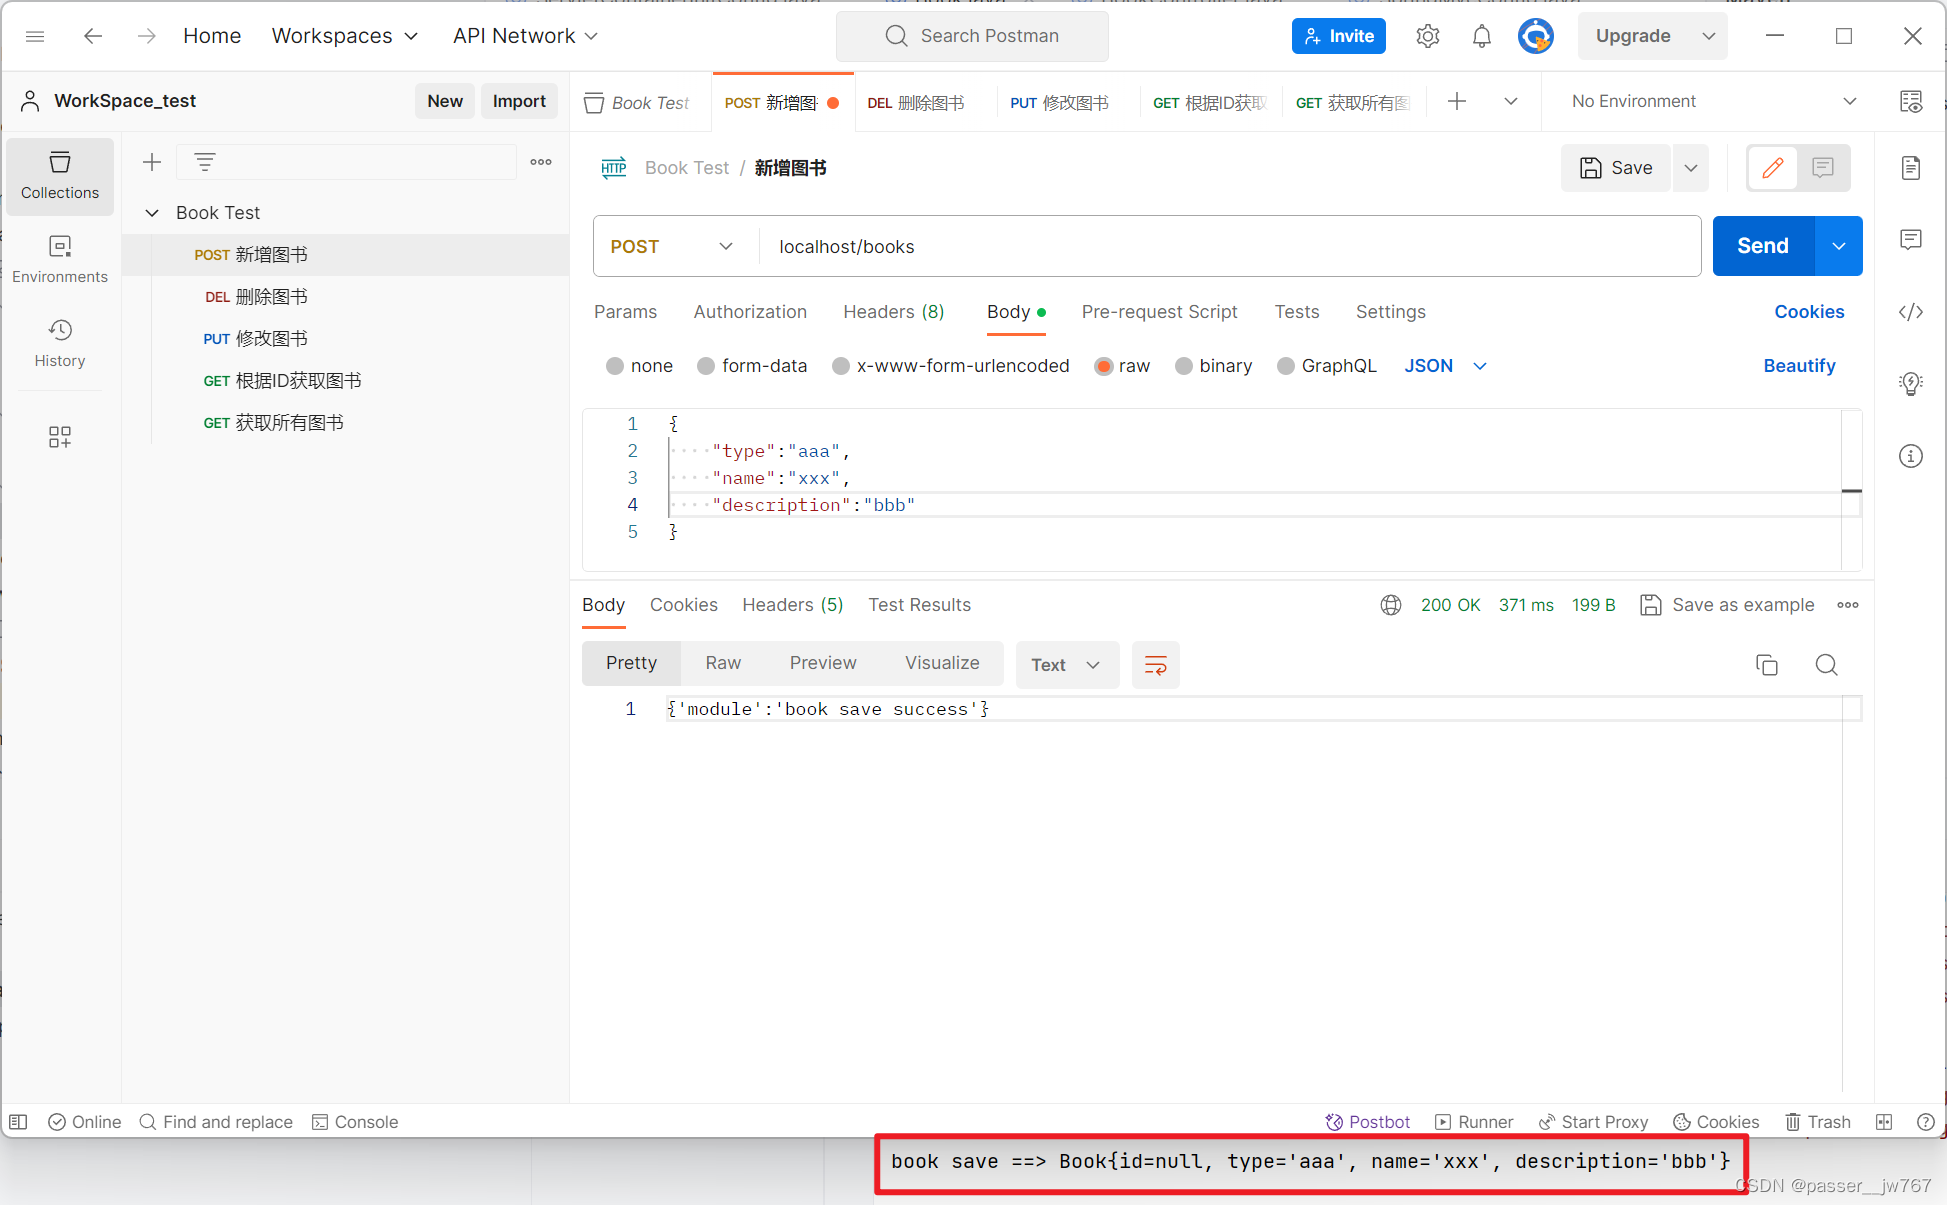
public String save(@RequestBody Book book){
System.out.println("book save ==> " + book);
return "{'module':'book save success'}";
}
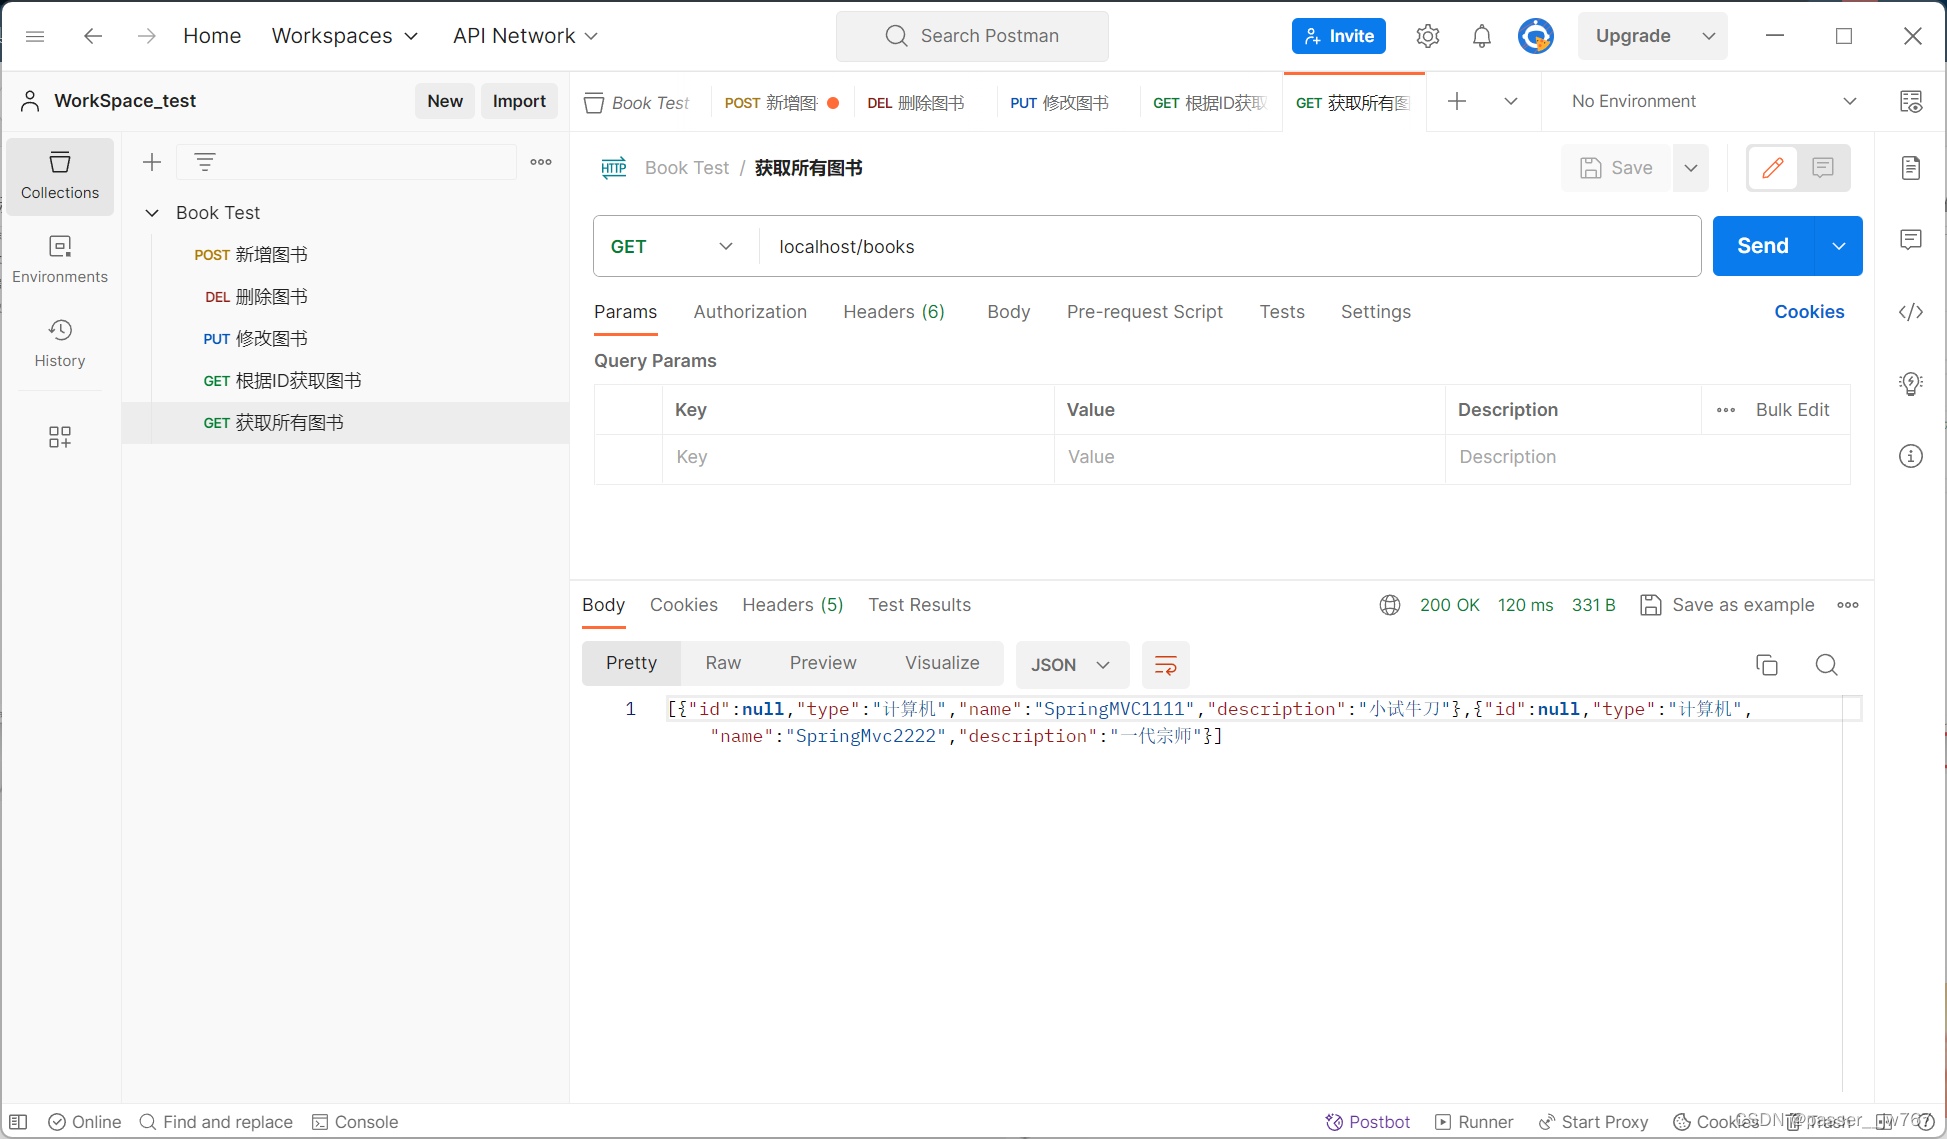
@GetMapping
public List<Book> getAll(){
Book book1 = new Book();
book1.setType("计算机");
book1.setName("SpringMVC1111");
book1.setDescription("小试牛刀");
Book book2 = new Book();
book2.setType("计算机");
book2.setName("SpringMvc2222");
book2.setDescription("一代宗师");
List<Book> bookList = new ArrayList<>();
bookList.add(book1);
bookList.add(book2);
return bookList;
}
}
启动Tomcat容器进行测试
前端使用了ElementUI+Vue,但是我目前不太记得这个东西了(等我弄清楚了再来这里补充),可以先转去视频,里边有很详细的介绍完整的案例开发:Bilibili-基于RESTful的页面数据交互


 860
860


 被折叠的 条评论
为什么被折叠?
被折叠的 条评论
为什么被折叠?
 到【灌水乐园】发言


