


1.在maniactivity.java文件里添加:
NotificationManager manager=(NotificationManager)getSystemService(NOTIFICATION_SERVICE);//NotificationManager实例对通知进行管理
Notification notification=new Notification(R.drawable.ic_launcher,"通知",System.currentTimeMillis());//创建Notification对象
notification.setLatestEventInfo(this, "通知标题", "通知内容",null);
//Uri soundUri=Uri.fromFile(new File("/system/media/audio/ringtones/Basic_tone.ogg"));
//notification.sound=soundUri;
notification.ledARGB=Color.GREEN;//控制通知的led灯颜色
notification.ledOnMS=1000;//通知灯的显示时间
notification.ledOffMS=1000;
notification.flags=Notification.FLAG_SHOW_LIGHTS;
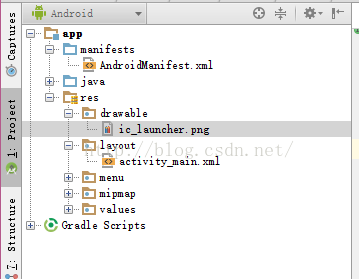
manager.notify(1,notification);//调用NotificationManager的notify方法使通知显示2.在drawable文件夹里添加通知的图标ic_launcher.png图片
整个maniactivity.java内容如下:
package com.example.notification;

import android.app.Activity;
import android.app.Notification;
import android.app.NotificationManager;
import android.app.PendingIntent;
import android.content.Intent;
import android.graphics.Color;
import android.net.Uri;
import android.os.Bundle;
import android.view.Menu;
import android.view.MenuItem;
import android.view.View;
import android.view.View.OnClickListener;
import android.widget.Button;
import android.widget.Toast;

import java.io.File;

public class MainActivity extends Activity implements OnClickListener {
    private Button sendNotice_button;
    private Button button2;
    @Override
    protected void onCreate(Bundle savedInstanceState) {
        super.onCreate(savedInstanceState);
        setContentView(R.layout.activity_main);
        sendNotice_button=(Button)findViewById(R.id.send_notice);
        sendNotice_button.setOnClickListener(this);
    }
    public void onClick(View v)
    {
        switch (v.getId())
        {
            case R.id.send_notice:
                NotificationManager manager=(NotificationManager)getSystemService(NOTIFICATION_SERVICE);//NotificationManager实例对通知进行管理
                Notification notification=new Notification(R.drawable.ic_launcher,"通知",System.currentTimeMillis());//创建Notification对象
                notification.setLatestEventInfo(this, "通知标题", "通知内容",null);
                //Uri soundUri=Uri.fromFile(new File("/system/media/audio/ringtones/Basic_tone.ogg"));
                //notification.sound=soundUri;
                notification.ledARGB=Color.GREEN;//控制通知的led灯颜色
                notification.ledOnMS=1000;//通知灯的显示时间
                notification.ledOffMS=1000;
                notification.flags=Notification.FLAG_SHOW_LIGHTS;
                manager.notify(1,notification);//调用NotificationManager的notify方法使通知显示
                break;
            default:
                break;
        }
        return;
    }

    @Override
    public boolean onCreateOptionsMenu(Menu menu) {
        // Inflate the menu; this adds items to the action bar if it is present.
        getMenuInflater().inflate(R.menu.menu_main, menu);
        return true;
    }

    @Override
    public boolean onOptionsItemSelected(MenuItem item) {
        // Handle action bar item clicks here. The action bar will
        // automatically handle clicks on the Home/Up button, so long
        // as you specify a parent activity in AndroidManifest.xml.
        int id = item.getItemId();

        //noinspection SimplifiableIfStatement
        if (id == R.id.action_settings) {
            return true;
        }

        return super.onOptionsItemSelected(item);
    }
}<TableLayout xmlns:android="http://schemas.android.com/apk/res/android"
xmlns:tools="http://schemas.android.com/tools" android:layout_width="match_parent"
android:layout_height="match_parent" android:paddingLeft="@dimen/activity_horizontal_margin"
android:paddingRight="@dimen/activity_horizontal_margin"
android:paddingTop="@dimen/activity_vertical_margin"
android:paddingBottom="@dimen/activity_vertical_margin" tools:context=".MainActivity">
<TableRow>
<Button
android:id="@+id/send_notice"
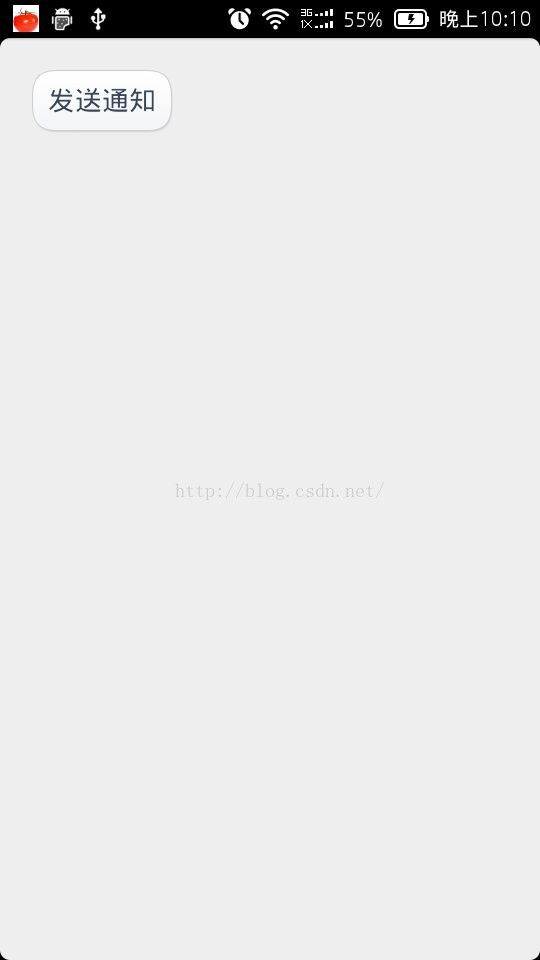
android:text="发送通知"
android:layout_height="wrap_content" />
</TableRow>
</TableLayout>运行效果如下,界面左上角就是通知:


 474
474

 被折叠的 条评论
为什么被折叠?
被折叠的 条评论
为什么被折叠?
 到【灌水乐园】发言


